
Mastering Cooler Longevity: Essential Hacks to Keep Your Food and Drinks Ice-Cold for Days
Summer is synonymous with outdoor adventures, and whether you’re heading out for a camping trip, a day at the beach, or a backyard BBQ, a reliable cooler is an absolute essential. But what’s more frustrating than reaching for a refreshing drink only to find it lukewarm, or worse, your food spoiled due to melted ice? The good news is that keeping your cooler colder for longer isn’t just about buying the most expensive model; it’s about employing smart strategies and simple hacks that significantly extend the life of your ice.
In this ultimate guide, we’ll dive deep into practical, effective techniques that will ensure your provisions stay perfectly chilled throughout your entire adventure. From the foundational choice of your cooler to ingenious packing methods and on-site management, these tips will revolutionize how you keep things cold. Get ready to elevate your outdoor experience and say goodbye to prematurely melted ice!
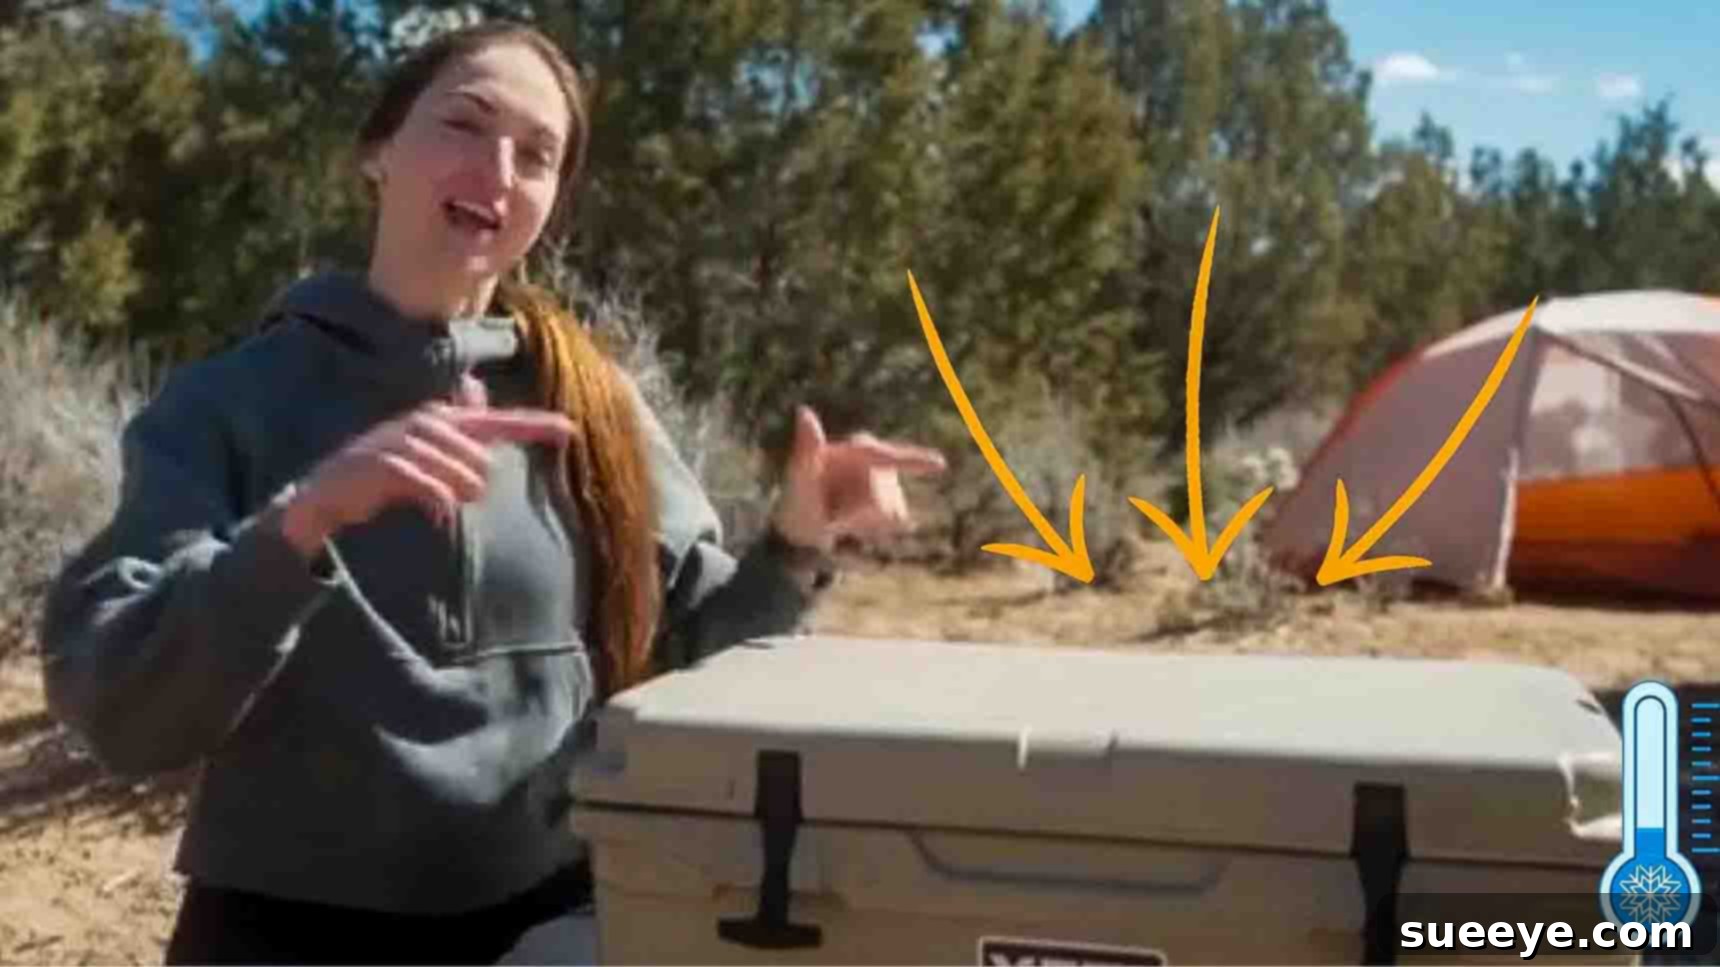
Inspired by expert advice, including fantastic insights from Amanda Outside on YouTube, we’ve compiled the best practices to help you master the art of cooler longevity. Let’s explore these essential hacks and prepare for your next unforgettable outing!
The Foundation: Choosing the Right Cooler
#1 Invest in a Good Quality Cooler
The journey to an ice-cold cooler starts before you even think about packing. The quality of your cooler is perhaps the single most critical factor in its ability to retain temperature. While budget coolers might seem appealing for a quick fix, investing in a high-quality model will pay dividends in the long run, especially if you frequently enjoy outdoor activities.
When evaluating coolers, several key features stand out:
- Hard-Sided Construction: While soft-sided coolers offer portability for short trips, hard-sided coolers typically provide superior insulation and durability, making them ideal for extended adventures. Their rigid structure contributes to better thermal retention.
- Thick, High-Quality Insulation: The thicker the insulation, the better. Premium coolers often feature pressure-injected polyurethane foam in their walls and lid, which creates an incredibly effective thermal barrier. Look for specifications that highlight insulation thickness.
- Tight Lid Seal (Gasket): A tight seal is paramount. Even the best insulation is compromised if cold air can escape and warm air can enter through gaps in the lid. High-quality coolers feature freezer-grade gaskets around the lid that create an airtight seal when closed, trapping the cold air inside. Inspect the lid for robust latches that pull the lid down firmly.
- Rotomolded Construction: Many top-tier coolers are rotomolded, meaning they are manufactured in a single, seamless piece. This process eliminates weak points and ensures uniform wall thickness, enhancing both insulation and overall durability against impacts.
- Elevated Design: Some coolers come with feet that lift the base slightly off the ground. This prevents heat transfer from hot surfaces like asphalt or sand, adding another layer of thermal efficiency.
Considering these aspects ensures you have a robust foundation for keeping your contents colder for longer, making your initial investment a smart choice for countless adventures.
Preparation is Key: Setting Your Cooler Up for Success
#2 Pre-chill Your Cooler for Optimal Performance
Once you have a quality cooler, the next crucial step is to prepare it for its mission. Just as you wouldn’t put warm food into a cold oven expecting it to cook instantly, you shouldn’t pack warm items into a warm cooler. The insulation material of your cooler absorbs ambient heat, and packing it without pre-chilling means your initial batch of ice will be used up simply cooling the cooler’s internal temperature before it even starts cooling your items.
To effectively pre-chill:
- Timing: A few hours, or even better, 12-24 hours before you plan to pack your cooler for a camping trip or outing, place a sacrificial bag of ice, frozen water bottles, or large ice packs inside.
- Method: Fill the cooler with a generous amount of ice. The goal is to bring down the temperature of the cooler’s walls and lid, not just the air inside. Close the lid tightly.
- Sacrificial Ice: This ice will melt as it absorbs the heat from the cooler’s insulation. Don’t worry; this is precisely what it’s meant to do. Before packing your actual provisions, drain this melted water and remove the sacrificial ice. Your cooler’s interior will now be significantly colder, creating a much more hospitable environment for your fresh ice.
- Alternatives: If you don’t want to “waste” ice, you can also place the empty cooler in a freezer or air-conditioned room overnight. However, direct ice contact is generally more effective at chilling the internal surfaces.
Pre-chilling effectively lowers the internal temperature of the cooler itself, meaning your actual packing ice will work solely on keeping your food and drinks cold, not on cooling down the cooler walls.
#3 Prep and Organize Your Contents at Home
The way you prepare and pack your items plays a significant role in how long your cooler stays cold. Minimizing the amount of time the cooler is open and ensuring everything going inside is already cold are two fundamental principles.
- Pre-cool or Freeze Everything: Make sure all food and drinks that can be cold or frozen are already at their lowest possible temperature before packing them into the cooler. Room-temperature items will quickly melt your ice as the cooler works to bring their temperature down. Drinks can be placed in the refrigerator overnight, and certain food items (like meats, pre-made meals, or water bottles) can be frozen solid. Frozen water bottles serve a dual purpose: they act as ice packs and become drinkable water as they melt.
- Batch and Organize: Group similar items together. Use separate containers or resealable bags for different categories (e.g., breakfast items, dinner ingredients, snacks, drinks). This prevents cross-contamination and makes it easier to find what you need without rummaging through the entire cooler.
- Minimize Opening: By organizing your contents strategically, you reduce the time the lid needs to be open. Know exactly where each item is located. Consider packing items you’ll need first or most frequently on top, or even using a separate, smaller cooler for frequently accessed drinks.
- Vacuum Sealing: For items that could become waterlogged (like sandwiches or cheese), consider vacuum sealing them. This keeps them dry and extends their freshness, regardless of ice melt.
A well-prepared and organized cooler means less time with the lid open, preserving that precious cold air inside.
Advanced Cooling: Ice Management and Placement
#4 Strategic Ways to Cool Your Cooler & Optimal Ice-to-Contents Ratio
The type of cooling medium you use and how you arrange it within your cooler can dramatically impact ice retention. Not all ice is created equal, and smart layering is key.
- Block Ice vs. Cubed Ice: Block ice (large, solid chunks) melts much slower than cubed ice because it has less surface area exposed to warmer air. For longer trips, start with a layer of block ice at the bottom. Cubed ice is excellent for filling gaps and quickly chilling items due to its greater surface area, making it ideal for the middle and top layers.
- Reusable Ice Packs: High-performance gel packs or commercial ice packs are excellent complements to traditional ice. They typically freeze at a colder temperature than water and don’t create water mess as they melt. Place them strategically, especially on top or sides, to maintain consistent cold.
- Frozen Water Bottles or Silicone Molds: As mentioned before, frozen water bottles are multi-functional. They act as ice packs and provide cold drinking water as they thaw. Silicone ice molds can create custom-sized ice blocks that fit perfectly into your cooler’s contours, maximizing ice volume.
- The Golden Ratio: A widely accepted guideline for maximum ice retention is a 2:1 ratio of ice to food/drinks. For example, if one-third of your cooler is filled with food and drinks, the remaining two-thirds should be packed with ice. This ensures there’s enough cold mass to absorb heat effectively and maintain low temperatures over an extended period. Don’t skimp on the ice!
- Layering Strategy:
- Bottom Layer: Start with a layer of block ice, especially for items you want to keep coldest for the longest (e.g., raw meats, frozen items).
- Middle Layer: Place your pre-chilled food and drinks on top of the block ice. For items you need quicker access to, place them closer to the top.
- Top Layer: Finish with a generous layer of cubed ice or additional ice packs. Cold air sinks, so having a substantial layer of ice on top helps push cold air downwards, keeping everything colder.
- Fill Gaps: Use smaller bags of ice or crushed ice to fill any remaining air pockets. Air pockets allow warm air to circulate, melting your ice faster.
A combination of different ice types, applied with a strategic layering approach and a generous ice-to-contents ratio, is the most effective way to maximize your cooler’s performance.
On-Site Management: Protecting Your Cold Investment
#5 Minimize Opening Time and Optimize Cooler Placement
Even with the best cooler and packing techniques, how you manage your cooler once it’s at your destination can make or break its ice retention. Every time you open the lid, you allow warm ambient air to rush in and precious cold air to escape. This exchange of air causes your ice to melt faster.
- Limit Access: Establish a “cooler discipline.” Designate one person to retrieve items, or simply make a conscious effort to open the cooler only when necessary and close it immediately. Encourage everyone to think about what they need before opening.
- Quick Access Cooler: For frequently accessed items like drinks or common snacks, consider using a separate, smaller cooler. This keeps the main cooler for perishable food items sealed for longer, significantly extending its ice life.
- Strategic Placement: Where you place your cooler can have a huge impact:
- Seek Shade: Always place your cooler in the shade, away from direct sunlight. The sun’s radiant heat can drastically increase the internal temperature of the cooler, causing rapid ice melt.
- Elevate It: Place your cooler on an elevated surface (e.g., a picnic table, a stand, or even a thick blanket). This prevents direct contact with hot ground surfaces like asphalt, sand, or even grass, which can conduct heat into the cooler.
- Insulate from Below: If you can’t elevate it, place a thick mat, towel, or sleeping pad underneath the cooler to provide an extra layer of insulation from the ground’s heat.
- Don’t Drain Immediately (Usually): For most standard ice and perishable food, it’s generally better *not* to drain the melted water, especially if you used block ice. The melted cold water (slush) acts as an insulating layer around the remaining ice and helps keep items cold. However, if you have cubed ice and your items are prone to waterlogging (like cardboard packaging), you might want to drain it strategically and replace with fresh ice if possible. If using dry ice, never drain any liquid until the dry ice has completely sublimated.
Bonus Tips for Ultimate Cooler Longevity
To truly maximize your cooler’s performance and ensure your provisions stay perfectly chilled for the duration of your trip, consider these additional insights:
- Use a Cooler Thermometer: For absolute peace of mind, especially on longer trips or when storing highly perishable items, a small, submersible cooler thermometer can monitor the internal temperature. This allows you to adjust strategies if the temperature starts to climb too high.
- Insulate the Outside: In extreme heat, you can add an extra layer of insulation to the outside of your cooler. Wrap it in a sleeping bag, a thick blanket, or even a reflective sunshade. This acts as an additional barrier against external heat, further reducing heat transfer.
- Pack Smart and Full: A full cooler stays colder than a half-empty one because there’s less air space for warm air to circulate. If you have extra space after packing your essentials, fill it with additional ice, frozen water bottles, or even crumpled newspaper (as a temporary insulator for short periods).
- Proper Cleaning and Storage: After your adventure, clean your cooler thoroughly with soap and water, then allow it to air dry completely with the lid slightly ajar to prevent mold and mildew growth. Store it in a cool, dry place away from direct sunlight. Proper maintenance extends the life of your cooler and ensures it’s ready for its next mission.
Conclusion: Enjoy Colder Adventures!
By implementing these expert hacks – from selecting a high-quality cooler and meticulously pre-chilling it to strategic packing and on-site management – you can significantly extend the life of your ice and the freshness of your food and drinks. No longer will you have to compromise on enjoying perfectly chilled refreshments, even on the hottest days or longest expeditions.
These techniques empower you to take control of your cooler’s performance, transforming a simple box into a reliable cold-storage unit. So, arm yourself with knowledge, practice these tips, and get ready for your next camping adventure, beach getaway, or outdoor gathering, confident that your provisions will remain ice-cold from start to finish. Happy adventuring!