
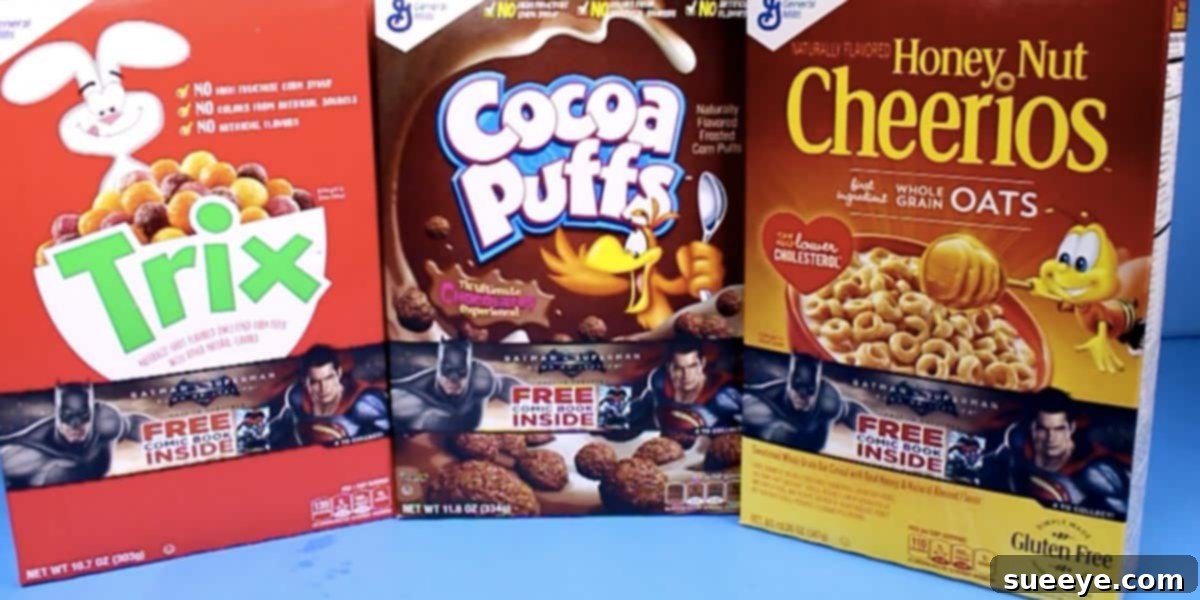
Transform Ordinary Cereal Boxes into Stunning DIY Stars: The Ultimate Guide to Eco-Friendly Decor
Imagine turning something you usually toss into the recycling bin into a piece of art that brightens your home or decorates a special event. It sounds almost magical, doesn’t it? Well, prepare to be amazed! The simple, humble cereal box, often overlooked, holds incredible potential to be transformed into beautiful, eye-catching stars. This ingenious DIY project is not only incredibly satisfying but also champions sustainability, giving new life to materials that would otherwise become waste.
When you first see these crafted stars, your jaw might just drop in disbelief. They look polished, professional, and far from their cardboard origins. This innovative approach to recycling is a game-changer, helping you cut down on trash while unleashing your inner crafter. The versatility of these upcycled stars is truly boundless, making them perfect for almost any decorative need or celebration. Let’s dive into how you can bring this brilliant idea to life and adorn your world with these unique, handmade treasures.
Why Crafting with Cereal Boxes? The Magic of Upcycling and Sustainability
In a world increasingly aware of its environmental footprint, upcycling has emerged as a powerful movement. Crafting with cereal boxes is a prime example of how you can contribute to a more sustainable lifestyle without compromising on creativity or aesthetic appeal. Every cereal box transformed into a star is one less item headed to the landfill, directly reducing waste and conserving natural resources. This practice not only benefits the planet but also offers numerous advantages to the crafter.
Firstly, the material cost is virtually zero. You’re using something you already have in your pantry, making this an incredibly budget-friendly craft. This accessibility means anyone can try it, regardless of their crafting experience or financial constraints. Secondly, it fosters a profound sense of accomplishment and pride. There’s a unique satisfaction in taking a mundane object and giving it a brand new purpose, especially when the result is as charming as these stars. Thirdly, it’s an excellent activity for all ages, encouraging creativity and fine motor skills in children, while providing a relaxing and rewarding hobby for adults. Embracing cereal box crafts is more than just making decorations; it’s about embracing ingenuity, resourcefulness, and a greener way of living.
The Versatility of DIY Cardboard Stars: Decorate Every Occasion
One of the most remarkable aspects of these upcycled stars is their incredible adaptability. From rustic charm to glittering elegance, they can be customized to suit any theme, holiday, or personal style. Their presence can elevate the ambiance of any space, proving that handmade doesn’t mean less sophisticated.
Charming Home Decor Enhancements
Imagine these beautiful stars gracing your mantelpiece during the holidays, adding a touch of rustic elegance for Christmas, or a patriotic flair for national celebrations. They can serve as year-round wall art, bringing character to a plain wall, or stand proudly on shelves, adding dimension to your interior design. Arrange them in clusters for a dynamic display or string them together to create a whimsical garland that drapes beautifully across windows, doorways, or bed frames. Their lightweight nature makes them easy to hang and rearrange, offering endless possibilities for creative home styling.
Festive Party Decorations
Looking for unique decor for your next gathering? These stars are perfect for party themes! Whether it’s a birthday party, a baby shower, or a themed event like a Hollywood or space-themed celebration, stars are universally symbolic of joy and wonder. Use them as table centerpieces, hang them from the ceiling, or scatter smaller versions as delightful confetti. They add a personalized touch that store-bought decorations often lack, leaving a lasting impression on your guests.
Elegant Wedding Embellishments
For couples seeking a touch of handmade charm on their special day, cereal box stars can be transformed into exquisite wedding decor. Imagine delicate white or ivory stars adorning the reception tables, guiding guests to their seats, or incorporated into a stunning photo booth backdrop. They can also be used as unique wedding favors, personalized with names or dates, offering a memorable keepsake for your loved ones. Their customizable nature allows them to seamlessly blend with any wedding palette or theme, from bohemian chic to classic elegance.
Personalized Teenager’s Room Decor
Teenagers often crave decor that expresses their unique personality. These DIY stars offer an ideal canvas for self-expression. They can paint them in their favorite colors, add glitter, attach photos, or even incorporate inspirational quotes. Hung individually, as a mobile, or within a garland, these stars allow teens to personalize their space in a creative, affordable, and eco-friendly way, reflecting their individual style and interests.
Patriotic Displays and Celebrations
Given that Texas is famously known as the Lone Star State, stars hold a special significance, displayed everywhere as a symbol of pride and identity. This craft offers a wonderful opportunity to create patriotic decor that resonates deeply. Paint them in vibrant reds, whites, and blues for Fourth of July celebrations, Memorial Day, or simply to show your national pride. Incorporate them into wreaths, hang them on front porches, or use them as accents for patriotic-themed events. Beyond state pride, stars represent hope, aspiration, and freedom, making them perfect for any patriotic occasion.
Seasonal and Holiday Adornments
Beyond Christmas mantel decorations, these stars are fantastic for year-round seasonal displays. Envision them painted in autumn hues for Thanksgiving, or pastel shades for Easter. For Christmas, they are not only fantastic mantel pieces but also make beautiful ornaments for your tree, unique gift toppers, or charming additions to festive wreaths. They provide an economical way to refresh your holiday decor each year with a new color scheme or theme, making your celebrations even more special and personal.
Achieving Desired Finishes: From Rustic Charm to Metallic Sheen
The magic of these cereal box stars truly comes alive with paint and finishing techniques. What starts as humble cardboard can be transformed to mimic a variety of textures and looks, making them suitable for any decor style.
The Allure of a Metallic Look
Many people desire the sophisticated appearance of metal without the weight or cost. This is easily achievable with these cardboard stars. Metallic spray paints in gold, silver, bronze, or copper hues work wonders, providing a smooth, even, and lustrous finish. For an even more authentic feel, consider layering different metallic tones or using a dry-brush technique with a darker paint to create an aged, oxidized effect. The card, once fully dry after painting, becomes surprisingly stiff, giving it a more substantial and convincing “metal” feel.
Embracing Shabby Chic Elegance
For those who adore the soft, worn beauty of shabby chic decor, these stars are a perfect canvas. Paint them in delicate ivory, soft pastels, or muted grays. Once the paint is dry, lightly sand the edges and creases with fine-grit sandpaper. This distressing technique reveals hints of the cardboard underneath or previous layers of paint, creating that desirable aged and well-loved appearance. The result is a wonderfully understated yet charming decoration that adds a touch of vintage romance to any setting.
Beyond Metallic and Shabby Chic: A World of Finishes
- Glittering Grandeur: For truly festive or whimsical stars, apply a coat of glitter spray paint or brush on glue and sprinkle fine glitter while wet. This finish is perfect for holiday decorations, children’s parties, or adding a sparkle to any room.
- Textured Delights: Experiment with fabric scraps, decorative papers, or even thin twine to decoupage onto the stars. This adds unique textures and patterns, making each star a miniature work of art.
- Natural & Rustic: For a minimalist or rustic aesthetic, leave the stars unpainted, simply sealing them with a clear matte sealant to protect the cardboard and enhance its natural texture.
- Themed & Whimsical: Paint stars with specific themes – a galaxy pattern for a cosmic bedroom, polka dots for a playful nursery, or stripes for a nautical feel. The possibilities are truly endless, limited only by your imagination.
- Embellished Beauty: Once painted and dry, further adorn your stars with small buttons, beads, sequins, ribbons, or even small charms. These embellishments add depth and personality, making each star truly unique.
Step-by-Step Guide to Crafting Your Cereal Box Stars
The process of transforming a simple cereal box into a dazzling star is surprisingly straightforward and incredibly rewarding. While many excellent video tutorials exist, such as those by Guide Central English, understanding the basic steps will empower you to embark on this creative journey.
Materials You’ll Need:
- Empty cereal boxes (or other thin cardboard like cracker boxes)
- Scissors or a craft knife
- Ruler
- Pencil
- Star template (you can print one or draw your own)
- Craft glue (PVA glue works well) or hot glue gun
- Paints (acrylic, spray paint, metallic, etc.)
- Paintbrushes or sponges
- Optional: Sandpaper for distressing, glitter, ribbons, other embellishments
The Crafting Process:
- Prepare Your Cardboard: Carefully open and flatten your cereal boxes. Ensure they are clean and free from any food residue. This provides a flat working surface.
- Trace Your Star Template: Print out a star template of your desired size, or draw your own multi-pointed star. Place the template onto the flattened cardboard and trace around it with a pencil. You might want to make several stars of varying sizes for an interesting display.
- Cut Out the Stars: Using sharp scissors or a craft knife (adult supervision recommended for children), carefully cut out each star shape. Take your time to achieve clean, crisp edges.
- Create the 3D Effect: This is where the magic happens. For a classic 3D star, you’ll need to create folds. Draw a line from the tip of each point to the center of the base of the opposite point (i.e., from point 1 to the valley between points 3 and 4). You’ll also draw lines from the center of the star to the inner points (the valleys). Gently score these lines with a dull knife or the back of your craft knife (don’t cut through!) to make folding easier. Then, fold along these lines, alternating between mountain folds (popping out) and valley folds (creasing in) to give your star its dimensional form. A good tutorial will clearly show this folding technique.
- Secure the Folds (Optional but Recommended): For a more robust star, you might want to add a dab of glue at strategic points on the inside to hold the 3D shape, especially if you’re creating deep folds.
- Paint Your Stars: Now for the fun part! Choose your desired paint color and finish. Apply an even coat of paint, allowing each coat to dry completely before adding another. If using spray paint, do so in a well-ventilated area. Remember, once fully dry, the card will become stiffer, making your stars more durable and substantial.
- Add Finishing Touches: Once the paint is dry, you can distress your stars with sandpaper for a shabby chic look, add glitter for sparkle, or attach ribbons for hanging. Let your imagination run wild with embellishments!
Creative Ideas to Display Your Upcycled Stars
Once your beautiful cereal box stars are complete, the next exciting step is deciding how to showcase them. Their versatility allows for a myriad of display options that can enhance any area.
- Enchanting Garlands: String multiple stars together using twine, ribbon, or fishing line. Vary the sizes and colors for a dynamic garland that can adorn a fireplace mantel, a window frame, a party table, or even a child’s bed canopy.
- Captivating Wreaths: Attach stars of various sizes to a circular wire or cardboard frame to create a unique and personalized wreath for your front door or an interior wall.
- Unique Gift Toppers: Skip the traditional bow and use a small, handcrafted star as a charming and personalized embellishment for wrapped gifts. It adds an extra touch of thoughtfulness.
- Whimsical Mobiles: Create a delightful mobile by hanging stars at different lengths from a central hanger. This is especially lovely for a nursery or a creative space.
- Eye-catching Centerpieces: Arrange a collection of stars in a bowl or on a decorative tray as a simple yet impactful table centerpiece for any occasion.
- Dynamic Wall Art: Group stars of different sizes and colors on a wall to create an artistic installation. Arrange them in a swirling pattern, a constellation, or a geometric design for a truly custom piece.
- Festive Window Displays: Hang stars from your windowpanes at varying heights to catch the light and create a festive or celebratory feel from both inside and outside your home.
Beyond Stars: Expanding Your Cereal Box Crafting Journey
The success and enjoyment you’ll find in crafting these cereal box stars might just open up a whole new world of upcycling possibilities. Cereal boxes and similar cardboard materials are incredibly versatile and can be used for a wide array of other creative projects. Think beyond stars and consider making miniature storage boxes, organizers for your desk, charming dollhouses, picture frames, or even components for larger art installations. Embracing this simple material encourages you to see potential in everyday discards, fostering a mindset of creativity, sustainability, and endless craft adventures.
Start Your Upcycling Adventure Today!
The journey from a discarded cereal box to a dazzling decorative star is one filled with creativity, environmental consciousness, and immense satisfaction. This project offers a wonderful opportunity to express your unique style, adorn your surroundings with handmade beauty, and contribute positively to our planet. It’s a testament to the fact that beauty and utility can be found in the most unexpected places.
So, the next time you finish a box of your favorite breakfast cereal, don’t just toss it! Instead, gather your supplies, let your imagination take flight, and transform that ordinary cardboard into extraordinary stars. Make a garland, add them onto a ribbon, or simply place them where they bring you joy. The only limit is your creativity. Enjoy your stars, and happy crafting!