
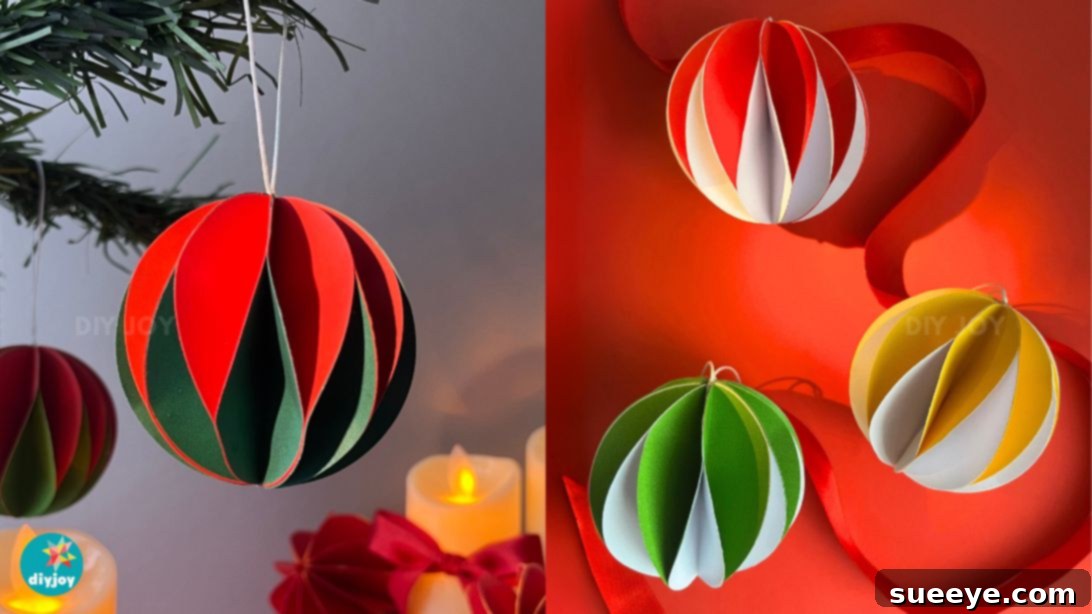
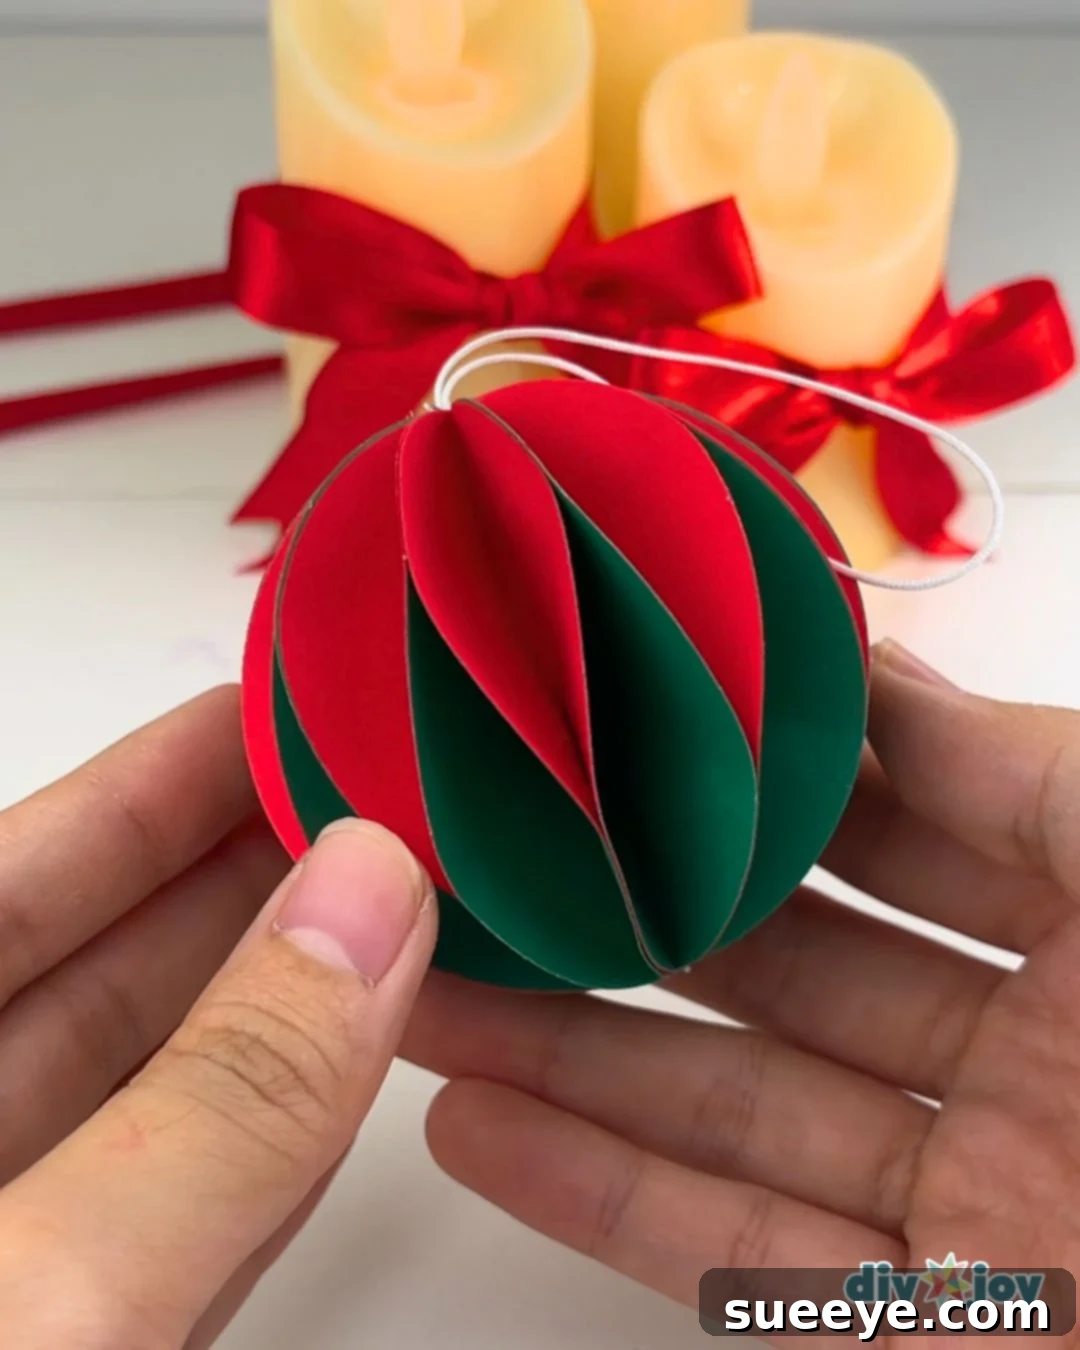
Are you searching for captivating, yet incredibly easy and budget-friendly Christmas ornaments to adorn your home this festive season? Look no further! These delightful holiday decorations are crafted using nothing more than simple colored paper, transforming humble sheets into dazzling display pieces. Not only are they exceptionally straightforward to create, but they also offer a fantastic way to personalize your holiday decor without breaking the bank. Get ready to add a charming, handmade touch to your Christmas tree and throughout your home with this engaging paper craft.
RELATED: DIY Cupcake Liner Christmas Ornament – Another Simple Festive Idea
Why You’ll Love Making These Easy Paper Ornaments
What makes this paper ornament project truly special is its remarkable simplicity and accessibility. There are absolutely no complicated techniques, intricate steps, or expensive, hard-to-find materials involved, making it an ideal craft for everyone, from enthusiastic beginners to seasoned DIYers. It’s particularly wonderful for children, providing a fantastic, engaging activity for school art classes, holiday parties, or a cozy afternoon at home. All you’ll need are a few basic supplies: vibrant colored paper, a reliable round puncher (or sharp scissors), a glue stick, a touch of PVA glue for durability, a bit of string for hanging, and a hot glue gun for secure finishes.
This project is also a brilliant choice for educators looking for creative and budget-friendly DIY Christmas decorations for their classrooms. Imagine the joy and pride on students’ faces as they craft their own unique ornaments, contributing to a festive classroom environment. Beyond the classroom, these handmade paper ornaments are perfect for crafting parties, youth groups, or simply enjoying some quality family time during the holiday season. The minimal cost and maximum creative output make this craft a win-win for everyone involved.
Embrace the Joy of Handmade Holiday Decor
For years, I’ve cherished the tradition of making DIY Christmas crafts to decorate our home for the festive season. This passion began with our annual desire to change our holiday theme, creating a fresh and unique look each year. Constantly purchasing new decorations annually can be quite expensive and often results in generic, mass-produced items. As a creative individual who deeply loves engaging in DIY projects, I decided to take matters into my own hands and craft many of our decorations instead of buying them from stores. This approach not only allows us to save a significant amount of money, but it also provides a wonderful opportunity to practice and hone my creative skills, transforming simple materials into something truly special.
Creating handmade holiday decor adds an unparalleled personal touch and warmth to your home. Each ornament tells a story, carrying the memories of the hands that made it and the moments shared during its creation. This paper craft, in particular, is the perfect project if you find yourself facing the same desire for unique, budget-conscious, and personalized holiday decorations. It’s an invitation to unleash your creativity, experiment with colors and textures, and infuse your home with genuine festive spirit. So, gather your supplies, put on some holiday music, and have immense fun crafting these beautiful paper ornaments this holiday season!
This DIY Christmas project became a massive sensation on TikTok and Instagram! Just watch the craft video and you’ll immediately understand why people absolutely adored it.
@diyjoycrafts Christmas is coming and I can’t wait any longer to start decorating! 🎄 if you love making DIY Christmas decor, these easy paper ornaments are for you 🎅 it’s a fun paper craft that is sure to add a cute touch to your tree this holiday season
#christmasdecor
#diy
#handmade
#crafts
#creatorsearchinsights♬ Christmas Is Coming – DM Production
Step-by-Step Guide: How to Make Stunning Paper Christmas Ornaments
Ready to transform simple sheets of paper into enchanting holiday decor? Follow this easy-to-understand tutorial to create beautiful Christmas ornaments that will impress everyone.
Learn how to make gorgeous Christmas ornaments using colored paper with this simple and detailed tutorial. Perfect for adding a personal touch to your holiday decor!
-
Prepare Your Paper: Folding for Precision
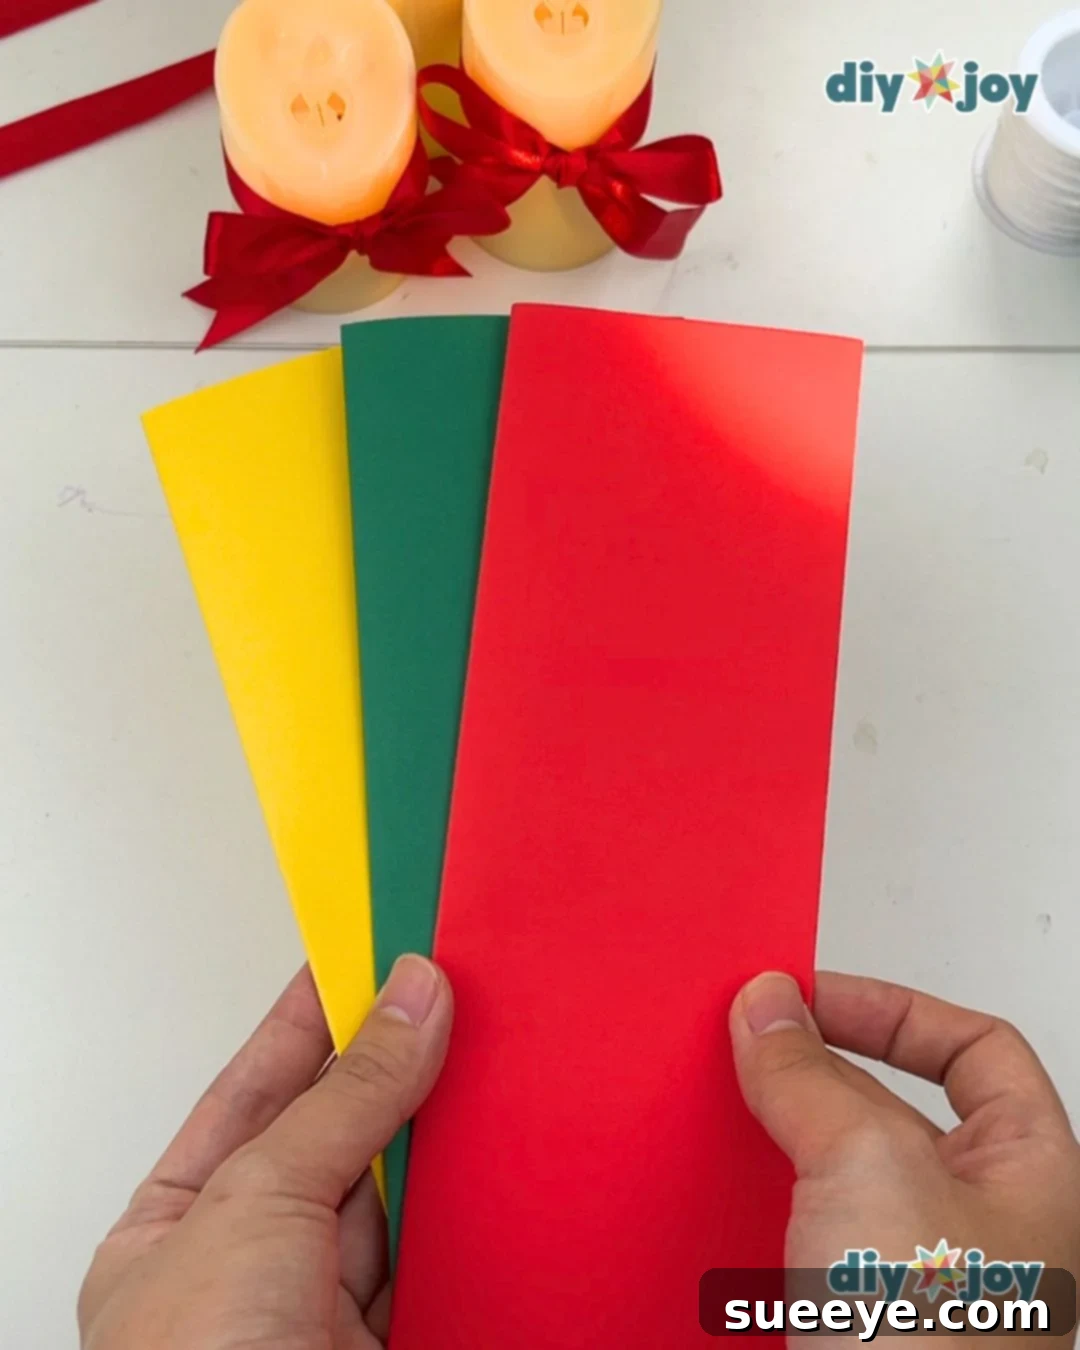
Begin by taking all of your chosen colored paper sheets and fold each one in half twice, crosswise. This initial folding step is crucial for preparing your paper to be cut evenly and efficiently, ensuring symmetry for your final ornament design. Press down firmly to create crisp creases.

-
Cut Your Circles: Creating the Building Blocks
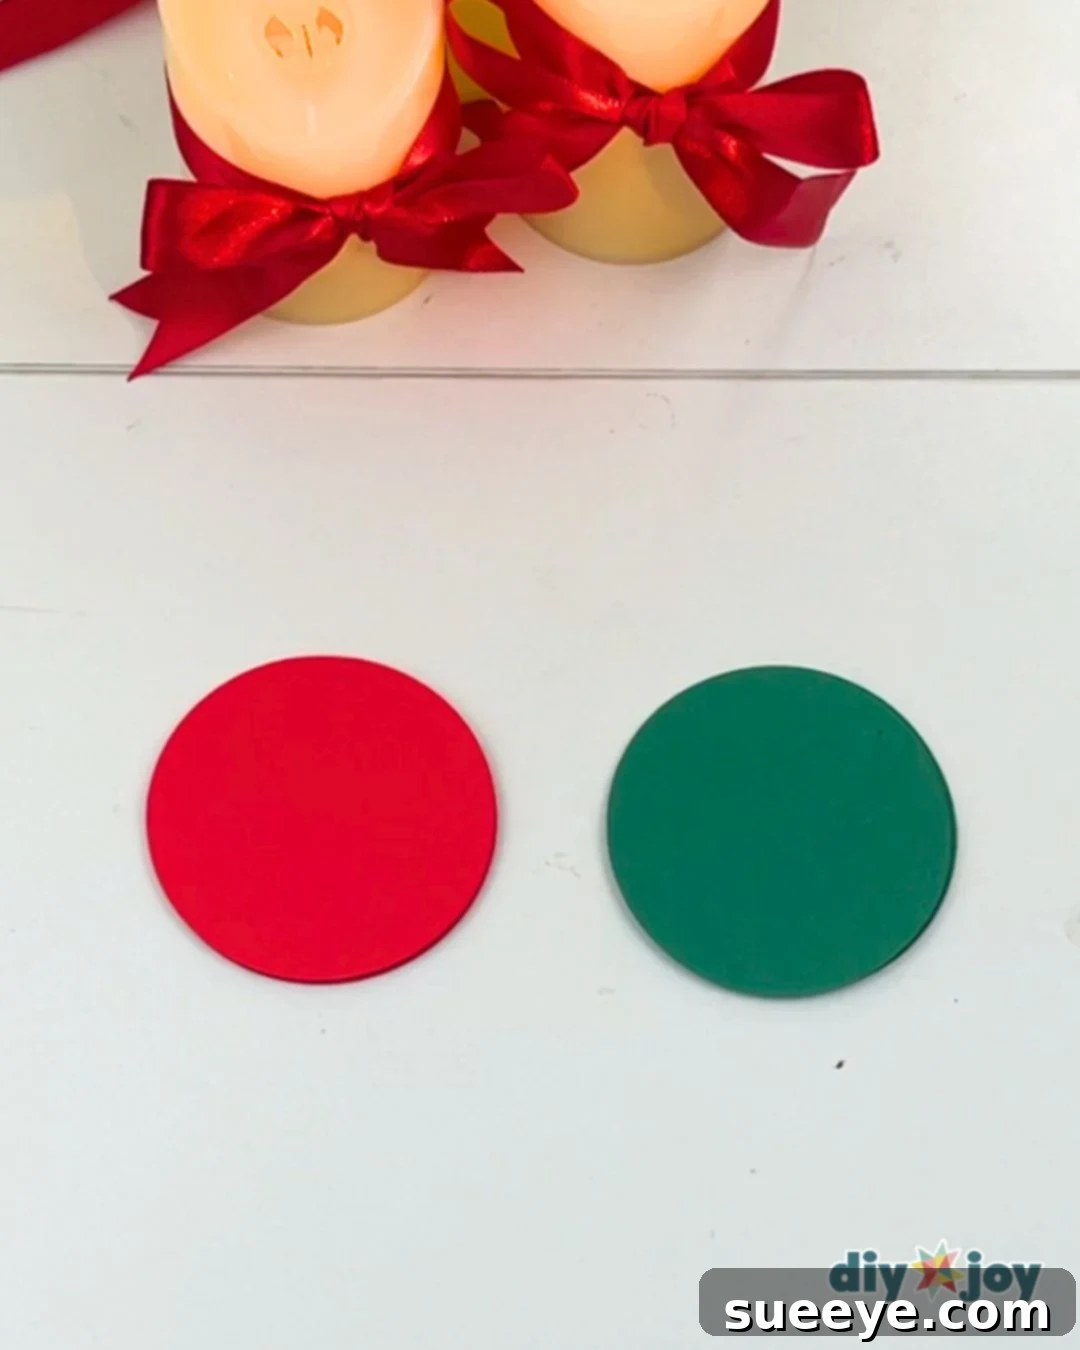
Next, you’ll need to cut out your circles. For a single ornament, you will require a total of 20 pieces (10 pieces of each chosen color for a two-color design). While you can certainly cut these using a sharp pair of scissors, for the smoothest edges and consistent sizing – which significantly contributes to a polished final look – we highly recommend using a round puncher. A 2.5″ or 3″ puncher works wonderfully and will make this process much faster and easier, especially if you’re making multiple ornaments.
-
Fold the Circles: Preparing for Assembly
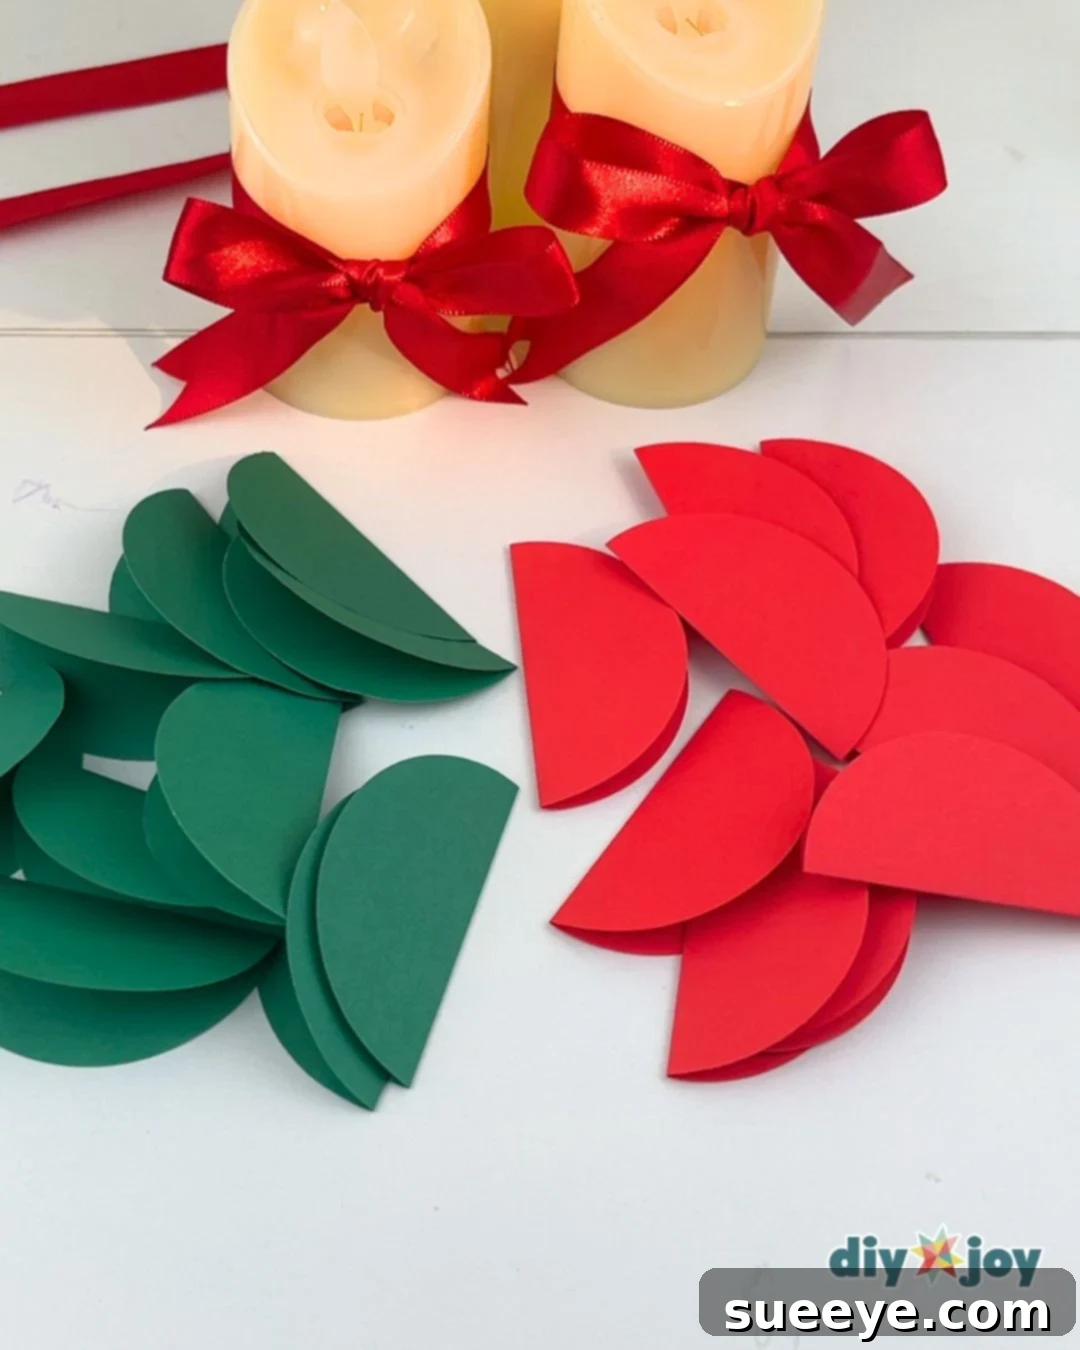
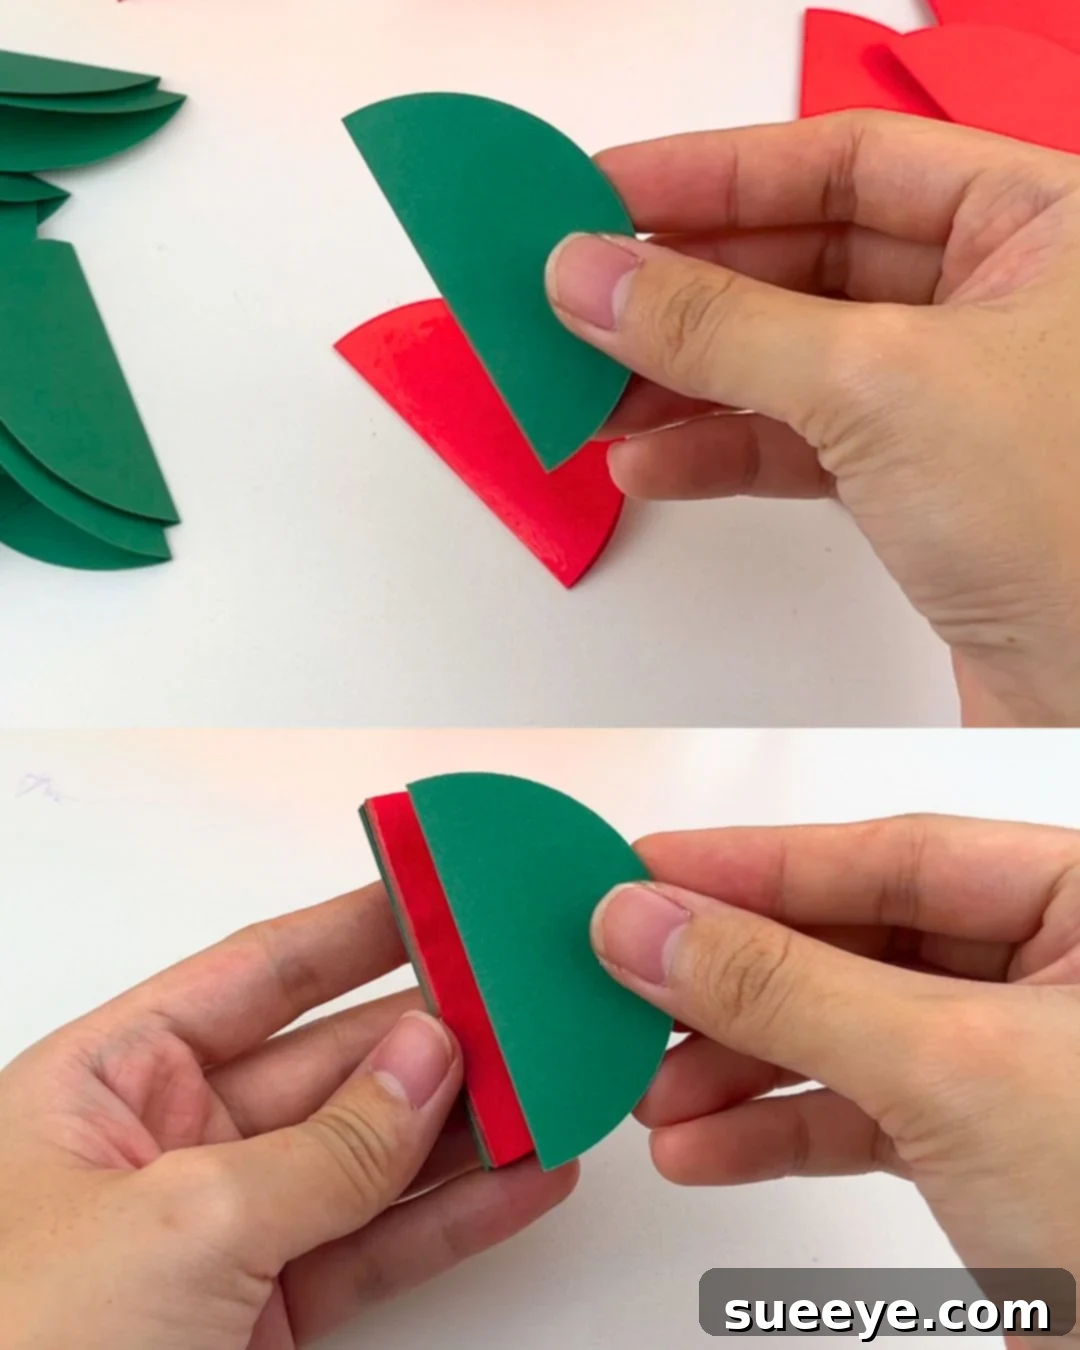
Once all your circles are cut, take each individual circle and fold it precisely in half. This creates a neat crease down the middle, which will serve as the spine for assembling your ornament. Ensure each fold is crisp and accurate, as this directly impacts the overall symmetry and structure of your finished decoration.
-
Glue Half Circles Together: Building the Core
Now it’s time for assembly! Using a reliable glue stick, begin gluing the folded half-circles together. Alternate the colors as you go, creating a vibrant and engaging pattern. Apply glue to one half of a folded circle and carefully press another folded circle onto it, making sure their folded edges align perfectly. Continue this process until all 20 pieces are securely glued, forming a book-like stack of alternating colors.
-
Apply Strategic Glue Strips: Creating the 3D Effect
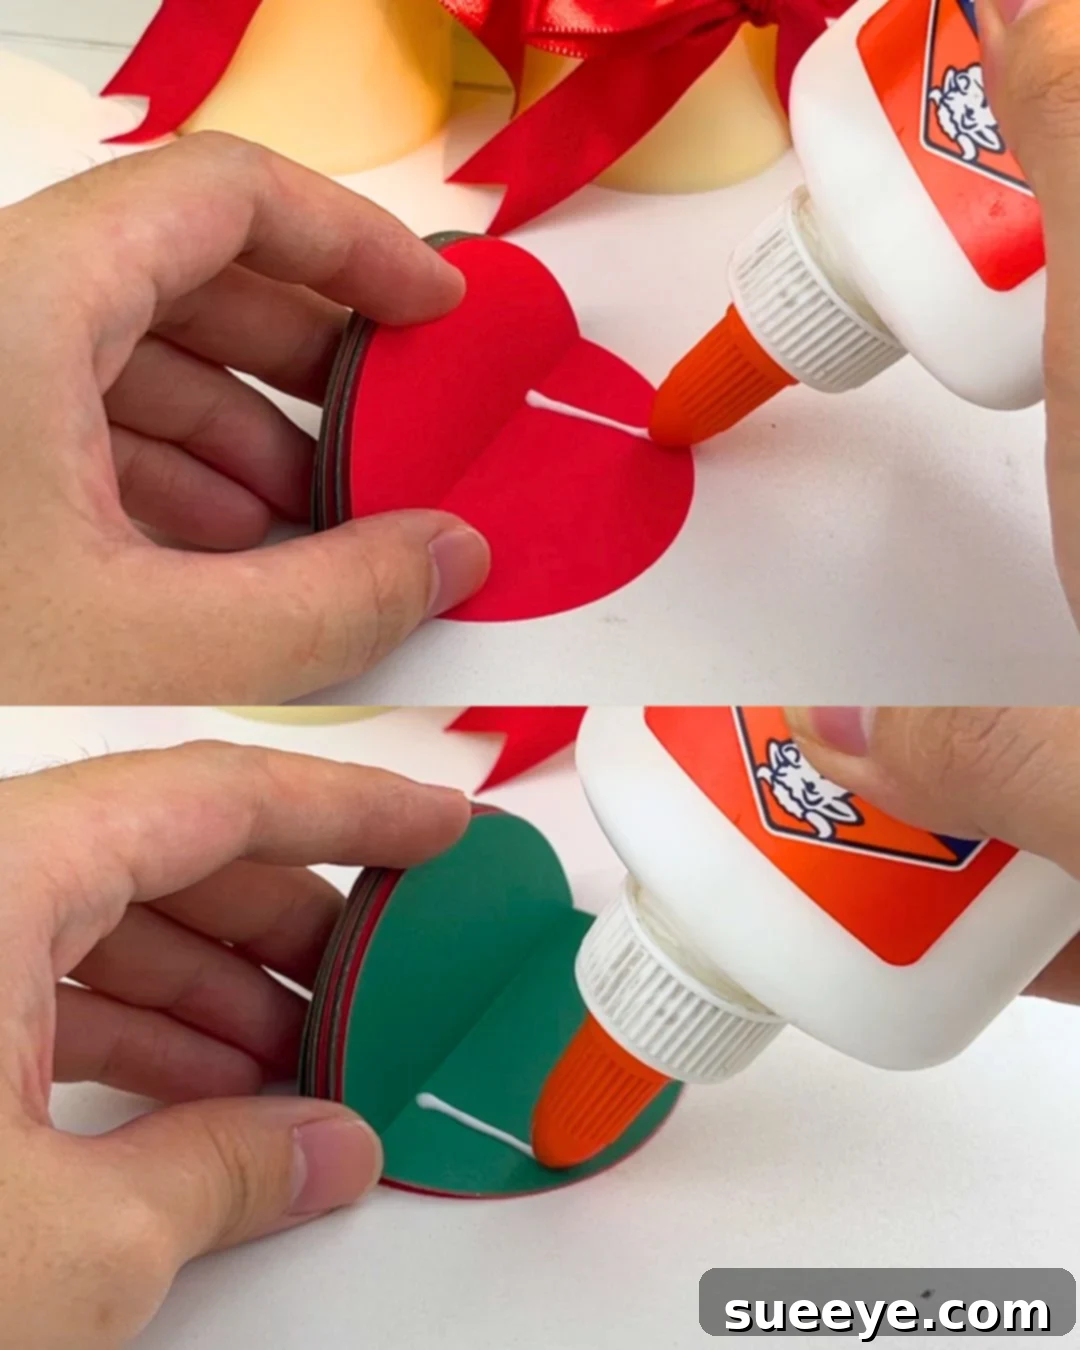
With your stack of glued half-circles, apply a small, horizontal strip of PVA glue to each folded piece. The key here is to alternate the placement of this glue strip between the top and bottom edges of the folded crease. For example, glue the top edge of the first piece, then the bottom edge of the second, the top of the third, and so on. This alternating pattern is essential for creating the unique three-dimensional, spherical shape of your ornament. Allow the PVA glue to become slightly tacky before moving to the next step.
-
Secure the Ends: Forming the Ornament Shape
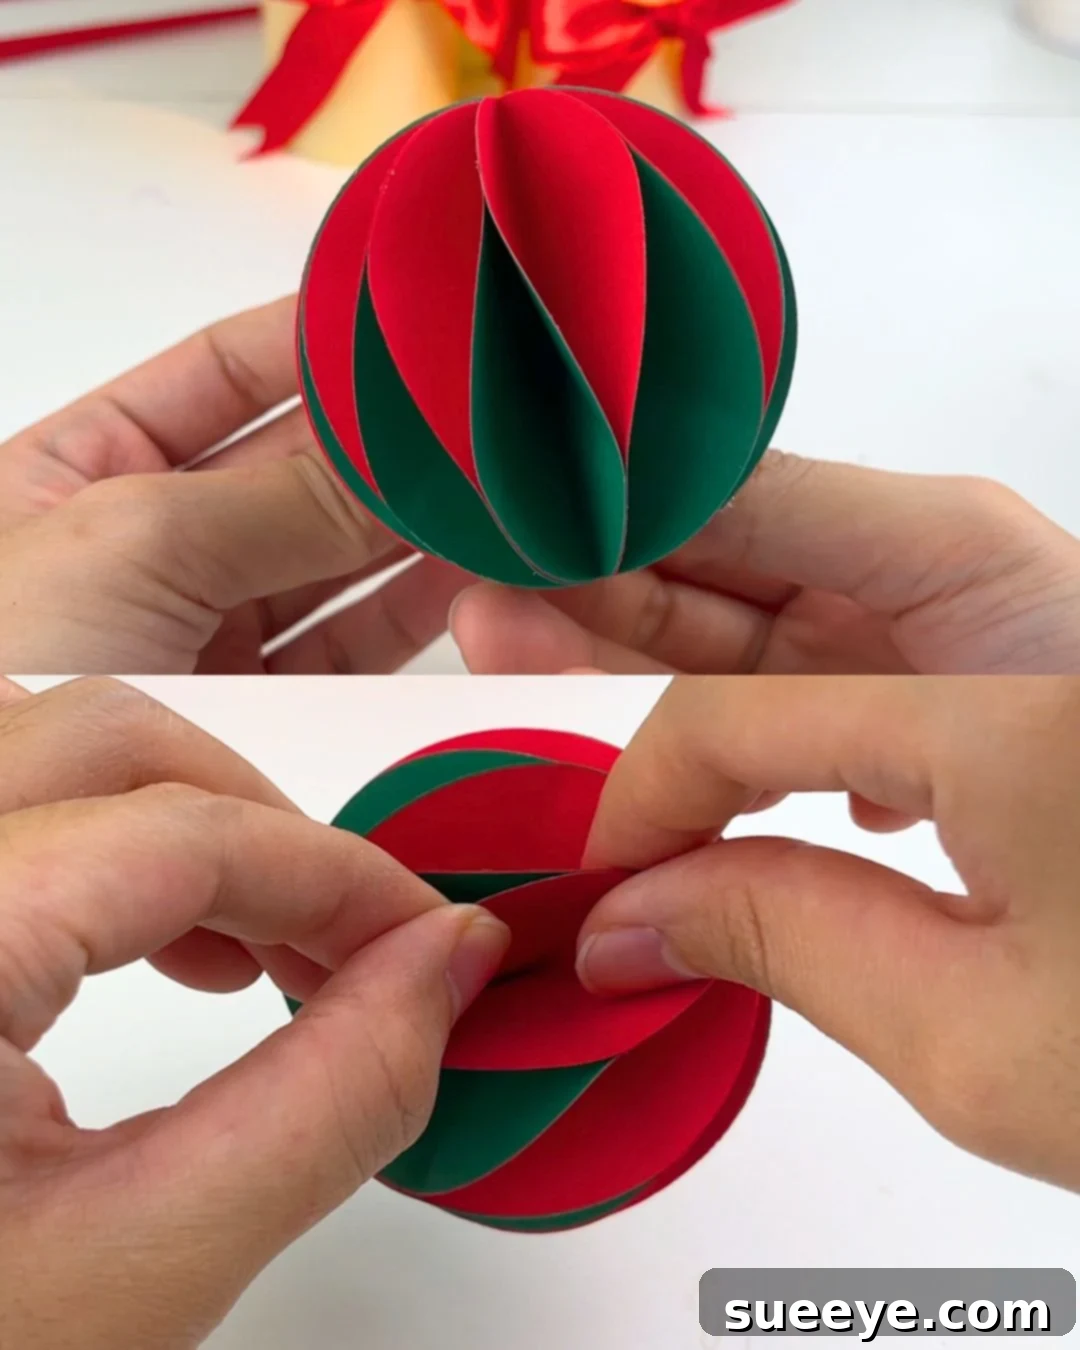
Gently bring the two ends of your glued stack together. Carefully apply glue to the final folded piece, then press it firmly against the first folded piece to close the circle and form the complete ornament. Take your time to ensure that the ends are perfectly aligned before the glue sets, as this alignment is critical for a beautifully rounded and symmetrical finished product. Hold it in place for a moment until the glue has a chance to bond.
-
Prepare the Hanging String: Your Ornament’s Anchor
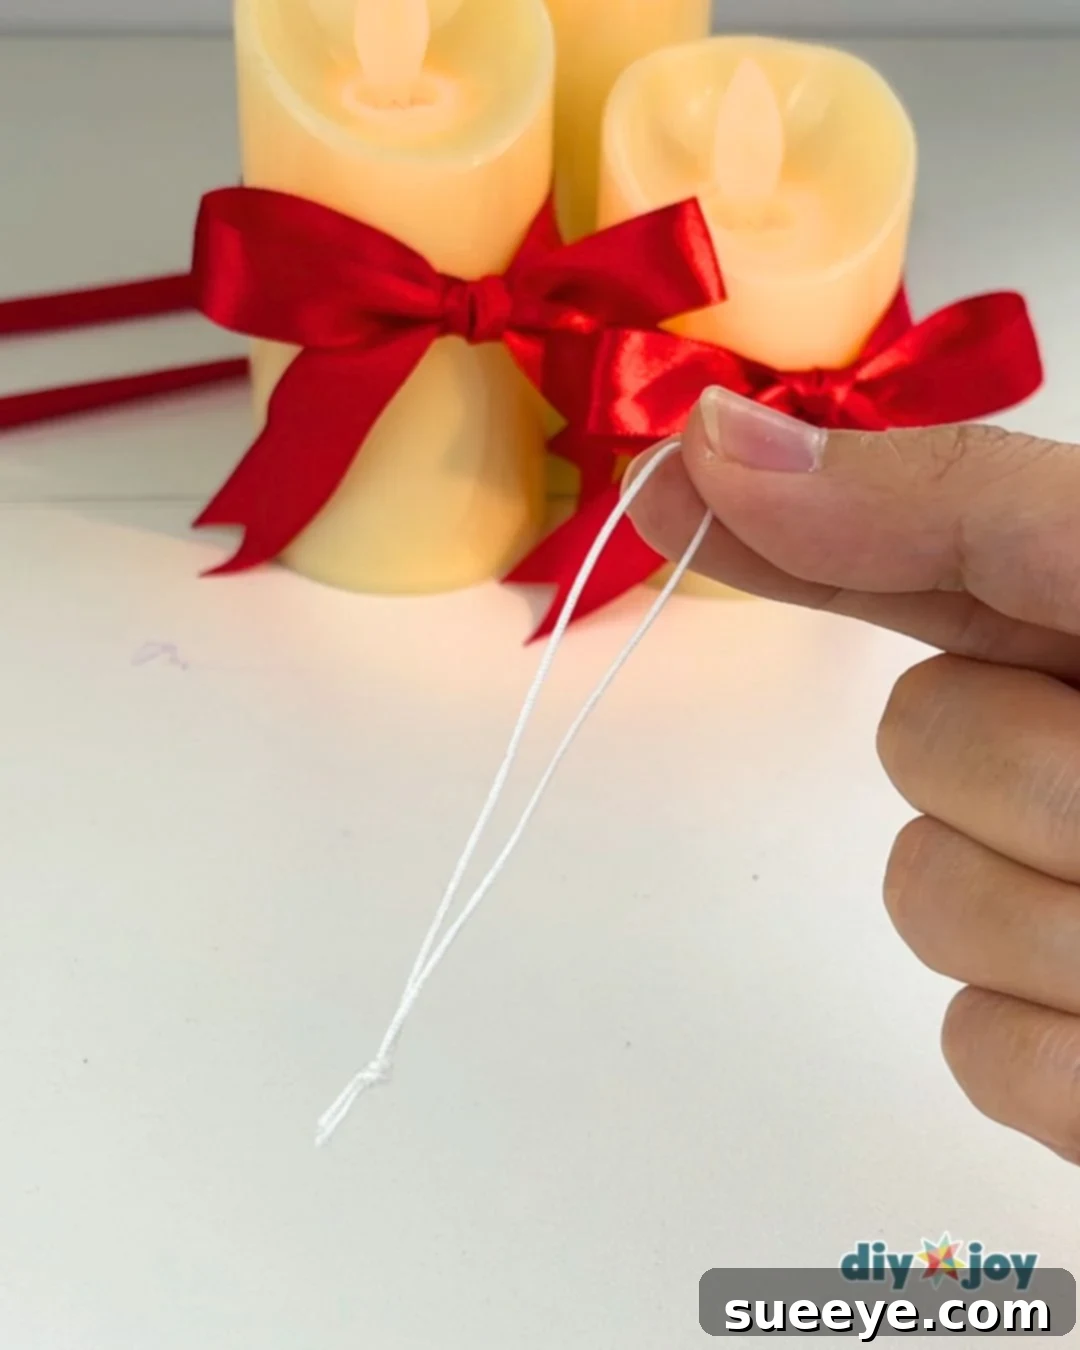
To prepare your ornament for hanging, cut a small piece of string – about 6 to 8 inches long is usually sufficient. Fold the string in half, then tie the loose ends together into a secure knot, creating a small loop. Trim any excess string close to the knot for a tidy finish. This loop will be what you use to hang your beautiful new creation.
-
Attach the String: The Finishing Touch
Finally, using your hot glue gun, apply a small dab of hot glue to the very top center of your newly formed paper ornament. Quickly press the knotted end of your string loop into the hot glue, holding it in place until the glue cools and sets. The hot glue provides a strong and instant bond, ensuring your ornament hangs securely. Be careful with hot glue and always supervise children if they are assisting.
Tools You’ll Need
- Scissors or a 2.5″ to 3″ round puncher (find one here)
- Glue gun (for attaching the string)
Materials Required
- Colored paper (cardstock recommended for durability)
- Glue stick (for initial paper bonding)
- PVA glue (for the 3D structure)
- String (for hanging)

Crafting Tip for Perfect Ornaments
For the most professional and aesthetically pleasing result, always make sure to align your circles perfectly when gluing them together. Precision in each step, especially during the gluing process, will ensure your finished paper ornament is beautifully symmetrical and robust. Take your time, and don’t rush the alignment!
Unlock Your Creativity: Ideas and Variations for Your Paper Ornaments
These paper ornaments are incredibly versatile! Once you’ve mastered the basic technique, feel free to experiment and personalize them to match your unique style and holiday theme. Here are some inspiring ideas:
- Color Palettes. Don’t limit yourself to just two colors! Try using three or even four complementary or contrasting colors to create a more dynamic and vibrant ornament. Experiment with gradient shades, traditional Christmas colors (red, green, gold), or modern palettes (silvers, blues, purples) to match your home’s aesthetic.
- Varying Sizes. Create a captivating display by making paper Christmas ornaments in a range of different sizes. Small ones can accent a mini-tree, while larger ones can be statement pieces on your main Christmas tree or even hung in windows. A collection of varying sizes adds visual interest and depth to your holiday decor.
- Explore Different Materials. While colored paper is fantastic, don’t hesitate to try different types of paper for unique textures and finishes. Consider using elegant cardstock for more durability, shimmering glitter paper for extra sparkle, patterned scrapbook paper for intricate designs, or even recycled old book pages or sheet music for a vintage, rustic charm.
- Add Embellishments. Elevate your ornaments with extra embellishments! Before or after assembling, decorate the paper circles with tiny beads, iridescent glitter glue, sequins, or even hand-drawn patterns using metallic markers. Small self-adhesive gems or miniature bows can add a luxurious touch, making each ornament truly one-of-a-kind.
- Alternative Hanging Strings. Instead of a simple string, use a festive ribbon to add more color, texture, and elegance. Satin ribbons in coordinating colors, velvet ribbons for a touch of luxury, or even rustic twine can completely change the look and feel of your ornament. Consider using fishing line for a “floating” effect, especially if hanging them in groups.
- Craft a Stunning Garland. Take your paper ornament making to the next level by creating a beautiful Christmas ball garland. Simply thread each finished paper ornament onto a long piece of string or ribbon, spacing them out evenly. You can intersperse them with other elements like beads, fairy lights, or small pinecones to create a unique and eye-catching garland for your mantelpiece, staircase, or doorway.
More Easy Christmas Crafts To Try This Season
If you’ve enjoyed crafting these paper ornaments, you’re sure to love these other simple and delightful DIY holiday projects:
Seasonal
Easy DIY Wine Cork Reindeer
Crafts
DIY Cupcake Liner Christmas Ornament
Crafts
5-Minute Ribbon Tying Hack
Create Lasting Memories with DIY Paper Ornaments This Christmas
There’s immense satisfaction in decorating your home with items you’ve created yourself. These DIY Christmas ornaments crafted from colored paper offer a wonderfully simple yet incredibly effective way to add charm, personality, and festive cheer to your holiday season. They’re not just decorations; they’re tiny expressions of creativity, little pieces of art made with love. Whether you’re crafting them with family, friends, or simply enjoying some quiet creative time, these paper ornaments are sure to become cherished additions to your annual holiday traditions. Embrace the joy of handmade and make this Christmas truly special with your unique, colorful creations!