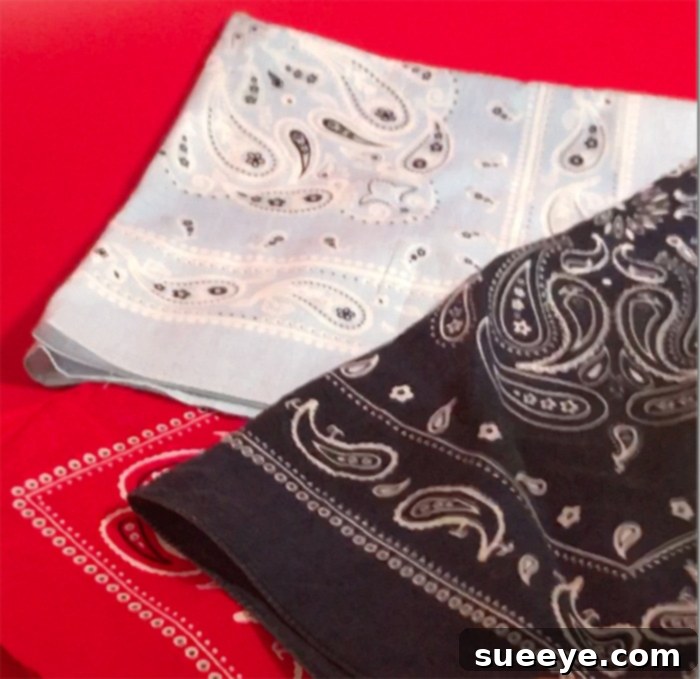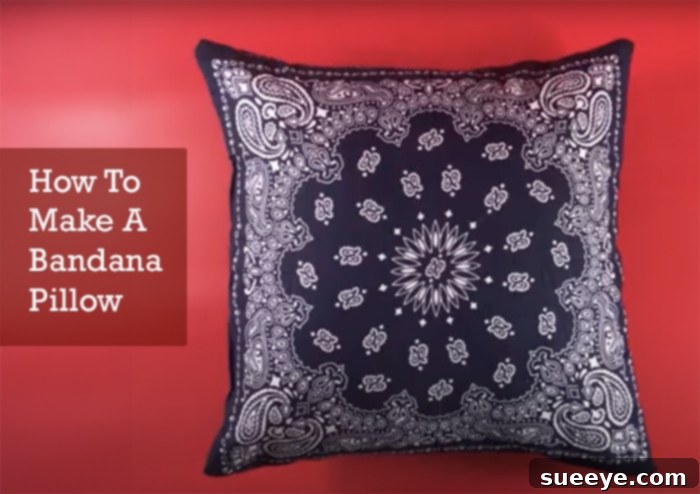
Welcome to the enchanting world of DIY bandana pillows, a craft project that consistently ranks among my absolute favorites! If you could see the collection I’ve amassed, you’d undoubtedly agree. There’s something undeniably charming and uniquely ‘country’ about them, a delightful touch you rarely encounter in stores or other homes. Beyond their undeniable cuteness, these pillows are remarkably simple to create, making them an ideal project for crafters of all skill levels. This comprehensive guide will walk you through every step of crafting your own bandana pillow, complete with detailed how-to photos and a clear, step-by-step walkthrough. You’ll also find a helpful video tutorial embedded at the end of this article to provide a visual aid for your crafting journey.
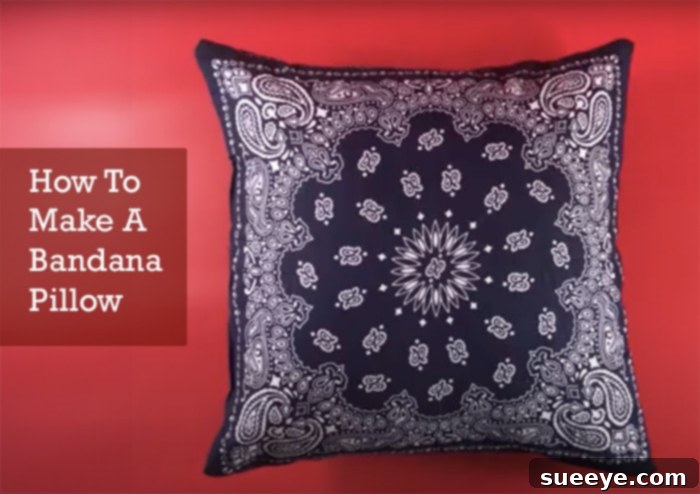
Crafting Joy: Easy-to-Make and Inexpensive Home Decor
One of the most appealing aspects of these delightful pillows is their incredible affordability. My go-to source for bandanas is often the dollar store, which means you can craft a beautiful, personalized pillow for just a few dollars. This budget-friendly approach makes it easy to create multiple pillows without breaking the bank. For those looking for a broader selection of colors, patterns, and perhaps higher quality fabric, Amazon offers an extensive range. While these might cost slightly more individually, purchasing bandanas in bulk can significantly reduce the per-item cost, making it an excellent option for avid crafters or those planning to make several pillows at once. I frequently create these as thoughtful, handmade Christmas gifts or charming housewarming presents, always keeping a stash ready for last-minute needs. Bulk buying truly is a smart strategy when you aim to whip up a batch of these lovely creations.
Elevate Your Space: Decorating with Versatile Bandana Pillows
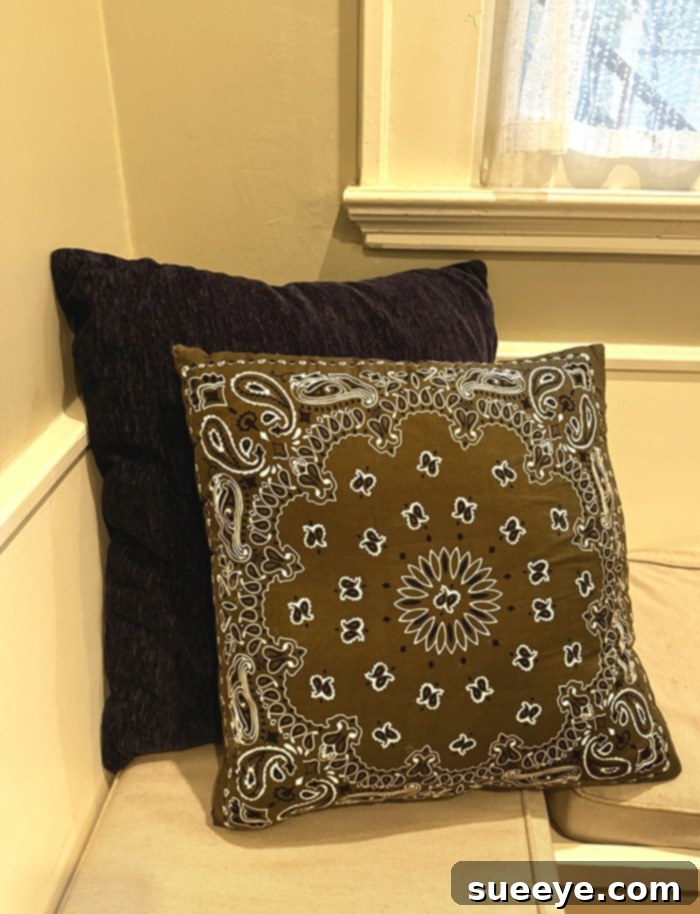
Forget the notion that bandanas are exclusively for cowboys or rock stars; they transform into incredible accent pillows that can infuse any room with a vibrant pop of color and distinctive pattern. These pillows are the quintessential accessory for a myriad of decor styles. Imagine them enhancing the rustic charm of farmhouse decor, adding a free-spirited touch to boho chic interiors, complementing the rugged elegance of a ranch house, or bringing a relaxed, coastal vibe to a beach house. In essence, they are perfect for any space that feels a little uninspired and could benefit from a splash of colorful charm and personality.
The true genius of these DIY accent pillows lies in their unparalleled versatility. Effortlessly toss a couple onto a sofa or an armchair for an instant burst of color and visual interest. Use them to revitalize a cozy reading nook, creating an inviting and comfortable sanctuary. For the younger members of the family, they can help establish a fun, camp-like atmosphere within a play tent or bedroom. Their durable nature even allows you to take them outdoors, enlivening your patio furniture or creating a more welcoming outdoor seating area. Don’t shy away from your creative instincts – have fun mixing and matching various bandana prints, colors, and even textures to design a truly unique aesthetic that reflects your personal style.
These simple fabric squares offer an exciting avenue for creative expression, enabling you to curate a space that feels both cohesive and uniquely yours. Whether you opt for classic paisley, bold solids, or eclectic prints, bandana pillows provide an accessible way to update your home decor with minimal effort and maximum impact.
Now that you realize bandanas may be the ultimate decorating secret, check out some of my other bandana crafts here:
Bandana Sunflower Wreath
Bandana Flag Placemat
34 Cool DIY Ideas With Bandanas
Why Every Home Needs Handmade Bandana Pillows
Crafting bandana pillows is not just an easy and inexpensive project; it’s an opportunity to unleash your creativity with a kaleidoscope of fabrics and hues. The sheer variety of bandana colors and patterns available means you’ll discover immense joy in the process of mixing and matching to create your unique combinations. From traditional red paisley to vibrant solid colors and intricate designs, there’s always a bandana print that can perfectly complement your existing decor or inspire an entirely new look. These pillows inherently exude a casual, charming Americana flair, making them an ideal addition to kids’ rooms, cozy dens, inviting patios, or even guest bedrooms. Their adaptable style integrates seamlessly with various furniture types, including comfortable leather sofas, durable denim upholstery, or soft slipcovered pieces.
Beyond their aesthetic appeal, bandana pillows are also incredibly versatile and built to last. Made from sturdy cotton material, they are designed to withstand considerable wear and tear, whether they’re being tossed around during a lively pillow fight or adorning your outdoor seating area. When they need a refresh, simply toss them in the washing machine to keep them looking pristine and vibrant. Their timeless, casual vibe ensures they will remain a stylish fixture in your home for years to come, never going out of fashion.
Engaging in the creation of bandana pillows is a rewarding, budget-friendly sewing project that is perfectly suited for beginners. Plus, you’ll get that satisfying sense of accomplishment from making such a crafty DIY project. I vividly recall the surprise and delight of my friends when they first saw these unique creations gracing my living room. Soon after, everyone wanted some! I can almost guarantee that once you make your first one, you’ll be inspired to make many more, discovering new color palettes and patterns to personalize your space or create thoughtful gifts.
DIY Bandana Pillow Tutorial: A Step-by-Step Guide for Beginners
Ready to transform simple bandanas into stylish, comfortable accent pillows? This detailed tutorial will guide you through each stage of the process, ensuring a successful and enjoyable crafting experience. Whether you prefer to sew or opt for a no-sew method, we’ve got you covered.
DIY Bandana Pillow Supplies: Gather Your Materials
Before you begin, ensure you have all the necessary supplies within reach. Having everything organized will make the crafting process smooth and efficient.
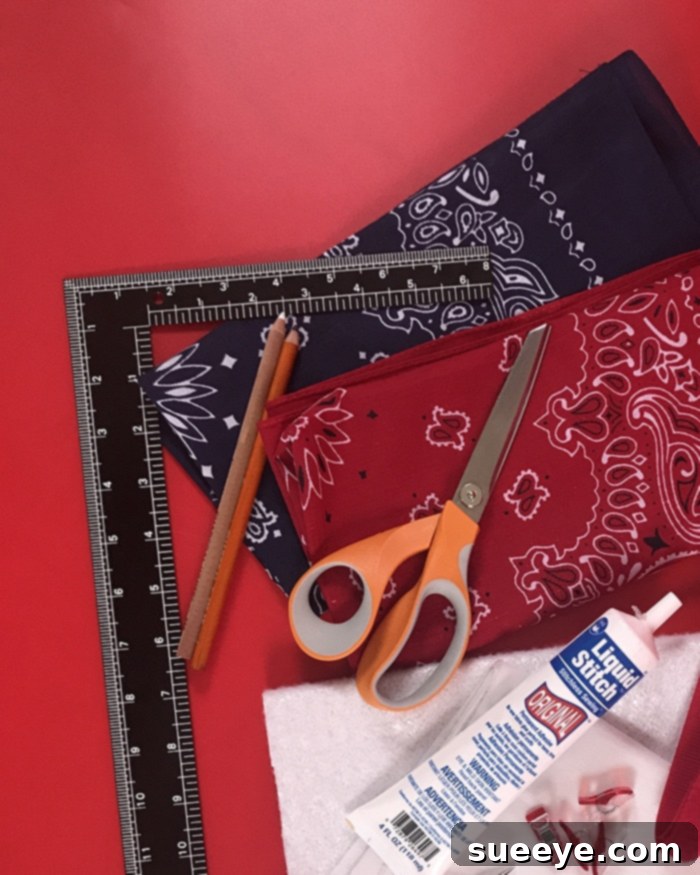
- Two Bandanas: Choose two bandanas in your desired prints and colors. Standard 20×20 inch bandanas work exceptionally well for a standard throw pillow size. Ensure they are clean and ironed for the best results.
- Pillow Insert or Poly-fil Stuffing: An 18-inch pillow insert is ideal for 20×20 inch bandanas, providing a plump, structured look. Alternatively, high-quality polyester fiberfill (Poly-fil) offers a customizable softness and allows you to fill the pillow to your desired density.
- Chalk or Sewing Marker: Essential for marking your seam lines accurately, ensuring straight edges and a professional finish. Disappearing ink markers are particularly useful as they vanish over time or with heat.
- Matching Thread (for sewing option): Select a thread color that closely matches or subtly complements your chosen bandanas for a seamless appearance. (Not required for the no-sew version).
- Sewing Machine (for sewing option): A basic sewing machine will make the process quick and efficient. (Not required for the no-sew version).
- Fabric Glue or Stitch Adhesive (for no-sew option): A strong fabric adhesive is crucial for securely bonding the bandana edges without sewing. If you are sewing, a small amount of fabric glue can also be used to neatly close the final seam.
- Sewing Clips or Clothespins: These are indispensable for holding fabric edges together securely while sewing or waiting for fabric glue to dry, ensuring precise alignment.
Step-by-Step Instructions for Making A Bandana Pillow
Follow these simple steps to create your custom bandana pillow. Remember, precision in each step contributes to a polished final product.
Step 1: Preparing Your Bandanas
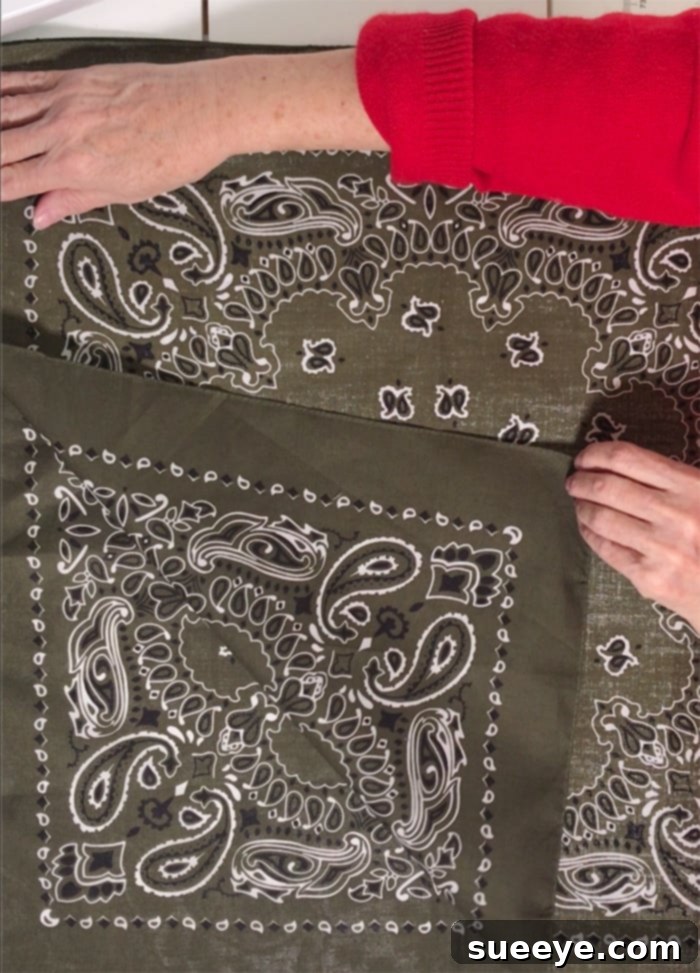
Begin by laying your two chosen bandanas right-sides together on a clean, flat surface. This means the vibrant, colorful patterns or designs should be facing inward, touching each other. The plainer, ‘wrong’ sides of the fabric will be facing outwards. This orientation is crucial for ensuring that when you turn the pillow right-side out later, your seams will be neatly hidden on the inside, revealing a flawless exterior.
Step 2: Marking and Pressing Seam Lines
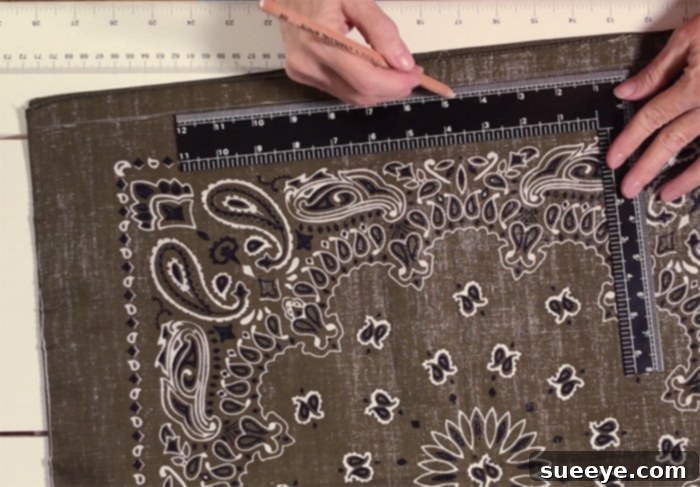
Using your chalk or disappearing ink sewing marker, carefully mark a 1/4 inch seam line around all four edges of the layered bandanas. This consistent seam allowance is vital for maintaining the pillow’s shape and size. Once marked, gently fold the fabric along these lines and press them firmly with an iron. Pressing creates crisp, visible guidelines for sewing or gluing and helps to set the fabric, making the subsequent steps much easier and more accurate. This small step significantly enhances the professionalism of your finished pillow.
Step 3: Creating the Pillow Pouch (Sew or No-Sew)
Now it’s time to create the basic pillow pouch, leaving an opening for stuffing.
Sewing Option:
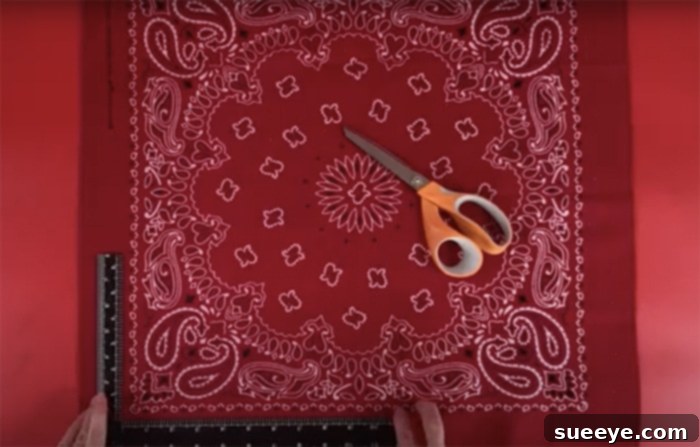
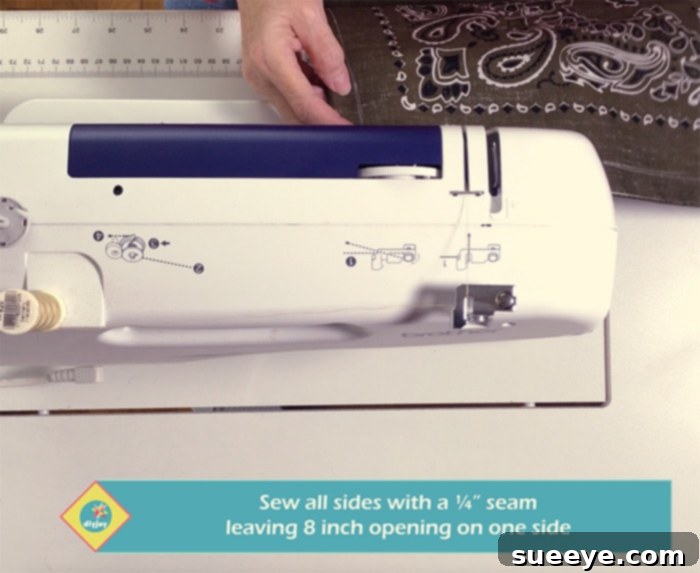
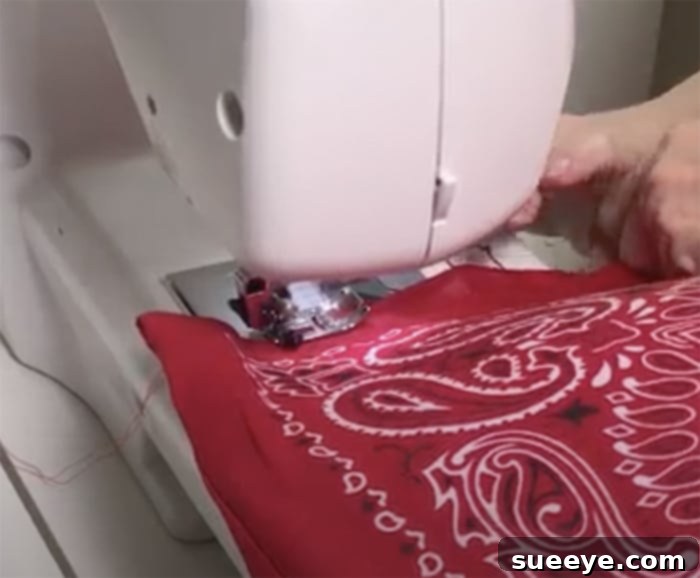
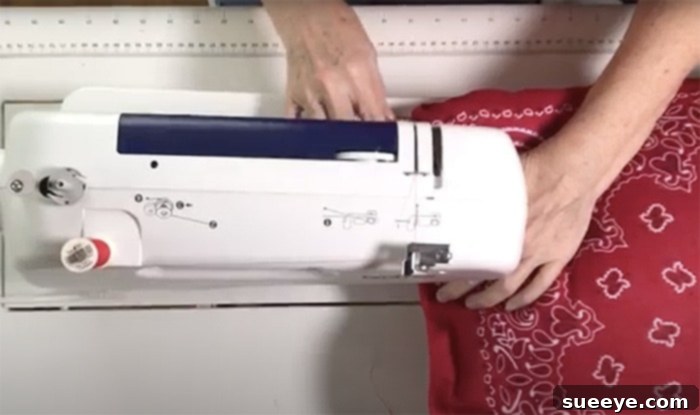
Utilizing the seam allowance you’ve just marked, carefully sew along three of the four sides of your layered bandanas. Remember to leave one side entirely open for now. For easier closure later, I highly recommend leaving only about 8 inches of this fourth side unsewn. This smaller opening will be much simpler to hand-stitch or machine-sew closed once the pillow is stuffed. When using your sewing machine, always begin and end your seams with a backstitch. This technique reinforces the stitches at the start and end, preventing them from unraveling and ensuring the durability of your pillow. Maintain a consistent seam allowance for a neat and strong finish.
No-Sew Option:
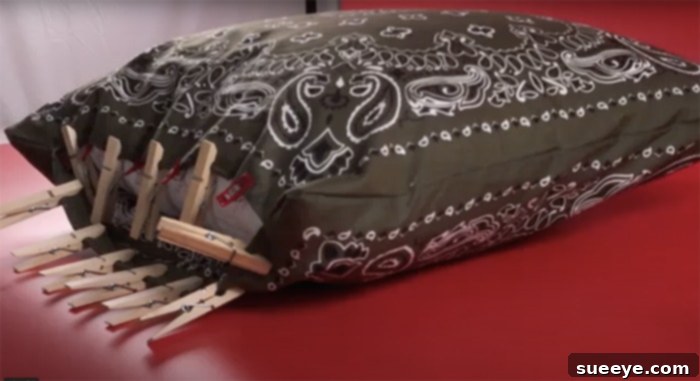
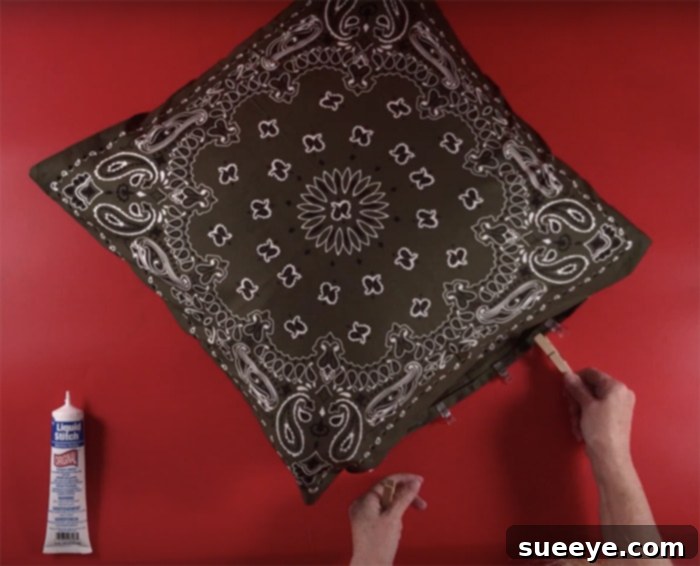
For those preferring a no-sew approach, apply a continuous bead of strong fabric glue along the marked seam allowance lines on three of the four sides. Carefully press the edges together, ensuring good contact between the two bandana layers. Secure these glued edges with sewing clips or clothespins. These clips will hold the fabric firmly in place while the glue dries completely, preventing any shifting and ensuring a strong, lasting bond. Just as with the sewing option, leave one side open for stuffing, and consider leaving only an 8-inch gap for easier final sealing. Allow ample drying time as per your fabric glue’s instructions before proceeding.
Step 4: Turning and Stuffing Your Pillow
Once your three sides are securely joined (either by sewing or gluing), carefully turn the bandana pouch you’ve created right-side out. This will hide all the raw edges and seams inside, revealing the beautiful patterns of your bandanas. Use a chopstick, a dull pencil, or a turning tool to gently poke out all four corners from the inside. This ensures they are sharp and well-defined, giving your pillow a crisp, professional shape.
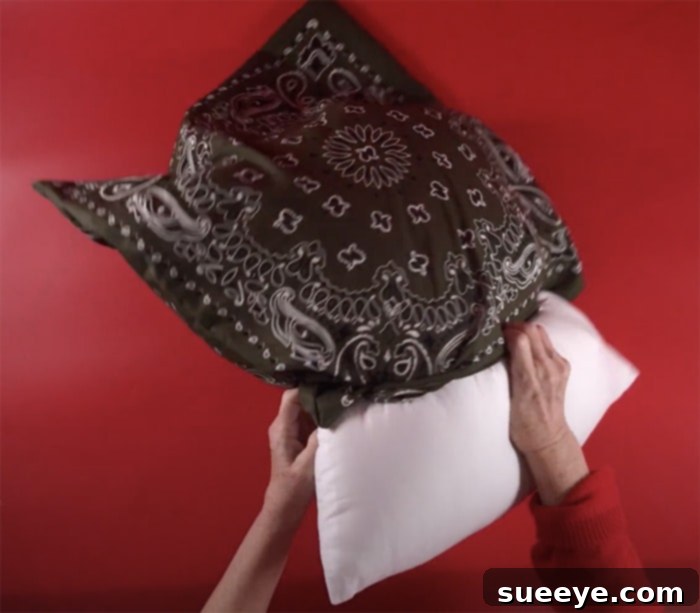
Now, it’s time to stuff your pillow! If you’re using a pillow insert, simply slide it into the bandana cover. Adjust it gently until it fills the corners and the entire cover evenly. If you’re using Poly-fil stuffing, begin by filling the corners first, then gradually add more stuffing, working towards the center. Distribute the fiberfill evenly to avoid lumps and ensure a consistently soft and plump pillow. Stuff it to your desired firmness – some prefer a softer, squishier pillow, while others like a firm, structured one.
(Please note: While the previous steps featured a red bandana, you’ll see a green one in the following images. Rest assured, the technique remains exactly the same for all colors and patterns!)
Step 5: Closing the Final Opening
This is the final step to seal your beautiful bandana pillow.
For Sewing Option:
Carefully fold under the raw edges of the open side, aligning them neatly. You can either hand-stitch this opening closed using an invisible stitch (also known as a ladder stitch or blind stitch) or, if you’re comfortable, machine-sew it very close to the edge. The goal is to keep the folded seams tucked in and minimize the visibility of your stitches, creating a clean, professional finish that seamlessly blends with the rest of the pillow. Backstitch at the beginning and end for added security.
For No-Sew Option:
For the no-sew method, meticulously fold under the raw edges of the open side, just as you would for sewing. Apply a thin, even line of fabric glue or stitch adhesive along the inside of these folded edges. Press the two glued edges firmly together, making sure they are perfectly aligned. Use sewing clips or clothespins to hold the seam securely in place while the glue sets and dries completely. For optimal adhesion and a durable finish, ensure you allow the glue ample time to cure according to the manufacturer’s instructions, often several hours. This creates a strong, neat closure without any stitching.
Step 6: Fluff, Style, and Enjoy Your New Bandana Pillow!
Once your bandana pillow is fully stuffed and securely sealed, take a moment to give it a good fluffing and shaping. Gently pat and knead it to evenly distribute the stuffing and ensure it maintains a pleasing, plump form. Smooth out any wrinkles and admire your handcrafted creation!
Unleash Your Creativity with Bandana Pillows
And there you have it! Your vibrant, customizable bandana pillow is now complete and ready to infuse any space with charm and personality. These pillows are more than just decorative accents; they are a testament to how a little DIY creativity can go a long way in adding fun, visual interest, and a unique personal touch to any room. The possibilities for customization are truly endless. Experiment with mixing different bandana colors, patterns, and even sizes to create a dynamic collection. You could make larger floor pillows, smaller accent cushions, or even bolster pillows by adjusting your bandana dimensions.
Consider adding simple embellishments like fringe, tassels, or fabric paint details to further personalize your creations. Imagine a rustic themed pillow with jute fringe or a boho-chic design with colorful tassels! Bandana pillows are incredibly versatile, fitting seamlessly into farmhouse, rustic, bohemian, casual modern, or even eclectic decor schemes.
Share Your Creations!
I absolutely adore seeing the wonderful ideas and styles you creative people come up with! When you complete your own bandana pillows, please don’t hesitate to share photos in the comments section or tag me on my Instagram, Facebook, or Pinterest accounts. I would be thrilled to see your unique designs and even feature some of the inspiring ways you choose to style them in your homes. Your creativity inspires others, and I can’t wait to see what you craft!
Bandana Shopping: A Crafty Adventure
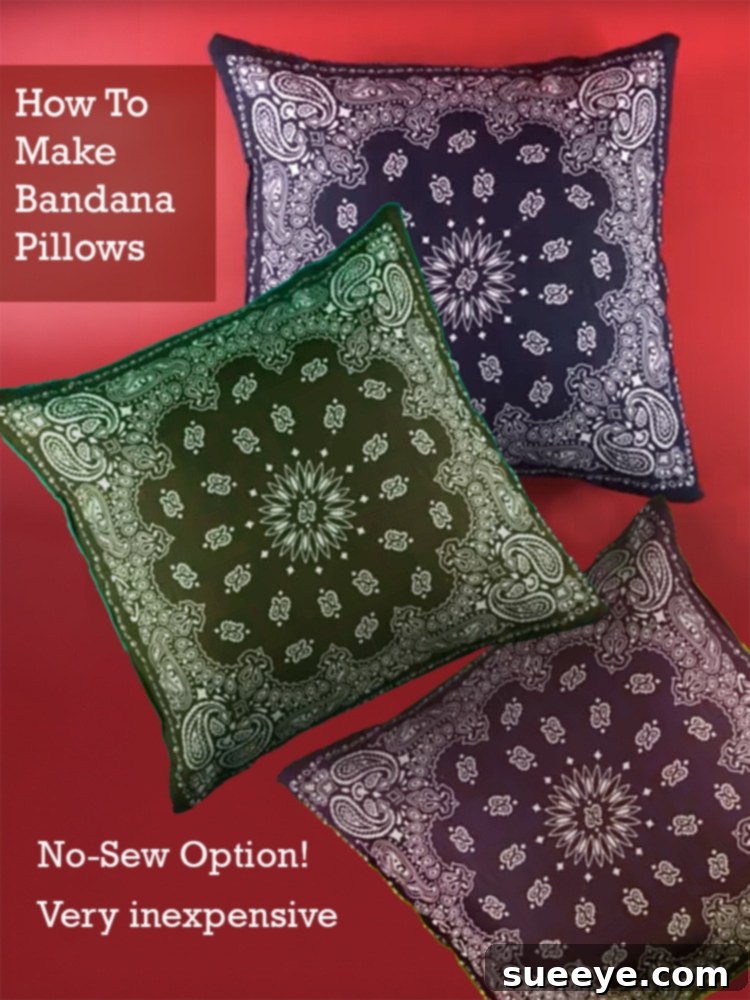
You’ll find that once you realize just how easy and enjoyable these pillows are to make, going bandana shopping transforms into a delightful crafty adventure! I’ve personally created so many variations in countless colors and patterns, and I honestly still can’t pick a favorite. Each one brings its own unique character to a room. Whether you gravitate towards the subtle elegance of light hues, the striking presence of dark shades, or the classic appeal of vibrant reds, blues, and greens, there’s a bandana out there waiting to be turned into your next favorite pillow. Dive in, explore the endless possibilities, and enjoy the process of bringing these charming textiles to life in your home.