Accessories
Easy DIY Photo Resin Coaster
Why settle for ordinary coasters when you can turn your favorite memories into functional art? This DIY project idea lets…
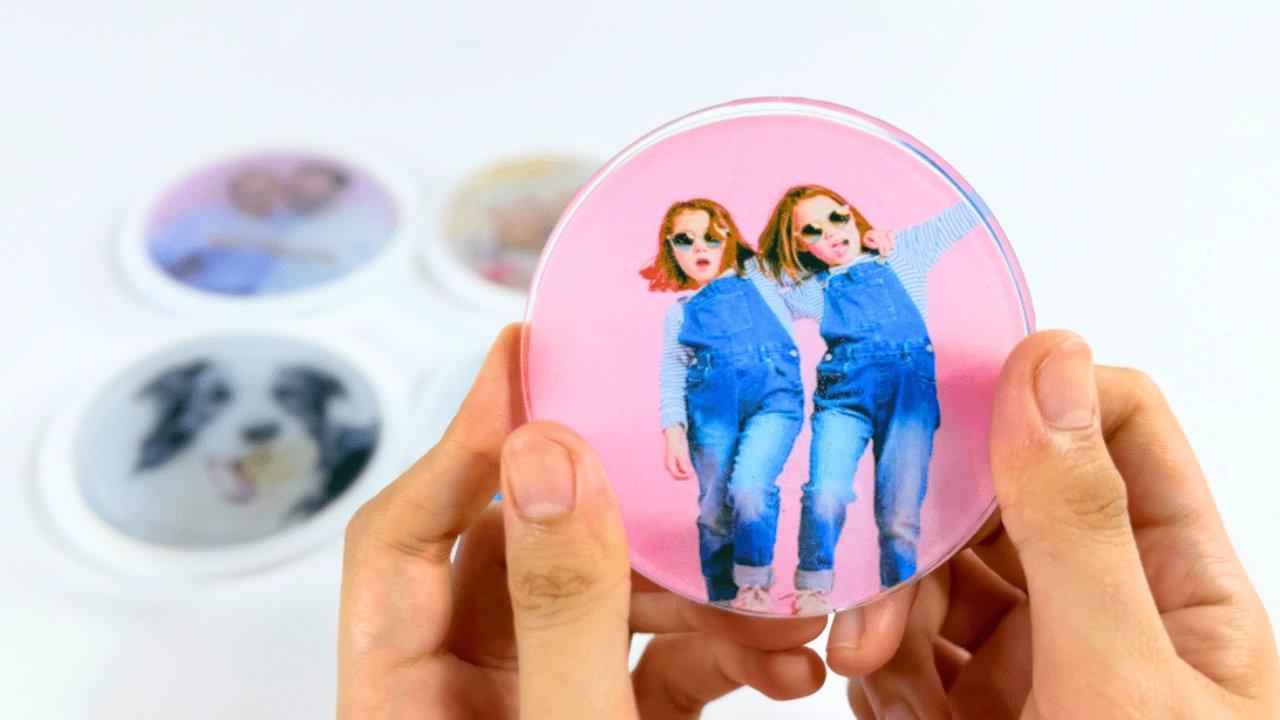
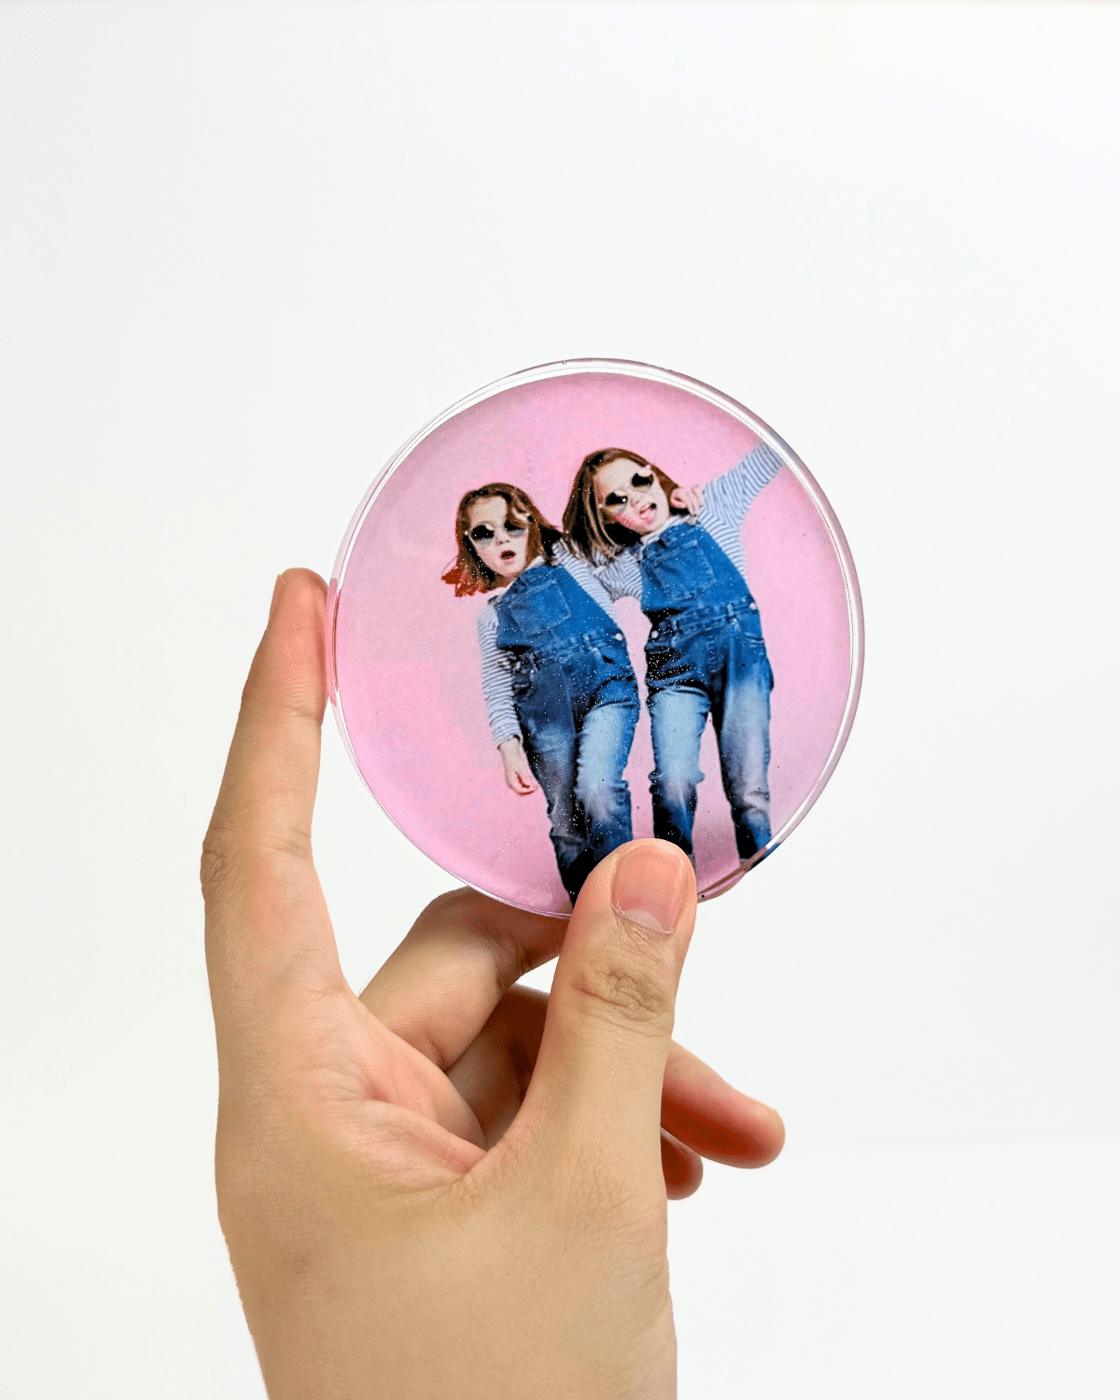
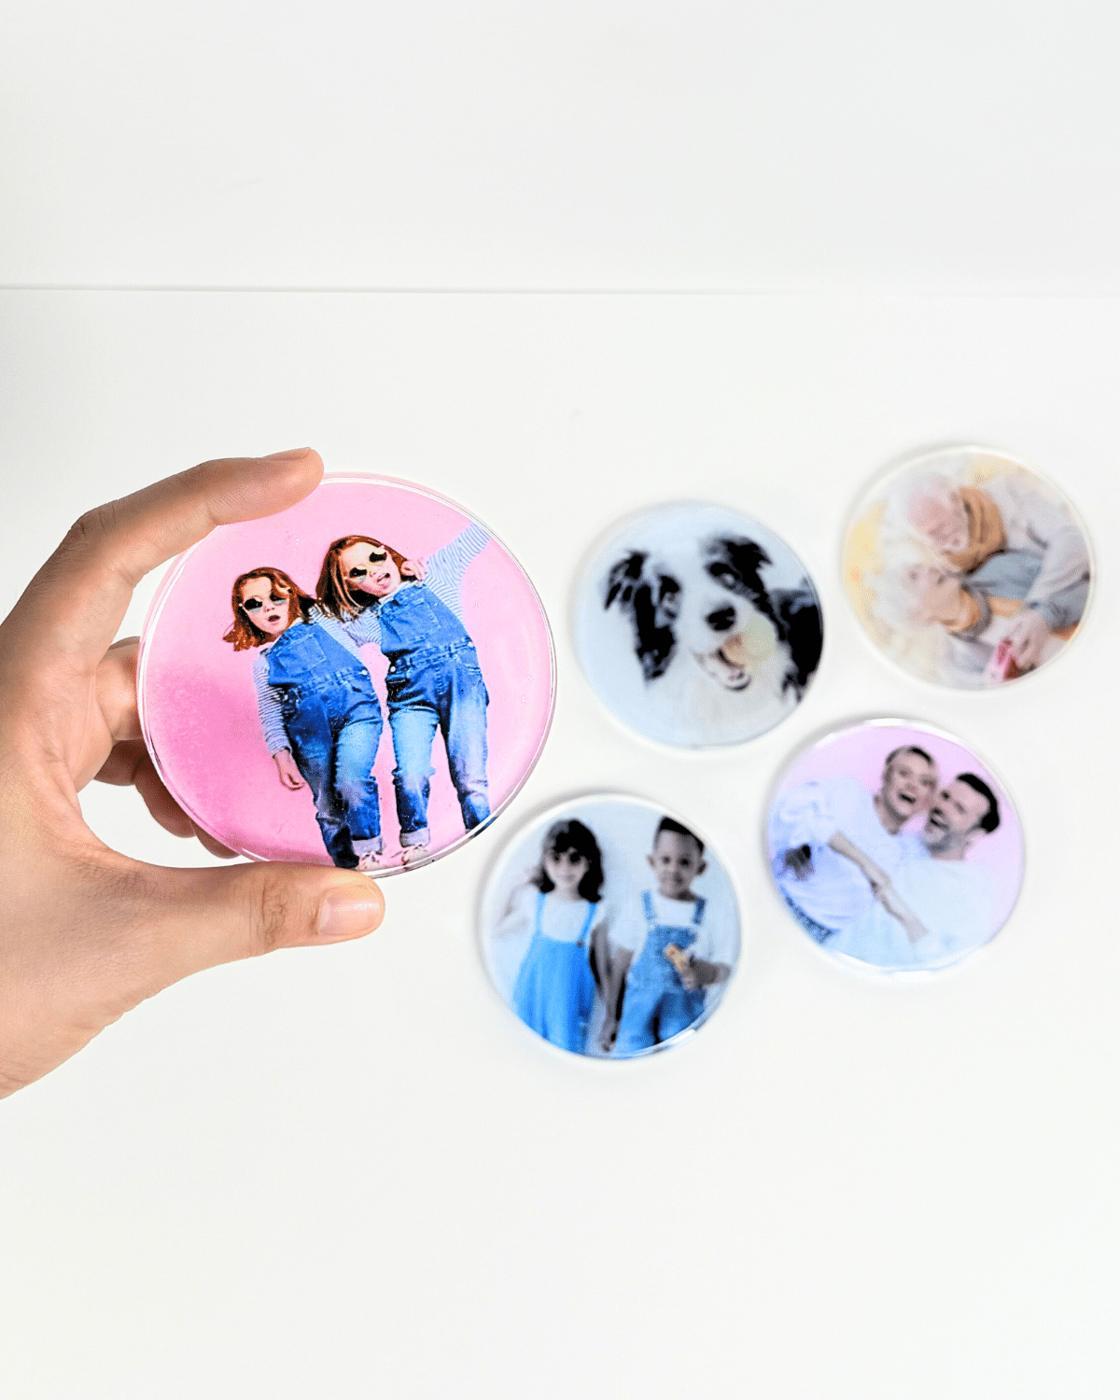
Why settle for ordinary coasters when you can turn your favorite memories into functional art? This DIY project idea lets you create a custom resin coaster that’s not only practical but also deeply personal. Whether you want a personalized photo coaster for your own space or a unique gift coaster for someone special, this craft is perfect for you. It’s a project that allows you to transform simple materials into a lasting keepsake.
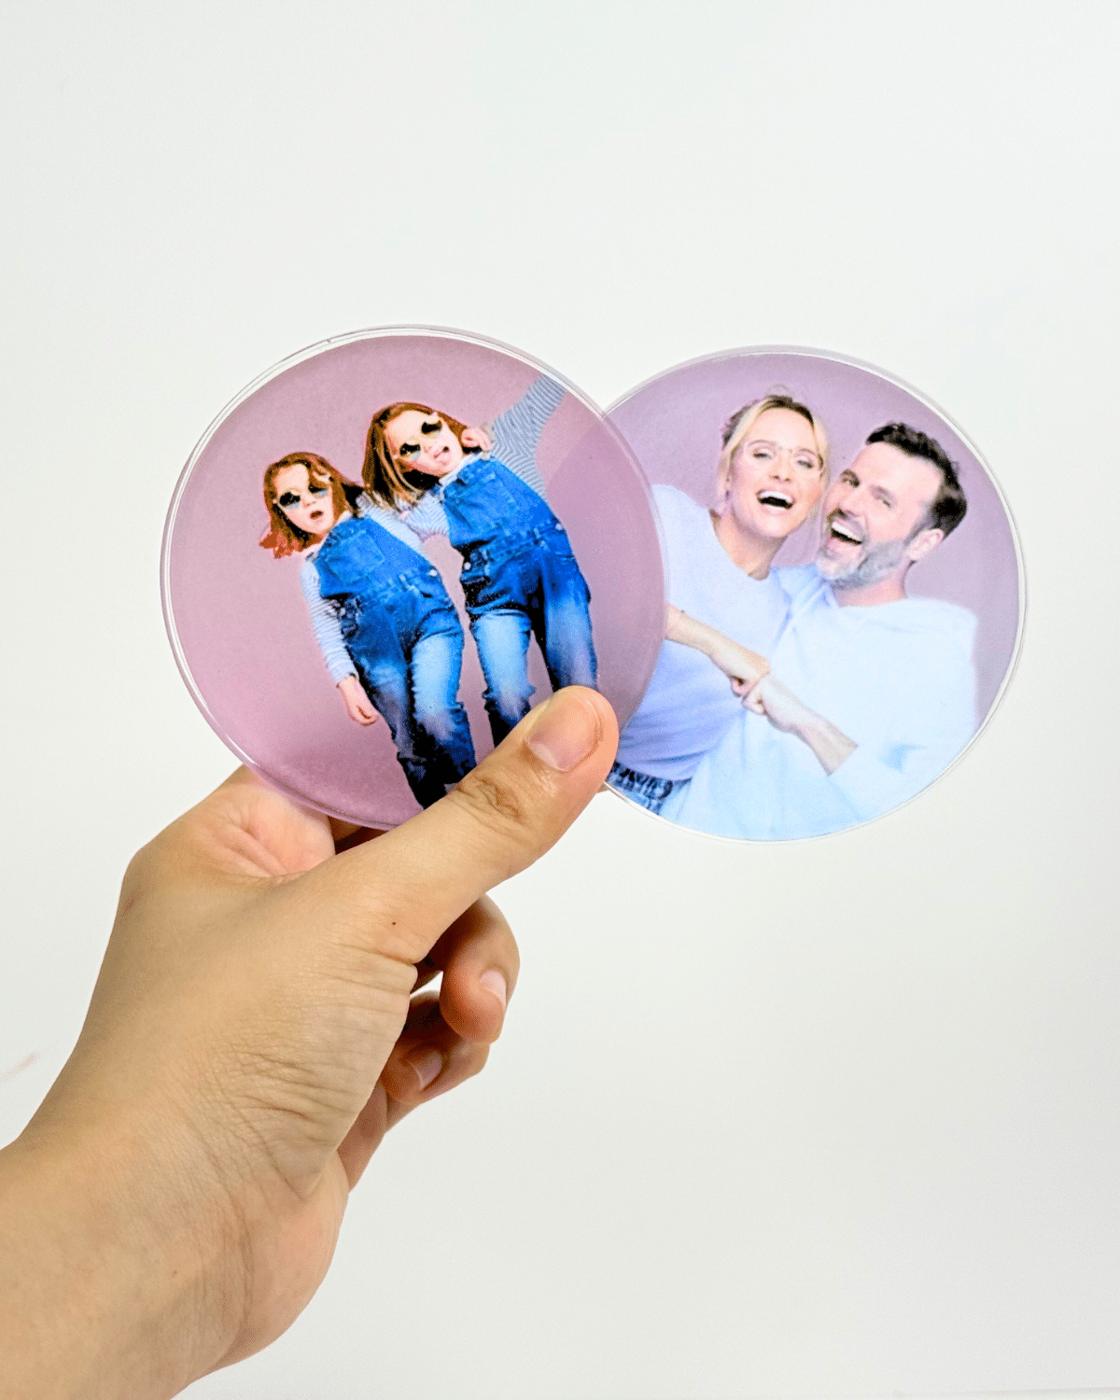
Using epoxy resin and your chosen pictures, you can make a clear resin photo coaster that captures moments in a glossy, durable finish. It’s the perfect gift idea for housewarmings, birthdays, or anniversaries — or simply a way to add a custom touch to your home. Follow this step-by-step guide to learn how to create your very own DIY resin coaster using your favorite picture and enjoy a handmade piece that combines creativity with personal meaning.
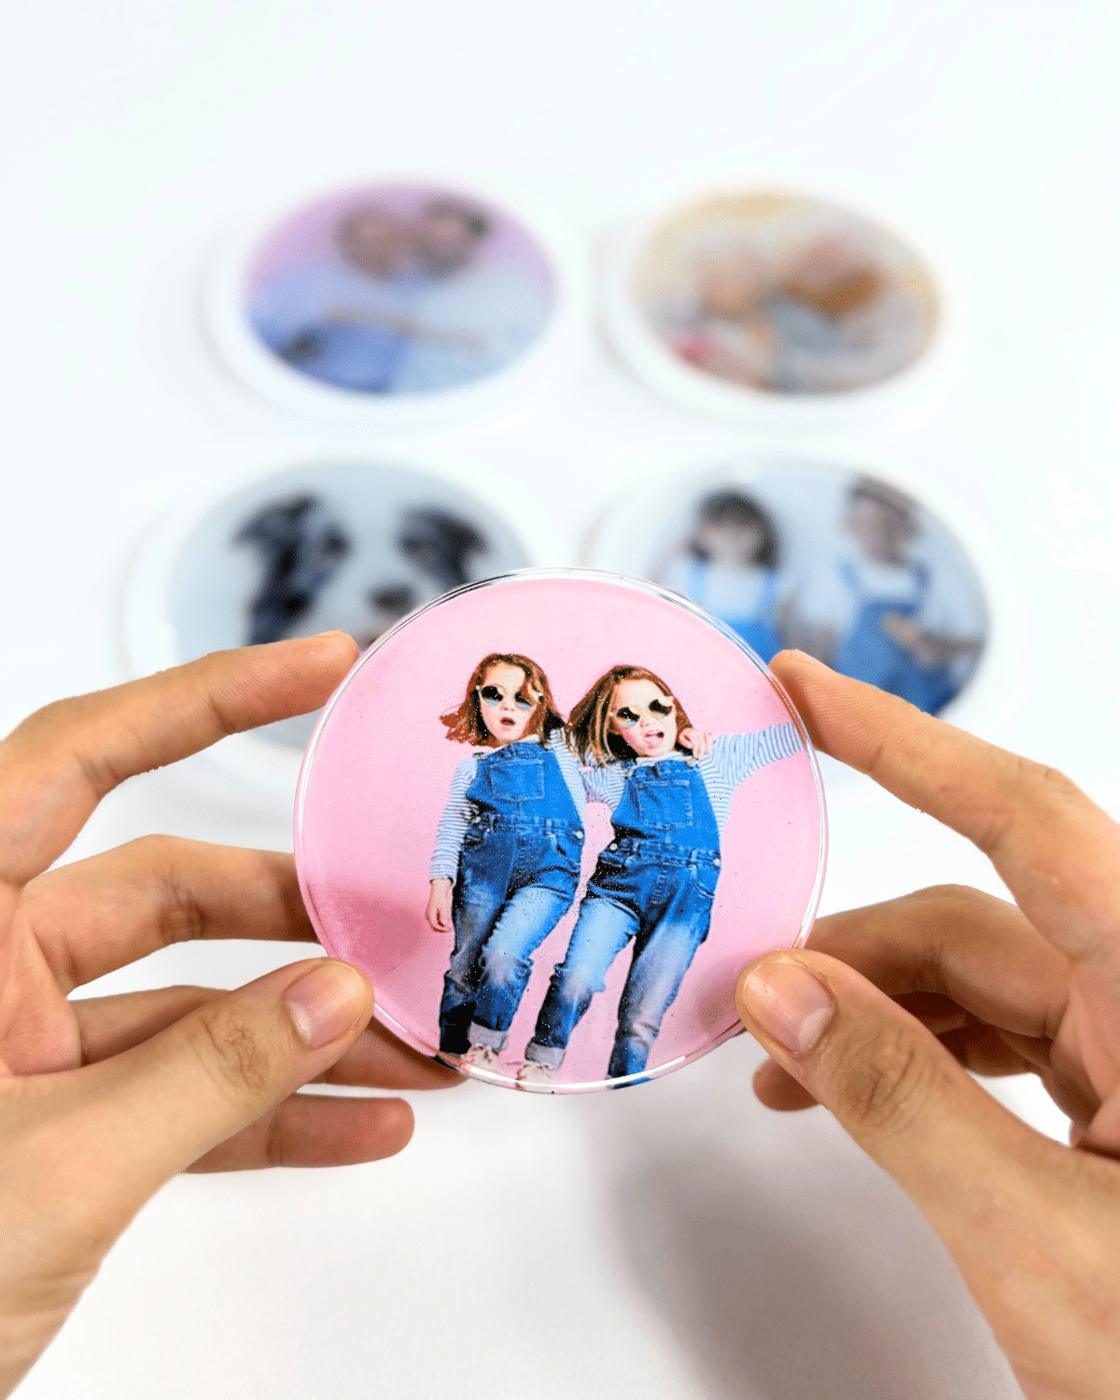
This is such a cute way to immortalize a moment and always remember it. You can use a photo of your loved one, friend, or even your pet. What’s also great about this project is that you can make it perfectly even on your first try. Seriously, you don’t need prior knowledge or experience with resin, just follow the steps below and I guarantee you can make a perfect photo resin coaster in no time!
▶ Watch this tutorial on TikTok
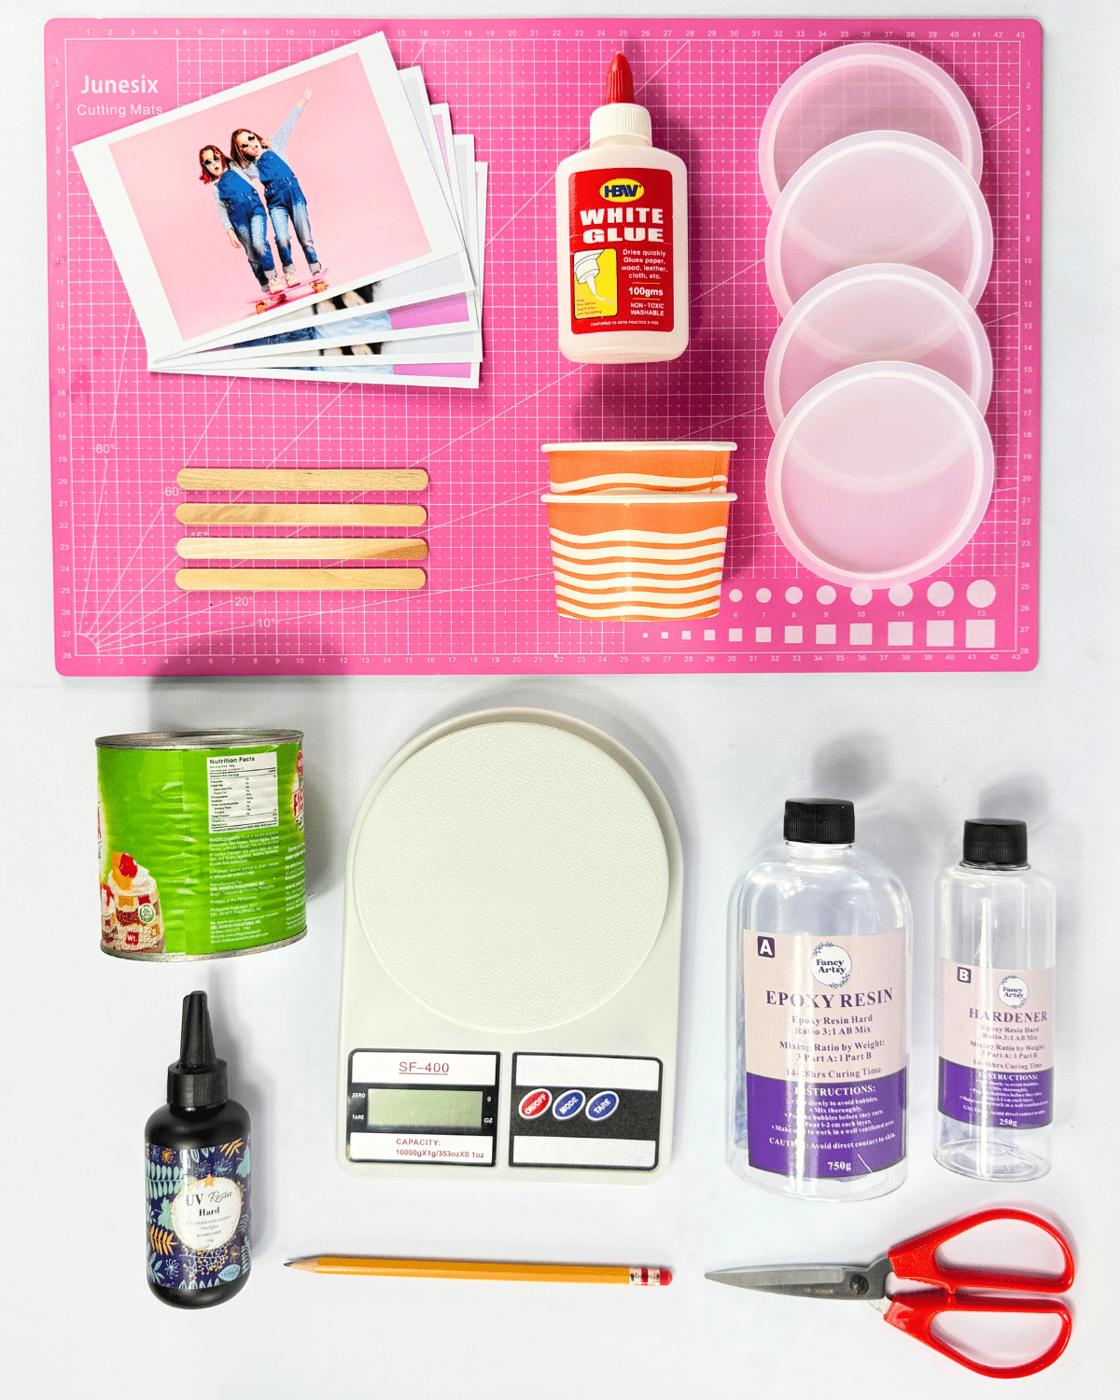
What You’ll Need for a Photo Resin Coaster
- Silicone mold
- Epoxy Resin
- Hardener
- Scissors
- Round object
- Pictures
- Pencil
- UV resin and a UV lamp, optional
- Glue, optional
How to Make a Photo Resin Coaster
A step-by-step guide to making a photo resin coaster
Step 1: Mixing the resin
Pour about 36 grams of epoxy resin into a mixing cup, then mix in the hardener, about 12 grams. The goal is to achieve a 3:1 ratio. Stir them slowly for about 5-10 minutes until the mixture becomes clear. Note: Make sure to take your time stirring, as quickly working on your resin can create bubbles. When you work slowly, you can achieve a clearer result.
Step 2: Pouring the first layer of resin
Slowly pour some of your resin mixture into a silicone mold, but don’t fill it completely; you just want some resin at the back so the photo sits right above it. Note: Make sure to wear Nitrile Gloves when working with resin.
Step 3: Tracing the photo
Get a round object, ideally about the same size as your mold, then position it on top of your photo, making sure to center the part that you want to put into your coaster, and then carefully trace the shape of the object onto your photo.
Step 4: Cutting the photo
Once you’ve traced the object perfectly, get a sharp pair of scissors and carefully cut the photo.
Step 5: Placing the photo
Place the cut-out photo into the mold where you poured the resin earlier and make sure that it’s centered.
Step 6: Pour the remaining resin
Now, pour the remaining resin right on top of the photo and fill it up completely. Set it aside and allow it to set overnight or until completely hardened.
Step 7: Removing from the mold
After 24 hours, the resin should have cured or set completely. Carefully remove the photo resin coaster from the mold, and you’re done!
Why You’ll Love This Project
Multi-Purpose Use – Not just a coaster! You can turn it into a personalized hanging ornament for your Christmas tree or holiday decoration, making it extra special and meaningful.
Customizable & Personal – You can showcase any photo you love — from family moments to pet pictures — creating a one-of-a-kind keepsake or heartfelt gift.
Easy and Beginner-Friendly – This project is simple to make with basic resin materials, perfect for crafters of all skill levels who want to create something beautiful and functional.
Our Other Viral Projects
Seasonal
DIY Fall Wreath With Felt Leaves
Seasonal
How To Make A Spider Web Using Hot Glue
Seasonal
Halloween Crafts – DIY Banner Made From Toilet Paper Rolls
Crafts
Fall Crafts – Twine Pumpkins Made From Toilet Paper Rolls
*If you love this craft, then visit our official website, follow our Facebook page, and subscribe to our YouTube channel for more!