Accessories
DIY Picture Frame Suncatcher Tutorial
I remember the first time I stumbled upon the idea of a DIY picture frame suncatcher. It was a lazy…
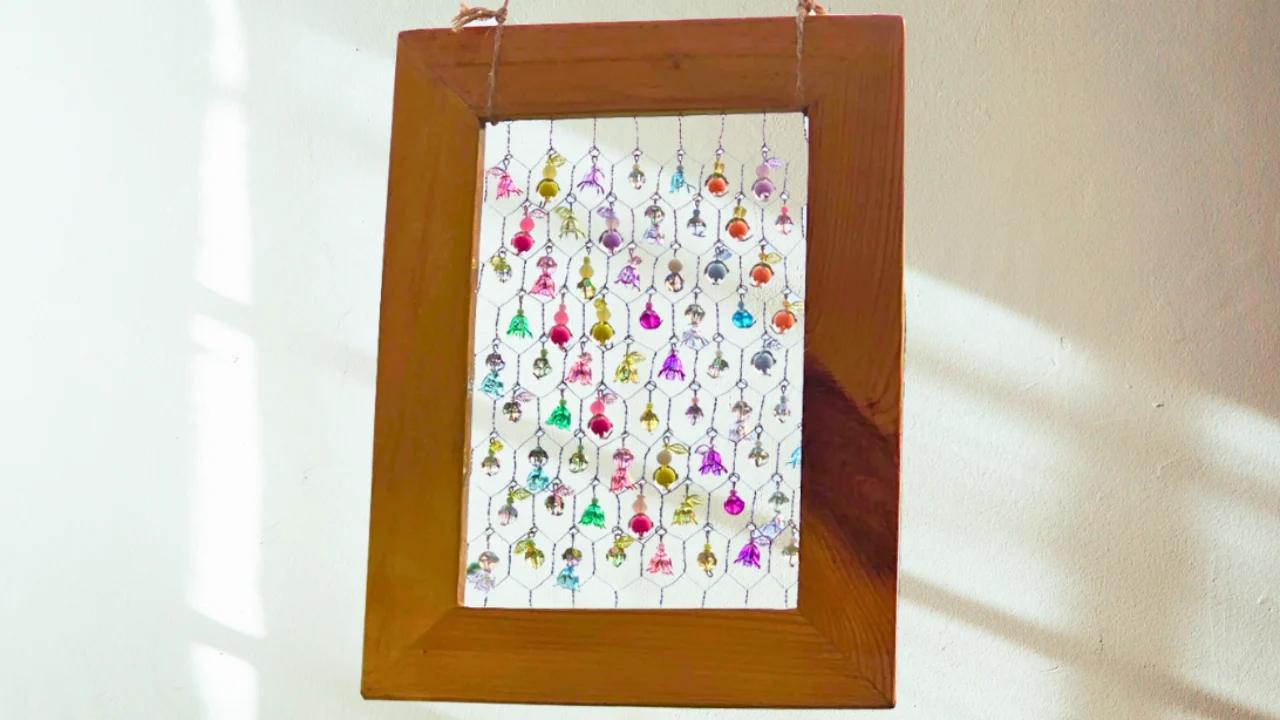
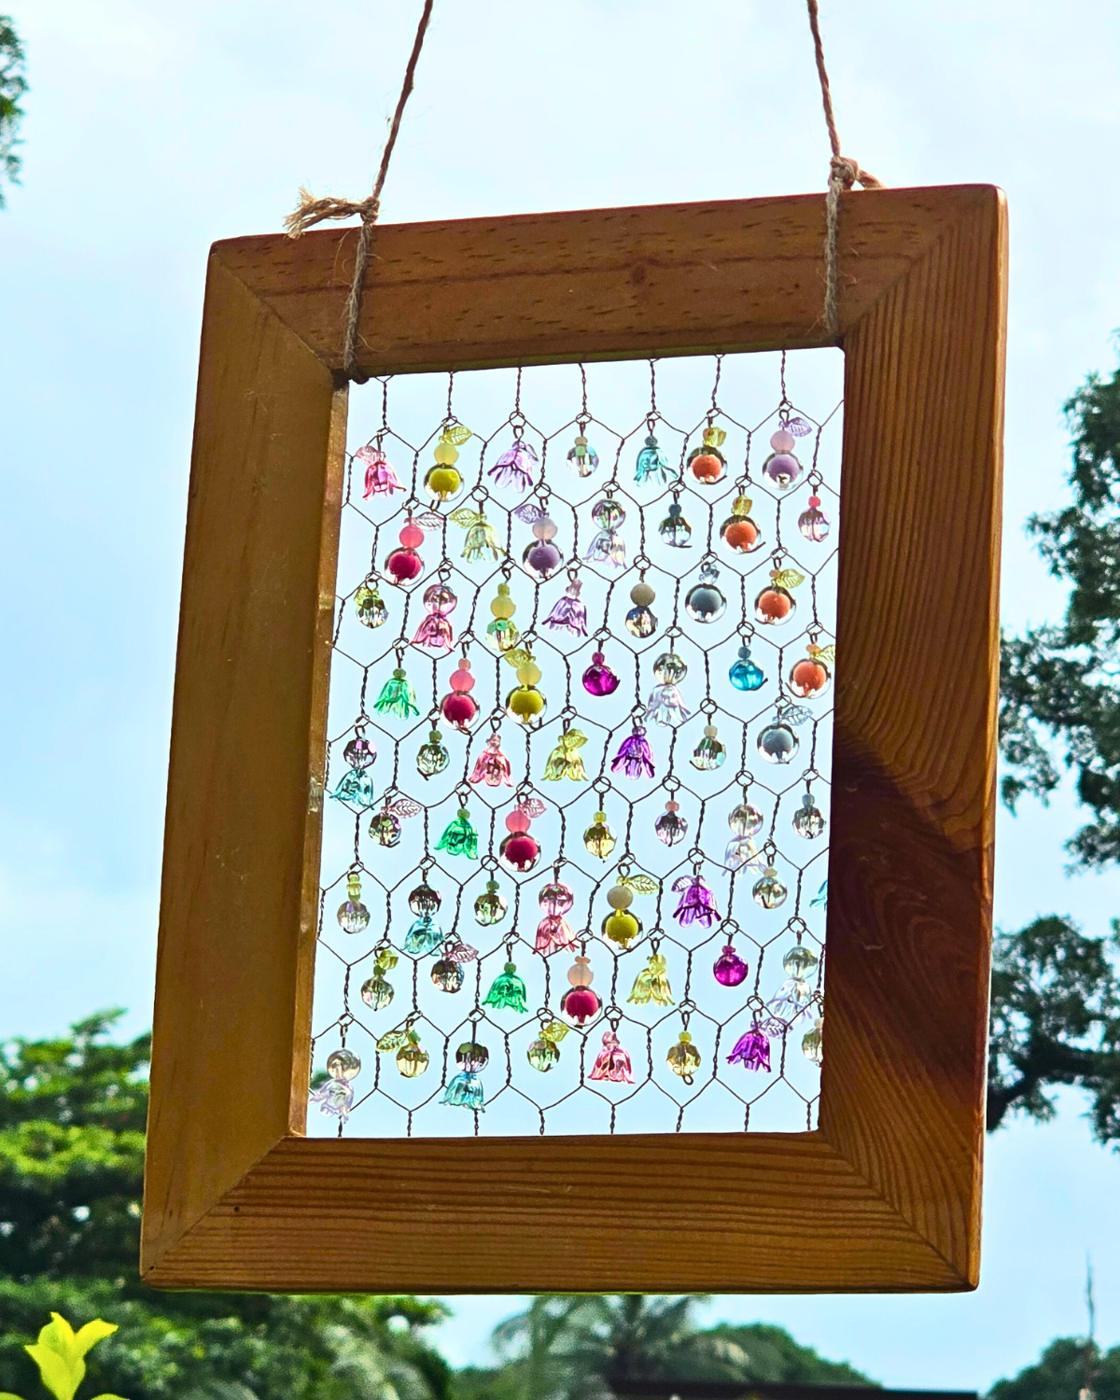
I remember the first time I stumbled upon the idea of a DIY picture frame suncatcher. It was a lazy afternoon, sunlight spilling through my windows, and I thought—what if I could make that light even prettier? I started browsing the internet for ideas and inspiration I could try, and that’s when I discovered a DIY suncatcher made from an old picture frame. It was such a smart, budget‑friendly idea—and a wonderful way to save something that might otherwise be thrown away and turn it into something beautiful.
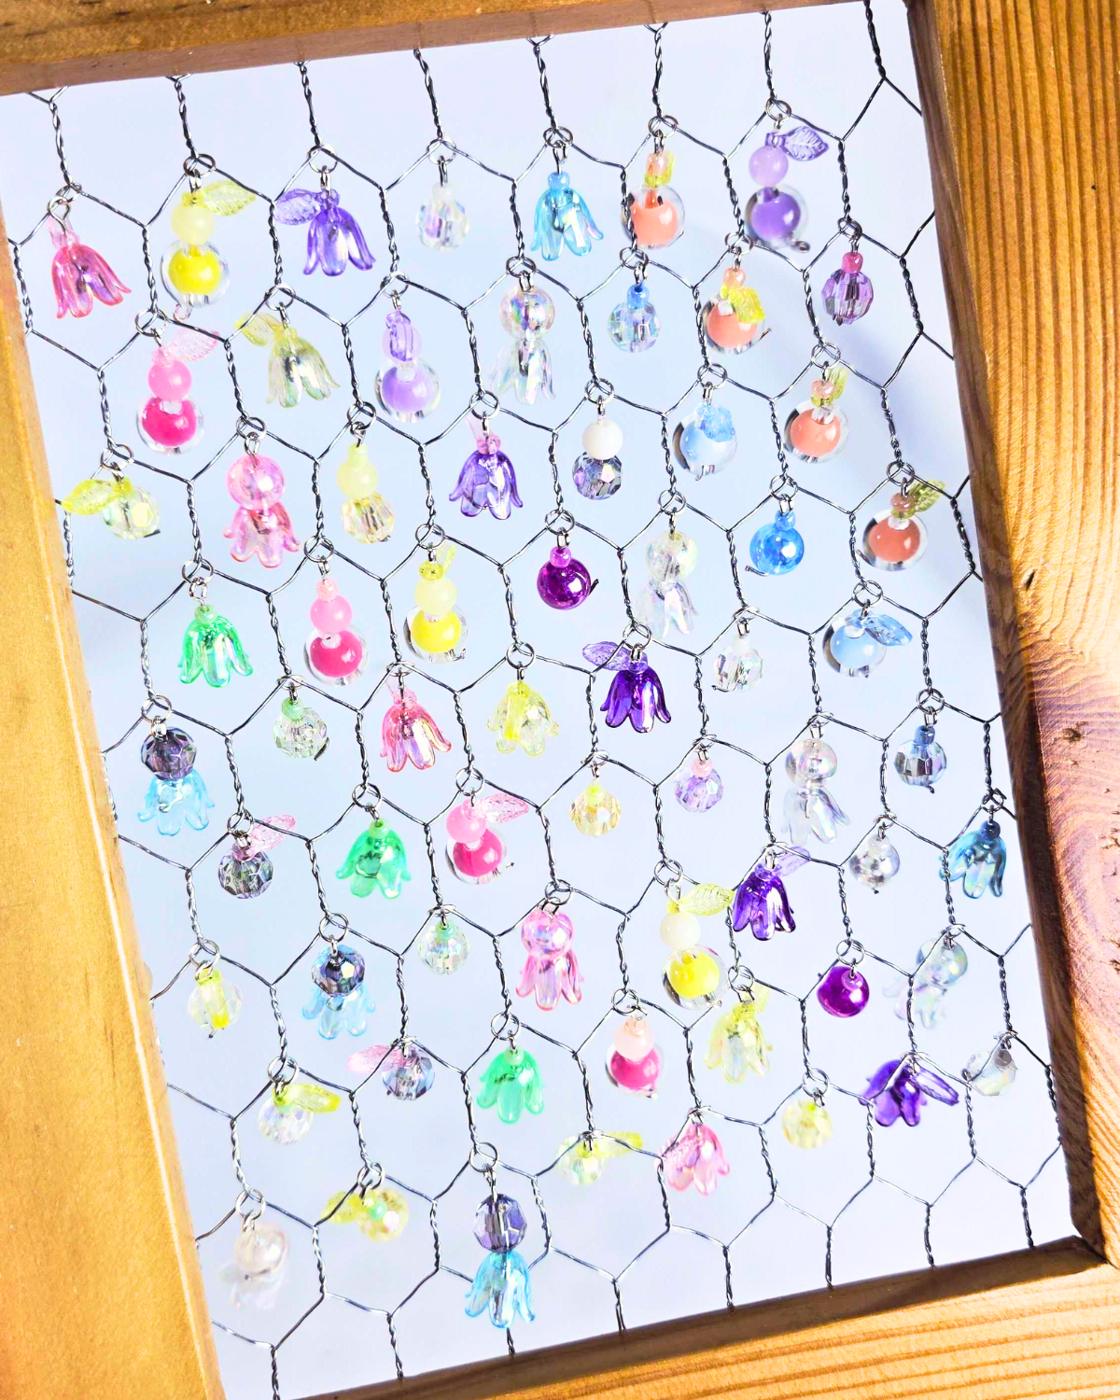
What I love most about this project is how customizable it is—you can choose any type and color of beads you like. It may feel a bit tedious and intimidating at first, especially with the first few beads, but as you continue, you’ll get used to the process and become faster at connecting them.
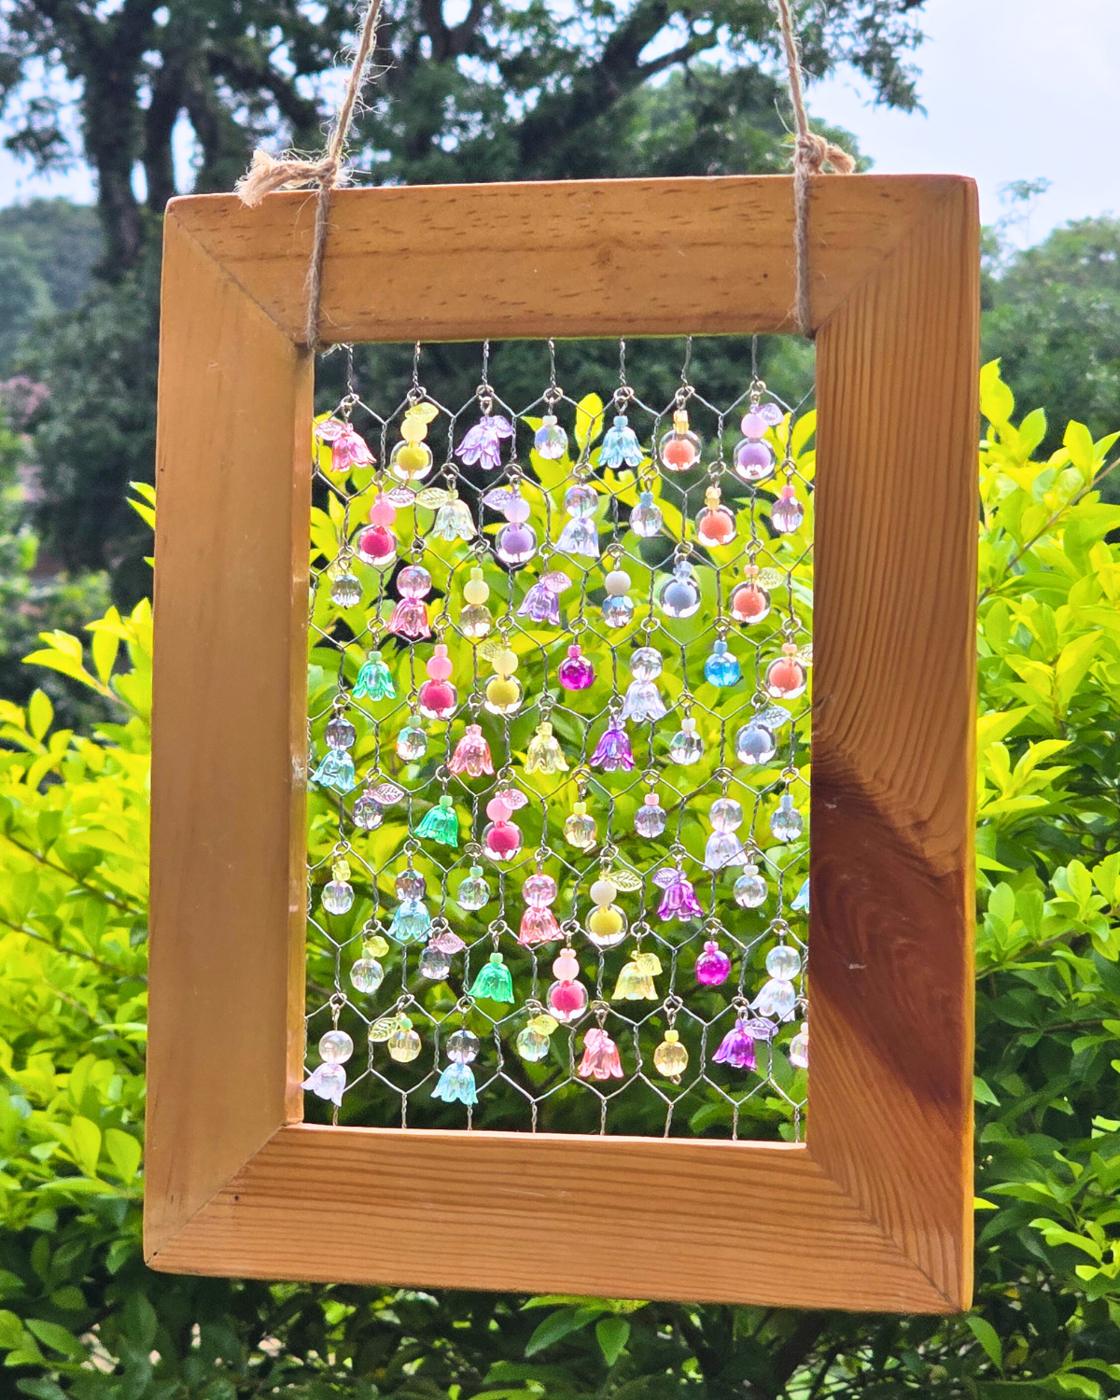
As the hours passed, my simple frame transformed into a colorful suncatcher. When I hung it by the window, sunlight streamed through, making it sparkle and feel truly magical. If you’ve been looking for an easy, joyful craft to brighten your home, this picture frame suncatcher tutorial is just what you need. It’s quick to make and ideal for both beginners and seasoned crafters alike.
▶ Watch this tutorial on TikTok
Materials for Picture Frame Suncatcher
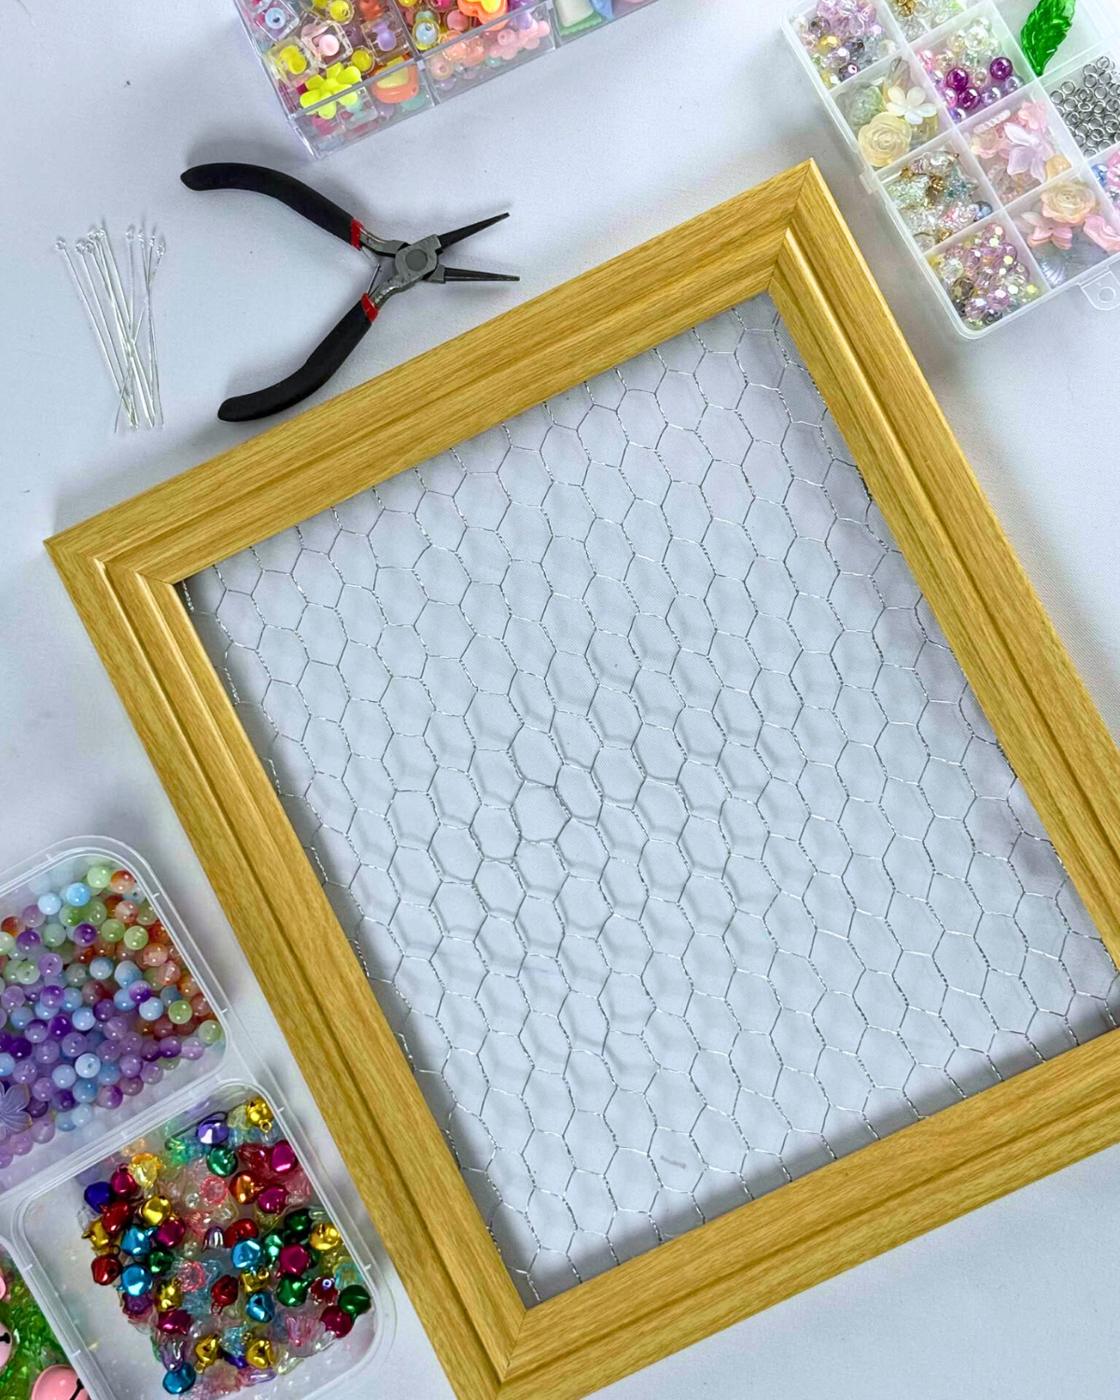
How to Make a Picture Frame Suncatcher
Step 1: Prepare Your Frame
Cut a piece of chicken wire large enough to fit inside your picture frame, then attach the wire securely to the frame.
Step 2: Connect the Beads and Charms
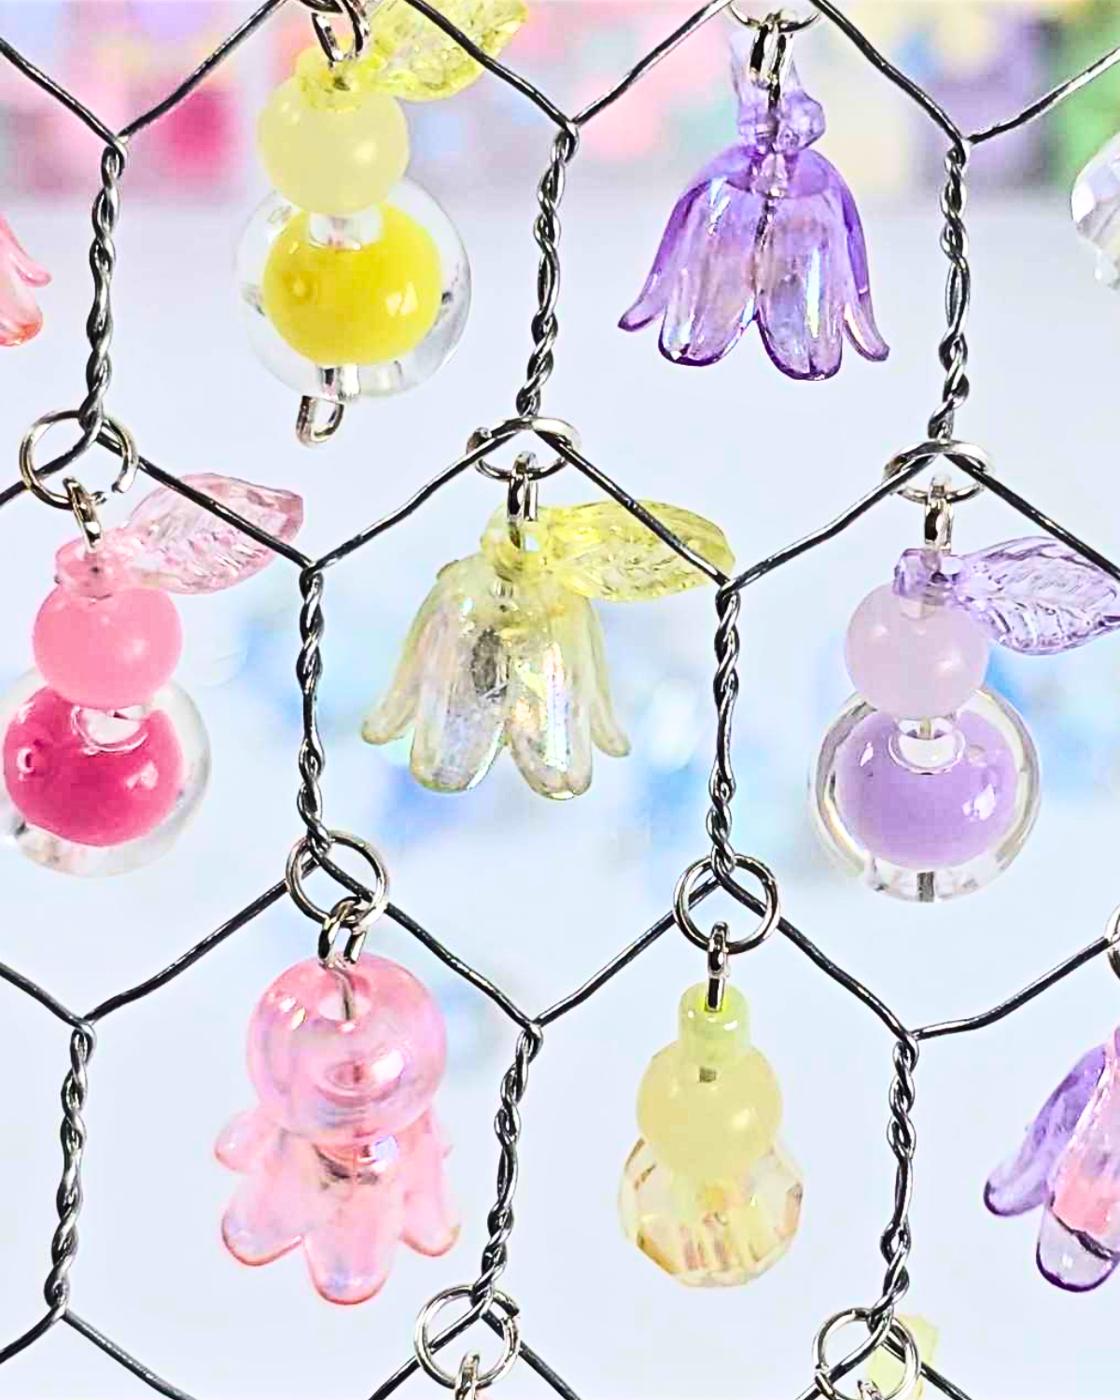
Choose the beads and charms you want to combine. Using an eye pin, connect them together, then bend the end of the pin to secure them in place.
Step 3: Add the Jump Rings
Attach 1–2 jump rings to the round loop at the top of the eye pin to create a dangling bead.
Step 4: Hanging the Bead Sets to the Wire
Hang the bead and charm sets you’ve made onto each section of the chicken wire.
Finished Picture Frame Suncatcher
Tie a jute rope around the top edges of the picture frame to create a hanger, then display it in your window.
Pro Tips
- Wear gloves when working with chicken wire to protect your hands.
- Mix bead sizes, shapes, and colors for a vibrant, eye‑catching look.
- Use translucent or faceted beads to let sunlight sparkle through.
- Lay out your bead design before attaching to keep colors balanced.
- Seal wooden frames with clear varnish if displaying outdoors.
Easy Craft Ideas

Seasonal
Paper Bag Star Ornament

Crafts
Halloween Decor Idea- DIY Bloody Candles Tutorial

Crafts
Fall Ideas: DIY Autumn Crafts, Decor, Pumpkins and Cozy Recipes
Paper Crafts
Halloween Crafts: Easy Origami Flapping Bat
*If you love this craft, then visit our official website, follow our Facebook page, and subscribe to our YouTube channel for more!