Gift Wrapping
20 Things to Make With Leftover Wrapping Paper
Leftover wrapping paper crafts: fold it into gift pouches, bows, ornaments, mini trees, paper chains and drawer liners with easy step by step tutorials.
html PUBLIC "-//W3C//DTD HTML 4.0 Transitional//EN" ""
The end of a gift pile is a pretty sad sight. Half a roll of good paper, a stack of torn sheets nobody wants to smooth out, and a trash bag. Paper crafts are my core passion, so throwing that away has always felt wrong to me, and these leftover wrapping paper crafts are what changed my mind about the scrap pile. Here are 20 projects that treat used paper as a supply and not as garbage: pyramid pouches and tiny envelopes for small gifts, origami bows that fold flat enough to mail, mini trees over foam cones, ornaments, drawer liners, a countdown chain the kids can cut, and a mobile for a nursery. Plenty of them need nothing but scissors and a roll of washi tape, and a few of them are better than the store bought version they replace.
1. Pyramid Paper Pouches
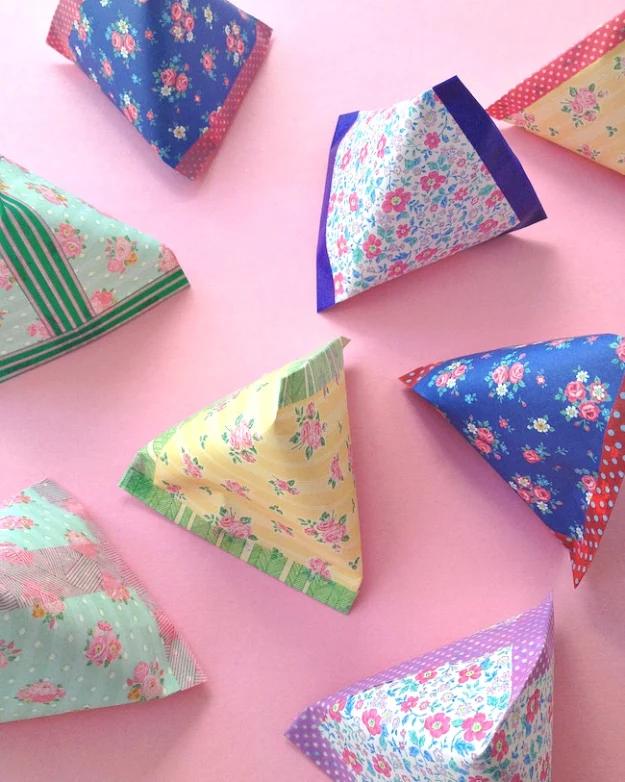
Start with a piece of paper twice as long as it is wide, which is most often a sheet of origami paper cut in half. Tape the two short ends together into a tube, turn the tube so the taped seam sits in the center, flatten one end and tape it shut. Fill the pouch now, before the second end closes, because candy, confetti and a folded note are exactly the right size. Then rotate the pouch ninety degrees and flatten the open end, which is what turns a flat tube into a pyramid. If it looks like an envelope, you turned it the wrong way.
Get the full tutorial at Omiyage.
2. Wrapping Paper Mini Trees
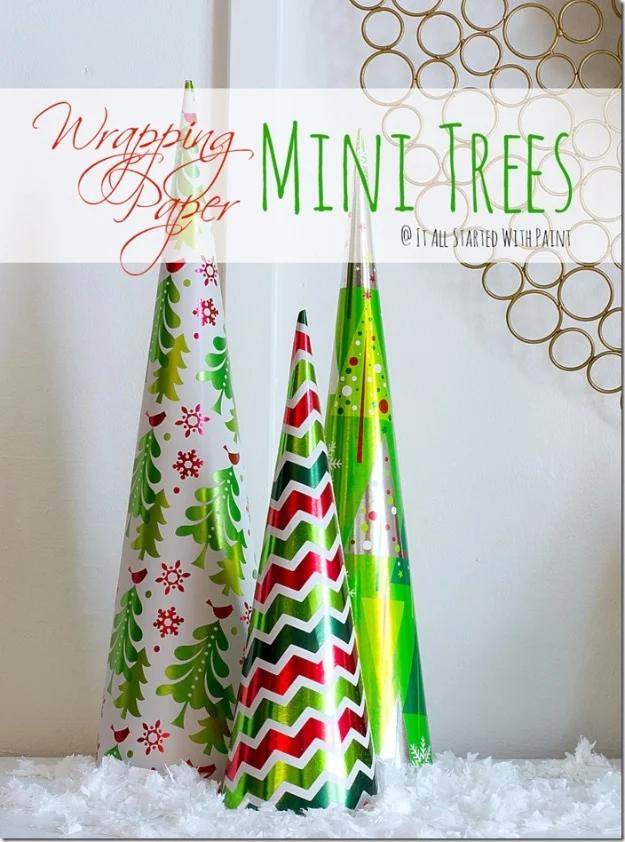
A foam cone, a sheet of leftover paper, and straight pins. Lay the cone on the paper, roll it up, pin the seam and trim along the bottom edge so the tree stands level. The pins are the smart part and not a shortcut: glue makes the tree permanent, while pins let you strip it and re-cover the same cone in a different color next year. Group three at staggered heights rather than lining them up, and they fill an awkward stretch of table or mantel that would otherwise need a real centerpiece.
Get the full tutorial at It All Started With Paint.
3. Wrapping Paper Placemats
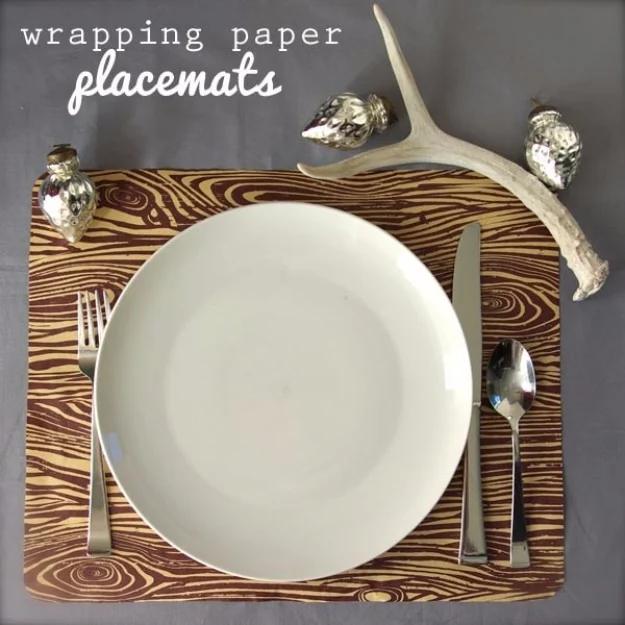
Woodgrain paper cut into 12 by 18 inch rectangles, with the corners rounded off using a corner punch or just a pair of scissors. That rounding is what stops them reading as a sheet of gift wrap on the table. Most rolls are printed with a grid on the back, so you can cut straight lines without measuring anything. A yard and a half covered a table of eight for under a dollar. Cut them a few days ahead and leave them under a stack of books, because paper off a roll wants to curl back up.
Get the full tutorial at Oleander and Palm.
4. Wrapping Paper Festive Tray Liners
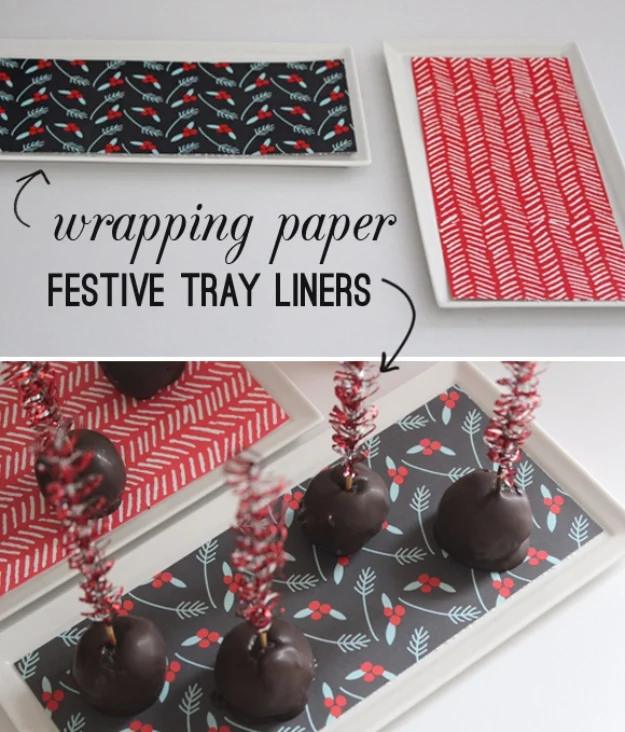
Plain white serving trays, lined with a sheet of leftover paper cut to the tray bottom. That is the entire project, and it is the best return per minute on this list. The photo shows chocolate dipped apples sitting on a charcoal sprig print, with a red herringbone in a second tray. Trace the tray onto the back of the paper and cut just inside the pencil line, because a liner that has to be forced in will buckle. Keep the food on a doily or a wrapper, and swap liners between courses instead of buying seasonal trays.
Get the full tutorial at Thoughtfully Simple.
5. Paper Bows
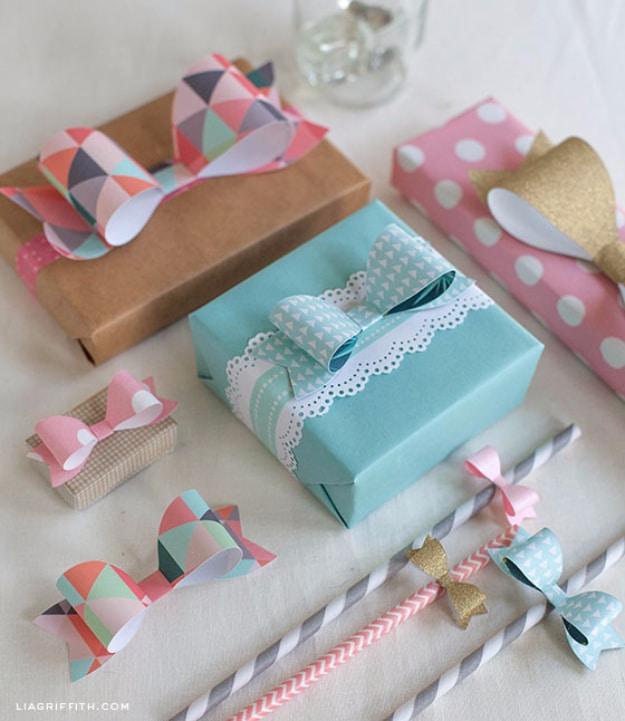
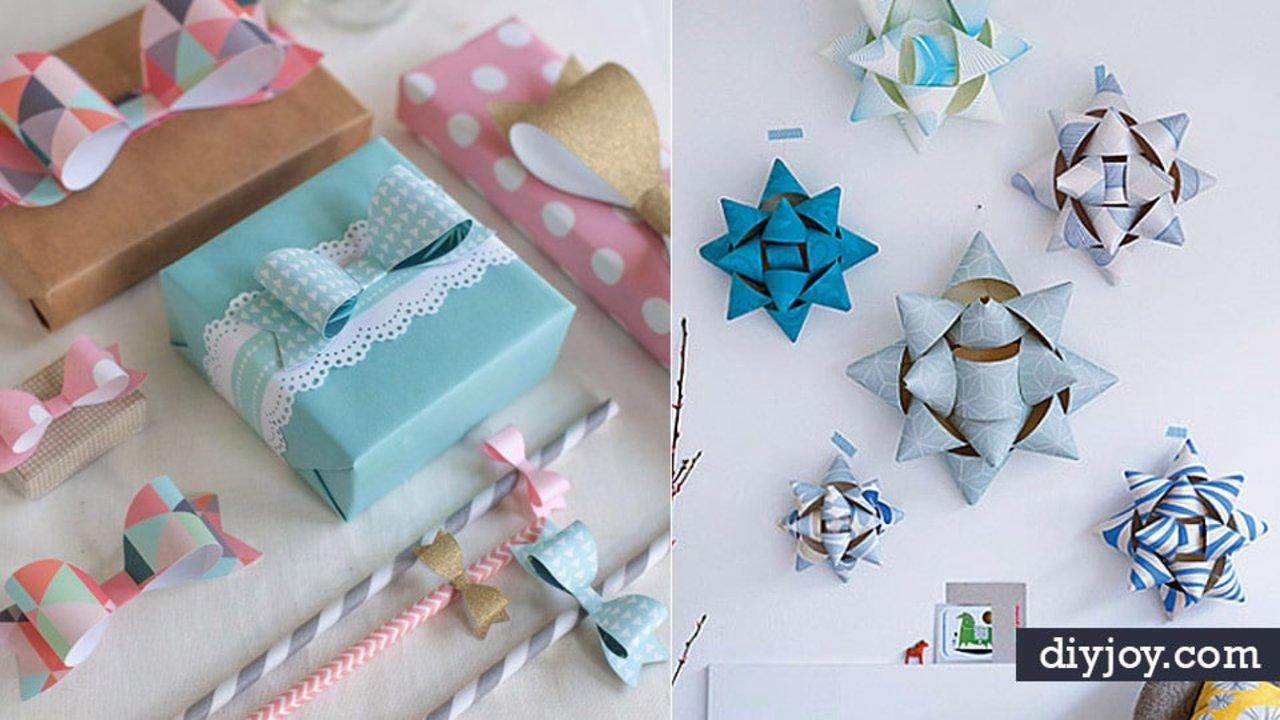
A template set in four sizes, from a large bow for decor down to a tiny one that fits a napkin ring, plus two sizes in between. Print the outlines straight onto your leftover paper, or print them onto cardstock and trace around them so one template survives a whole season of gifts. There is an SVG in the set if you cut with a Cricut or a Silhouette. Heavier gift wrap holds a bow loop far better than thin foil paper, which collapses the moment you tape it, so save the sturdier sheets for this one.
Get the full tutorial at Lia Griffith.
6. Leftover Wrapping Paper Ornament
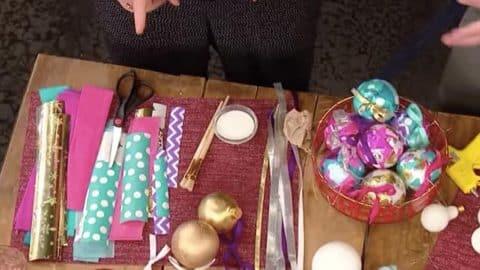
This one is ours, and it is the project that sent everybody else’s scraps to the same place. A few rolls of leftover paper, foam balls, scissors and glue on one table, and the pile that was headed for the trash becomes a bowl of ornaments in an afternoon. The whole tutorial is on Sueeye with every step photographed. If you are making a set for the tree rather than one ornament, cut all your strips first and keep them sorted by color, because stopping to cut between ornaments is what turns a fast project into a long one.
Get the full tutorial at Sueeye.
7. Wrapping Paper Baskets
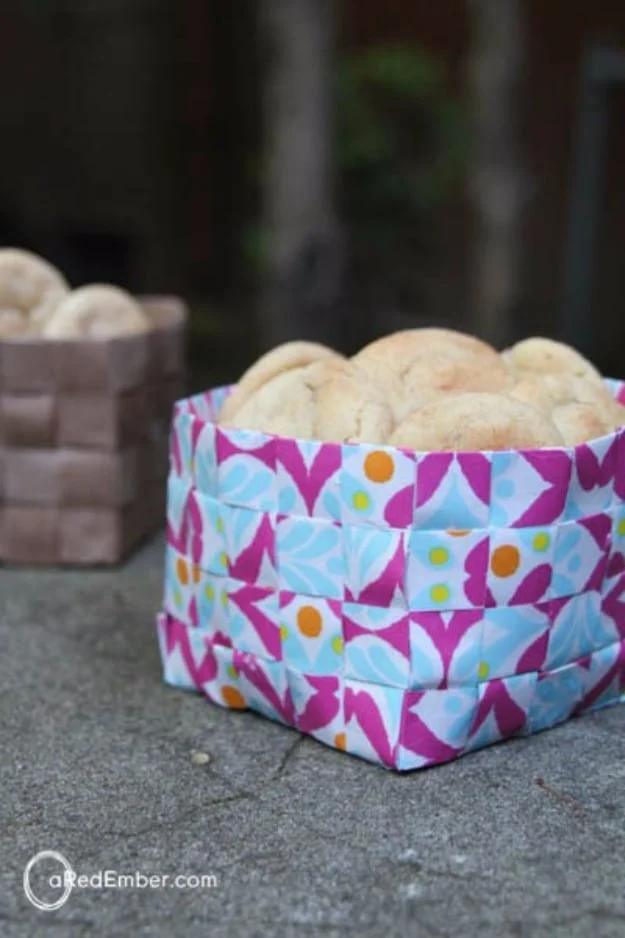
This one is woven, not folded. Cut your paper into strips an inch and a half wide, fold each one in half lengthwise so the print shows on both faces and the strip stiffens up, then weave a flat base. Five strips each way gives a basket about four and a half inches square. Hot glue the outside strips so nothing shifts, fold the rest up and keep weaving around the sides, gluing at the corners. Trim the ends to half an inch, fold them inward and glue. Gift wrap is prettier than a grocery bag but it holds its shape less well, so double it up if you can.
Get the full tutorial at A Red Ember.
8. Stylish Drawer Liners
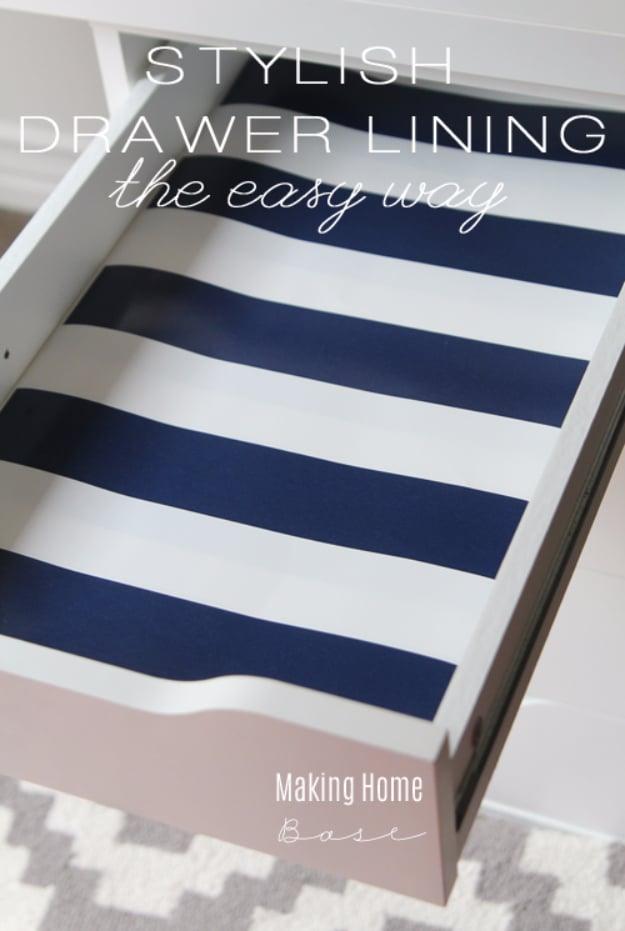
Measure the inside of the drawer, cut your paper to match and stick it down with double sided tape. Measure more than once, because a liner cut a quarter inch too wide has to be forced in and will bubble along one edge forever. Double sided tape is the deliberate choice over spray adhesive: it holds the sheet flat but peels off whenever you want a different print, which matters in a drawer you open daily. A standard IKEA Alex drawer runs about 20.5 by 11.5 inches, and a set of them takes roughly twenty minutes.
Get the full tutorial at Making Home Base.
9. Wrapping Paper Chain
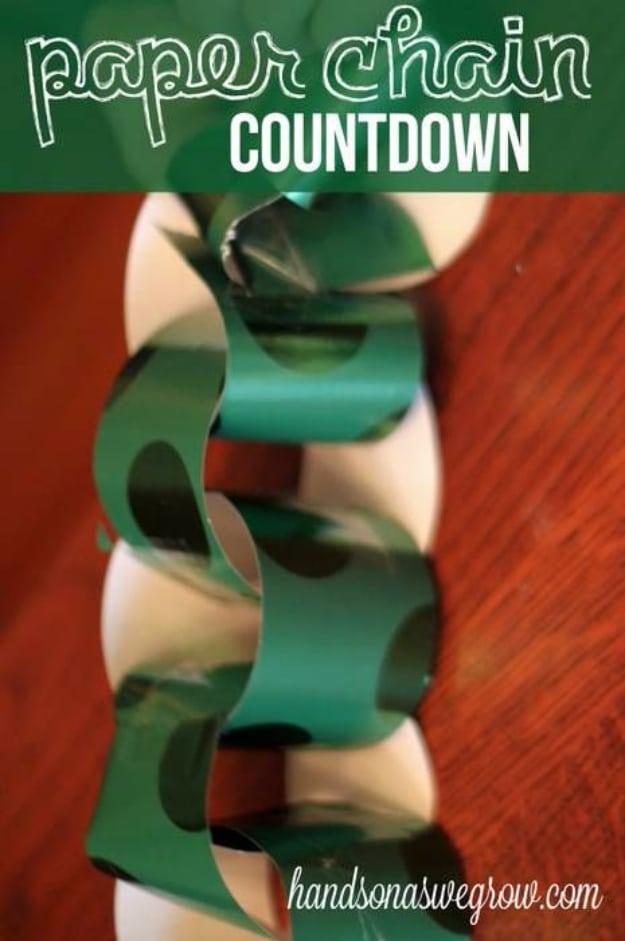
Twenty five paper links, one torn off each day until Christmas. What makes it a genuinely good kid project is the back of the paper: most rolls are printed with a grid, so a four year old can cut along the printed lines without any measuring or a ruler. Thread each strip through the last loop, overlap the ends and tape. Expect the overlap step to be the sticking point for the youngest ones, who tend to butt the ends together instead of lapping them. Counting the links is half the fun.
Get the full tutorial at Hands On As We Grow.
10. Easy Tiny Envelopes
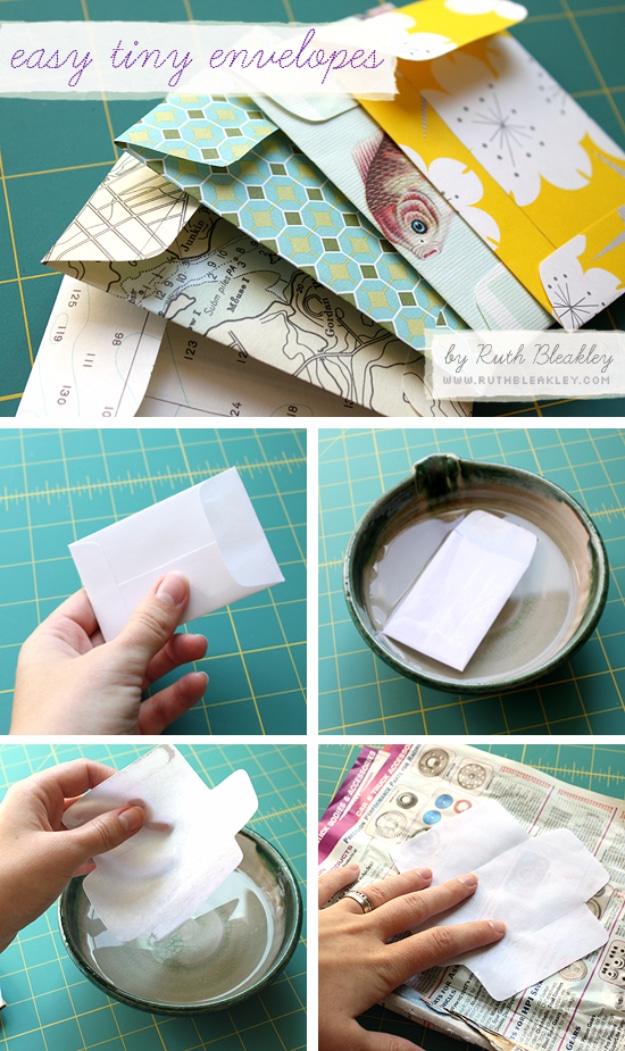
The trick came from a leaky mailbox: a soaked envelope falls apart at the seams into a perfect flat template. So soak an envelope you like the size of in a bowl of lukewarm water for about a minute, until the glue lets go. Pat it dry, trace the unfolded shape onto chipboard or a cereal box, and cut that out as a permanent template. Now trace it onto any leftover gift wrap, cut, fold the sides first and use those folds to place the top and bottom. A glue tape roller closes it; glue stick goes brittle within months.
Get the full tutorial at Poppytalk.
11. Bookshelves Liner
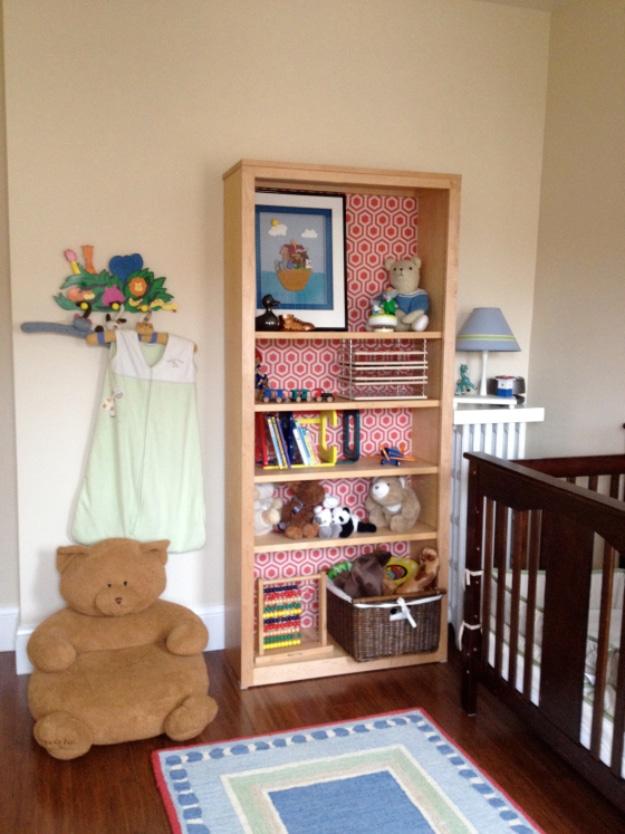
Backing a bookcase is the cheapest way to make plain shelves look considered, and paper is the easiest thing to back it with. She covered the whole back of a nursery bookcase with graphic red and white paper at four dollars a sheet, twenty dollars for the lot, with enough left over for cardmaking. It went up on blue painter’s tape because she ran out of time to buy anything better, and she says outright that 3M strips are the stronger, photo safe choice. If you would rather not use paper at all, the same post backs other shelves with wallpaper, fabric and taped off stripes of paint.
Get the full tutorial at Jewels at Home.
12. Wrapping Paper Book Covers
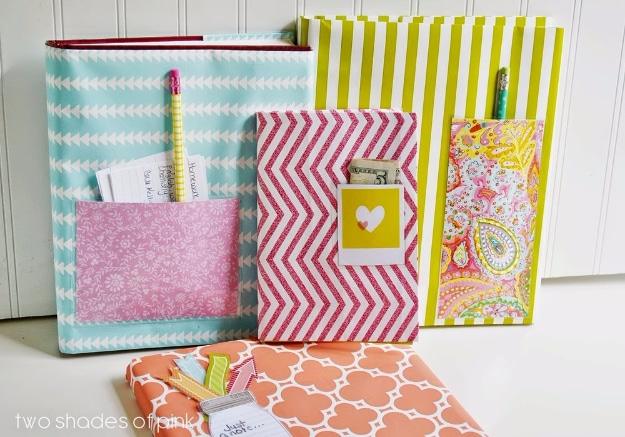
Cut your sheet with about two inches of extra paper past the top and bottom of the closed book, fold those allowances in, then wrap the front and back covers and tuck each one into the pocket the folds have made. No tape touches the book. That tuck is the whole reason this holds up through a school year while a taped cover slides off in a week. If you want to go further, tape a laminated pocket to the inside for a pencil or lunch money.
Get the full tutorial at Eighteen25.
13. Origami Bows
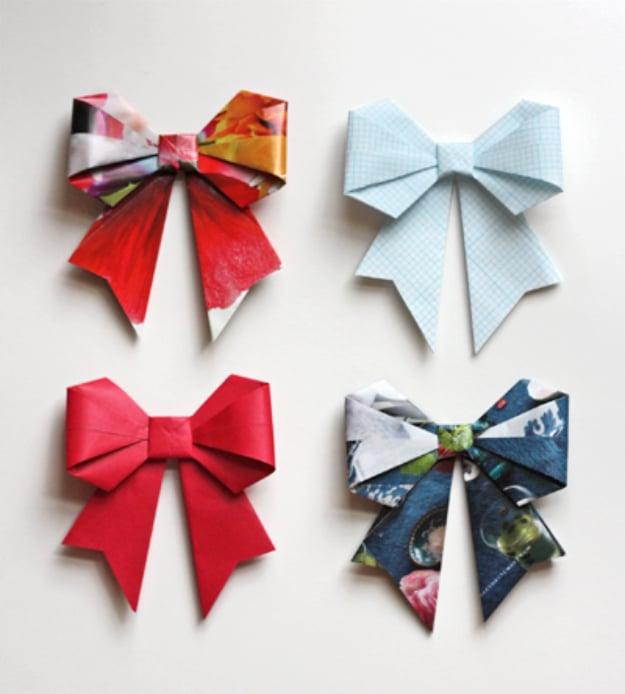
Six inch squares, no glue and no tape, and the finished bow squashes completely flat. That last part is the reason to bother: a flat bow survives the mail and a stack of boxes, which no store bought one does. Magazine pages, graph paper and leftover gift wrap all fold the same way, so this is the project for the sheets too creased to wrap with. If your paper has a white back, the bow will flash white at the fold lines, so pick a double sided print or accept the stripe as part of the look.
Get the full tutorial at How About Orange.
14. Paper Pinwheels
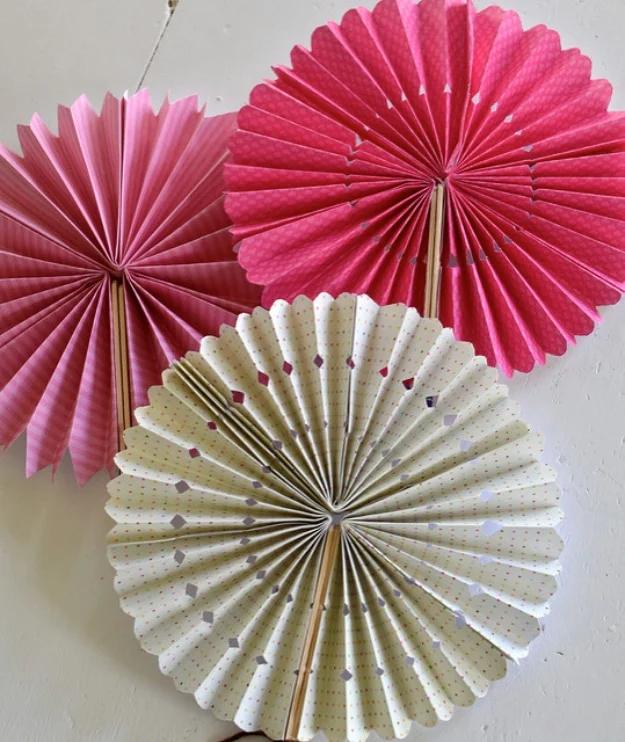
Accordion fold a sheet, fold it in half, and do three of those for each fan. Glue the middles together, squeeze while it dries, then glue two of the sheets together leaving an opening for a popsicle stick handle. The maker’s own notes are the useful ones here: watch for hot glue clumps in the center, punch a hole in the bottom of the sticks so you can tie them, and use twine rather than ribbon. Scallop the outer edges before you unfold and the whole fan reads as finished.
Get the full tutorial at Celebrate Always.
15. Paper Gift Bag
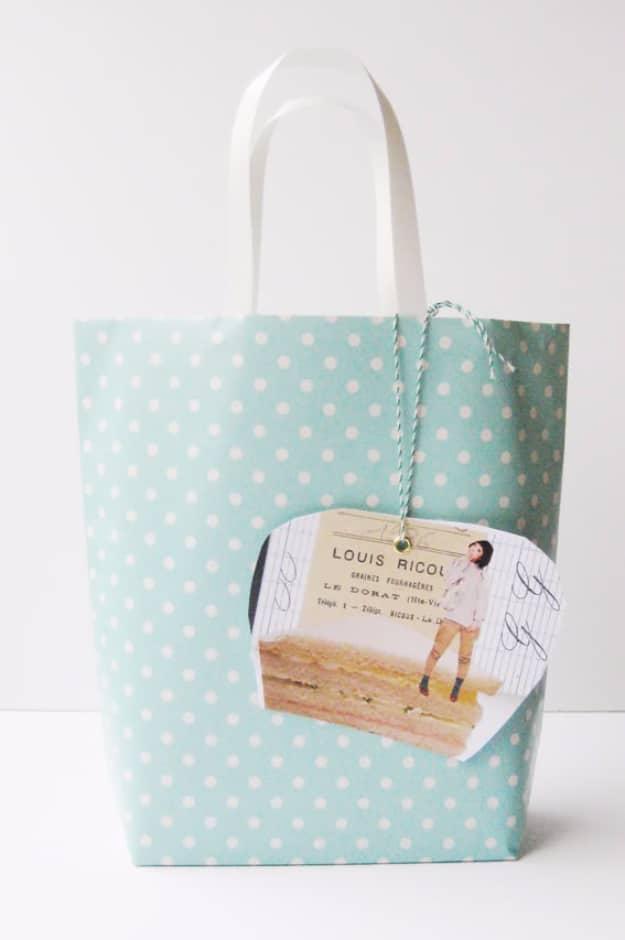
Take a sheet roughly double the size of the bag you want and fold it in half. Fold the sides in so they overlap and tape the seam, then build the base by folding the bottom edge up, flattening the corners into triangles on both sides and folding those inward before taping. Handles come off a store bought bag or an old shop bag, taped inside the rim. Washi tape is doing double duty in the photo, holding the seams and decorating the front, which is worth copying since the seams show anyway.
Get the full tutorial at Hello Sandwich.
16. Paper Mobile
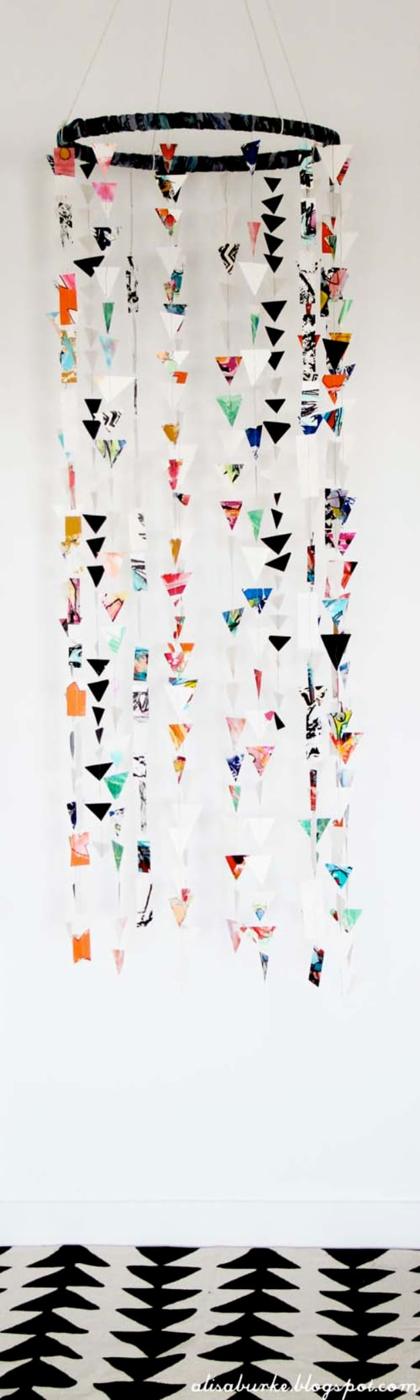
An embroidery hoop wrapped in fabric, with long strands of paper triangles hanging from it. The strands are sewn, not glued: run the triangles through a sewing machine one after another, about twenty per strand, and the thread between them lets each piece turn on its own. A dab of hot glue on the inside of the hoop holds each strand. Cut your triangles small, an inch or two across, because big shapes hang stiff and stop moving, which defeats the only thing a mobile has to do.
Get the full tutorial at Alisa Burke.
17. Origami Card Holder
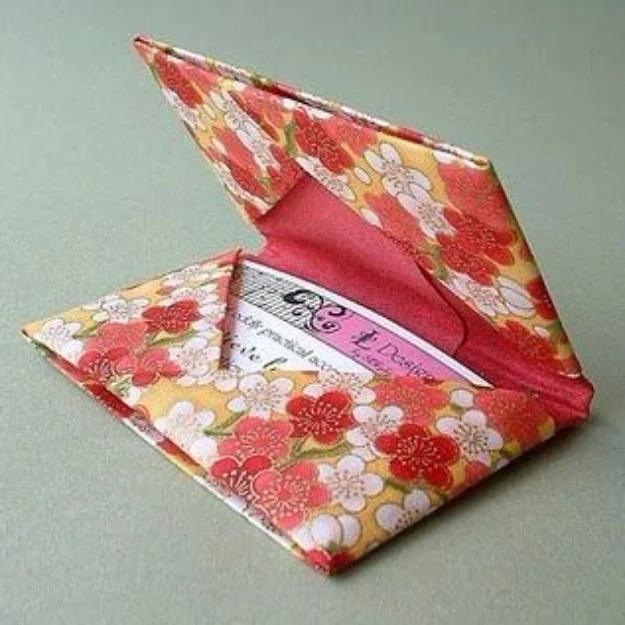
A folded card holder that closes over business cards, credit cards or a gift card. Paper size is the one thing to get right: start with an 8.25 inch square for business cards, or a 9 inch square for credit cards, since cards are slightly larger and a holder folded to the wrong size either gapes or will not shut. Work color side down, and crease every fold with your thumbnail rather than your fingertip, because a soft crease on gift wrap unfolds itself in a pocket within a day.
Get the full tutorial at Origami Instructions.
18. Wrapping Paper Snowflakes
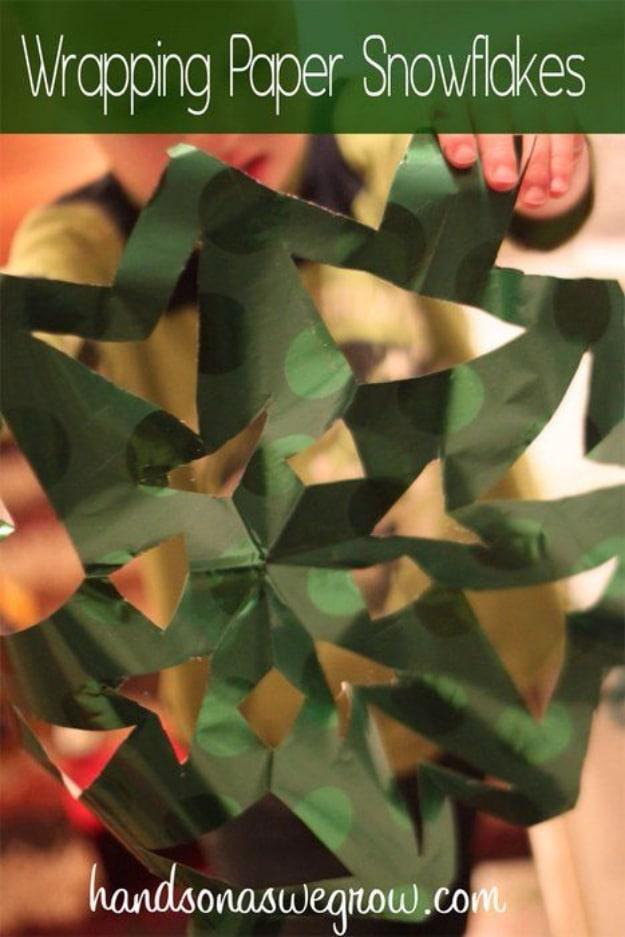
Fold and cut, the same snowflake every kid already knows, except the paper is shiny and printed instead of white copy paper, and that one change is what makes them worth taping to a window. Gift wrap is also a step up in difficulty from a coffee filter, so it is real cutting practice for a preschooler’s hands. Fold as few times as their scissors can handle. Three folds through glossy wrap is already stiff, and a fourth turns the whole thing into a wad nothing can cut through cleanly.
Get the full tutorial at Hands On As We Grow.
19. How to Make a Gift Bag from Wrapping Paper
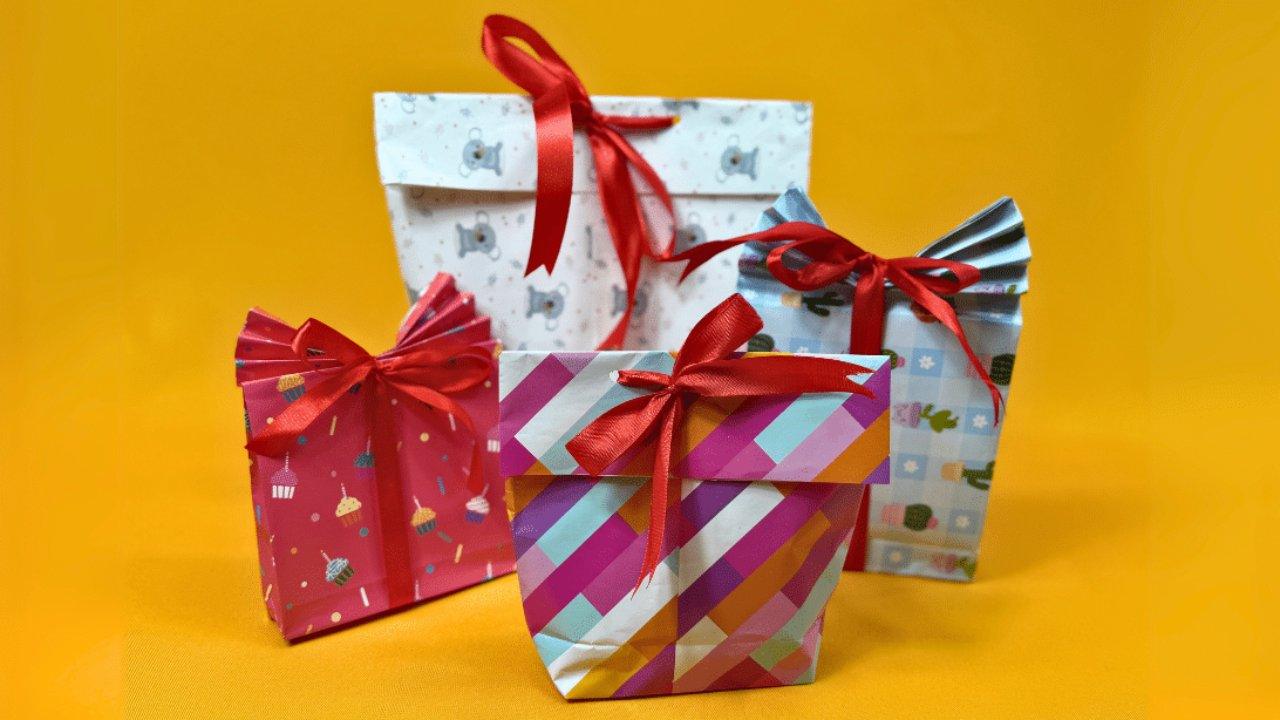
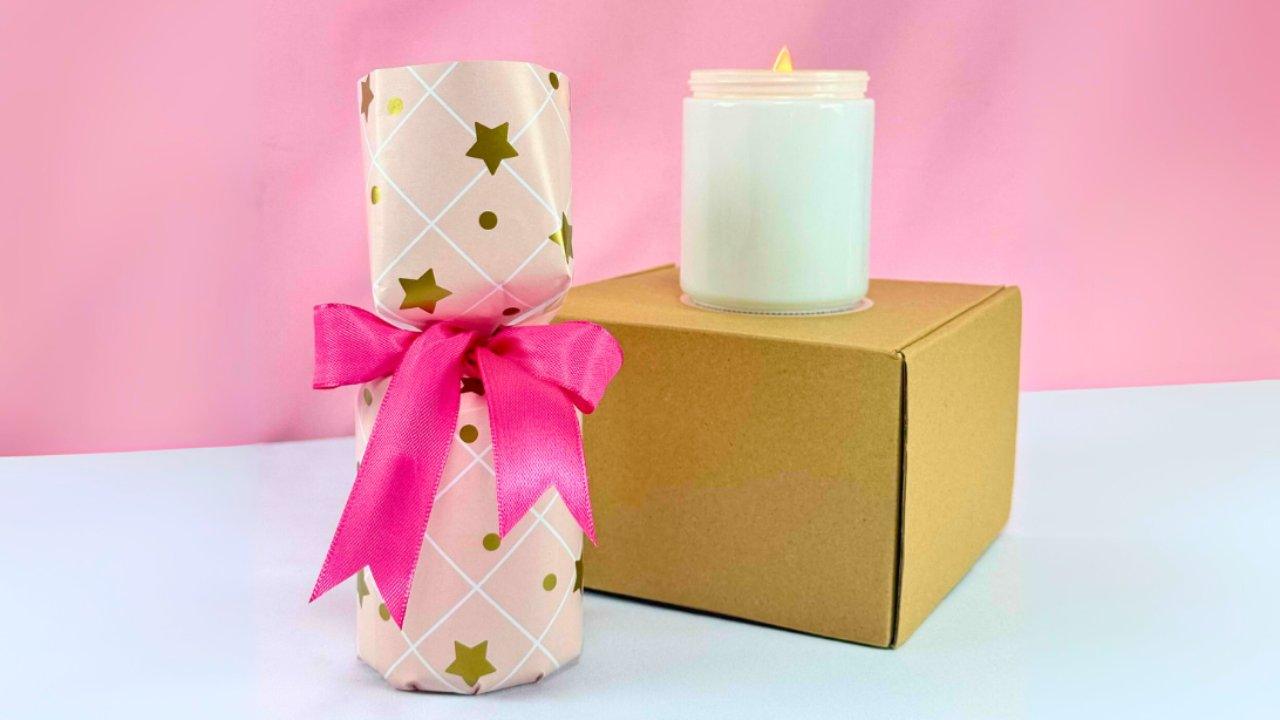
A roll of paper in the hall closet is all you need to skip the gift bag aisle completely. Fold both long edges in to the center so one overlaps the other and glue the seam, fold the bottom up about three inches for the base, open it and fold each side into a triangle, then glue the base shut. Accordion the top eight times and fan it out before the ribbon goes on. Bigger paper makes a bigger bag, so the same folds cover a candle or a sweater.
Get the full tutorial at Sueeye.
20. How to Wrap Gifts With Short Paper
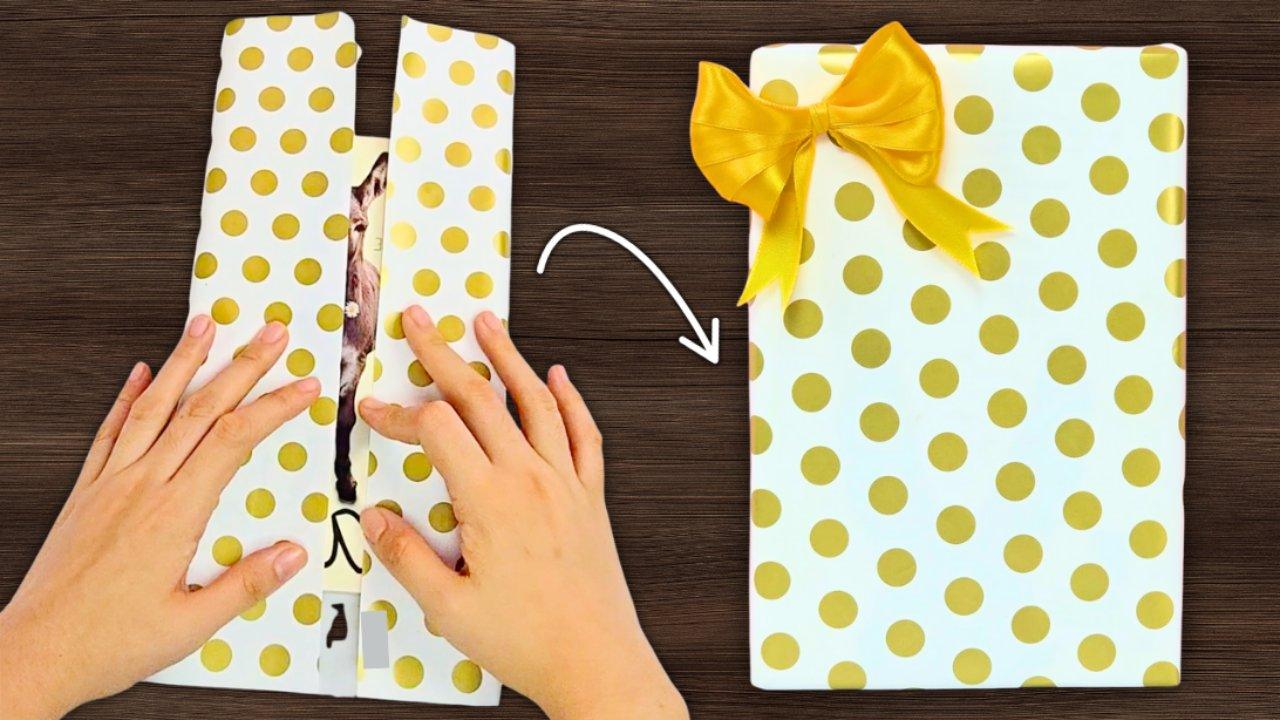
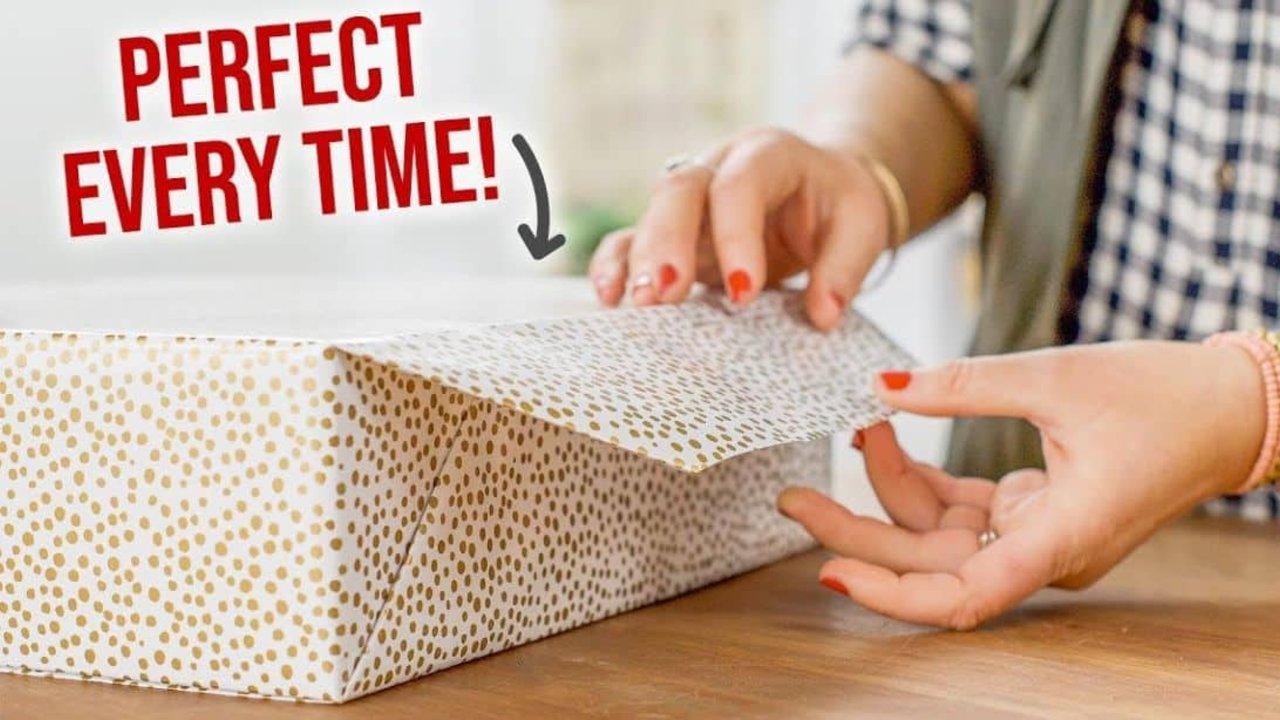
The sheet that is two inches too small does not have to be thrown out. Trim the uneven edges, lay the paper on the diagonal with one corner pointing at you and set the gift in the middle, then bring the left and right corners over the top and overlap them before taping. Turning the sheet forty five degrees is the entire hack, because the diagonal of a piece of paper is longer than its side. Fewer folds, no wasted paper, and the finish looks deliberate rather than rescued.
Get the full tutorial at Sueeye.