
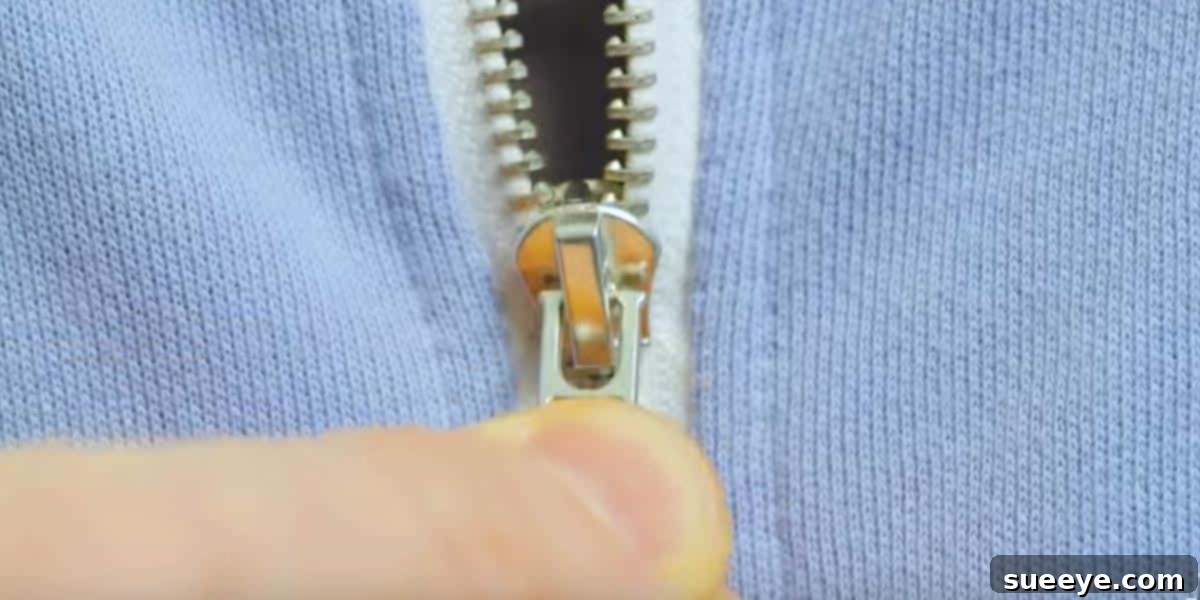
DIY Zipper Repair: Your Ultimate Guide to Fixing Any Broken Zipper
A broken zipper can be incredibly frustrating. Imagine reaching for your favorite jacket, jeans, or bag, only to find the zipper refusing to cooperate. Whether it’s stuck, separates inexplicably, or the slider has completely come off, these common zipper woes often strike at the most inconvenient times. While professional zipper replacement can be costly and time-consuming, the good news is that most zipper problems can be fixed right at home with a few basic tools and a bit of patience. This comprehensive guide will empower you to tackle virtually any zipper issue, saving you money and extending the life of your cherished items.
Why Do Zippers Break, and What Are the Most Common Problems?
Zippers are ingenious devices, but their constant use makes them susceptible to wear and tear. Understanding why they fail is the first step toward a successful repair. Here are some of the most prevalent zipper issues you might encounter:
- Stuck Zipper: The slider refuses to move, often due to dirt, debris, or a misaligned tooth.
- Teeth Don’t Close or Pop Open: The zipper appears to close, but the teeth behind the slider separate, leaving the item open. This often points to a problem with the slider’s grip.
- Zipper Slider Detached on One Side: The slider is only attached to one side of the zipper track, making it impossible to close properly.
- Zipper Won’t Stay Up: The slider slides down on its own, leaving your garment unzipped.
- Slider Has Broken Off Entirely: The entire slider mechanism has come off the zipper track, leaving the teeth exposed.
- Broken Pull Tab: The small tab you use to pull the slider up and down has snapped off, making the zipper difficult to operate.
These issues, though annoying, are rarely permanent. With the right approach, you can restore functionality to almost any zipper.
Essential Tools for DIY Zipper Repair
You don’t need a professional toolkit to fix a zipper. Most of what you’ll need can be found around your house. Gather these common items before you begin:
- Pliers: Needle-nose pliers or regular pliers are essential for gently adjusting the slider.
- Lubricant: A graphite pencil, bar of soap, candle wax, or even a specialized zipper lubricant spray can help a stuck zipper.
- Cutters (Optional): Wire cutters or strong scissors might be needed if you have to remove old zipper stops.
- Keyring, Paperclip, or Cord: Useful for replacing a broken pull tab.
- Small Screwdriver (for some slider types): Occasionally, sliders might have tiny screws.
- Safety Pins: A temporary fix for many zipper problems, and always handy.
- Replacement Zipper Stops (Optional): If you need to reattach a slider at the top or bottom.
- Replacement Slider (Optional): Only necessary if the original slider is severely damaged beyond repair.
Step-by-Step Solutions to Common Zipper Problems
1. How to Fix a Stuck Zipper
A stuck zipper is often the easiest problem to solve. It’s usually caused by friction, a tiny piece of fabric caught in the teeth, or accumulated dirt.
- Inspect the Zipper: First, check for any fabric caught in the slider or between the teeth. Gently pull the fabric away from the slider if possible.
- Apply Lubrication: If no fabric is caught, apply a lubricant. A common household item like a graphite pencil works wonders. Rub the pencil tip along the teeth, above and below the stuck slider. The graphite reduces friction.
- Alternative Lubricants: Other effective lubricants include a bar of soap, a candle wax stick, petroleum jelly, or a specialized zipper lubricant. Apply sparingly to the teeth.
- Gentle Wiggling: Once lubricated, gently wiggle the slider up and down. Avoid forcing it, as this can damage the slider or teeth further. With repeated gentle attempts and more lubricant if needed, the zipper should eventually free itself.
2. How to Fix Zipper Teeth That Don’t Close or Pop Open
This issue indicates that the slider isn’t pressing the teeth together firmly enough. The channels within the slider might have widened over time.
- Locate the Problem Area: Identify where the teeth are separating. This is usually right behind the slider.
- Examine the Slider: Notice that a zipper slider has a top and bottom opening. The teeth enter the bottom and exit the top, merging as they pass through.
- Tighten the Slider (Carefully!): Using needle-nose pliers, very gently squeeze the top and bottom plates of the slider together. Do this on the “back” side of the slider (the side facing away from the garment when zipped up) and focus on the opening where the teeth exit. Squeeze only slightly, as too much force can crack or permanently damage the slider.
- Test and Repeat: Try zipping up and down. If the teeth still separate, squeeze a tiny bit more. It’s better to make small, incremental adjustments than to over-tighten and break the slider. This adjustment aims to slightly narrow the slider’s channel, increasing its grip on the teeth.
3. How to Fix a Zipper Slider Detached on One Side or Completely Off
This problem requires carefully reattaching the slider to the zipper track. If the slider is completely off, it needs to be put back on correctly.
- Open the Zipper Fully: If possible, move the slider to the very bottom of the zipper track.
- Realign the Teeth: Ensure both sets of zipper teeth are perfectly aligned at the bottom.
- Reattach the Slider (Partial Detachment): If the slider is only partially detached, align the teeth, then carefully push the detached side of the slider back onto the track. It often helps to gently pry open the slider’s entrance slightly with pliers, slide it onto the track, and then gently squeeze it back to its original shape.
- Reattach the Slider (Complete Detachment): This is trickier but manageable.
- Option A (From the Bottom): If the bottom stopper is missing or broken, you might be able to slide the slider onto both tracks from the very bottom. This requires patience to get both sets of teeth into the slider’s channels simultaneously.
- Option B (From the Top – Requires Cutting): If the bottom stopper is intact and the top stoppers are present, you’ll need to work from the top. Use wire cutters to snip off the top zipper stop on one side (or both if necessary). Slide the slider onto both sets of teeth from the top. Once the slider is on and working, you’ll need to install a new top stopper (metal or fabric) to prevent the slider from coming off again.
- Test and Secure: Once the slider is reattached, zip it up and down to ensure it moves smoothly. If you removed a stop, make sure to replace it or create a new one to secure the slider.
4. How to Fix a Zipper That Won’t Stay Up
This is usually due to a weak slider that has lost its grip. Similar to the teeth not closing problem, the slider’s channel has likely widened.
- Identify the Slider’s Weakness: The slider has an internal mechanism that holds it in place. If it’s worn, it won’t grip the teeth.
- Tighten the Slider: Using needle-nose pliers, gently squeeze the top and bottom plates of the slider, focusing on the end where the teeth merge. Make small, controlled adjustments. This will slightly narrow the internal channel, increasing the friction and grip on the zipper teeth, preventing it from sliding down unintentionally.
- Test: Zip it up and down a few times. If it still slides down, repeat the gentle squeezing. Be careful not to apply too much pressure, which can break the slider entirely.
- Alternative (if slider is too worn): If tightening doesn’t work, the slider itself might be too worn and may need replacement. As a temporary fix, you can attach a keyring or a small loop of cord through the pull tab. When zipped up, loop this through a buttonhole or around a button to hold the zipper in place.
5. How to Fix a Broken Pull Tab
A broken pull tab doesn’t affect the functionality of the zipper mechanism itself, but it makes it incredibly hard to operate. This is an easy fix!
- Remove Any Remaining Pieces: Clear out any broken bits of the old pull tab from the slider.
- Attach a Replacement: The easiest solution is to thread a small keyring, a paperclip (bent into a loop), or a sturdy piece of cord or ribbon through the hole in the slider where the original pull tab was attached.
- Secure the Replacement: Ensure the replacement is securely fastened. Keyrings are often the most durable and aesthetically pleasing solution.
Preventative Care and Maintenance for Your Zippers
While fixing zippers is rewarding, preventing them from breaking in the first place is even better. A little care goes a long way:
- Be Gentle: Avoid yanking or forcing zippers. If it snags, stop and investigate the cause.
- Keep Them Clean: Dirt, dust, and lint can accumulate in zipper teeth, causing them to stick or wear down. Regularly brush them clean with an old toothbrush.
- Lubricate Periodically: For frequently used zippers (especially on outdoor gear), a light application of a zipper lubricant (like silicone spray or wax) can keep them running smoothly and extend their lifespan.
- Close Zippers Before Washing: Always zip up garments before putting them in the washing machine. This protects the zipper teeth and slider from getting bent or damaged during the wash cycle.
- Don’t Overstuff Bags: Overstuffing bags or luggage puts excessive strain on zippers, leading to broken teeth or sliders.
When to Seek Professional Help
While DIY zipper repair covers most common issues, there are instances where professional intervention might be necessary:
- Extensively Damaged Teeth: If many teeth are missing or severely damaged along the track, replacing the entire zipper might be the only viable option.
- Beyond Repair Slider: If your slider is cracked, severely bent, or parts are missing, and a replacement slider of the correct size is hard to find or install, a tailor can replace it.
- Complex Garments: For delicate fabrics, intricate designs, or items with hidden zippers, a professional might be better equipped to handle the repair without causing further damage.
- Time Constraints: If you’re short on time or lack the patience, a professional can offer a quick and reliable solution.
Conclusion: Empower Yourself to Fix, Not Replace!
The days of discarding garments, bags, or jackets because of a broken zipper are over! By understanding the common problems and arming yourself with a few simple household tools and techniques, you can confidently tackle most zipper repairs. From a simple stuck slider to reattaching a completely detached one, these DIY methods not only save you money but also reduce waste and extend the life of your beloved items. So, the next time a zipper acts up, remember: don’t despair, repair! Embrace the satisfaction of making do and mending, and keep your favorite belongings functional for years to come.