
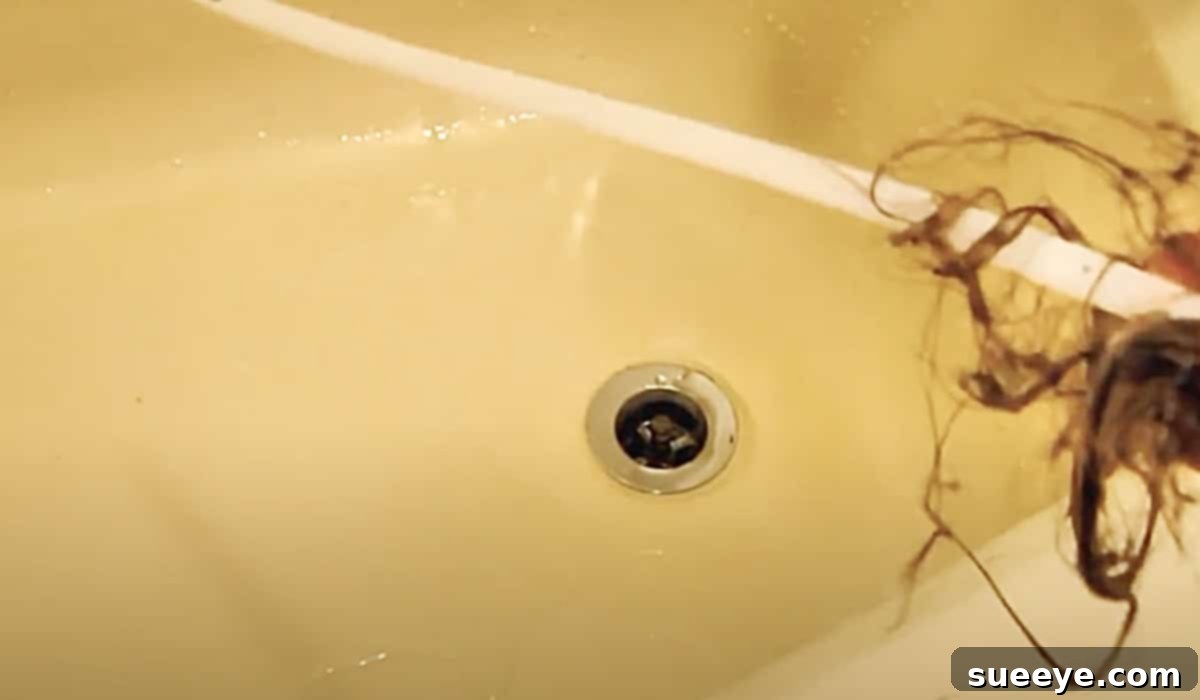
How To Make A Drain Snake From A Zip Tie: Your Ultimate DIY Guide
There are few household woes as frustrating as a clogged drain. The water backs up, the sink won’t drain, and that sinking feeling in your stomach quickly follows. While the immediate impulse might be to reach for harsh chemical cleaners or, worse yet, call a professional plumber, there’s a surprisingly simple, incredibly cost-effective, and highly efficient solution hiding in plain sight: a DIY zip tie drain snake. This ingenious hack offers a quick fix for many common clogs, saving you both time and money. Inspired by the brilliant demonstration from Camera Ray on YouTube, we’re going to dive deep into how you can craft your own drain-clearing tool with just a couple of readily available items. Get ready to reclaim your clear drains and empower your home maintenance skills!
The Frustration of a Clogged Drain: Why DIY Matters
A sluggish or completely stopped drain can disrupt daily routines, from washing dishes to taking a shower. The conventional solutions often come with their own set of drawbacks. Chemical drain cleaners, while seemingly convenient, can be corrosive to your pipes over time, harmful to the environment, and potentially dangerous if not handled properly. Moreover, they don’t always fully resolve the clog and can sometimes make it worse by creating a congealed mass. Calling a professional plumber, while effective, can be an unexpected expense, often costing a significant amount just for a service call before any actual work begins. This is where the beauty of a DIY zip tie drain snake truly shines. It’s a low-cost, low-risk alternative that puts the power back into your hands, allowing you to tackle those annoying clogs with confidence and ease.
Understanding What Clogs Your Drains
Before we learn how to combat clogs, it’s helpful to understand what usually causes them. In bathrooms, hair is the number one culprit. It combines with soap scum, conditioner residue, and skin flakes to form tenacious blockages that are incredibly good at trapping even more debris. In kitchen sinks, the primary offenders are grease and food particles. Pouring cooking oil down the drain, even if followed by hot water, can lead to grease solidifying in your pipes, attracting other waste, and creating stubborn obstructions. Other common causes include mineral buildup from hard water, small foreign objects accidentally dropped down the drain, or even tree roots infiltrating outdoor pipes, though the zip tie method is best suited for clogs closer to the drain opening. Recognizing the cause can sometimes inform your approach to clearing the clog and, more importantly, help prevent future occurrences.
Essential Materials for Your DIY Zip Tie Drain Snake
One of the most appealing aspects of this DIY drain snake is the minimal material requirement. You likely already have these items in your home, making this an instant solution when a clog strikes.
- A Long Zip Tie: The longer and sturdier, the better. Look for heavy-duty zip ties that are at least 18-24 inches long. The extra length will allow you to reach deeper into the drain, and a wider tie will provide more surface area for creating effective hooks. Standard 1/4-inch width is usually sufficient, but a slightly wider one can also work well.
- A Box Cutter or Utility Knife: A sharp blade is crucial for making clean, effective cuts. Ensure the blade is sharp and extend it just enough to make precise incisions without excessive force. If a box cutter isn’t available, a very sharp utility knife or even strong, pointed scissors could work, though caution is paramount.
- Optional (But Recommended) Additions:
- Small Pair of Pliers: These can be incredibly useful for bending out the newly created “hooks” on the zip tie, enhancing their debris-grabbing capability.
- Rubber Gloves: Drain clogs are often unsanitary. Gloves will protect your hands from grime, bacteria, and any residual drain cleaner that might be in the pipes.
- Bucket and Old Towels: Keep these handy to catch any water or debris that might come out of the drain during the process, making cleanup much easier.
- Flashlight: A small flashlight can help you see into the drain opening, especially in darker bathroom or under-sink areas.
Step-by-Step Instructions: Crafting and Using Your Drain Snake
This process is wonderfully straightforward, transforming a common household item into an efficient drain-clearing powerhouse. Follow these steps carefully for the best results, drawing inspiration from Camera Ray’s effective method.
Step 1: Preparing Your Work Area and Tools
Before you begin, don your rubber gloves. Lay down old towels or newspapers around the drain opening to catch any drips or debris. Ensure your box cutter has a fresh, sharp blade. This not only makes the job easier but also safer by reducing the risk of slippage.
Step 2: Crafting the Grabbing Hooks
This is the most critical step in transforming your zip tie into a functional drain snake. Hold the zip tie firmly. Using your box cutter, make small, diagonal cuts all along both sides of the zip tie. Imagine creating tiny, sharp teeth or barbs. The cuts should penetrate about a quarter to halfway through the width of the zip tie, but not so deep as to compromise its structural integrity. Space these cuts approximately 1/4 to 1/2 inch apart, alternating sides as you go down the length of the tie. The key here is to create numerous jagged edges that will effectively snag hair and other debris. Think of how a hangnail catches on fabric; these cuts will act in a similar fashion, grabbing onto any lurking obstructions.
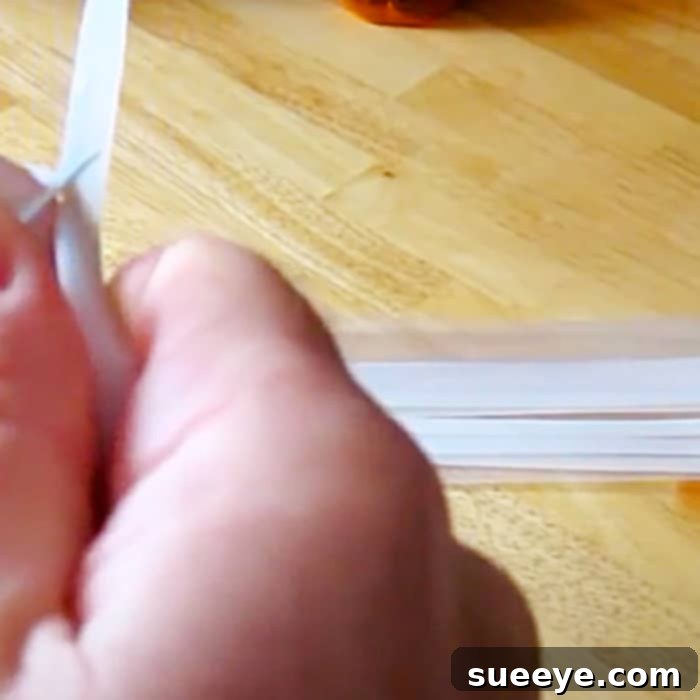
Once you’ve made these cuts, you may find it beneficial to use a small pair of pliers to gently bend out some of the cut edges. This will create more pronounced, outward-facing hooks, increasing their efficiency in snagging stubborn clogs. Be careful not to bend them too sharply, as this could weaken the zip tie. The goal is to create just enough protrusion to grab hold of the debris.
Step 3: Inserting Your DIY Drain Snake
With your zip tie modified and ready, it’s time for action. Carefully insert the end of the zip tie into the clogged drain opening. Slowly push it down, wiggling and rotating it as you go. You’ll likely feel resistance as it encounters bends in the pipe or the clog itself. Don’t force it aggressively; gentle persuasion is usually all that’s needed. The flexibility of the zip tie allows it to navigate the twists and turns of your plumbing.
Step 4: Engaging and Retrieving the Clog
Once you feel the zip tie has reached the clog, or you can’t push it any further, begin to gently move it up and down, and twist it from side to side. This action allows the newly formed hooks to latch onto hair, soap scum, and other accumulated debris. After a minute or two of this motion, slowly pull the zip tie back out of the drain. Prepare yourself for what you might see – often, a significant amount of disgusting gunk will emerge, clinging to the zip tie’s barbs. This is a sign of success!
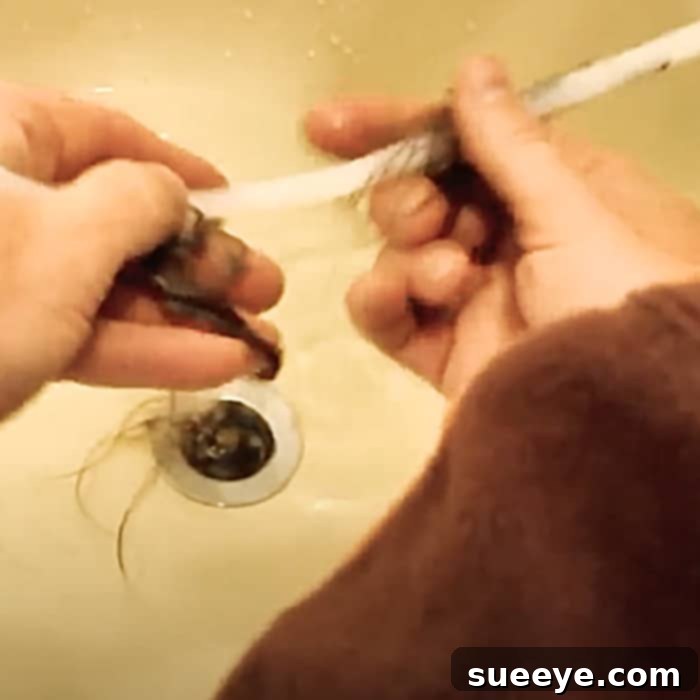
Dispose of the collected debris appropriately. If the drain is still not running clear, clean off the zip tie and repeat the process. Sometimes, a particularly stubborn or extensive clog requires multiple passes. Continue until water flows freely down the drain. Once cleared, run hot water for several minutes to flush out any remaining loose particles.
Safety First: Important Precautions
While this DIY method is generally safe, it’s crucial to exercise caution throughout the process:
- Blade Safety: Always cut away from your body. Keep your fingers clear of the box cutter’s path. When finished, retract the blade and store the tool safely out of reach of children.
- Chemical Residue: If you’ve recently used chemical drain cleaners, be extra careful. The zip tie could splash harmful chemicals. Ensure adequate ventilation and wear protective eyewear in addition to gloves.
- Don’t Force It: If the zip tie gets stuck or you encounter significant resistance that feels like it could damage your pipes, do not force it. This method is primarily for hair and soft clogs. Aggressive forcing could damage older or delicate plumbing.
- Electrical Outlets: When working near sinks or showers, be mindful of electrical outlets and appliances. Water and electricity are a dangerous combination.
Advanced Tips for Stubborn Clogs and Best Results
Even with the right technique, some clogs can be particularly stubborn. Here are a few additional tips to help you achieve the best results:
- Hot Water Flush: After successfully removing a clog, always follow up with a generous flush of hot water. This helps to melt away any remaining grease and flush smaller particles down the drain, preventing immediate recurrence.
- Baking Soda and Vinegar Follow-up: For a natural and effective post-clog treatment, pour a cup of baking soda down the drain, followed by a cup of white vinegar. Let it sit for 30 minutes to an hour (or even overnight for tough clogs). The fizzing action helps to break down residual grime. Flush with hot water afterwards. This is also an excellent monthly preventative measure.
- Combine with a Plunger: If the zip tie brings up some debris but doesn’t completely clear the drain, try using a plunger immediately after. The loosened clog might then be easily dislodged by the pressure.
- Consider a Longer/Wider Zip Tie: If your initial attempt with a standard zip tie doesn’t reach the clog or seems too flimsy, invest in an even longer and wider heavy-duty zip tie.
Preventative Measures: Keeping Your Drains Clear Long-Term
The best clog is the one that never happens. Incorporating a few simple habits into your routine can significantly reduce the frequency of drain blockages:
- Use Drain Screens: Simple mesh drain screens or hair catchers in your shower and sink drains are incredibly effective at trapping hair and food particles before they enter your plumbing system. Clean them regularly.
- Dispose of Grease Properly: Never pour cooking grease or oil down the drain. Allow it to cool and solidify, then scrape it into the trash.
- Avoid Food Scraps: Scrape food scraps into the trash can before washing dishes, even if you have a garbage disposal. Disposals are meant for small amounts of residue, not large quantities of food.
- Regular Hot Water Flush: Once a week, flush all your drains with very hot water for a few minutes. This can help melt minor grease buildup and clear away soap scum.
- Monthly Baking Soda and Vinegar: As mentioned, a monthly treatment of baking soda and vinegar can help keep drains fresh and clear by breaking down minor accumulations before they become major problems.
Comparing DIY Zip Tie Snakes to Other Drain Cleaning Methods
The DIY zip tie drain snake offers a unique balance of effectiveness and simplicity, positioning it perfectly between chemical cleaners, plungers, and professional services:
- Vs. Chemical Cleaners: The zip tie is superior in many ways. It’s non-toxic, doesn’t damage pipes, and physically removes the clog rather than just dissolving parts of it. It’s also much safer for your home environment and the planet.
- Vs. Plungers: A plunger is a great first line of defense for a simple clog, working by creating suction and pressure. However, it often struggles with deep, hair-laden clogs that the zip tie is specifically designed to tackle. The zip tie physically extracts the obstruction, which a plunger cannot do.
- Vs. Store-Bought Plastic Drain Snakes: These are essentially mass-produced versions of the DIY zip tie snake, often with more sophisticated barbs. While effective, making your own zip tie version costs virtually nothing and works just as well for most common clogs.
- Vs. Professional Plumbers: While plumbers have advanced tools and expertise for severe, deep, or systemic clogs, the DIY zip tie method is an excellent first step for localized issues. It saves you money and empowers you to solve common problems yourself before incurring significant professional fees.
Conclusion: Empowering Your Home Maintenance Skills
The next time you’re faced with a stubborn drain clog, resist the urge to panic or reach for expensive, potentially harmful solutions. Remember the simple yet effective DIY zip tie drain snake. This brilliant hack, championed by innovators like Camera Ray, provides an accessible, budget-friendly, and surprisingly satisfying way to clear most common household drain blockages. By following these easy steps, you’re not just unclogging a drain; you’re equipping yourself with valuable home maintenance knowledge and saving your hard-earned money. Embrace the DIY spirit, keep your drains flowing freely, and enjoy the peace of mind that comes with knowing you’ve tackled the problem yourself.