
Transform Your Old Lamp: An Easy DIY Rope Lamp Makeover for Stunning Home Decor
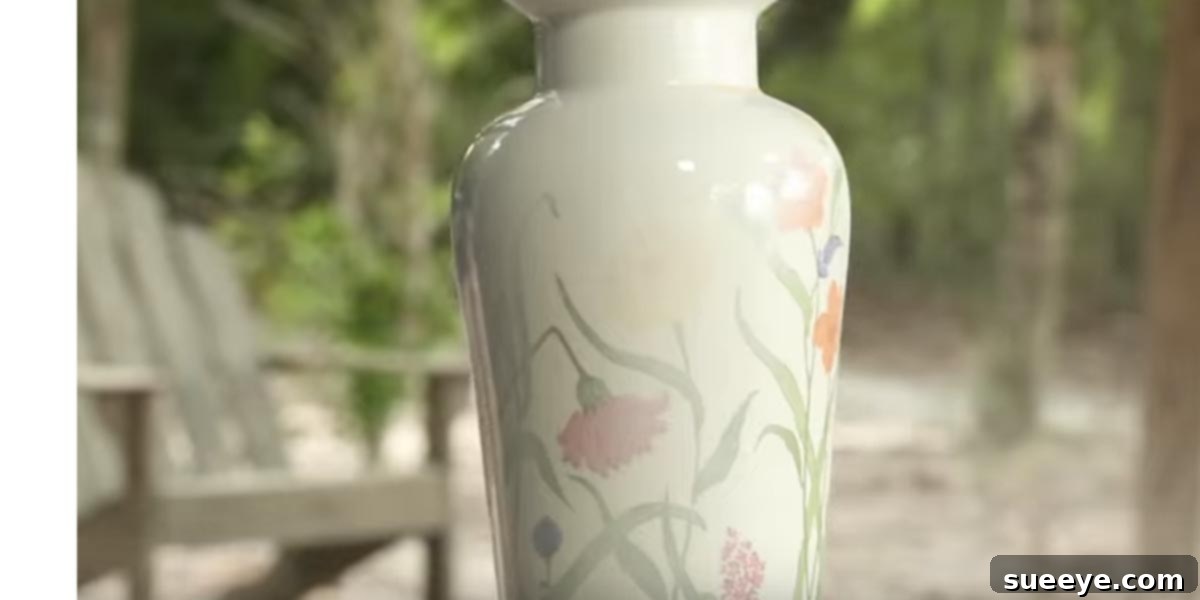
Do you have an old, perhaps even hideous, lamp lurking in a dusty corner of your home, threatening to be relegated to the next garage sale or, worse, the trash bin? Or perhaps you own a lamp that simply doesn’t quite align with your evolving home decor vision? You’re not alone! Most of us find ourselves in this exact predicament. But what if we told you there’s a remarkably simple, budget-friendly, and incredibly rewarding way to breathe new life into that forgotten fixture? Get ready to discover the magic of a DIY rope lamp makeover – a project so transformative, it will completely change your perspective on upcycling!
And if you’ve already succumbed to the urge to discard that old lamp, don’t despair! Thrift stores, flea markets, and even online marketplaces are brimming with inexpensive lamp bases just waiting for a second chance. Head over to your nearest treasure trove and grab one, because this creative endeavor is about to turn an ordinary object into an extraordinary statement piece for your home.
Why a DIY Rope Lamp is Your Next Must-Try Project
The addition of simple rope to an old lamp base doesn’t just cover imperfections; it completely redefines its character, transforming it into a truly captivating focal point for any room. The beauty of this project lies in its unparalleled versatility. Whether your interior design leans towards a cozy rustic farmhouse aesthetic, a sleek modern minimalist vibe, a serene coastal retreat, or an eclectic blend of styles, a rope-wrapped lamp seamlessly complements them all. It’s particularly celebrated for its ability to enhance nautical and bohemian decors, bringing an organic texture and warmth that’s hard to achieve with conventional lamps.
Cost-Effectiveness & Sustainability: A Win-Win
In a world where unique home decor can often come with a hefty price tag, the DIY rope lamp stands out as an incredibly cost-effective solution. You’ve likely seen similar rope-covered lamps gracing the shelves of high-end retailers and trendy boutiques, often priced at hundreds of dollars. But why pay a premium when you can achieve the same sophisticated look, or even surpass it with your own custom creation, for a fraction of the cost? This project champions sustainability by encouraging the upcycling of existing items, diverting them from landfills and giving them a renewed purpose and aesthetic appeal.
Quick Results & Creative Satisfaction
Many DIY enthusiasts shy away from projects perceived as time-consuming or overly complex. This is where the rope lamp shines! It’s an unbelievably easy and quick project, often yielding stunning results in as little as an hour. There’s immense satisfaction in witnessing such a dramatic transformation come to life so rapidly. Imagine taking an item you were moments away from discarding and turning it into something you’ll proudly display. This immediate gratification is incredibly motivating and often sparks a desire to tackle even more creative DIY endeavors around the house.
Getting Started: What You’ll Need
One of the most appealing aspects of this lamp makeover is the simplicity of the materials required. You won’t need specialized tools or exotic supplies; everything is readily available, often right in your own home or at a local hardware store. Here’s a breakdown of what you’ll need to embark on your rope lamp journey:
- An Old Lamp Base: This is your canvas! Almost any shape or size will work, but simpler, more cylindrical or conical shapes can be easier for beginners. Ensure the lamp is structurally sound and the electrical components (cord, socket, switch) are in good working order. If not, consider a lamp repair kit, which are also very affordable.
- Rope: The star of the show! Jute rope, sisal rope, or even cotton rope are popular choices. Consider the thickness – a thicker rope will provide more texture and cover faster, while a thinner rope allows for more intricate detail. You’ll need enough to cover your entire lamp base, so measure your lamp’s height and circumference to estimate. It’s always better to buy a little extra.
- Hot Glue Gun and Glue Sticks: Your primary adhesive. A good quality hot glue gun with plenty of glue sticks will ensure a strong and lasting bond. Make sure your glue gun is heated sufficiently for optimal adhesion.
- Sharp Scissors or a Utility Knife: For cutting the rope cleanly.
- Optional: Protective Gloves: Especially if working with rougher ropes like jute, gloves can protect your hands.
- Optional: Masking Tape or Painter’s Tape: Helpful for securing the very beginning and end of the rope, or for holding sections in place while the glue sets.
- Optional: Fabric or Felt: To create a neat base if your lamp currently lacks one or if the rope doesn’t extend perfectly to the bottom.
Step-by-Step Guide to Your DIY Rope Lamp
While various online tutorials, like the excellent one from Danny Lipford with Today’s Homeowner, offer visual guidance, the core process is straightforward. Here’s a conceptual step-by-step to help you visualize the transformation:
- Prepare Your Lamp: Begin by thoroughly cleaning your lamp base. Remove any dust, grime, or peeling paint to ensure the hot glue adheres properly. If your lamp has a lampshade, set it aside.
- Secure the Starting Point: Decide where you want your rope to begin – typically at the very bottom of the lamp base. Apply a small bead of hot glue to the lamp and firmly press the end of your rope onto it. Hold it in place for a few seconds until the glue sets. You can use a piece of masking tape to further secure this initial wrap if needed.
- Begin Wrapping: Once the starting point is secure, begin winding the rope tightly around the lamp base, working your way upwards. Apply a thin line of hot glue to the lamp base in small sections (about 1-2 inches at a time) before pressing the rope firmly into place. This allows you to work systematically without the glue drying too quickly.
- Maintain Tightness and Consistency: The key to a professional-looking finish is maintaining consistent tension as you wrap the rope. Each coil should sit snugly against the previous one, leaving no gaps or visible lamp base underneath. Take your time, adjusting as needed to keep the lines straight and even.
- Navigating Curves and Details: For lamps with curves, indentations, or intricate details, you may need to apply glue in smaller sections and use more pressure to ensure the rope conforms to the shape. For a lamp with a switch or cord exit point, you’ll typically wrap the rope right up to the edge, trim, and then start a new section above it, ensuring the rope meets seamlessly around the obstruction.
- Reaching the Top: Continue wrapping until you reach the desired height, usually just below the lamp’s neck or socket. Apply a final bead of hot glue to secure the end of the rope. Trim any excess rope cleanly with your scissors or utility knife. Press the end firmly into the glue.
- Finishing Touches: Inspect your newly transformed lamp. If there are any stray glue strands, carefully remove them. You might also want to add a new lampshade that complements the rope texture – perhaps a linen or burlap shade for a natural look, or a crisp white shade for contrast.
Styling Your New Rope Lamp
Your DIY rope lamp is more than just a light source; it’s a piece of art that can significantly elevate your interior design. Here’s how to best style it in your home:
- Living Room Focal Point: Place your rope lamp on an end table, console table, or even as a floor lamp (if you chose a larger base). Its unique texture will draw the eye and add warmth to your seating area. Pair it with woven baskets, natural wood furniture, or cozy throws for a cohesive look.
- Bedroom Serenity: A rope lamp makes for an excellent bedside companion, introducing a calming, organic element. It pairs beautifully with neutral bedding, distressed wood nightstands, and soft, ambient lighting.
- Entryway Welcome: Create an inviting first impression by placing a smaller rope lamp on an entryway table. It offers a subtle glow and a touch of handcrafted charm that welcomes guests into your home.
- Nautical & Coastal Themes: This lamp is a natural fit for coastal-inspired spaces. Combine it with seashells, driftwood, light blues, and crisp whites to evoke the tranquility of the seaside.
- Rustic & Farmhouse Charm: For rustic decors, pair your rope lamp with reclaimed wood, galvanized metal accents, and plaid fabrics. The rope’s natural texture enhances the earthy, cozy feel.
- Bohemian Vibes: Embrace an eclectic bohemian style by mixing your rope lamp with vibrant textiles, global patterns, and an array of potted plants. The rope adds a grounding, earthy element to the free-spirited aesthetic.
Beyond Aesthetics: The Joy of DIY
The benefits of undertaking a project like the DIY rope lamp extend far beyond just creating a beautiful object. There’s an incredible sense of accomplishment that comes with transforming something old into something new and spectacular with your own hands. It’s a tangible testament to your creativity and resourcefulness. Moreover, your unique rope lamp will undoubtedly become a conversation starter, allowing you to share the story of its transformation with friends and family. This single project can often inspire a chain reaction, opening the door to more DIY adventures and a newfound confidence in your ability to personalize and enhance your living space.
Care and Maintenance
Maintaining your rope lamp is simple. For everyday dusting, a soft brush or a vacuum cleaner with a brush attachment works wonders. Should any spills or marks occur, a damp cloth with mild soap can be used for spot cleaning, just be sure not to saturate the rope, and allow it to air dry completely. With proper care, your upcycled rope lamp will continue to brighten your home and delight for years to come.
Your Next Home Decor Masterpiece Awaits!
So, what are you waiting for? Stop staring at that uninspired lamp and start envisioning its incredible potential. This unbelievably easy and quick project offers an unparalleled opportunity to inject personalized style, texture, and warmth into any room. With just a few basic materials, a bit of time, and a dash of creativity, you can craft a stunning, high-end looking piece that reflects your unique taste without breaking the bank. Head to your hardware store, grab some rope, and get ready to transform your home with a beautiful, handcrafted DIY rope lamp!