
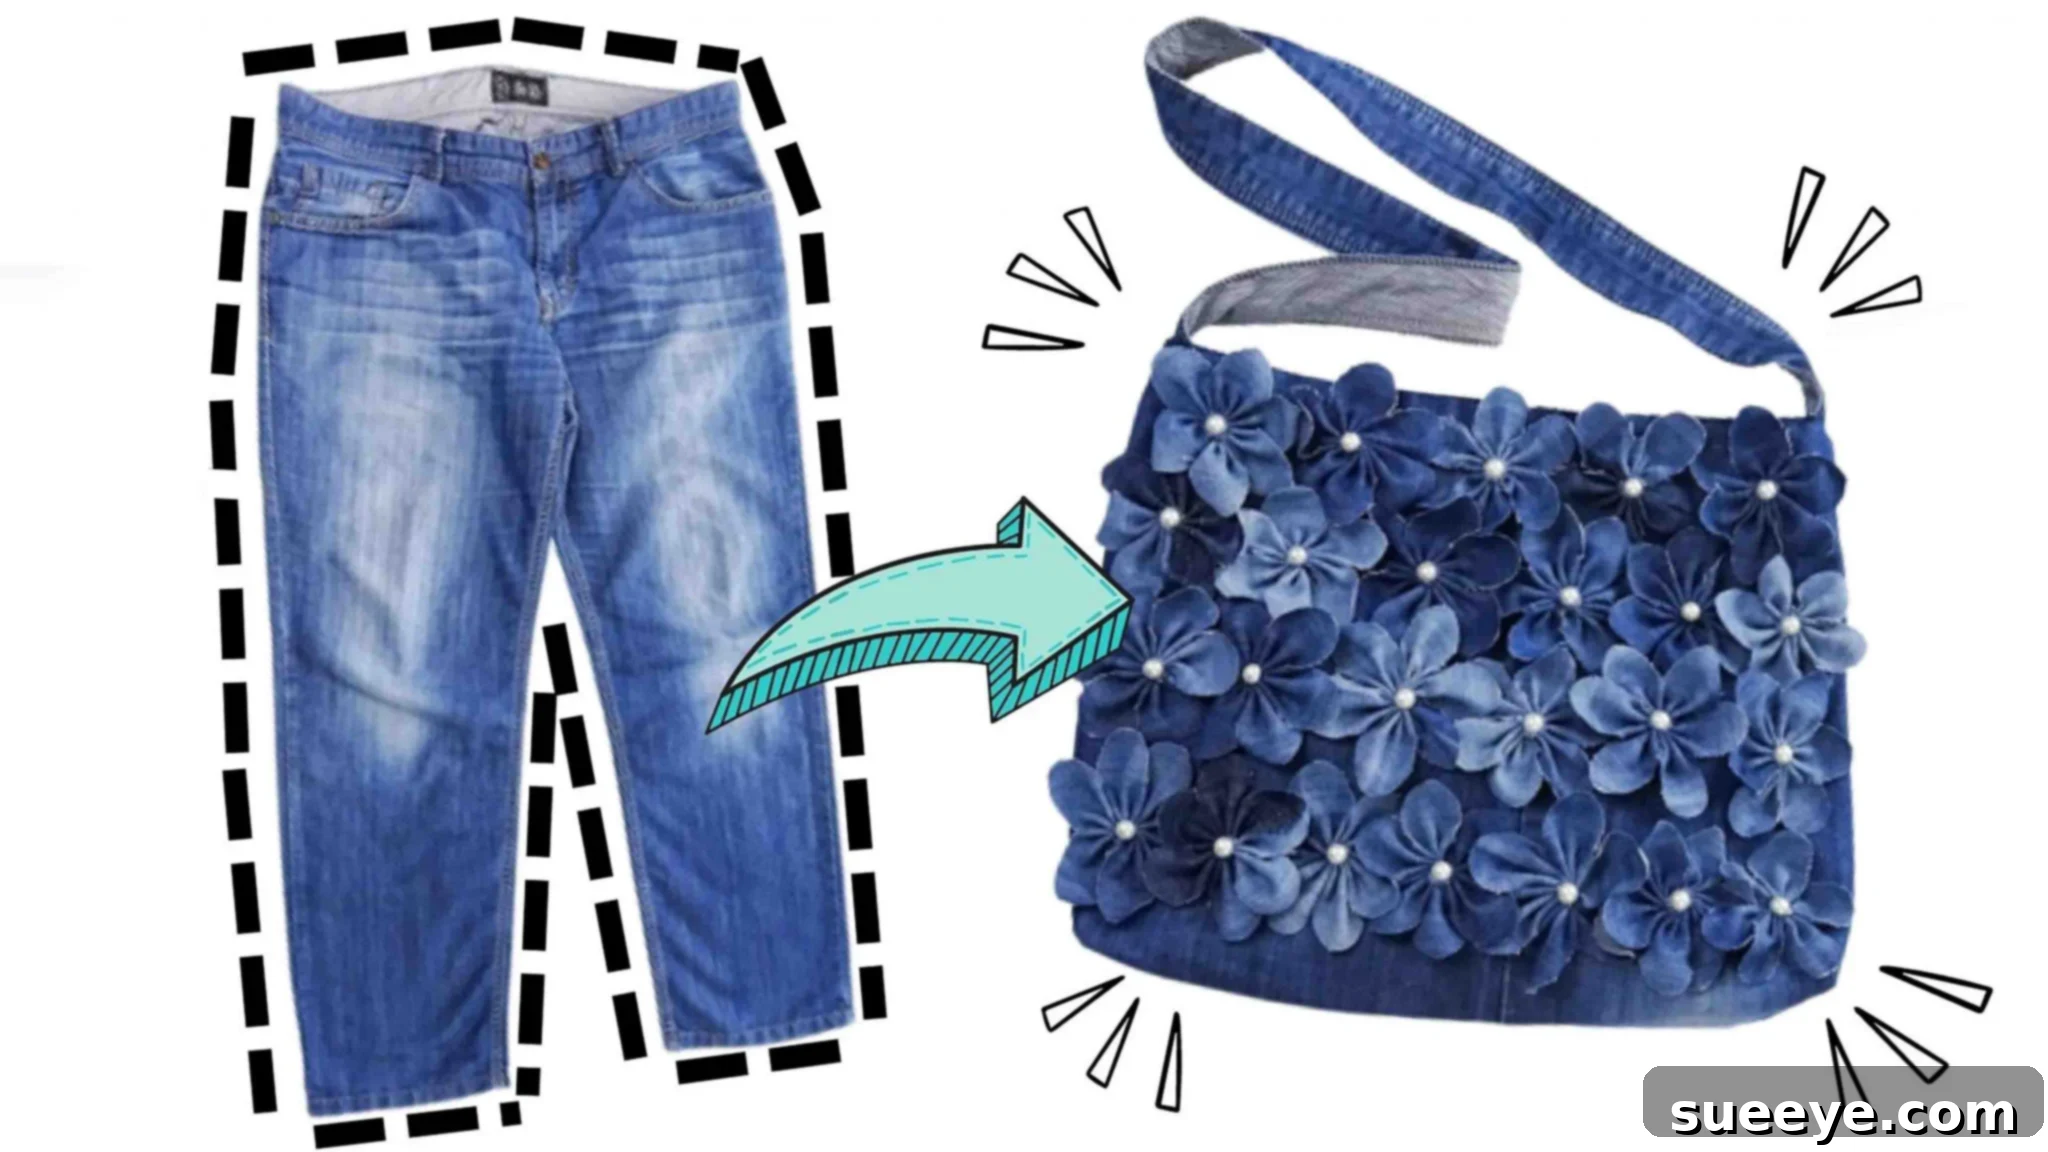
Transforming old, unused items into something new and functional is not only a fantastic way to express your creativity but also a brilliant step towards sustainable living. If you’ve got an old pair of jeans tucked away in your closet, perhaps one you can no longer fit into or simply don’t wear, don’t even think about throwing it out! This comprehensive guide will walk you through the exciting process of upcycling those denim discards into a stylish, one-of-a-kind DIY bag. Inspired by the clever craftspeople at Marifetli Isler on YouTube, this tutorial empowers you to craft a beautiful denim bag that is not only eco-friendly but also incredibly chic and sure to become your new favorite accessory. Get ready to unleash your inner artisan, embrace the joy of repurposing, and create a unique statement piece that reflects your personal style and commitment to sustainable fashion. This project is fun, rewarding, and perfect for adding a touch of handmade charm to your wardrobe.
Essential Materials for Your Upcycled Denim Bag
Before diving into the creative process, gathering all your materials is key to ensuring a smooth and enjoyable crafting experience. Most of these items are common household craft supplies, making this a budget-friendly project. Here’s what you’ll need:
- An old pair of jeans: The star of our show! Choose a pair that is clean and made of sturdy denim. The color and wash are entirely up to your preference – light, dark, or even distressed denim can add unique character to your finished bag. Consider the size of the jeans; larger jeans will provide more fabric to work with.
- Sharp scissors: A good pair of fabric scissors is crucial for clean, precise cuts through denim, which can be quite thick.
- Measuring tape: Essential for accurate measurements, ensuring your bag’s dimensions are just right.
- Ruler: For drawing straight lines and making precise cuts.
- Fabric pen or tailor’s chalk: To mark your cutting lines on the denim. A regular pen can also work on light-colored denim, but fabric pens are ideal as they often disappear or are easily washable.
- Needle and thread: For hand-stitching intricate details and reinforcing seams. Choose a strong thread that matches or complements your denim.
- Sewing machine: While some steps can be done by hand, a sewing machine will significantly speed up the process and provide stronger, more professional-looking seams, especially when working with thick denim.
- Flat-back pearls or beads: For embellishing your denim flowers, adding a touch of elegance and sparkle.
- Glue gun and glue sticks: Perfect for securely attaching decorative elements like pearls to your fabric flowers.
- Fabric clips or pins: To hold fabric pieces together securely before sewing, preventing shifting and ensuring accurate alignment.
- Lining fabric (optional but recommended): A piece of cotton or similar fabric, slightly larger than your bag, to create a neat interior finish and add durability. Choose a print or solid color that complements your denim.
- Button magnets or a zipper: For closing your bag securely. Magnets are often easier to install for beginners.
Step-by-Step Guide to Crafting Your DIY Denim Bag
Step 1: Preparing the Denim Body and Crafting Flower Petals
The first step involves meticulously preparing your old jeans to form the main structure of your bag and creating the charming denim flower embellishments. Start by laying your chosen pair of jeans flat and smooth. Using your measuring tape, carefully measure 38 cm (approximately 15 inches) from the leg opening upwards on one leg. This measurement will determine the height of your bag. Mark a clear, straight line across the leg using your fabric pen and ruler, then cut along this line. Repeat this process for the other leg if you plan to make a wider bag or need extra fabric. Next, take the cut denim piece and carefully snip open the side seams on both sides. This will unfurl the cylindrical leg piece into a flat, rectangular fabric panel. This panel will form the body of your bag. Now, take these two denim panels and sew them together along one long edge, right sides facing. It’s crucial to leave the original hemmed edges of the jeans intact, as these will naturally form the neat, finished opening of your bag. After sewing the main seam, create structured “boxed corners” at the bottom of the bag. To do this, flatten the bottom seam and side seam to form a triangle, then measure approximately 3-4 cm (1.2-1.6 inches) from the corner and sew across this line. Trim the excess fabric, and when you turn the bag right side out, you’ll have a flat, defined base. Set this main bag body aside temporarily.
Now, let’s focus on creating the charming denim flower embellishments. Grab the remaining part of the jeans or another leg. This time, cut out a section from the upper part of one leg, ensuring you avoid the main pocket area for now. Use a ruler to measure and trim both sides to remove any uneven edges, ensuring you have a rectangular piece of fabric. Fold this denim rectangle in half lengthwise, then cut it into two equal pieces. Repeat this folding and cutting process: fold each piece in half again, mark the center with your ruler, and cut. Then, fold these resulting four pieces horizontally and cut them in half again. You should now have several smaller fabric pieces. Verify their dimensions with your measuring tape; each piece should ideally measure approximately 5 cm vertically by 24 cm horizontally (about 2 by 9.5 inches). Take one of these smaller denim rectangles. Fold it into three equal sections lengthwise. With it folded, carefully cut around the edges to create a gentle, rounded shape, resembling a flower petal. The goal is to avoid sharp corners and give it an organic, soft appearance. Repeat this precise cutting process for all the remaining smaller fabric pieces. Consistency in shape will ensure your finished flowers look cohesive and beautiful.
Step 2: Assembling the Denim Flowers and Detailing
With your flower petals ready, it’s time to bring them to life. First, grab the original pair of jeans again. Carefully cut out the back pockets and the entire waist belt section. Trim away any excess fabric from the waist belt, and meticulously remove the belt loops and the main button. The waist belt will serve a crucial function later as your bag’s strap, so ensure it remains as intact as possible. Now, let’s return to your collection of flower petal-shaped denim pieces. Take one petal and, using your needle and thread, begin to stitch loosely along one of the long edges. Once you’ve stitched across the entire length, gently pull the thread taut. As you pull, the fabric will gather and pucker, naturally forming a beautiful, three-dimensional flower shape. Adjust the gathers until you are satisfied with the flower’s appearance. To secure this shape, sew a few small, tight stitches right at the center of the gathered fabric. This “locks” the flower in place, preventing it from unraveling. For an elegant finishing touch, select a flat-back pearl. Apply a small dab of hot glue from your glue gun to the center of your newly formed denim flower, then carefully press the flat-back pearl onto the glue. Hold it for a few seconds to ensure a secure bond. Repeat this entire process – loose stitching, gathering, securing, and adding a pearl – for all the remaining denim flower petals until you have a sufficient number of embellishments for your bag. Experiment with slight variations in gathering to create flowers with unique characters.
Step 3: Final Assembly, Lining, and Finishing Touches
Now, it’s time to bring all the components together and transform them into your completed denim bag. Take your main bag body that you prepared in Step 1. Arrange your beautiful denim flowers on the front side of the bag, experimenting with different layouts until you find a design that pleases you. Once you’re happy with the placement, use your needle and thread to securely sew each flower onto the denim bag. Make sure to stitch through a few layers of the flower’s base to ensure it’s firmly attached and won’t detach with use. Next, we’ll create the lining for your bag, which provides a neat finish and extra durability. Choose your lining fabric and cut out two identical pieces that match the shape of your denim bag’s main body, but make them just a little larger (about 1 cm or 0.4 inches all around) to allow for seam allowances. Take the back pockets you cut from the original jeans. Decide where you’d like interior pockets in your bag and sew one of these jean pockets onto one side of your lining fabric using your sewing machine. Repeat for the other pocket on the other lining fabric piece. This is a fantastic way to add functional storage to your upcycled bag. Now, place the two lining fabric pieces together with their right sides facing each other. Sew them together along the sides and bottom, leaving the top edge open. Before inserting the lining into the denim bag, ensure that the lining piece is inverted (wrong side out). Carefully place the lining inside the denim bag, aligning the seams and corners. The wrong side of the lining should be facing the wrong side of the denim bag. Use fabric clips or pins to hold the top edges of the lining and the denim bag together securely, ensuring a neat and even alignment.
With the lining clipped into place, it’s time to attach the strap. Take the waist belt you prepared earlier. Position each end of the waist belt between the denim bag and the lining, at the top edges where you want your strap to be. Ensure the belt is not twisted and is evenly placed on both sides. Once everything is perfectly aligned and clipped, use your sewing machine to sew all the layers together – the denim bag, the lining, and the strap ends – all around the top opening of the bag. This will create a strong, clean finish and securely attach the strap. Finally, to complete your bag, sew button magnets onto the inside of the bag opening, opposite each other. These will serve as a secure closure, keeping your belongings safe inside. If you prefer, you could also opt for a zipper closure for added security, though button magnets are generally easier for DIY projects. With these final touches, your beautiful, custom-made upcycled denim bag is complete! Step back and admire your handiwork. You’ve not only saved a pair of jeans from the landfill but also created a unique and stylish accessory that embodies creativity and sustainability. This bag is perfect for everyday use, shopping trips, or as a thoughtful, handmade gift.
DIY Bag Made From Old Jeans: Your Ultimate Upcycling Tutorial
Congratulations, you’ve just completed a fantastic upcycling project! This DIY bag made from old jeans is more than just a functional accessory; it’s a testament to your creativity, resourcefulness, and commitment to sustainable living. Every stitch, every cut, and every carefully placed embellishment contributes to a unique piece that tells its own story. Imagine the conversations this bag will spark, all starting with, “I made it myself from an old pair of jeans!” This project offers endless possibilities for personalization. You can experiment with different denim washes, add various embellishments like embroidery, patches, or even fabric paint. Consider varying the number and size of your denim flowers, or try different strap materials like a chain or a braided denim strap. The beauty of DIY is that there are no strict rules, only opportunities to express your individual style. Beyond the aesthetic appeal, upcycling old jeans into a bag significantly reduces textile waste, lessening your environmental footprint. It’s a small yet impactful way to contribute to a circular economy, giving new life to materials that might otherwise end up in a landfill. We hope this detailed tutorial has inspired you to look at your old clothes with new eyes and discover the hidden potential within them. Happy crafting, and enjoy your beautiful, handmade denim bag!