
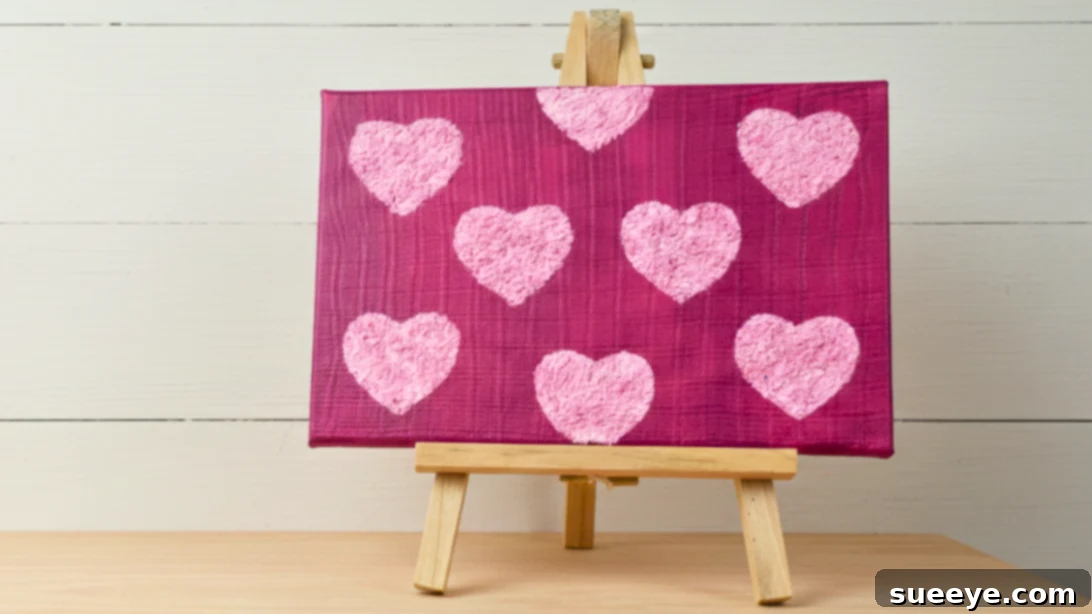
Create Stunning Textured Heart Canvas Art: A Beginner’s Guide
Embarking on the journey of artistic expression is a deeply personal and rewarding experience. While I may not consider myself a professional artist, I’ve discovered the joy of creating impactful pieces through various painting techniques. The beauty of art lies in its subjectivity; there’s no single “correct” method. Your vision, the story you want to tell, and the emotions you wish to evoke are far more critical than adhering to rigid technical rules. Remember, every artist begins somewhere, and the key to improvement lies in consistent practice. With each brushstroke, each experiment, you’ll gradually transform painting from a daunting task into a fluid, intuitive process.
Explore Related Crafts: Easy DIY Eco Bag Heart Wreath
Why You Should Try This Textured Painting Project
This textured painting project offers an accessible and enjoyable entry point into the world of art. It’s specifically designed to be beginner-friendly, ensuring that even those with no prior experience can achieve impressive results. The process is simple, fun, and allows for a high degree of personalization. Imagine crafting a unique, heartfelt gift for friends or family, tailored precisely to their tastes and preferences. The paper mache technique can also be adapted to smaller canvases, opening up possibilities for creating charming keychains – perfect for gifting or even selling. This project is more than just a craft; it’s an opportunity to explore creative painting hacks, develop your artistic voice, and share your one-of-a-kind creations with the world.
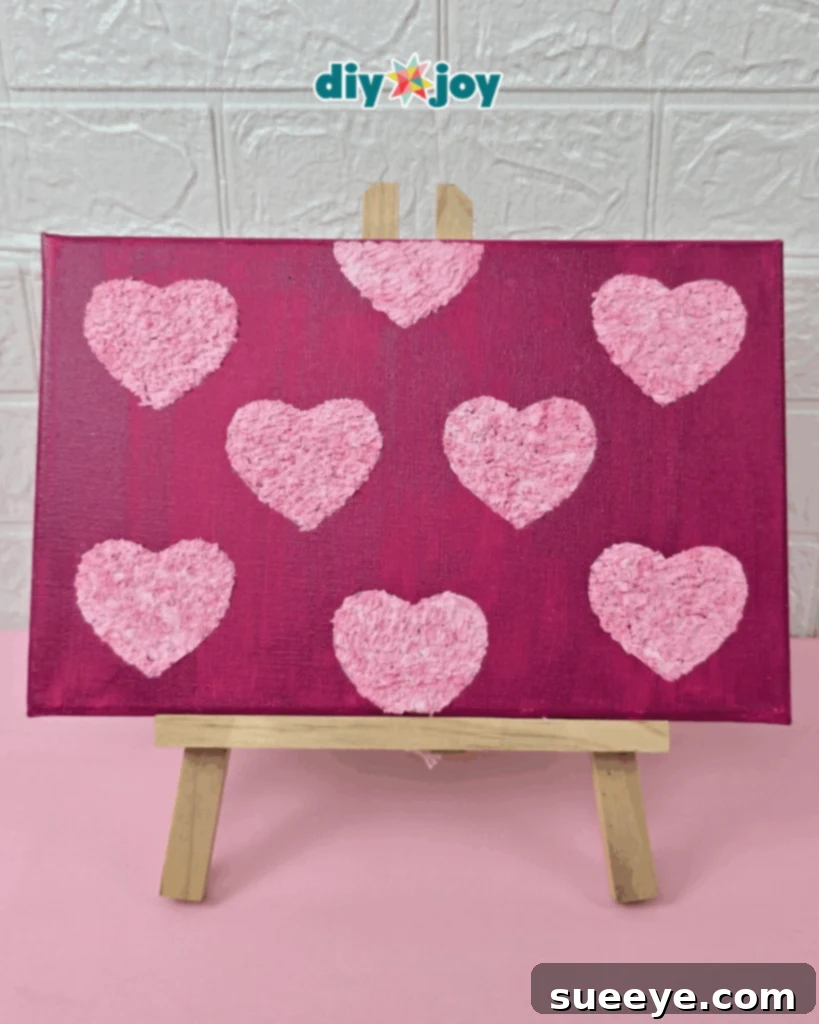
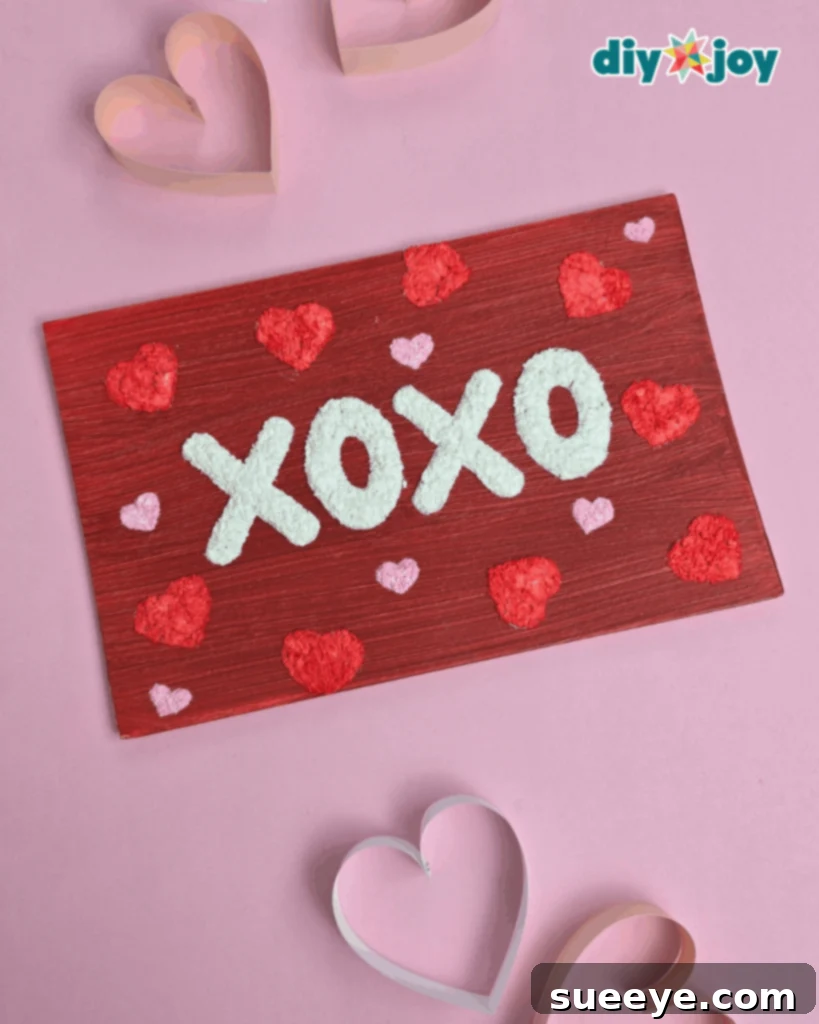
Painting is often about discovery, about pushing boundaries and exploring unconventional techniques. Beyond traditional brushes and canvases lies a vast landscape of creative possibilities. Consider the potential of using everyday objects like plastic wrap, tissue paper rolls, cotton swabs, or even Q-tips to create unique textures and effects. Today, I’m thrilled to guide you through a straightforward and beginner-friendly method for creating a captivating textured painting using a simple paper mache technique. This approach is not only easy to follow but also guarantees a stunning result, even if it’s your very first attempt at textured art.
How to Make Textured Heart Canvas Art Painting: A Step-by-Step Guide
Step 1: Prepare Your Canvas
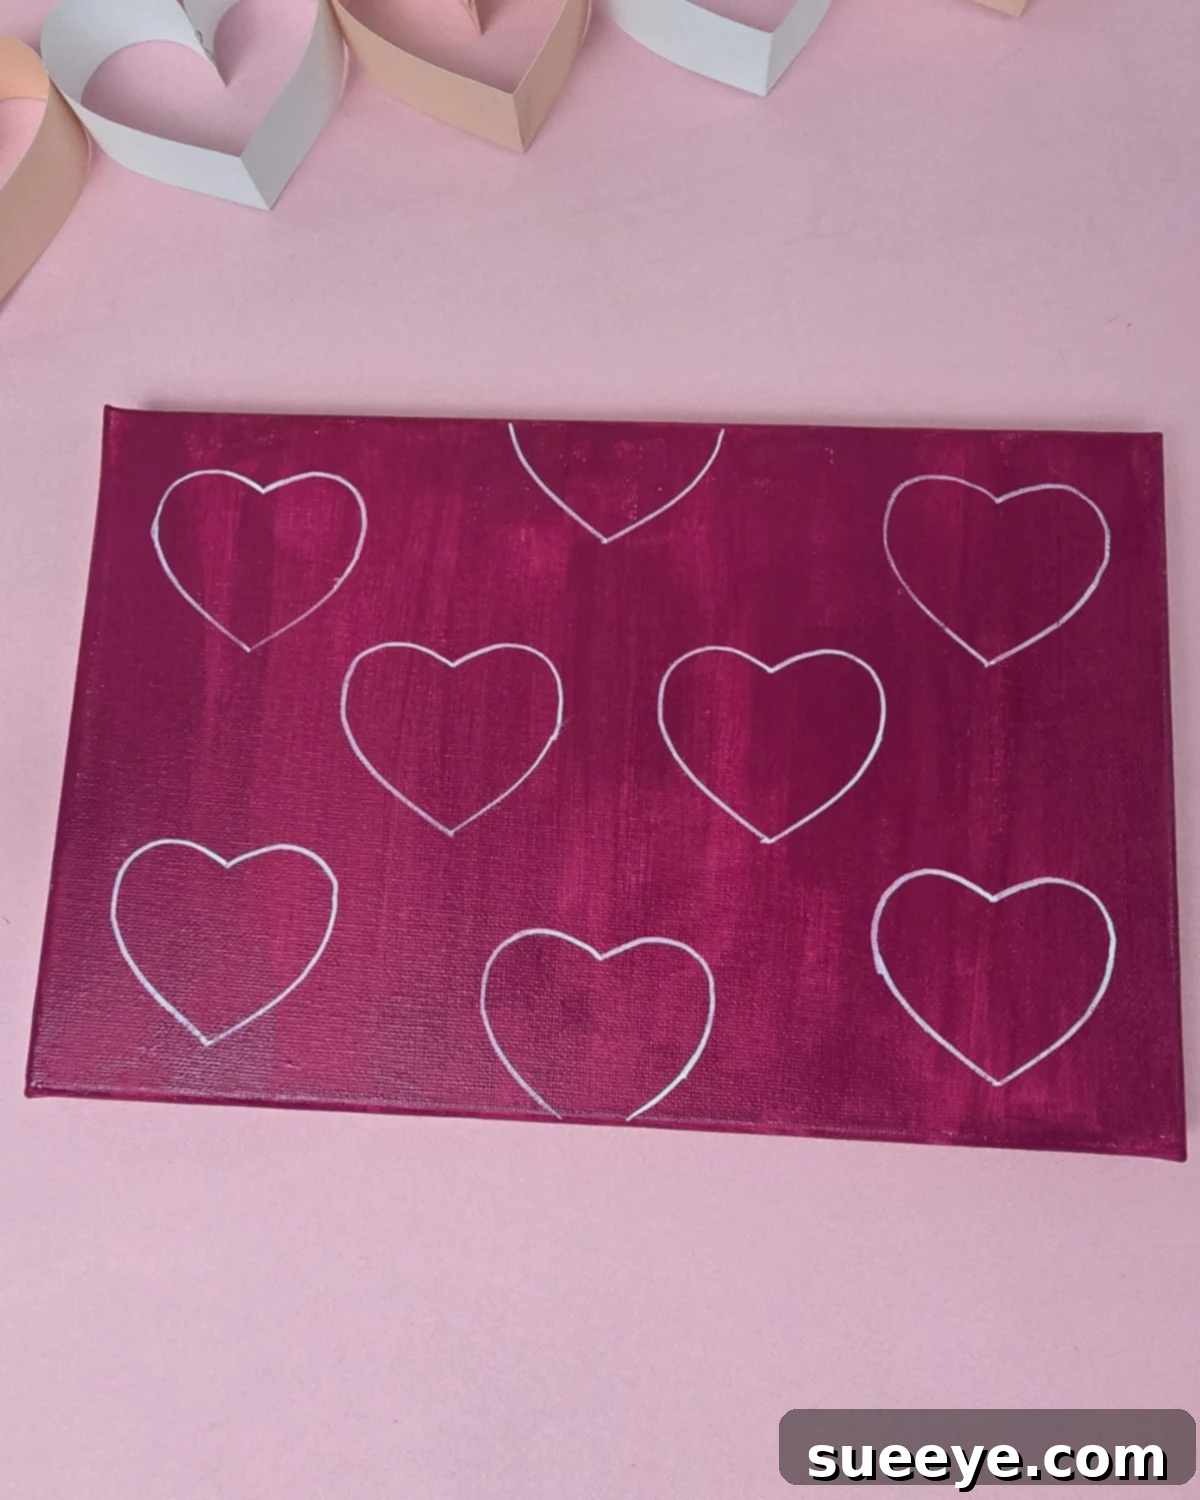
Begin by painting your canvas with your chosen base color. This will serve as the backdrop for your textured heart. Allow the paint to dry completely before proceeding. Once the canvas is dry, lightly sketch a heart shape, or any other shape or letters you desire, onto the canvas. This outline will guide you as you apply the paper mache mixture.
Step 2: Create the Paper Mache Mixture
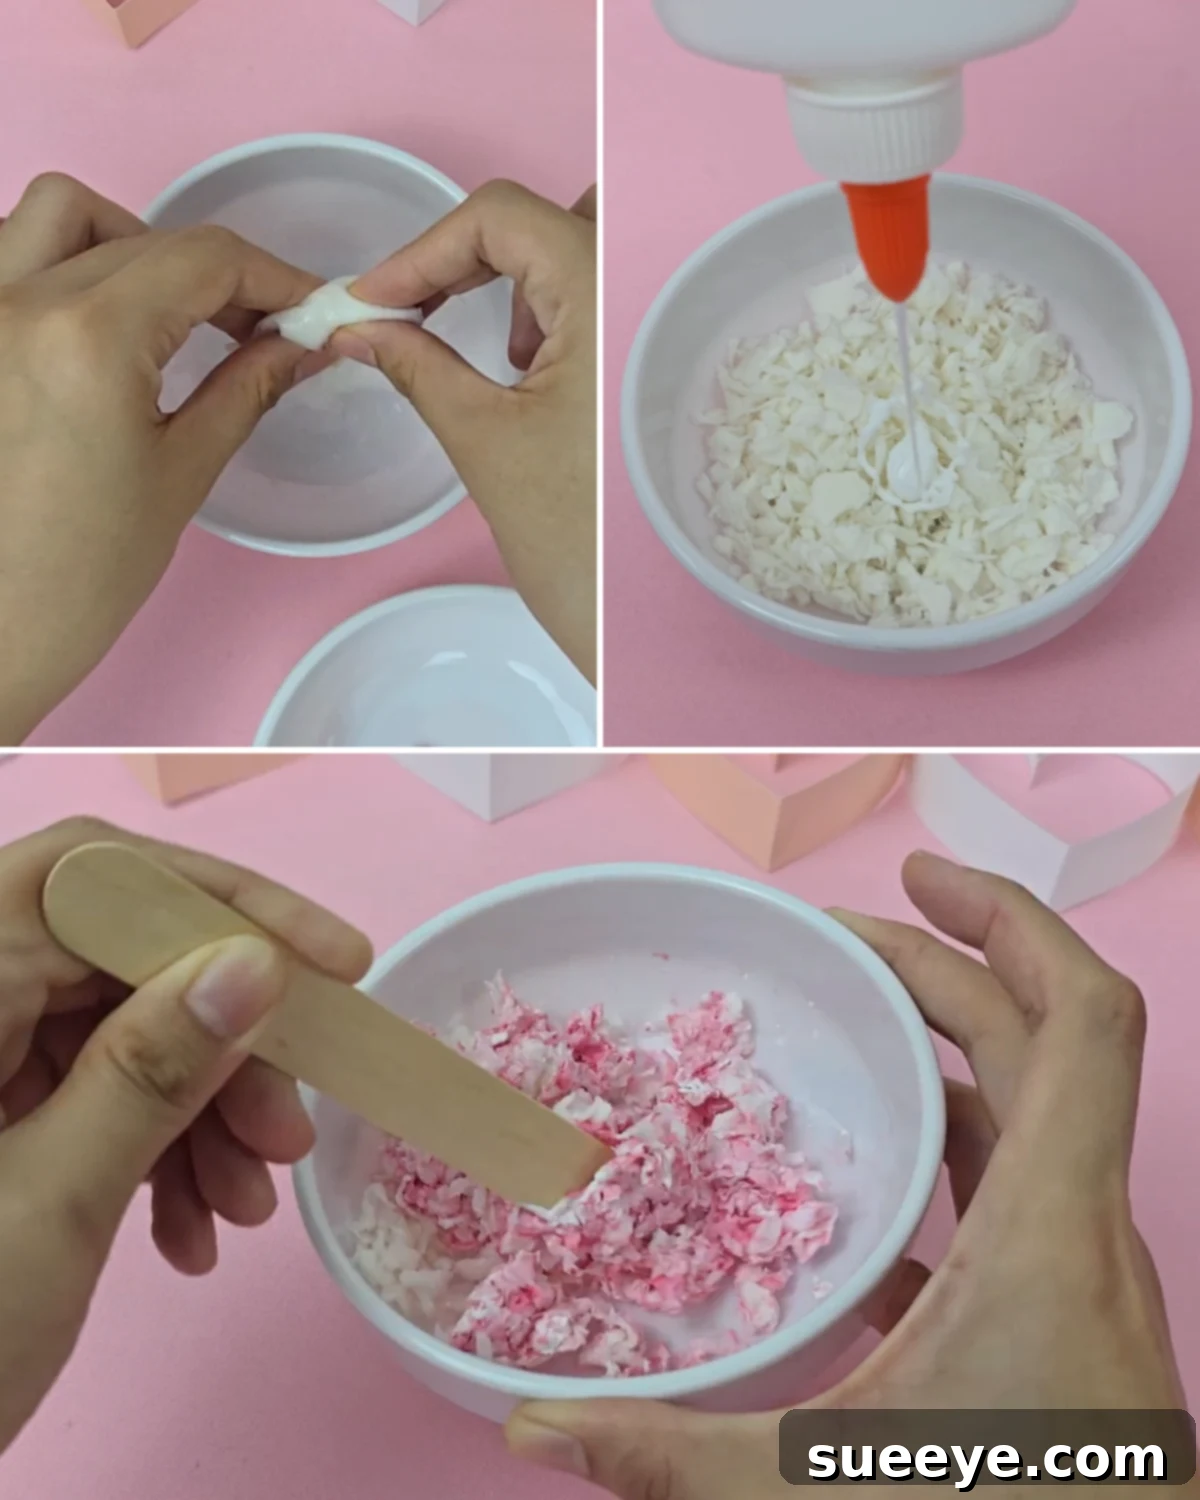
Tear the tissue paper into small, manageable pieces and place them in a bowl. Add enough water to fully saturate the tissue paper. Once the tissue is thoroughly soaked, gently squeeze out the excess water. Transfer the dampened tissue to a dry bowl. Further tear the tissue into even smaller pieces. Now, add glue and your desired paint color to the bowl. Mix all ingredients thoroughly until they are fully combined, creating a cohesive paper mache mixture.
Step 3: Apply the Paper Mache to the Heart
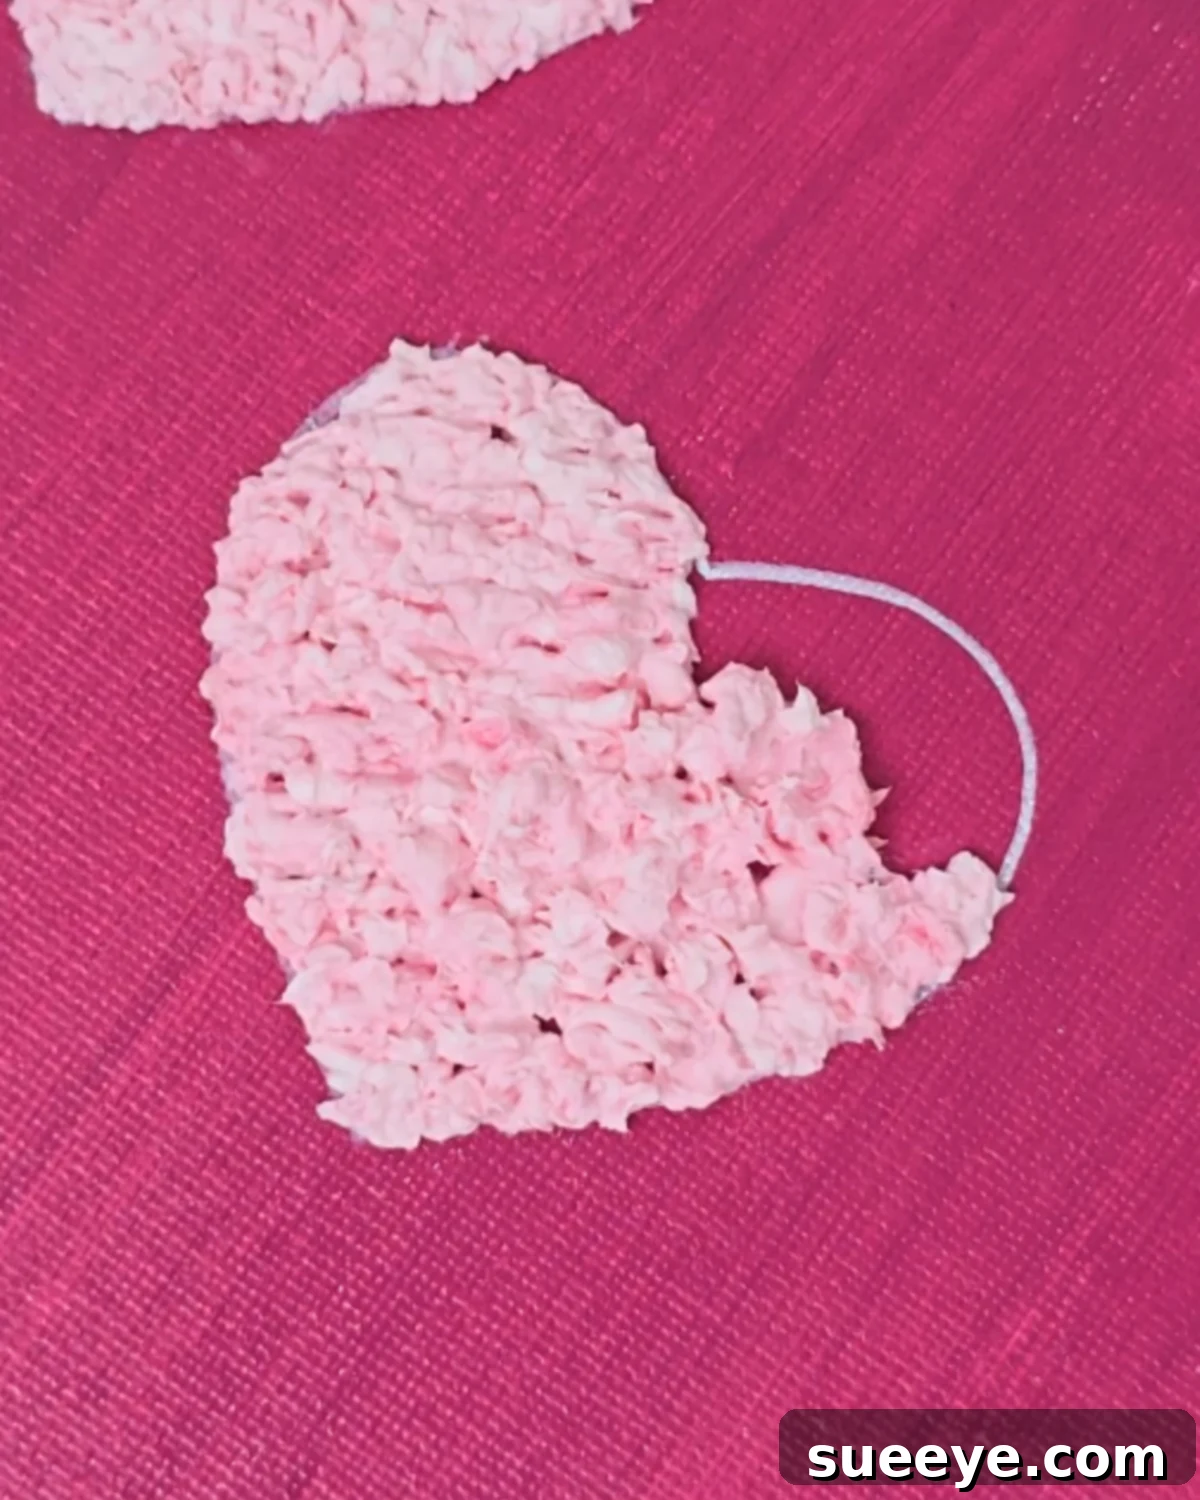
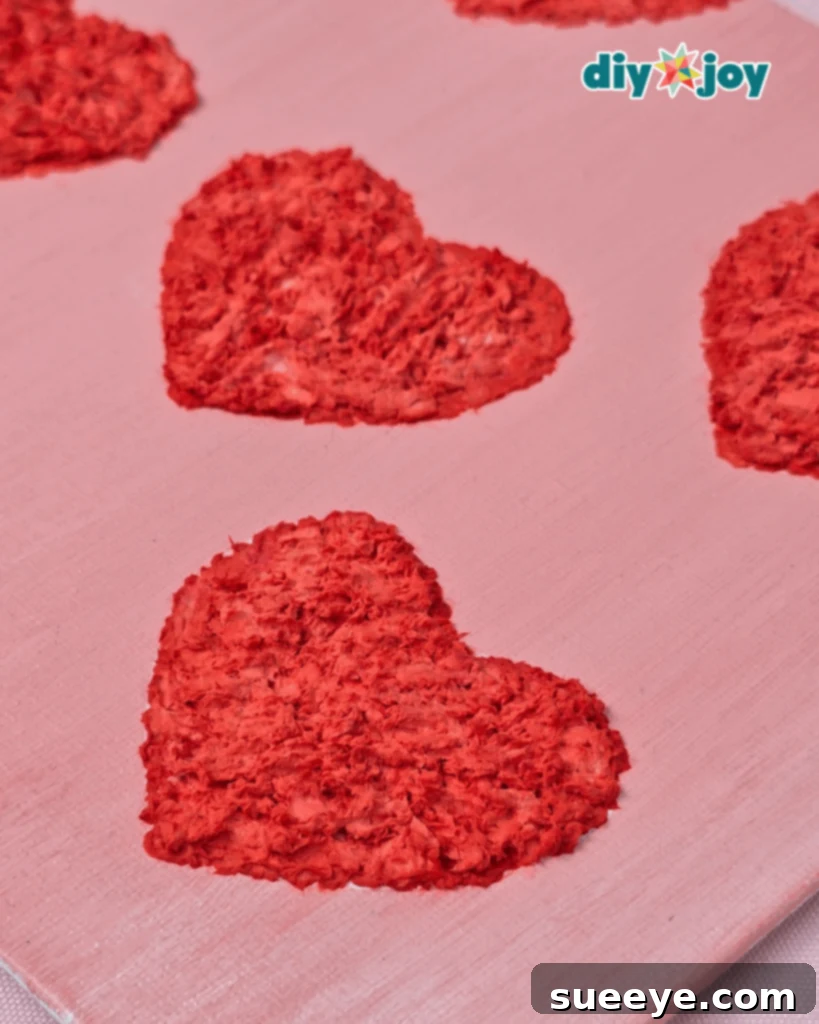
Carefully fill the entire heart shape (or whichever shape you’ve chosen) with the prepared tissue paper and glue mixture. Spread the mixture evenly to ensure complete coverage and to conceal any visible lines from your initial sketch. For a more pronounced textured or embossed effect, add additional layers of the paper mache mixture. However, be mindful not to overload the canvas, as this can significantly increase the drying time. Once you’re satisfied with the texture, set the canvas aside and allow it to dry completely. This may take several hours, depending on the thickness of the mixture and the ambient humidity.
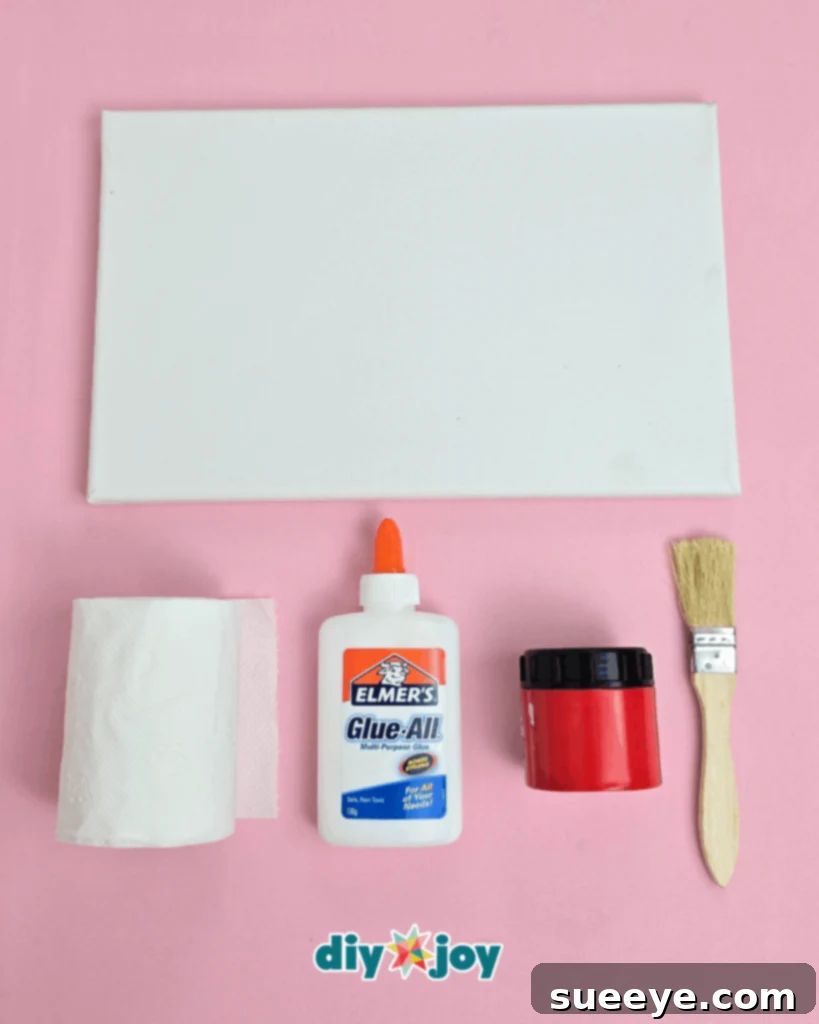
Materials You’ll Need
- Canvas (any size you prefer)
- Acrylic Paint (various colors for the base and the paper mache mixture)
- Heart Template (optional, for tracing the heart shape)
- Marker or Pencil (for sketching the heart outline)
- Tissue Paper (various colors for visual interest)
- Water
- Glue (school glue or craft glue works well)
- Mixing Bowls
- Paintbrushes
Pro Tips for Stunning Results
Control the Tissue Texture
The size and uniformity of the tissue paper pieces directly impact the final texture of your art. Smaller, more uniform pieces will result in a smoother texture, while larger, more varied pieces will create a more rustic and pronounced texture. Experiment with different sizes to achieve your desired effect.
Experiment with Shapes and Colors
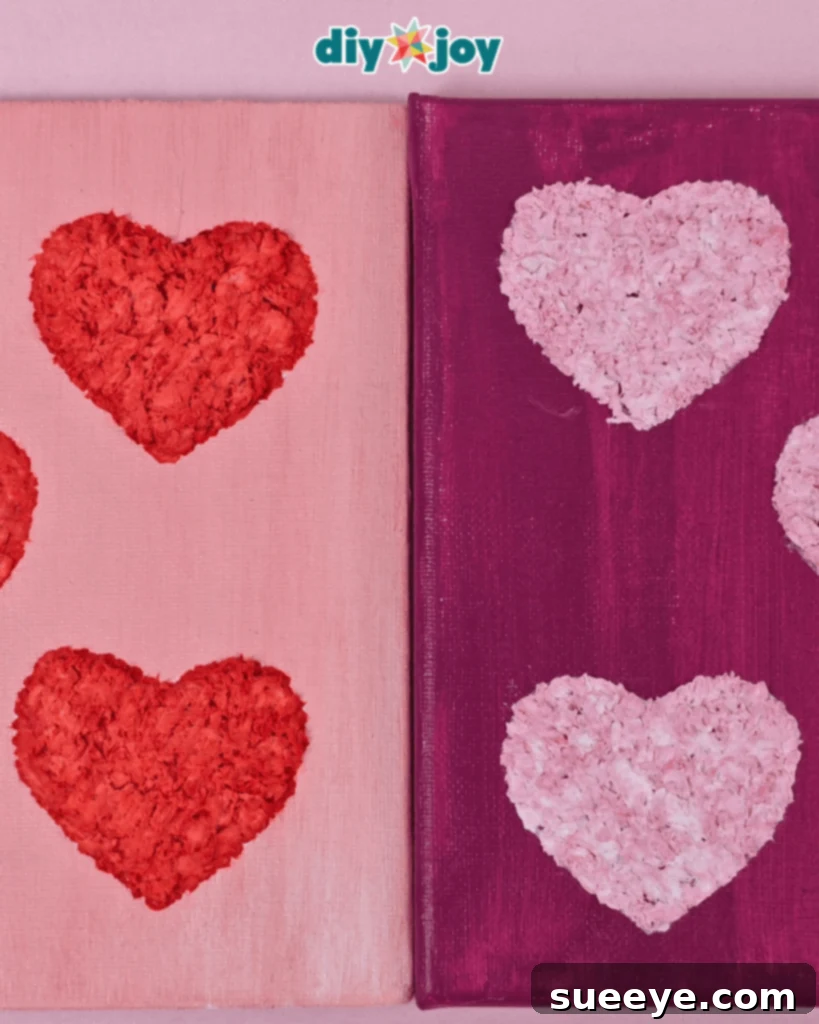
While hearts are a classic and timeless choice, don’t be afraid to explore other shapes, letters, or even abstract designs. Incorporating different colors into the paper mache mixture can also add depth and visual interest to your artwork. This technique is particularly effective for creating personalized gifts or unique wall art.
Layering Techniques
Experiment with layering different colors of tissue paper in your paper mache mixture. This can create a beautiful, multi-dimensional effect in your final piece. You can also try adding small amounts of glitter or other embellishments to the mixture for an extra touch of sparkle.
Drying Time
Be patient with the drying process! Rushing the drying can lead to cracks or uneven textures. Allow the canvas to dry completely in a well-ventilated area. You can even use a fan to speed up the drying time if needed, but avoid placing the canvas in direct sunlight, as this can cause the colors to fade.
Sealing the Finished Artwork
Once the canvas is completely dry, consider sealing it with a clear acrylic sealant. This will protect the artwork from dust, moisture, and UV damage, ensuring that it lasts for years to come. You can find acrylic sealant at most craft stores in either spray or brush-on form.
Adding a Frame
Framing your finished textured heart canvas art can add a polished and professional look. Choose a frame that complements the colors and style of your artwork. A simple, minimalist frame can be a great choice for highlighting the texture and design of the piece.
Personalizing with Paint
Once the paper mache is dry, you can use acrylic paints to add further details or embellishments to your artwork. Consider outlining the heart shape with a contrasting color, or adding small details such as dots, swirls, or patterns. This is a great way to further personalize your creation.
Using Different Textures
Don’t limit yourself to just tissue paper! Experiment with other types of paper, such as newspaper, construction paper, or even fabric scraps. Each material will create a unique texture in your paper mache mixture. You can also try adding small objects, such as beads, buttons, or shells, to the mixture for an even more textured and dimensional effect.
Creating a Gradient Effect
You can create a beautiful gradient effect by using different shades of the same color in your paper mache mixture. Start with a lighter shade at the top of the heart and gradually transition to a darker shade at the bottom. This will add depth and dimension to your artwork.
Exploring Abstract Designs
While this tutorial focuses on creating a heart shape, don’t be afraid to explore abstract designs. You can use the paper mache technique to create all sorts of interesting textures and patterns. Experiment with different shapes, colors, and layering techniques to create a truly unique and one-of-a-kind piece of art.
More Crafts to Inspire You
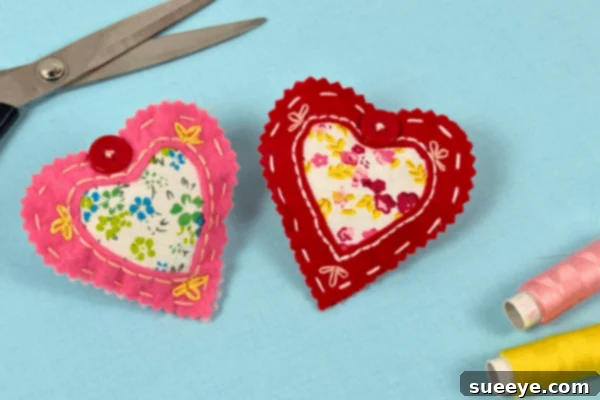
Easy Fabric Hearts Sewing Tutorial (No Machine Needed!)
Sewing Ideas
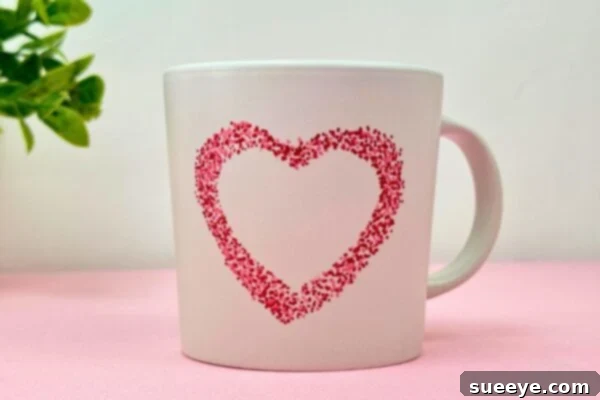
DIY Customized Mug Using Sharpie
Crafts
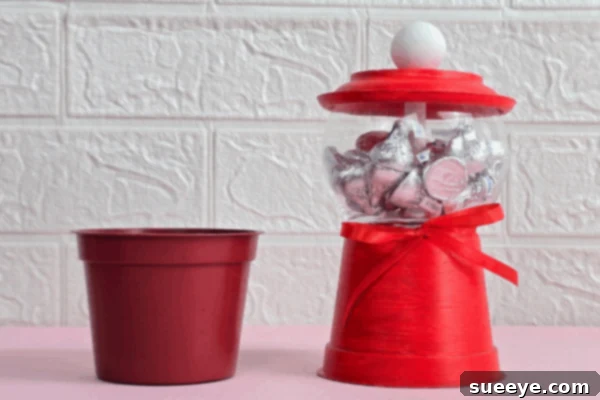
Easy DIY Flower Pot Candy Jar
Crafts
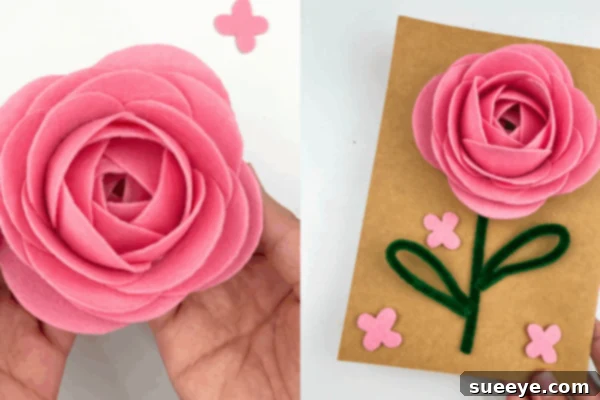
How to Make Roses With a Paper Cup | DIY Valentine’s Day Card
Paper Flowers
If you enjoyed this craft, be sure to visit our official website, follow our Facebook page, and subscribe to our YouTube channel for even more creative inspiration!
Unleash Your Creativity with Textured Heart Canvas Art
Creating textured heart canvas art is a fantastic way to express your creativity and add a personal touch to your home decor. This simple and enjoyable project is perfect for beginners and allows for endless customization. By following these step-by-step instructions and incorporating the pro tips provided, you can create a stunning piece of art that you’ll be proud to display.
Remember, the key to success is to experiment, have fun, and let your creativity shine. Don’t be afraid to try new colors, textures, and shapes. With a little practice and imagination, you can create a truly unique and beautiful piece of art that reflects your individual style and personality.
So gather your materials, find a comfortable workspace, and let’s get started on this exciting artistic adventure! You’ll be amazed at what you can create with just a few simple supplies and a little bit of creativity.