Supplies for Basic Embroidery Stitches
Supplies You Need For This Project
✨ Most people grab these three items
Embroidery Floss
These are not your ordinary sewing threads. Embroidery threads are thicker, smoother, and designed to create cleaner and more visible stitches on fabric. They also come in many colors, making them great for adding details and designs.
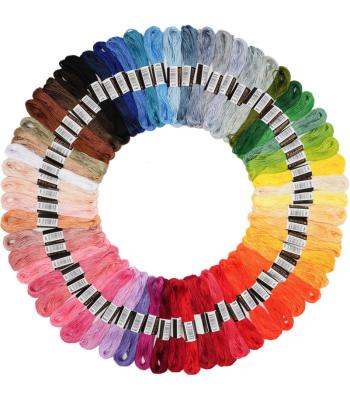
Shop this Embroidery Floss
Embroidery Fabric
Embroidery fabric provides a sturdy surface for stitching and helps keep your designs neat and even. It is suitable for hand embroidery, punch needle, and other needlework projects.
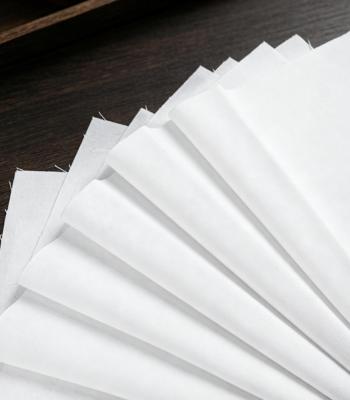
SHOP This Embroidery Fabric
Embroidery Hoop
An embroidery hoop helps keep fabric securely in place while you stitch. It keeps the fabric taut, making it easier to create neat and even embroidery.
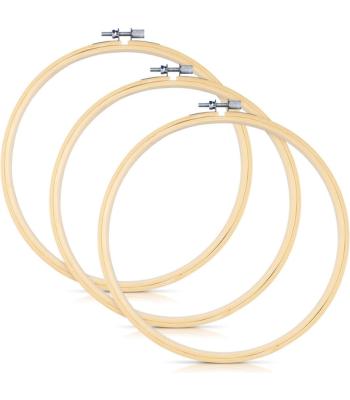
SHOP This Embroidery Hoop
These products are all listed on our Sueeye Amazon store, so you can order and know exactly what you will get and when. We do earn a small commission on these links and very much appreciate your support ❤️
Quick Steps
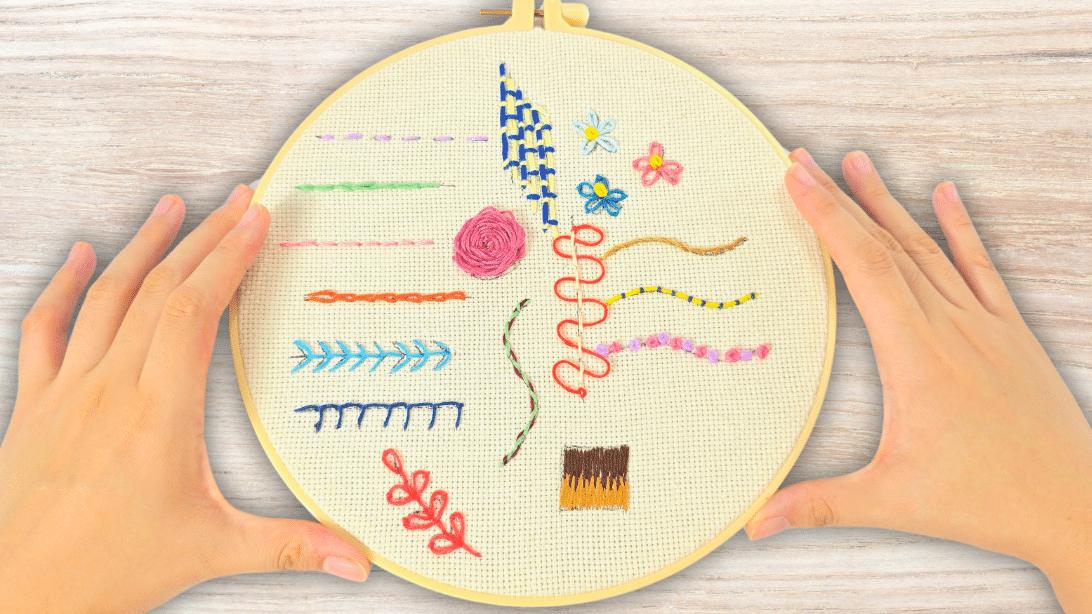
- Running Stitch: Make evenly spaced straight stitches by bringing the needle up and down through the fabric in a continuous line.
- Split Stitch: Make a straight stitch, then bring the needle up through the center of the previous stitch before making the next stitch.
- Backstitch: Make one stitch, then bring the needle up ahead and insert it back into the end of the previous stitch.
- Chain Stitch: Form loops by bringing the needle up through the center of the previous loop, then secure each loop as you continue.
- Fly Stitch: Form a V-shaped stitch, then secure the center with a small straight stitch.
- Blanket Stitch: Make evenly spaced edge stitches, keeping the thread looped under the needle to form interlocking L-shaped stitches.
- Stem Stitch: Stitch forward while bringing the needle up halfway back beside the previous stitch, keeping the thread on the same side.
- Couching Stitch: Lay a thick thread on the fabric, then secure it with small stitches placed evenly across it.
- French Knot: Wrap the thread around the needle 2 to 3 times, insert it close to the starting point, and pull through to form a knot.
- Brick Stitch: Make rows of alternating vertical and horizontal stitches, offsetting each row to create a brick pattern.
- Lazy Daisy Stitch: Form each petal with a loop secured by a small straight stitch, then finish the center with a French knot.
- Weave Backstitch: Create a row of backstitches, then weave a second thread under each stitch without piercing the fabric.
- Whipped Backstitch: Make a row of backstitches, then wrap a second thread through each stitch without entering the fabric.
- Long and Short Stitch: Fill an area with alternating long and short stitches, blending the rows together for smooth coverage.
- Woven Wheel Stitch: Stitch five spokes from the center, then weave the thread over and under each spoke until a rose shape forms.
Watch The YouTube Video Tutorial
More Craft Ideas to Try
Crafts
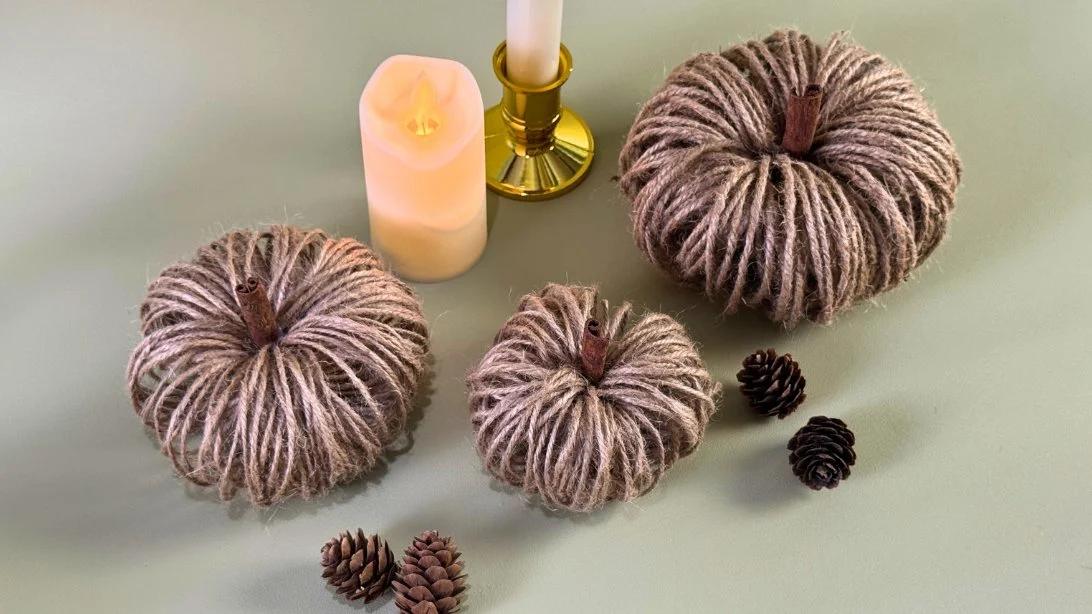
Fall Crafts – Twine Pumpkins Made From Toilet Paper Rolls
Crafts
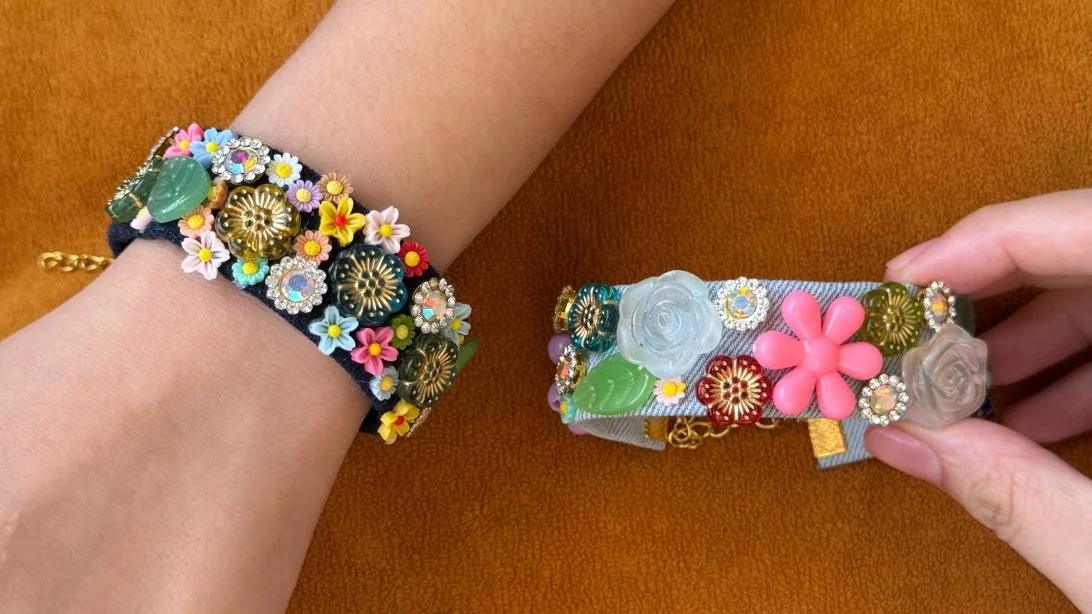
DIY Bracelet Ideas – Denim Flower Bracelet
Appetizers