Supplies for Air Dry Clay Jewelry Tray
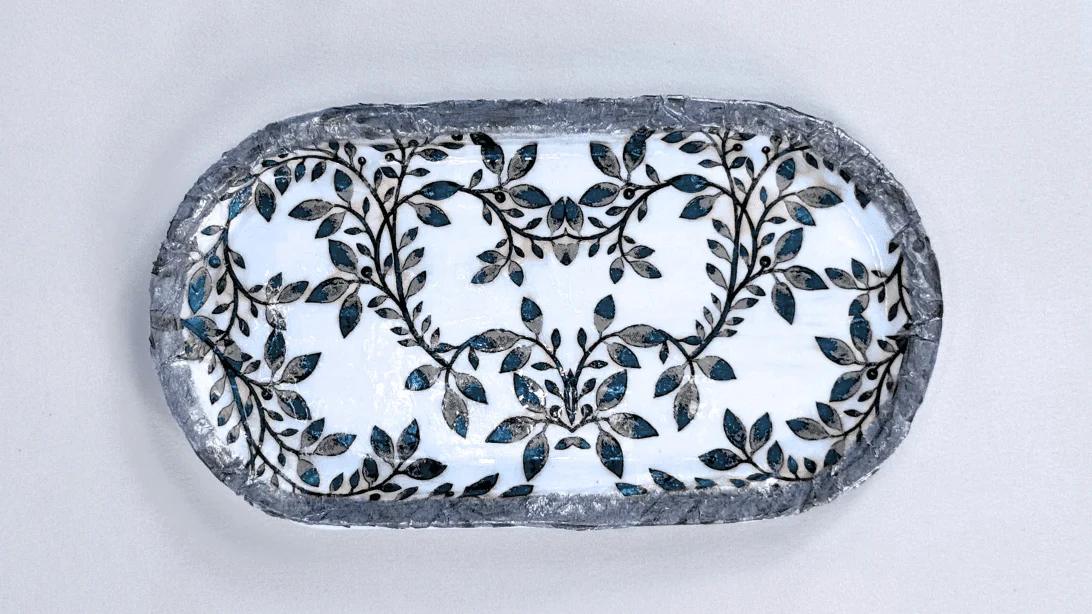
Supplies You Need For This Project
✨ Most people grab these five items
Air-Dry Clay
Air-dry clay is easy to work with and can be shaped into almost anything you can imagine. Once fully dried, it becomes hard and durable with a stone- or ceramic-like finish, making it great for a wide variety of craft projects.
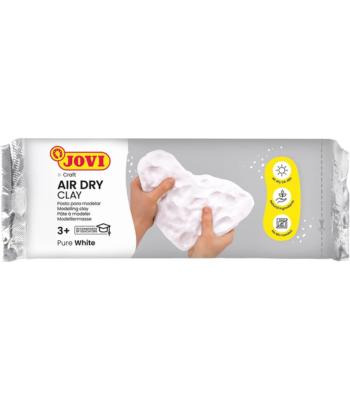
Shop this Air-Dry Clay
Napkin Paper
These printed napkin papers are decorative and can be used in a variety of craft projects. They work especially well for decoupage, making it easy to add detailed designs and patterns to different surfaces.
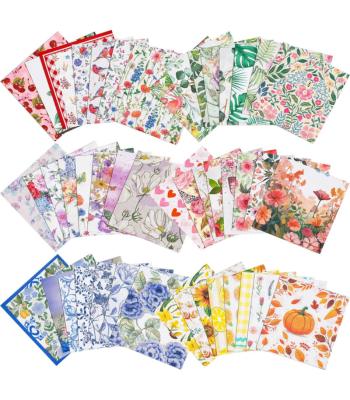
SHOP This Napkin Paper
Clay Sculpting Tool Set
Clay sculpting tools make it easier to shape, smooth, carve, and add fine details to clay projects. They are useful for working with air dry clay, polymer clay, and other sculpting materials, helping you achieve cleaner and more detailed results.
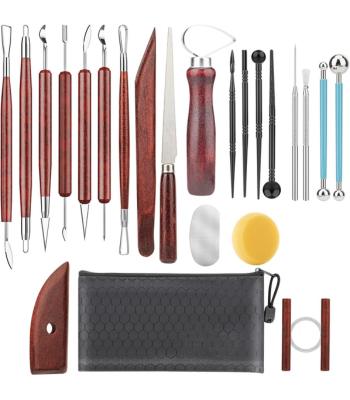
SHOP This Sculpting Tool Set
UV Resin
UV resin is a ready-to-use resin that cures within minutes under a UV lamp or sunlight, making it ideal for quick craft projects. Its clear, glossy finish is perfect for jewelry, keychains, charms, and other small DIY resin creations.
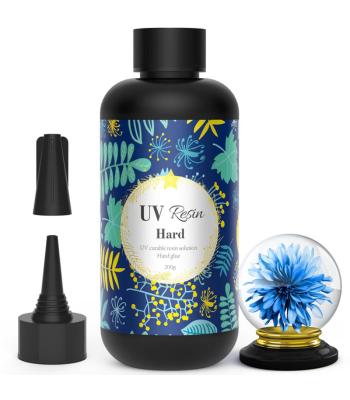
SHOP This UV Resin
UV Lamp
This UV lamp helps cure UV resin on your projects, ensuring the resin hardens properly with a smooth, glossy finish. It’s a useful tool for sealing designs and completing resin crafts quickly.
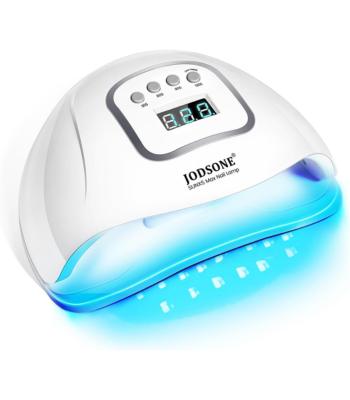
SHOP This UV Lamp
These products are all listed on our Sueeye Amazon store, so you can order and know exactly what you will get and when. We do earn a small commission on these links and very much appreciate your support ❤️
Quick Steps
- Roll out the clay, place the mold on top, and cut around it with extra allowance
- Dust the mold with powder, press the clay into it, and smooth the surface with a damp sponge
- Trim the excess clay, smooth the edges, and let it dry completely before removing it from the mold
- Prime the clay tray and apply a second coat if needed
- Brush Mod Podge onto the tray, apply the napkin paper, trim the excess, and seal with another coat of Mod Podge
- Add metallic details around the edges if desired
- Apply a thin layer of UV resin and spread it evenly over the tray
- Cure under a UV lamp until fully set
Watch The YouTube Video Tutorial
More Craft Ideas to Try
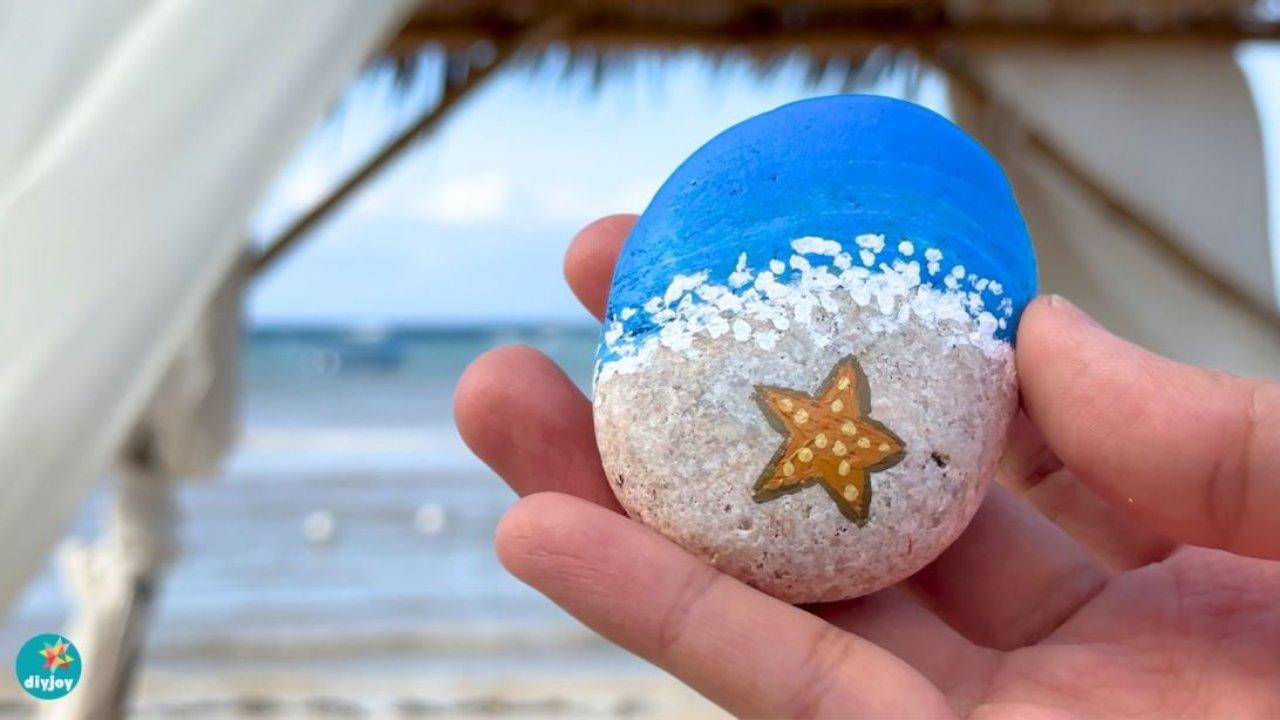
Painting & Art
Beach Rock Painting For Beginners
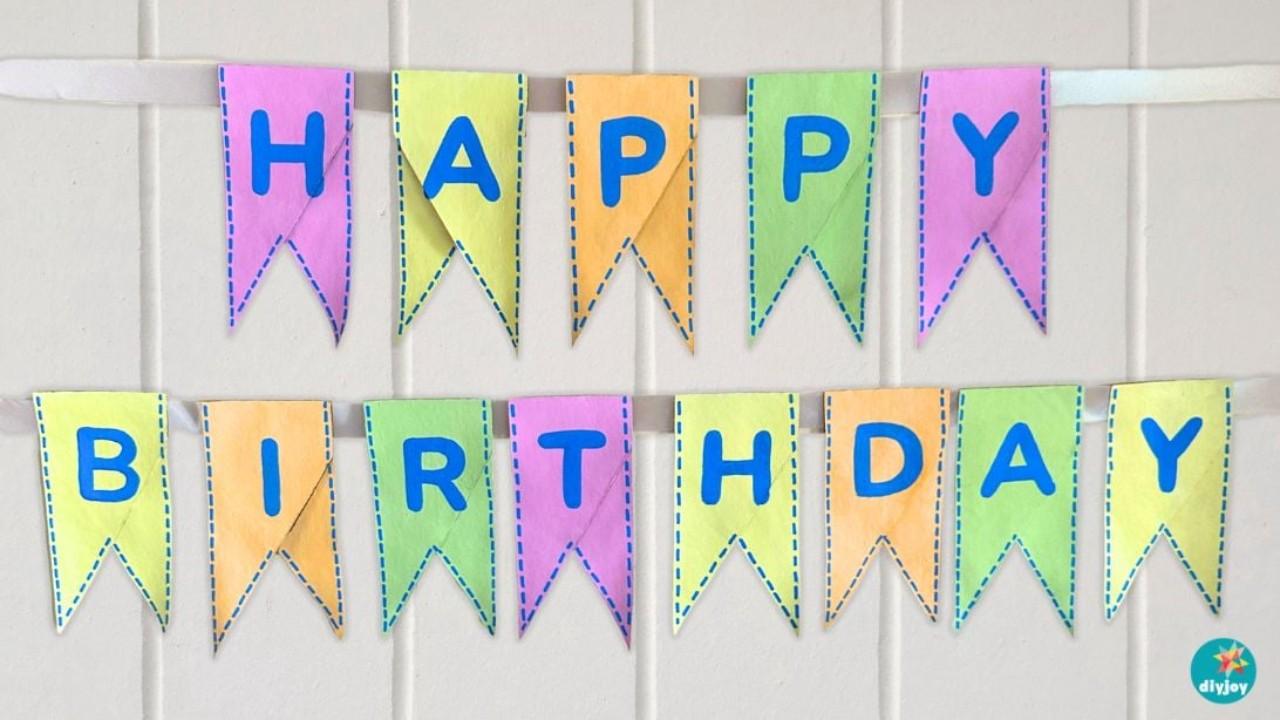
Paper Crafts
DIY Birthday Banner With Toilet Paper Rolls
Paper Crafts