
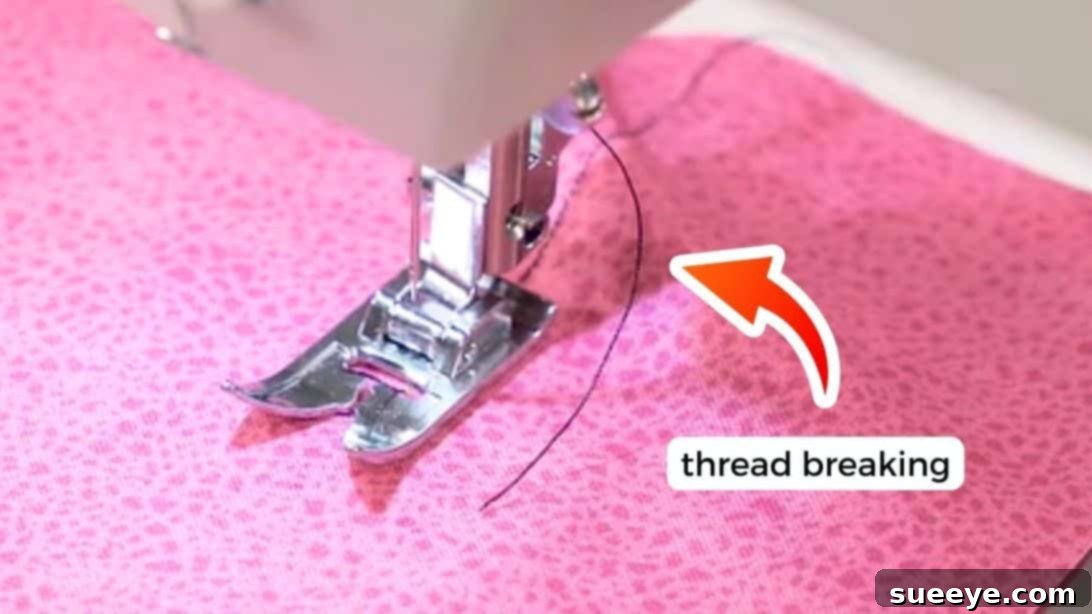
Few things are as frustrating for a sewer as the incessant problem of thread breaking. Whether you’re a seasoned seamstress rushing to finish a project or a beginner taking your first stitches, a snapping thread can quickly turn an enjoyable creative session into a vexing ordeal. It’s a remarkably common issue, often leading to wasted time, skipped stitches, and a general sense of exasperation. Before you let frustration get the better of you, understand that most thread breaking issues have simple, identifiable causes and straightforward solutions. This comprehensive guide will walk you through the most frequent culprits behind a snapping thread on your sewing machine, providing clear, actionable steps to troubleshoot and fix the problem. We’ll explore everything from thread quality to machine components, ensuring you can diagnose and resolve these pesky interruptions, getting you back to smooth, uninterrupted sewing. Some of these expert solutions are shared by trusted names in the industry, such as Singer Sewing Company, renowned for their deep understanding of sewing mechanics.
Sewing Mistakes 101: Conquering Thread Breaking Issues
1. The Foundation: The Quality and Condition of Your Thread
The very first place to look when encountering persistent thread breakage is often overlooked: the thread itself. You might assume all thread is created equal, but this is far from the truth. Using poor-quality thread, or thread that is old and degraded, is a primary cause of snapping. Inferior threads often have uneven thickness, excessive lint, or lack the necessary tensile strength to withstand the friction and tension of a sewing machine. They can shed more lint, leading to buildup in your machine’s critical components, exacerbating the problem. Always invest in good-quality thread from reputable brands. Furthermore, inspect your thread for age; old thread can become brittle and dry, making it prone to snapping under stress. Store your threads properly, away from direct sunlight and extreme temperatures, to preserve their integrity. If you’re using a specialty thread, ensure it’s compatible with your machine and needle setup.
2. The Tangled Upper Thread Conundrum: A Common Snag
One of the most frequent reasons for an upper thread to snap is due to it getting tangled along its path. A smooth, unobstructed thread path is crucial for consistent stitch formation. When the thread snags or wraps around parts of the machine, it creates sudden, excessive tension, causing it to break. This often happens at the spool pin area. The spool cap, a small plastic or felt disc, plays a vital role in ensuring the thread unwinds evenly from the spool. If the wrong size spool cap is used, or if it’s missing entirely, the thread can catch on the edges of the spool or the spool pin itself. To address this issue and prevent future upper thread breakage:
- Examine the Spool Area: Carefully inspect the spool pin and the area around it for any debris, loose threads, or nicks that might be catching the thread. A tiny rough spot can cause significant problems.
- Remove the Current Spool Cap: Take off the existing spool cap and any other accessories on the spool pin.
- Unthread the Machine Completely: It’s crucial to unthread your sewing machine from start to finish. This allows you to reset the entire thread path properly and ensure no unseen tangles remain.
- Select the Correct Spool Cap: Most sewing machines come with a variety of spool cap sizes. Choose one that is slightly larger than the hole in your thread spool, ensuring it holds the spool snugly without impeding its rotation. A larger cap often provides a smoother surface for the thread to glide off without catching.
- Rethread with Precision: Carefully rethread your machine, following the numbered guides and ensuring the thread is seated correctly in all tension discs and take-up levers. Pay close attention to the thread guides to ensure no sections are missed, as an improperly threaded machine is a prime cause of tension problems and thread breaks.
3. The Damaged Bobbin: A Hidden Saboteur Beneath Your Stitch
While the upper thread often gets the blame, issues with your bobbin can just as easily cause thread breakage. The bobbin thread forms the underside of your stitch, and any irregularity here will disrupt the entire stitch formation. A damaged bobbin can create significant friction and snagging, leading to its thread snapping. To determine if your bobbin is the culprit behind your sewing machine’s thread breaking:
- Visual Inspection: Remove your bobbin from its case (or the bobbin compartment) and carefully inspect it. Look for any visible signs of damage, such as nicks, burrs, rough edges, or warping. Even a tiny imperfection can cause problems as the thread unwinds rapidly during sewing.
- The Finger Test: Gently run your finger around the edges and surfaces of the bobbin. If you feel any rough spots or sharp edges, it’s likely damaged. These imperfections can abrade the delicate thread as it unwinds under tension, leading to fraying and breakage.
- The Thread Test: Take a length of thread and try pulling it across the edges of the bobbin, simulating how it would unwind during sewing. If the thread catches, snags, or frays, the bobbin is definitely causing an issue.
- Bobbin Winding Quality: Examine how the thread is wound on the bobbin. Is it wound smoothly and evenly, or does it look lumpy, too tight, or too loose? Improperly wound bobbins can lead to inconsistent tension and breakage. If it’s not wound perfectly, re-wind it carefully or use a new, freshly wound bobbin.
- Bobbin Type: Ensure you are using the correct type of bobbin for your specific sewing machine model. Using bobbins that are too small, too large, or made from an incompatible material can cause mechanical issues and thread problems due to incorrect fit and movement within the bobbin case.
If you identify any damage or improper winding, the best solution is to replace the problematic bobbin with a fresh, undamaged one that is correctly wound and appropriate for your machine. This simple step can often resolve persistent thread breaking problems instantly.
4. Upper Thread Catching on Spool Notches: A Subtle Snag
Sometimes, the issue isn’t a tangled mess but a subtle snag right at the thread spool itself. Some thread spools, particularly those designed for sergers or specialized machines, come with a small notch or slit on the rim. While this notch is intended to secure the thread end when the spool is not in use, it can inadvertently catch the working thread as it unwinds, especially if the spool is spinning rapidly or unevenly. This sudden snag creates an immediate tension spike, leading to thread breakage. The fix for this specific type of upper thread breaking is surprisingly simple:
- Inspect Your Spool: Take your thread spool off the pin and examine its top and bottom edges. Look for any small cuts, nicks, or deliberate notches.
- Flip the Spool: If you find a notch, simply flip the spool of thread over so that the notch is facing away from the path the thread takes as it unwinds into the machine. This reorients the spool so that the thread pulls from a smooth edge, eliminating the catching point.
- Rethread Your Machine: Once the spool is reoriented, carefully rethread your machine from the beginning to ensure everything is seated correctly and the thread path is clear.
For spools that are cross-wound (where the thread crisscrosses on the spool rather than being stacked evenly), sometimes using a vertical spool pin or an external thread stand can also help ensure a smoother draw, preventing snags that lead to thread breaking, even without a visible notch.
5. The Needle: Your Machine’s Unsung Hero and a Major Cause of Snaps
The needle is arguably the most critical component in forming a stitch, and issues with it are a rampant cause of thread breaking, especially if the thread snaps almost immediately as you begin to sew. Many sewers overlook the condition and orientation of their needle, yet it’s often the culprit. Here’s a detailed look at needle-related problems that lead to your sewing machine thread breaking:
- Incorrect Needle Insertion: This is a very common mistake. Most domestic sewing machine needles have a flat shank on one side and a rounded shank on the other. The flat side nearly always faces the back of the machine when inserted correctly. If you’ve inserted the needle with the flat side facing the front (or any other incorrect orientation), it won’t pick up the bobbin thread properly, will hit parts of the machine, or will create extreme friction on the thread, causing it to snap. While many modern machines have safeguards to prevent backward insertion, it can still happen or lead to a slightly off-kilter positioning, which is enough to cause breakage.
- Dull or Bent Needle: Needles wear out quickly. Even if they don’t visibly break, they can become dull from repeated use, especially when sewing through dense fabrics or multiple layers. A dull needle struggles to penetrate fabric, causing increased resistance and friction on the thread, which can fray and snap it. A bent needle, even slightly, will not enter the fabric cleanly or pick up the bobbin thread correctly, leading to skipped stitches and breakage. Change your needle after every 8-10 hours of sewing or after completing a major project, and always replace it immediately if you suspect it’s bent.
- Wrong Needle Type or Size: Using the incorrect type of needle for your fabric or thread can lead to a host of problems, including persistent thread breaking.
- Needle Type: A sharp needle (like universal or microtex) is best for woven fabrics as it cleanly pierces the fibers. In contrast, a ballpoint or stretch needle is specifically designed for knits to push fabric fibers aside instead of piercing them, preventing damage to the fabric and potential thread issues. Using a sharp needle on knits can damage the fabric and lead to thread fraying.
- Needle Size: The needle size should always match the weight of your fabric and thread. A needle that is too fine for a heavy fabric or thick thread will not create a large enough hole, putting excessive strain on the thread as it passes through the fabric. Conversely, a needle that is too thick for delicate fabric can leave large holes and stress the thread path due as it moves too loosely within the fabric.
- Damaged Eye of the Needle: The eye of the needle, where the thread passes through, can develop microscopic burrs or sharp edges over time due to friction. These imperfections will abrade and cut the thread as it rapidly moves back and forth during stitching. If you suspect this (even if the needle looks fine otherwise), replace the needle.
Always ensure your needle is inserted correctly, is sharp, straight, and of the appropriate type and size for your project. A fresh, correct needle is a game-changer for smooth sewing and significantly reduces the likelihood of thread breaking.
6. Advanced Troubleshooting: Inspecting Your Machine’s Thread Path and Tension
Beyond the spool and needle, the entire thread path within your machine needs to be clean and clear. Lint, tiny bits of thread, and fabric dust can accumulate in the tension discs, thread guides, and take-up lever mechanism, creating resistance and throwing off your machine’s carefully calibrated tension. When tension is too high, it puts undue stress on the thread, causing it to snap.
- Clean the Thread Path: Use a small brush or a can of compressed air to thoroughly clean out the thread guides, tension discs (always raise the presser foot to open the tension discs up for effective cleaning), and any other visible parts of the upper thread path. A build-up of lint here is a common and insidious cause of thread breaking.
- Check Tension Settings: Incorrect tension is a very common cause of thread breaking. If your upper thread tension is set too high, the thread is constantly under too much strain. Consult your machine’s manual to understand how to adjust both upper and bobbin tension. Often, simply resetting the upper tension to a middle ground (usually between 3-5, depending on your machine) and doing a test stitch on scrap fabric can quickly reveal if tension imbalance is the issue.
7. Presser Foot Pressure and Selection: Often Overlooked
While less common than other issues, an incorrect presser foot or improper presser foot pressure can contribute to thread breaking. If the presser foot pressure is too high for delicate fabric, it can “grip” the fabric too tightly, impeding its smooth movement under the needle and increasing tension on the thread. Conversely, if it’s too low, the fabric might not feed evenly, leading to stretched stitches and potential thread issues. Ensure you are using the correct presser foot for your specific stitch and fabric, and adjust the pressure if your machine allows for it, according to your machine’s manual.
8. General Machine Maintenance and Sewing Habits: Prevention is Key
- Regular Cleaning: Lint and tiny fabric fibers are the enemies of a smooth-running sewing machine. Regularly clean your bobbin area, feed dogs, and around the needle plate. A persistent build-up of debris can interfere with stitch formation, increase friction on the thread, and eventually lead to mechanical problems.
- Oiling: If your machine requires oiling (always check your machine’s manual for specific instructions and locations), ensure you do it periodically with proper sewing machine oil. A well-lubricated machine runs smoothly, reducing stress on components and thread.
- Sewing Speed: While modern machines can sew at high speeds, sometimes going too fast, especially with delicate threads or intricate stitches, can cause the thread to snap due to rapid friction and sudden changes in tension. Slow down slightly, particularly when troubleshooting, or when working with challenging materials.
- Hold Your Threads: Always hold both the upper and bobbin threads to the back of the machine when you start a seam. This simple habit prevents them from being sucked down into the bobbin area, helps form a clean first stitch, and significantly reduces tangles and potential breakage right at the beginning of your sewing project.
Thread breaking is undoubtedly one of the most common and exasperating issues a sewer faces. However, by systematically troubleshooting the potential causes outlined above, you can confidently diagnose and resolve the problem. Remember to start with the simplest solutions, such as checking your thread quality and needle condition, before delving into more complex machine adjustments. Patience and a methodical approach are your best allies in overcoming these sewing machine frustrations. With these comprehensive tips, you’ll not only fix current thread breaking issues but also gain a deeper understanding of your sewing machine, empowering you to maintain it better and enjoy countless hours of smooth, creative sewing. For further visual guidance and expert tutorials, remember to check out resources like the Singer Sewing Company on YouTube, where you’ll find a wealth of educational videos to enhance your sewing skills!