
Mastering Thick Fabrics: Seamless Sewing Solutions for Bulky Seams and Hems
Every passionate sewist eventually encounters the frustrating challenge of a sewing machine balking at thick fabric. Whether you’re working on sturdy denim, heavy canvas, or multiple layers of upholstery material, that moment when your machine grinds to a halt, skips stitches, or even breaks a needle can bring a simple project to a screeching halt. The good news is, you don’t have to put undue stress on your beloved machine or sacrifice the quality of your work. Mastering the art of sewing through thick fabrics is entirely achievable with the right techniques and a few clever tricks.
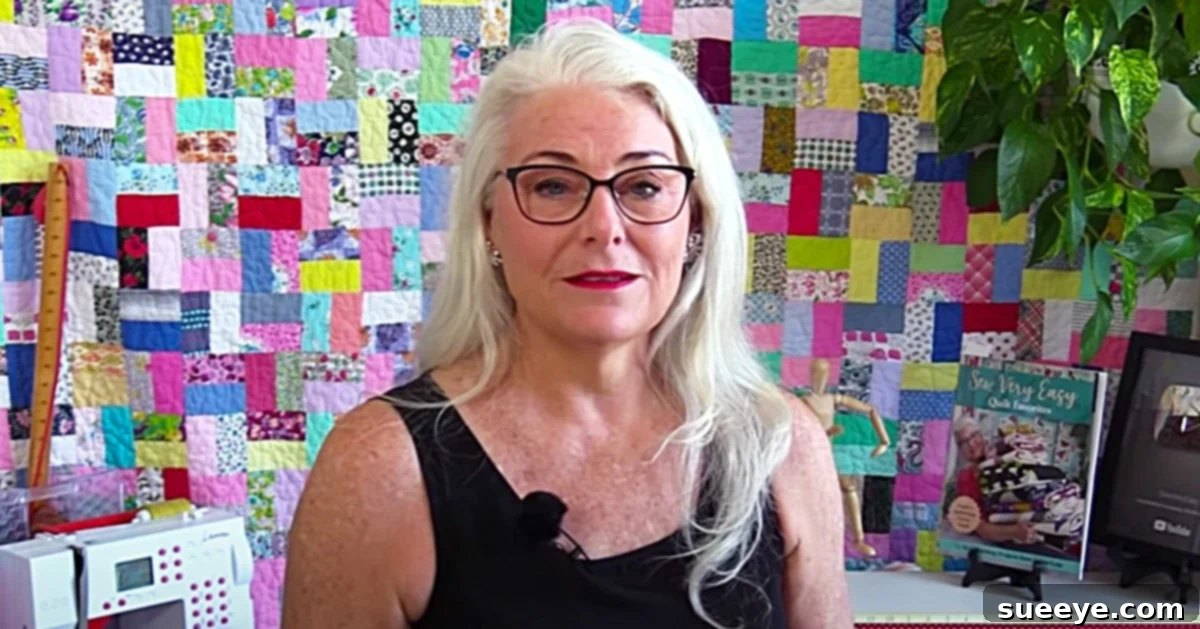
I distinctly remember a recent project where I ran into this exact predicament. Desperate for a solution that wouldn’t damage my machine, I scoured the internet for advice. That’s when I discovered an incredible video tutorial by Sewveryeasy on YouTube. The insights shared there, particularly on navigating the transition from thin to thick fabric sections, made so much sense and offered practical, stress-free methods. This guide aims to expand on those brilliant ideas and provide a comprehensive resource for overcoming those challenging thick hems and bulky seams you might encounter.
Why Thick Fabrics Challenge Your Sewing Machine
Understanding why thick fabrics pose a problem is the first step toward conquering them. When you attempt to sew through multiple layers or dense materials like denim, several factors come into play:
- Increased Resistance: The needle has to work harder to penetrate dense fibers, creating more friction and strain on the motor.
- Needle Deflection: A standard needle might bend or deflect when hitting thick seams, leading to skipped stitches or breakage.
- Uneven Feeding: The presser foot struggles to maintain even pressure across varying thicknesses, causing fabric to bunch, pucker, or feed inconsistently.
- Motor Strain: The machine’s motor has to exert more power, leading to overheating or premature wear if consistently pushed beyond its limits.
- Skipped Stitches and Thread Breakage: Incorrect needle-thread combination or improper tension often results in poor stitch formation.
Common culprits include denim jeans with their notoriously thick flat-felled seams, canvas bags, upholstery projects, or simply hemming multiple layers of a heavy garment. Recognizing these challenges helps us select the right tools and apply the correct techniques to ensure a smooth, professional finish without damaging our precious machines.
Essential Materials and Tools for Sewing Thick Fabrics
Having the right arsenal of tools is paramount when tackling robust materials. Don’t underestimate the power of proper preparation.
- A Reliable Sewing Machine: While heavy-duty machines excel, even a standard domestic machine can handle thick fabrics with the right adjustments and accessories. Ensure it’s clean and well-oiled.
- The Right Needle: This is arguably the most critical component.
- Denim/Jeans Needles: Specifically designed with a stronger shank and a sharper, more acute point to penetrate dense fabrics without bending or breaking.
- Leather Needles: For actual leather, these have a wedge-shaped point to cut through material.
- Universal Needles (Larger Sizes): A universal needle in a size 16 (100) or 18 (110) can sometimes suffice for moderately thick fabrics if denim needles aren’t available.
- Needle Size: Opt for larger sizes like 90/14, 100/16, or 110/18. The higher the number, the thicker the fabric it’s designed for.
- Strong, Durable Thread:
- Polyester Thread: Generally stronger and more resistant to breakage than cotton thread, making it ideal for high-stress seams.
- Topstitching Thread: Thicker and more decorative, excellent for visible seams on denim or canvas. Ensure your machine can handle it, sometimes requiring a larger needle and tension adjustments.
- Heavy-Duty Scissors or Rotary Cutter: For clean, precise cuts through thick layers.
- High-Quality Fabric: Always test your setup on a scrap piece of your actual project fabric.
- A Walking Foot (Highly Recommended): This specialized presser foot has its own set of feed dogs on the top, which synchronize with your machine’s lower feed dogs to grip and move multiple layers of fabric evenly. This prevents shifting, puckering, and fabric “creeping.”
- Hump Jumper / Jean-a-ma-jig / Tailor’s Wedge: These small tools (or DIY alternatives) are indispensable for leveling the presser foot when transitioning over thick seams.
- Strong Pins or Fabric Clips: Regular dressmaking pins can bend or break. Use sturdier pins or fabric clips to hold thick layers securely.
- Iron and Pressing Cloth: Crucial for flattening seams before and during stitching, reducing bulk.
- Seam Ripper: Even with the best techniques, mistakes happen! A robust seam ripper is your friend.
Preparing Your Sewing Machine for Thick Fabrics
Before you even place fabric under the needle, a little preparation goes a long way in preventing headaches and machine strain.
1. Select the Correct Needle and Thread
As mentioned, this is paramount. Always change your needle for each new project type, especially when switching to thick fabrics. A dull or bent needle is a recipe for disaster. Pair your strong needle with a strong, appropriate thread.
2. Install a Walking Foot
If you own one, now is the time to attach your walking foot. It will significantly improve fabric feeding and prevent frustration. If you don’t have one, consider investing in one; it’s a game-changer for thick or slippery fabrics.
3. Adjust Stitch Length
A common mistake is using a short stitch length on thick fabrics. Longer stitches (typically 3.0mm to 4.0mm) are generally more effective for thick materials. Shorter stitches can cause the fabric to bunch up, put more stress on the needle, and even look uneven on dense fabrics.
4. Adjust Tension
When working with thick fabrics, you might need to slightly increase your upper thread tension. This helps pull the bobbin thread up properly, creating a balanced stitch. Always test on a scrap first, as tension settings vary by machine and fabric.
5. Reduce Machine Speed
Resist the urge to power through thick sections at high speed. Slow and steady wins the race. Sewing slower gives your machine more time to penetrate the fabric and gives you better control, reducing the risk of broken needles or uneven stitching.
6. Clean and Oil Your Machine
A well-maintained machine runs smoother and can handle challenges better. Clean out any lint buildup around the bobbin case and feed dogs, and oil according to your machine’s manual.
Techniques for Conquering Bulky Seams and Hems
Now for the practical solutions that will make sewing thick fabric a breeze, inspired by the excellent advice from Sewveryeasy and other seasoned sewists.
1. The Hump Jumper / Tailor’s Wedge / Nail File Trick
This is the cornerstone technique for smoothly transitioning over thick seams, such as the side seams of denim jeans when hemming. The problem arises when your presser foot “dips” off the thick seam into the thinner fabric, or “stalls” as it tries to climb up the seam from a flat section. This creates uneven stitches, machine strain, and can even break needles.
The solution is to keep the presser foot level. This can be achieved with a commercial “hump jumper” (also known as a “Jean-a-ma-jig” or “tailor’s wedge”), or brilliantly, as shown by Sewveryeasy, with a stripped padded nail file.
How to use it:
- When your presser foot is approaching a thick hump (e.g., a side seam on a denim hem), stitch slowly until the needle is just about to go over the thickest part.
- Lift the presser foot (needle still down in the fabric for stability).
- Place your hump jumper (or stripped nail file) *behind* the presser foot, directly under the foot’s back heel. This elevates the back of the foot to the same level as the front, making it horizontal.
- Lower the presser foot. Your foot is now level, allowing the machine to feed the fabric smoothly over the hump.
- Continue stitching slowly over the thick section. Once you’re past the hump and the foot is back on a thinner, even layer, you can remove the tool.
- You can also use this technique when *starting* a seam from a thick edge. Place the tool under the back of the foot to raise it, then stitch forward.
This method significantly reduces stress on your needle and machine, preventing skipped stitches and ensuring a beautiful, consistent seam.
2. Grading Seams
When you have multiple layers of fabric in a seam allowance, grading (or trimming) them at different widths can dramatically reduce bulk. For example, if you have a 5/8-inch seam allowance with three layers, trim one layer to 1/4 inch, another to 3/8 inch, and leave the top layer at 5/8 inch. This creates a gradual transition rather than a sudden bulky lump, making it easier for your machine to sew over.
3. Pressing Seams
Never underestimate the power of a good iron and steam. Pressing seams open and flat before sewing over them (e.g., when hemming) can halve the thickness you need to sew through. For particularly stubborn seams, use a tailor’s clapper to “set” the pressed seam flat after applying heat and steam.
4. Using a “Starter” or “Leader” Fabric
When starting a seam right at a thick edge, sometimes the feed dogs don’t get a good grip, causing the machine to “chew” the fabric or get stuck. To prevent this, place a small scrap of fabric (your “starter”) under the presser foot first, then butt your project fabric right up against it and begin sewing. The starter fabric helps the machine’s feed dogs engage properly, smoothly pulling your project fabric along.
5. Hammering Thick Seams (Use Caution!)
For extremely stubborn and localized thick points, especially on denim, some sewists carefully use a rubber mallet to gently flatten the seam allowance. Place a piece of scrap fabric over the seam to protect it, and tap lightly. This should be done with extreme care to avoid damaging the fabric or creating permanent creases, and only for specific, very bulky spots.
6. Manual Wheel Assistance
For those few stitches directly over the absolute thickest part of a seam, take your foot off the pedal and use the machine’s handwheel to manually guide the needle through the fabric. This gives you maximum control and allows you to feel the resistance, preventing the machine from forcing the needle through when it shouldn’t.
Step-by-Step Guide: Sewing Over a Thick Denim Hem
Let’s put these techniques into practice with a common scenario: hemming a pair of denim jeans.
- Prepare Your Machine: Insert a new denim needle (size 90/14 or 100/16). Thread with strong polyester thread. Set stitch length to 3.0mm-3.5mm. Install your walking foot if you have one.
- Prepare the Hem: Fold up your hem twice to the desired length. Press it firmly with a hot iron and steam. For the bulky side seams, you can gently grade the seam allowances if they are extremely thick, or use the hammering technique if absolutely necessary.
- Pin or Clip Securely: Use strong pins or fabric clips to hold the hem in place, especially around the side seams.
- Test on a Scrap: Always test your stitch on a scrap piece of your denim to check tension and stitch quality.
- Begin Sewing: Start sewing a few inches away from one of the side seams. Sew slowly and steadily.
- Approach the Side Seam (The Hump): As your presser foot approaches the thick side seam, slow down even further.
- Engage the Hump Jumper: Once the needle has just passed the front edge of the side seam, lift your presser foot (needle down in fabric). Place your hump jumper (or stripped nail file) under the back of the presser foot, behind the needle.
- Stitch Over the Hump: Lower the presser foot. Continue stitching slowly over the thick seam. The level foot will guide the fabric smoothly.
- Remove the Hump Jumper: Once your presser foot is entirely off the thick seam and back onto the flatter fabric, stop, lift the presser foot, and remove the hump jumper.
- Continue and Repeat: Keep sewing around the hem, repeating the hump jumper technique for the next side seam.
- Finish: Backstitch at the beginning and end to secure the stitches. Trim threads. Give your finished hem a final press.
Common Pitfalls and Troubleshooting
- Skipped Stitches:
- Cause: Wrong needle type/size, dull needle, incorrect tension, machine going too fast over thick spots.
- Solution: Change to a fresh, sharp denim needle. Adjust tension. Slow down. Use a walking foot or hump jumper.
- Broken Needles:
- Cause: Forcing fabric, wrong needle size, hitting pins, machine struggling through too much bulk.
- Solution: Use appropriate needle for thickness. Remove pins before sewing over them. Don’t force fabric; let the machine feed. Use a hump jumper.
- Fabric Bunching or Chewing:
- Cause: Incorrect stitch length, presser foot not level, inadequate feed from the machine (especially without a walking foot).
- Solution: Lengthen stitch. Use a walking foot. Employ the hump jumper.
- Machine Straining/Grinding:
- Cause: Too much bulk, trying to sew too fast, dull needle.
- Solution: Slow down significantly. Use a fresh, strong needle. Reduce bulk by grading or pressing. Use manual wheel assistance for very tough spots.
These methods were truly instrumental in transforming my approach to challenging fabrics. I honestly don’t know how I managed without them before! By implementing these simple yet effective techniques, you’ll not only achieve professional-looking results on even the bulkiest of fabrics but also extend the life of your cherished sewing machine.
Don’t let thick fabric intimidate you anymore. With the right preparation, tools, and a bit of patience, you can sew through almost anything with confidence and ease. Happy sewing!