
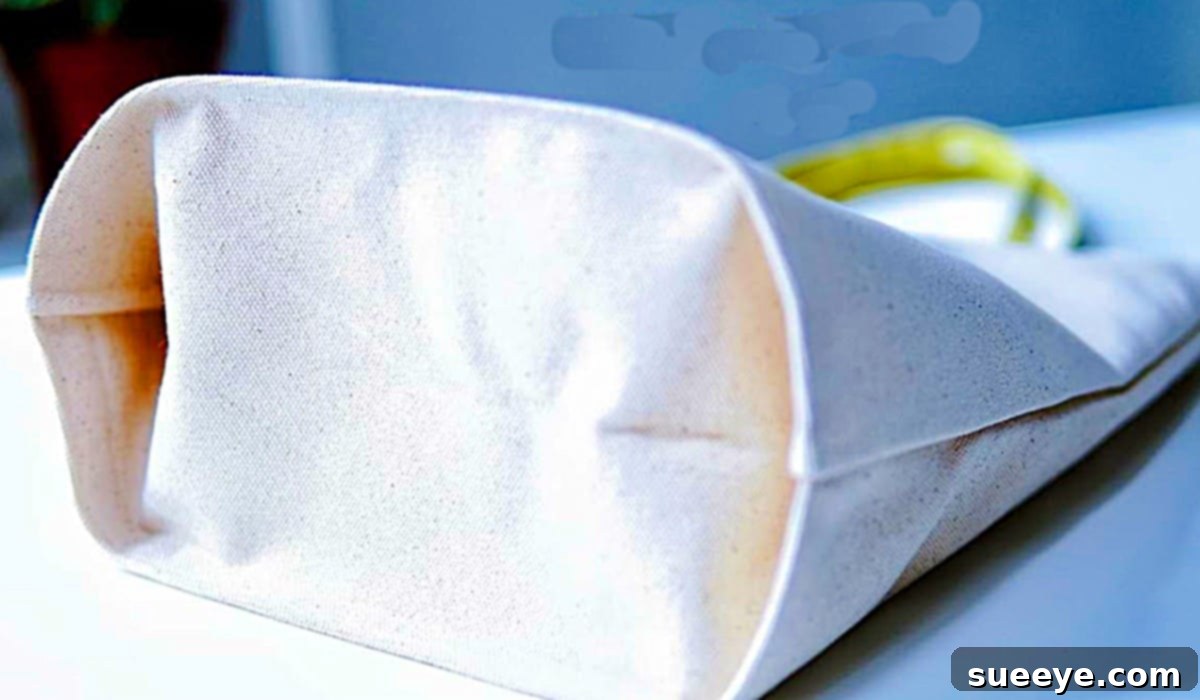
How to Craft a Durable and Stylish Large Capacity Tote Bag: Your Ultimate DIY Guide
Discovering a truly remarkable DIY project can feel like unearthing a hidden treasure. That’s exactly how it felt when I stumbled upon the large capacity tote bag video tutorial by DIY Handy Mom Lin TV on YouTube. This wasn’t just another craft; it was a revelation for anyone seeking a practical, robust, and effortlessly stylish bag without the need for advanced sewing skills. What makes this project stand out is its brilliant simplicity: while some minimal sewing is involved, a significant portion of the construction relies on the power of fabric glue – whether it’s a hot glue gun, Fabri-Tac, or Liquid Stitch. This ingenious approach makes it incredibly accessible for crafters of all skill levels, from absolute beginners to seasoned DIY enthusiasts looking for a quick and satisfying project.
Imagine a versatile tote that can effortlessly carry your groceries, beach essentials, gym gear, or even serve as a chic everyday bag. This DIY tote bag fits the bill perfectly. Its design is forgiving, allowing for creative freedom and making it virtually impossible to “get wrong.” Whether you opt for sturdy denim, a vibrant canvas, or a repurposed heavy-duty fabric, the end result is a functional masterpiece that complements any casual outfit. This guide, inspired by the excellent video tutorial, will walk you through the journey of creating your very own large capacity tote, emphasizing the simple steps and empowering you to tackle heavy or light loads with confidence and style.
Why Embark on Your Own DIY Tote Bag Project?
In an age where sustainability and personal expression are increasingly valued, making your own tote bag offers a multitude of benefits that extend far beyond simple utility. Here’s why this project is more than just a craft; it’s a smart choice for your lifestyle:
- Unleash Your Creativity: Unlike mass-produced bags, a DIY tote allows for endless customization. You choose the fabric, the colors, the size, the handle style, and even add unique embellishments. This means your bag will be truly one-of-a-kind, reflecting your personal taste and style.
- Cost-Effectiveness: High-quality, durable tote bags can often come with a hefty price tag. By making your own, you can significantly reduce costs, especially if you utilize remnant fabrics, repurposed materials like old jeans, or take advantage of fabric sales.
- Eco-Friendly Living: Crafting reusable bags is a powerful step towards reducing plastic waste. By opting for a homemade fabric tote for shopping and errands, you contribute to a more sustainable planet, lessening your environmental footprint one stylish bag at a time.
- Exceptional Durability: When you make your own bag, you control the quality of materials and construction. You can select robust fabrics and reinforce stress points, resulting in a bag that often surpasses the durability of many commercially available options, standing up to heavy loads and frequent use.
- A Sense of Accomplishment: There’s immense satisfaction in creating something useful and beautiful with your own hands. Every time you use your handmade tote, you’ll be reminded of your skill and effort.
- Versatility for Every Occasion: A large capacity tote isn’t just for groceries. It’s perfect for beach trips, carrying books, hauling craft supplies, organizing items in your car, or as an everyday carry-all. Its versatility makes it an indispensable accessory.
Essential Materials for Your DIY Tote Bag
Gathering the right materials is the first step towards a successful project. While the original tutorial highlights specific items, here’s a more detailed look at what you’ll need and considerations for each:
- Fabric: This is the heart of your bag.
- Canvas: An excellent choice for its durability and stiffness, meaning you likely won’t need a separate liner. It’s easy to work with and comes in various weights and colors.
- Denim: As mentioned in the original, denim provides a casual, sturdy, and stylish option, perfect for repurposing old jeans.
- Duck Cloth: Similar to canvas, very strong and tightly woven.
- Upholstery Fabric: Often thick and durable, but can be heavier and sometimes trickier to sew.
- Decorator Fabrics: Can add a touch of elegance but ensure they are robust enough for the intended use.
- Repurposed Materials: Old curtains, tablecloths, or even sturdy garments can be given a new life as a tote bag, adding character and sustainability.
- Consider a Liner: If your chosen outer fabric is lighter weight (like quilting cotton), you might want to add a lining for extra strength and a neat finish.
- A Sewing Machine: While much of this project can be glued, a sewing machine will provide the strongest seams, especially for handles and stress points. A basic machine is perfectly adequate.
- Thread: Choose a strong, all-purpose polyester thread that matches or complements your fabric. For heavier fabrics like denim or canvas, a heavy-duty or upholstery thread can offer extra resilience.
- A Pair of Fabric Scissors: Sharp scissors dedicated to fabric will ensure clean, precise cuts. Avoid using them on paper, as it dulls the blades.
- A Rotary Cutter and Cutting Mat: While optional, these tools are highly recommended for accurate and quick cutting of straight lines, especially for large pieces of fabric. A good quality rotary cutter glides through multiple layers with ease, and a self-healing mat protects your work surface.
- Fabric Glue: This is key to the “minimal sewing” aspect of this project.
- Hot Glue Gun: Great for quick adhesion and strong bonds, but can be bulky.
- Fabri-Tac: A popular permanent fabric adhesive known for its quick drying time and strong, flexible bond.
- Liquid Stitch: Another excellent option for creating durable, washable fabric bonds without sewing.
- Other Permanent Fabric Adhesives: Look for glues specifically designed for fabric that are washable and flexible once dry.
- Iron and Ironing Board: Essential for pressing seams and creating crisp folds, which is crucial for a professional-looking finish, whether sewing or gluing.
- Pins or Fabric Clips: To hold fabric pieces together before sewing or gluing.
- Ruler or Measuring Tape: For accurate measurements.
- Fabric Marker or Chalk: For marking cutting lines and placement points.
Step-by-Step Guide to Crafting Your Large Capacity Tote Bag
Inspired by the straightforward approach of DIY Handy Mom Lin TV’s tutorial, this expanded guide will detail the key stages of creating your awesome shopping bag. Remember, while these steps provide a general framework, always refer to the video for specific dimensions and techniques tailored to the project.
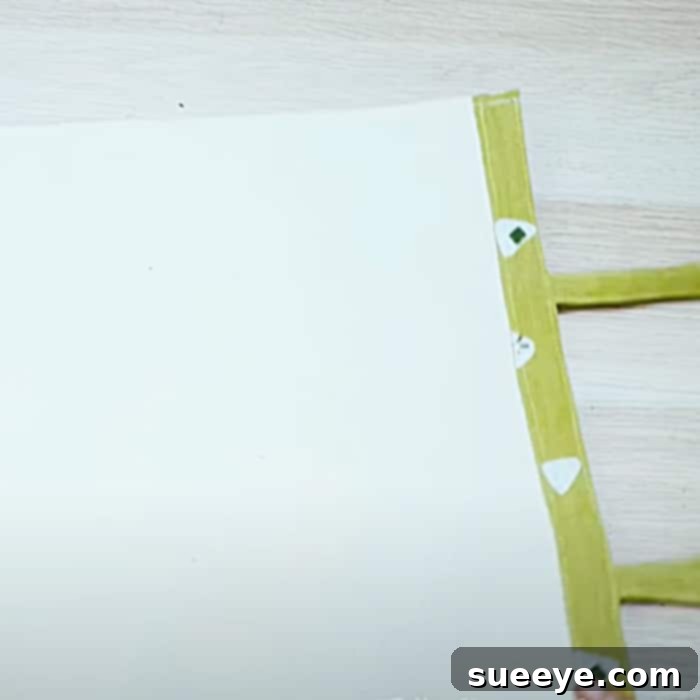
Phase 1: Preparation and Cutting Your Fabric
Precision in cutting is paramount for a professional finish. Start by deciding on the overall dimensions of your desired tote bag. A “large capacity” bag will naturally require larger fabric pieces.
- Determine Dimensions: Think about what you’ll carry. A common large tote size might be 18-20 inches wide by 14-16 inches tall, plus seam allowances. The video will provide specific measurements.
- Cut Main Body Fabric: Cut two identical rectangular pieces for the front and back of your bag. Ensure these cuts are perfectly straight using your rotary cutter and mat or sharp fabric scissors and a ruler.
- Cut Handle Fabric: Cut two long strips of fabric for your handles. The length will depend on whether you want shoulder straps or shorter hand-carry straps. Standard shoulder straps are often 24-30 inches long, and about 3-4 inches wide (which will be folded down).
- Optional: Cut Lining and Pockets: If adding a lining, cut two pieces identical to your main body fabric. For pockets, cut rectangular pieces according to your desired size.
Phase 2: Crafting and Attaching the Handles
The handles are critical for carrying your bag, so they need to be strong and comfortable.
- Prepare Handle Strips: Take each handle fabric strip. Fold the long edges inwards towards the center, meeting in the middle. Press well with an iron. Then, fold the strip in half lengthwise, encasing the raw edges, and press again. This creates a sturdy, neat handle.
- Secure Handles: For maximum durability, sew along both long edges of each folded handle strip. If you’re opting for a no-sew method, apply fabric glue along the folds to secure them firmly, allowing adequate drying time.
- Attach Handles to Bag Body:
- Lay one main body fabric piece flat, right side up.
- Position the ends of one handle onto the top edge of the fabric, typically 3-4 inches in from each side. Ensure the handle isn’t twisted.
- Pin or clip the handle ends securely in place.
- Repeat for the second handle on the second main body piece.
- Sewing Method: Stitch the handles in place using a strong box stitch or an “X” stitch pattern for reinforcement. This is a key area where sewing provides superior strength.
- Gluing Method: Apply a generous amount of strong fabric glue to the handle ends and firmly press them onto the fabric. Allow for extensive drying time, possibly overnight, to ensure a secure bond before proceeding.
Phase 3: Constructing the Bag Body
This is where your flat pieces transform into a three-dimensional bag, with a special focus on creating the “large capacity” feature – boxed corners.
- Joining the Main Body Pieces:
- Place your two main body fabric pieces right sides together, ensuring the handles are tucked inside so they don’t get caught in the seams.
- Align all edges perfectly and pin or clip them along the sides and bottom.
- Sewing Method: Sew along the two side seams and the bottom seam, leaving a standard seam allowance (e.g., 1/2 inch or 1 cm). Backstitch at the beginning and end of each seam for added strength.
- Gluing Method: Apply a continuous bead of fabric glue along the side and bottom edges. Press firmly together and allow to dry completely. For extra strength, you can apply a second layer of glue once the first is dry.
- Creating Boxed Corners (The Key to Capacity): This step gives your tote its depth and allows it to stand upright, significantly increasing its carrying capacity.
- With the bag still inside out, flatten one of the bottom corners so that the side seam and the bottom seam align and create a triangle.
- Measure from the point of the triangle inwards along the seam for a desired box depth (e.g., 2-3 inches). Draw a straight line across this triangle. The longer this line, the wider and deeper your bag’s base will be.
- Sewing Method: Stitch along this drawn line, backstitching at both ends. Trim the excess fabric triangle, leaving about a 1/2 inch seam allowance.
- Gluing Method: Apply a thick line of fabric glue along the drawn line. Press firmly and hold until the glue sets, or use clips. Once dry, trim the excess fabric.
- Repeat for the other bottom corner.
Phase 4: Finishing the Top Edge
A neat top edge not only looks professional but also prevents fraying and adds structure.
- Hem the Top Edge:
- Turn the top raw edge of the bag inwards by about 1/2 inch and press.
- Turn it inwards again by another 1 inch (or more, depending on your preference) to create a double-folded hem. Press firmly.
- Sewing Method: Stitch along the bottom edge of this folded hem, close to the fold, to secure it. You might want to stitch a second line closer to the top edge for extra reinforcement, especially where the handles are attached.
- Gluing Method: Apply fabric glue generously along the first fold and press. Then apply glue along the second fold and press firmly, ensuring a secure, lasting bond. Allow ample drying time.
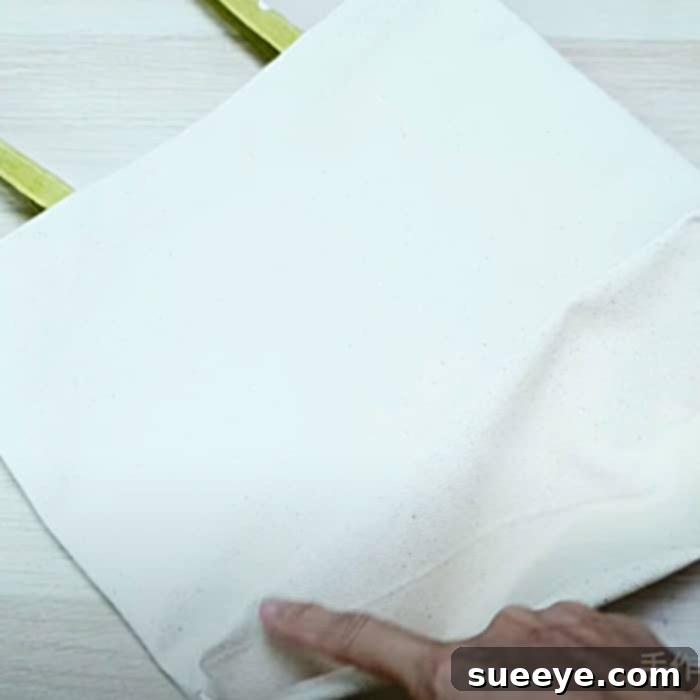
Tips for a Perfect DIY Tote Bag
- Pre-wash Your Fabric: Always pre-wash and dry your fabric before cutting and sewing/gluing to prevent shrinkage and color bleeding later on.
- Press, Press, Press: Ironing seams and folds meticulously makes a huge difference in the final appearance of your bag, giving it a crisp, professional finish.
- Reinforce Stress Points: For handles, the points where they attach to the bag endure the most stress. If sewing, use a box stitch with an “X” inside. If gluing, ensure you apply a liberal amount of glue and allow maximum drying time.
- Test Your Glue: If you’re new to fabric glues, test a small amount on a scrap piece of your fabric to ensure it dries clear and holds well.
- Don’t Rush the Drying Process: If you’re gluing, patience is key. Allow sufficient time for the glue to cure completely before putting your bag to heavy use.
- Consider Interfacing: For softer fabrics or if you want a stiffer, more structured bag, add a layer of fusible interfacing to your main fabric pieces before construction.
Customization Ideas to Make Your Tote Truly Yours
The beauty of DIY lies in personalization. Here are some ideas to elevate your basic tote:
- Add Pockets: Internal slip pockets for your phone and keys, or external patch pockets for easy access.
- Closures: Install a magnetic snap, a zipper, or a simple toggle and loop to keep contents secure.
- Decorative Elements: Embellish with embroidery, fabric paint, patches, appliques, or even tassels and charms.
- Lining: A contrasting lining can add a pop of color and an extra layer of durability and professionalism. You can even add pockets to the lining.
- Handle Variations: Experiment with different handle materials (e.g., leather straps, rope handles) or lengths. You could even make cross-body straps.
- Fabric Mixing: Combine different fabric patterns or textures for a unique, eclectic look.
Caring for Your Handmade Tote Bag
To ensure your large capacity tote bag lasts for years to come, proper care is essential. The washing instructions will largely depend on the type of fabric and, crucially, the type of fabric glue you used. Most permanent fabric glues are designed to be washable once cured, but it’s always best to check the product’s specific recommendations.
- General Washing: For most fabric bags (canvas, denim), a gentle cycle in cold water with mild detergent is recommended.
- Spot Cleaning: For minor spills or marks, spot cleaning can often suffice, preserving the overall integrity of the bag and its glued seams.
- Drying: Air dry your bag by hanging it or laying it flat to prevent shrinkage or damage to the fabric or glue. Avoid high heat from a dryer.
- Ironing: If ironing is needed, use a medium heat setting and iron from the inside of the bag to avoid direct contact with any glued areas if possible, or place a pressing cloth over the glued seams.
Conclusion: Your Handmade Tote Awaits!
Creating your own large capacity tote bag is a rewarding project that marries functionality with personal style. Whether you’re a seasoned crafter or just dipping your toes into the world of DIY, the minimal sewing approach, coupled with effective fabric glues, makes this project incredibly achievable. Imagine the pride you’ll feel every time you use a bag you’ve crafted yourself – a durable, stylish, and eco-friendly companion for all your adventures, from grocery runs to beach outings.
So, gather your materials, fire up your sewing machine (or grab your favorite fabric glue), and let your creativity flow. Don’t forget to head over to DIY Handy Mom Lin TV’s YouTube channel for the detailed visual tutorial that brings these steps to life. Happy crafting!