
Mastering Garlic Storage: The Ultimate Hack for Freshness and Convenience
Garlic, an indispensable cornerstone of global cuisine, holds a revered spot in virtually every pantry. Its pungent, aromatic bite when raw transforms into a soft, sweet, and buttery delight when roasted or simmered, imparting unparalleled depth to countless dishes. Beyond its remarkable versatility in flavor, garlic is celebrated for a wealth of scientifically proven health benefits, making it not just a culinary staple but a nutritional powerhouse. From boosting immunity and fighting inflammation to supporting cardiovascular health, the humble garlic clove is far more than just a seasoning.
Yet, for all its glory, garlic presents a common kitchen frustration: the tedious task of peeling. This minor hurdle often leads many home cooks to seek convenient alternatives, such as pre-peeled garlic sold in bags. While these ready-to-use cloves offer an appealing shortcut, especially for those who cook in large quantities, they come with their own challenge. Without proper storage, these convenient bags of peeled garlic can quickly spoil, turning a time-saver into a source of food waste.
RELATED: Hate Peeling Garlic? Microwave It for Easy Peeling!
Fortunately, there’s a game-changing solution to this pervasive problem. We’re excited to share a brilliant garlic storage hack that will fundamentally transform the way you interact with this essential ingredient. This ingenious method, which we learned through the insightful video tutorial by Olivia Yi on YouTube, has proven to be an absolute lifesaver in our own kitchen. Since adopting this technique, we’ve never looked back, enjoying the unparalleled convenience and freshness it offers.
Looking for more time-saving kitchen tricks? Here’s another fantastic tip for you to explore: The 20-Second Garlic Peeling Hack You Need to Know
The Garlic Dilemma: Why Effective Storage is Crucial
For centuries, garlic has been a fundamental ingredient across diverse culinary traditions, from the rich stews of the Mediterranean to the vibrant stir-fries of Asia. Its ability to elevate simple ingredients into extraordinary meals is unmatched. However, the process of incorporating fresh garlic into daily cooking often begins with the most daunting step: peeling each individual clove. This can be time-consuming, messy, and leaves a strong, lingering odor on your hands, making it a less-than-ideal task when you’re in a hurry.
This is precisely why many busy cooks turn to pre-peeled garlic. It promises instant gratification, allowing you to bypass the peeling process entirely. You simply grab a handful and get straight to mincing or slicing. This convenience is undeniable, particularly when preparing meals for a large family, hosting dinner parties, or engaging in extensive meal preparation for the week ahead. The ability to scoop out a cup of ready-to-mince cloves without the fuss of individual peeling is a significant advantage.
However, the convenience of pre-peeled garlic often comes with a hidden drawback: its limited shelf life. Unlike whole garlic bulbs, which can last for weeks or even months in a cool, dark pantry, peeled cloves are much more perishable. Once exposed to air, they begin to dry out, sprout, or develop an unpleasant slimy texture and off-flavor within days. This rapid deterioration frequently leads to unnecessary food waste, undermining the initial goal of convenience and cost-effectiveness. The dilemma then becomes: how do we harness the ease of peeled garlic without succumbing to its short lifespan?
Unveiling the Ultimate Garlic Preservation Method
The solution lies in a simple yet incredibly effective preservation technique that allows you to have fresh, minced garlic on hand whenever inspiration strikes, without the fear of spoilage. This method not only extends the life of your peeled garlic significantly but also transforms it into a ready-to-use ingredient that shaves valuable minutes off your cooking time. Imagine never having to peel or mince garlic on the fly again! This hack is particularly beneficial for those who use garlic frequently, as it optimizes both efficiency and flavor retention.
By preparing your garlic in advance and freezing it in convenient portions, you effectively halt the deterioration process. This means the vibrant flavor and potent aroma of fresh garlic are locked in, ready to be released into your dishes at a moment’s notice. This method eliminates the frantic search for fresh garlic, the last-minute peeling struggle, and the disappointment of finding spoiled cloves. It’s a proactive approach to cooking that embodies smart kitchen management and reduces culinary stress.
What You Need to Preserve Peeled Garlic Effortlessly
Gathering the right tools is the first step towards mastering this revolutionary garlic storage technique. Each item plays a crucial role in ensuring the process is smooth, efficient, and yields perfectly preserved garlic ready for any culinary adventure:
- Food Processor: This is your primary workhorse for quickly transforming whole cloves into finely minced garlic. While a garlic press or a sharp knife can work for smaller quantities, a food processor is indispensable for handling larger batches of peeled garlic, ensuring a consistent mince in a fraction of the time. If you have a small food processor, you might need to work in batches to avoid overcrowding and ensure an even texture.
- Freezer Bags (Good Quality): The choice of freezer bags is critical. Opt for sturdy, high-quality bags designed specifically for freezing to prevent freezer burn, which can compromise the garlic’s flavor and texture. Look for bags with a reliable double-seal mechanism to ensure an airtight environment. You might consider quart or gallon-sized bags depending on the amount of garlic you’re processing.
- Scraper or the Dull Side of Your Knife: This simple tool is key for creating the grid pattern on your flattened garlic, making portioning incredibly easy once frozen. A bench scraper works perfectly, but the blunt edge of a butter knife or even a ruler can serve the same purpose effectively.
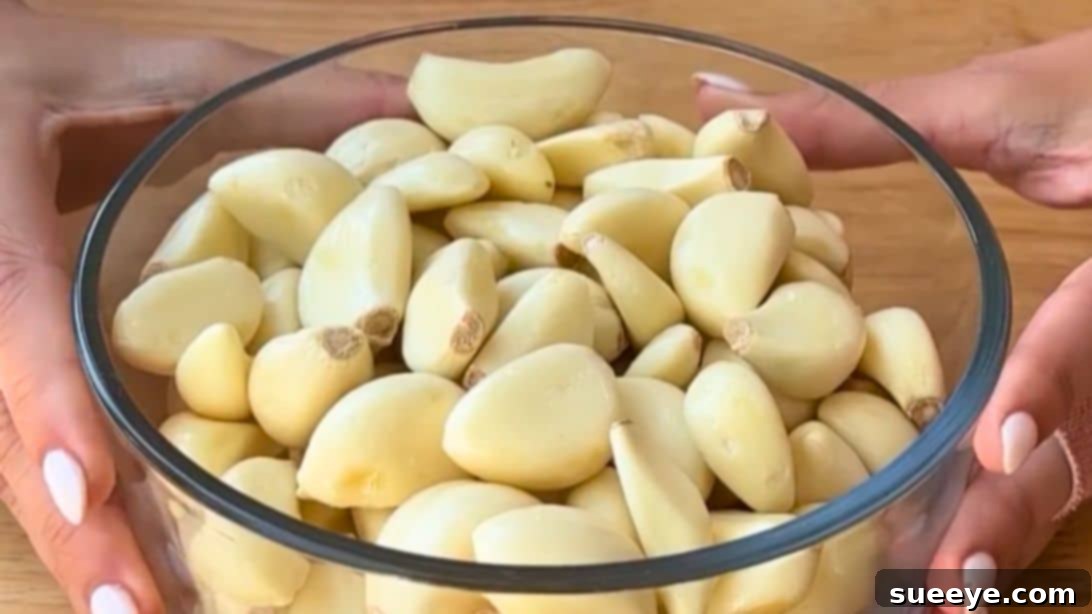
- A Bag of Peeled Garlic: The star of our show! You can purchase pre-peeled garlic from most supermarkets, which makes this hack even quicker to implement. Alternatively, if you prefer to peel your own, you can use one of the many clever peeling hacks available (like the microwave or metal bowl methods) to prepare a large batch of cloves quickly.
- Large Bowl: Essential for transferring the minced garlic from the food processor before carefully filling the freezer bags. A spacious bowl ensures you have enough room to work without spills and can easily mix the minced garlic if needed for consistency.
How to Store Peeled Garlic So That It Lasts: A Step-by-Step Guide
Follow these straightforward steps to transform your bulk-bought peeled garlic into a convenient, long-lasting kitchen essential. This process is designed for maximum efficiency and flavor preservation.
Step 1: The Mincing Magic
Begin by placing your peeled garlic cloves into your food processor. Ensure the processor bowl isn’t overfilled, as this can lead to uneven mincing. Pulse the garlic repeatedly until it reaches a finely minced consistency. The goal is a uniform texture, similar to what you’d achieve with careful hand-mincing, but without the effort. Avoid over-processing to prevent it from turning into a watery paste, unless that is your desired consistency. Once minced, carefully transfer the contents to a large bowl. If you’re working with a substantial quantity of garlic and have a smaller food processor, it’s always best to process in smaller batches to ensure optimal results and consistent texture.
Step 2: The Art of Bagging and Flattening
Next, spoon the minced garlic into your chosen freezer bag. It’s crucial not to overfill the bag; aim for a thin, even layer rather than a bulky mound. Overfilling will make it difficult to flatten and later to portion. Once the garlic is inside, gently press out as much air as possible from the bag before sealing it securely. The less air trapped inside, the better protected your garlic will be from freezer burn. Then, using your hands or a flat surface, carefully flatten the minced garlic inside the bag to create a uniform, thin layer that occupies the entire space. This step is essential for both quick freezing and easy portioning later on.
Step 3: Creating Your Convenient Grid
With the garlic flattened and the bag securely sealed, it’s time to create your portioning grid. Lay the flattened bag of garlic on a flat, sturdy surface. Using a scraper, the dull side of a butter knife, or even a ruler, gently press down to make horizontal and vertical lines across the surface of the bag. These lines don’t need to cut through the bag; they simply need to create indentations that will allow you to easily snap off individual portions once the garlic is frozen. Aim for grid squares that represent typical amounts of garlic you might use in a recipe, such as a teaspoon or a tablespoon equivalent. This pre-portioning is what truly makes this hack a time-saver.
Step 4: Freezing for Future Flavor
Finally, place the prepared freezer bags, with their neatly scored garlic grids, into your freezer. Lay them flat initially to ensure they freeze evenly. Allow them to freeze solid for at least a few hours, or preferably overnight. Once completely frozen, the individual portions will be easy to break apart. The next time a recipe calls for garlic, simply retrieve a bag from the freezer, snap off one or more of the pre-portioned cubes, and add it directly to your pan, pot, or marinade. There’s no need to thaw! This method keeps your garlic fresh and readily available for several months, ensuring you always have this essential flavor booster at your fingertips.
The Transformative Benefits of This Garlic Storage Hack
Implementing this simple garlic preservation method brings a cascade of advantages to your kitchen routine, dramatically enhancing convenience and efficiency:
- Unparalleled Time-Saving: The most immediate and significant benefit is the sheer amount of time you’ll save. No more frantic peeling and mincing of garlic cloves every time a recipe calls for them. Your pre-portioned garlic is ready in seconds.
- Drastic Waste Reduction: Say goodbye to withered, sprouted, or moldy peeled garlic. This method effectively halts spoilage, ensuring that every clove you purchase is used, contributing to a more sustainable kitchen and reducing food waste.
- Cost-Effective Cooking: By enabling you to buy peeled garlic in bulk, which is often more economical, and preventing it from spoiling, this hack translates directly into savings on your grocery bill.
- Consistent Flavor and Freshness: Freezing locks in the potent aroma and vibrant flavor of fresh garlic. Unlike jarred minced garlic which often contains preservatives and can have an altered taste, your homemade frozen garlic retains its natural essence, enhancing your dishes with authentic flavor.
- Effortless Convenience: Imagine having perfectly minced garlic readily available for any dish, from a quick weeknight stir-fry to a complex sauce. It simplifies meal preparation, making healthy and flavorful cooking more accessible.
- Mess-Free Preparation: This method significantly reduces the mess and the lingering garlic smell on your hands associated with mincing fresh cloves daily. The initial preparation is a one-time effort that pays dividends for weeks.
Creative Culinary Uses for Your Frozen Minced Garlic
Once you have a stash of pre-portioned frozen minced garlic, the culinary possibilities are endless. Its convenience means you’ll reach for it more often, infusing your meals with its irresistible flavor:
- Sautéing and Stir-Fries: Drop a frozen cube directly into hot oil or butter at the beginning of your sautéing process for vegetables, meats, or tofu. It will quickly thaw and infuse the pan with flavor.
- Soups and Stews: Add a portion to your simmering soups, chili, or stews. The garlic will melt into the broth, adding depth and warmth.
- Sauces and Dressings: Whisk a cube into homemade salad dressings, marinades, or pasta sauces. It’s perfect for quick tomato sauces, pesto, or creamy garlic sauces.
- Garlic Bread and Spreads: Mix softened butter with a thawed garlic portion for instant homemade garlic bread spread. It’s also great in hummus or other savory dips.
- Roasting Vegetables and Meats: Toss roasted vegetables or chicken with olive oil and a few cubes of frozen garlic for an easy, flavorful boost.
- Compound Butters: Blend with herbs and butter to create delicious compound butters that can be frozen again and used for steaks, corn on the cob, or crusty bread.
Common Mistakes to Avoid for Optimal Garlic Storage
While this garlic storage hack is straightforward, avoiding a few common pitfalls will ensure your preserved garlic is as fresh and flavorful as possible:
- Improper Sealing: Failing to remove enough air from the freezer bag or not sealing it securely is the most common cause of freezer burn. Freezer burn introduces ice crystals that degrade flavor and texture. Always press out as much air as possible.
- Overfilling the Bag: A thick layer of garlic is harder to freeze evenly, makes creating the grid difficult, and can lead to uneven thawing. Aim for a thin, consistent layer for best results.
- Using Non-Freezer-Safe Bags: Regular sandwich bags are not thick enough to protect against freezer burn and can tear easily. Invest in quality freezer bags designed for low temperatures.
- Thawing and Refreezing: Once a portion is taken out, it should be used immediately. Thawing and refreezing garlic can compromise its texture, flavor, and potentially lead to bacterial growth.
- Not Mincing Finely Enough: While some texture is okay, very chunky garlic can make portioning difficult and might not integrate as smoothly into certain dishes. A fine, even mince is usually ideal.
- Storing Whole Cloves in Oil at Room Temperature: This is a critical food safety warning. Never store fresh garlic (or any low-acid vegetable) submerged in oil at room temperature, as this creates an anaerobic environment perfect for the growth of Clostridium botulinum, the bacteria that causes botulism. Always refrigerate garlic-in-oil mixtures and consume them within a few days, or freeze them. Our method avoids this risk entirely by freezing the garlic on its own.
Beyond the Hack: Other Garlic Storage Considerations
While our freezing hack is fantastic for peeled and minced garlic, it’s also good to know how to store whole garlic bulbs and cloves:
- Whole Garlic Bulbs: Store whole, unpeeled garlic bulbs in a cool, dry, dark place with good air circulation, such as a pantry or a mesh bag. Avoid refrigerating whole bulbs, as the cold and humidity can encourage sprouting and mold growth. Properly stored, whole bulbs can last for several weeks to a few months.
- Unpeeled Cloves: If you’ve separated cloves from the bulb but haven’t peeled them yet, they can also be stored in a cool, dry place for a shorter period, usually about 1-2 weeks.
Transform Your Cooking with This Simple Garlic Hack
This garlic storage hack is more than just a kitchen trick; it’s a pathway to more efficient, enjoyable, and flavorful cooking. By taking a small amount of time upfront, you unlock weeks, even months, of effortless access to fresh, minced garlic. No more fussing with peels, no more sticky fingers, and certainly no more wasted cloves. It empowers you to elevate your culinary creations with the rich, aromatic essence of garlic at a moment’s notice.
We encourage you to try this method and experience the difference it makes in your daily cooking routine. Share your experiences, your own twists on this hack, and your favorite recipes featuring your perfectly preserved garlic. Get ready to embrace a new level of kitchen convenience and flavor!