
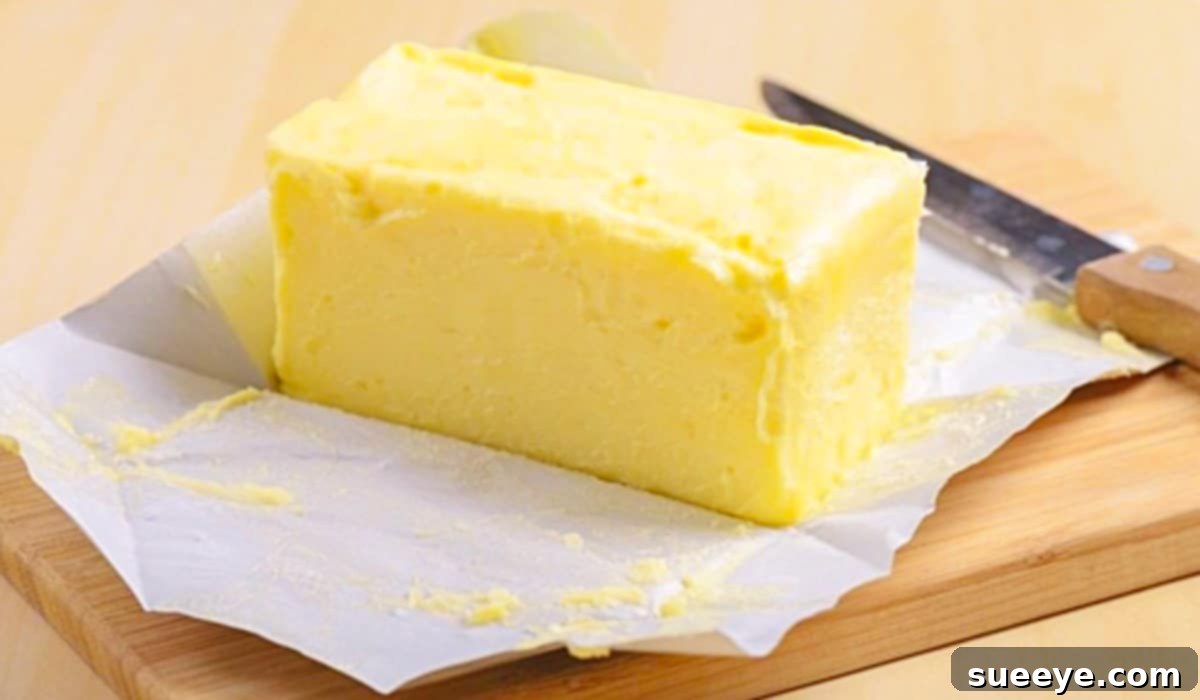
Master the Art of Softening Butter Quickly: The Ultimate Kitchen Hack for Bakers
Picture this: You’ve meticulously gathered all your ingredients, preheated your oven, and you’re just about to start mixing that delicious cookie dough or cake batter. Then, you reach for the butter, and it’s still rock-hard, straight from the fridge. Sound familiar? This common kitchen dilemma can instantly derail your baking plans, leaving you frustrated and scrambling for solutions. Many recipes explicitly call for “softened butter,” and for good reason – its consistency profoundly impacts the final product.
The good news is, you don’t have to put your culinary aspirations on hold while you wait for butter to slowly reach room temperature. We’ve all been there, impatiently tapping our fingers, or worse, resorting to desperate measures that often lead to melted rather than softened butter. Fortunately, there’s a brilliant, incredibly simple, and highly effective trick that will change your baking game forever. When I discovered this ingenious butter softening hack, originally shared by Natasha’s Kitchen on YouTube, I was absolutely thrilled. It’s a true kitchen game-changer that saves time and stress, ensuring your butter is always ready when you are.
Why Softened Butter is a Non-Negotiable for Baking Success
Before diving into the hack itself, it’s essential to understand *why* recipes often specify softened butter. It’s not just a suggestion; it’s a critical component for achieving the desired texture and structure in many baked goods. Softened butter, often described as having the consistency of mayonnaise or soft serve ice cream, plays several vital roles:
- Creaming Method: For recipes like cookies and cakes, softened butter is creamed with sugar. This process incorporates tiny air pockets into the mixture, which expand during baking, resulting in a light, airy, and tender crumb. Cold butter won’t cream properly, leading to a dense product.
- Emulsification: In frostings, sauces, and some doughs, softened butter helps create a smooth, homogenous mixture, binding ingredients together beautifully. Melted butter can separate, while cold butter won’t combine effectively.
- Texture and Spread: For items like biscuits or pie crusts, sometimes you want cold butter, but for something like a spreadable butter, or certain types of cookies, softened butter creates a more uniform texture and spread.
- Flavor Distribution: When butter is softened, it blends more easily with other ingredients, ensuring even distribution of flavor throughout your dish.
Using butter that is too cold will lead to lumpy batters and tough textures, while using melted butter can result in greasy, flat, and dense baked goods. The goal is a perfect balance – soft enough to mix smoothly, yet firm enough to hold its structure.
The Genius Hot Glass Hack: Materials You’ll Need
The beauty of Natasha’s Kitchen’s butter softening method lies in its simplicity and the fact that it uses items you likely already have in your kitchen. No special gadgets or lengthy waits required!
Materials For Softening Butter Quickly:
- Butter: One stick (or the amount required by your recipe). It should be whole and unwrapped.
- A Tall Glass Tumbler: Ensure it’s tall enough to completely cover your stick of butter. A standard drinking glass or pint glass usually works well.
- Hot Water: Tap water, hot but not necessarily boiling. The hotter the water, the faster the process, but extreme heat isn’t necessary.
Step-by-Step Directions for This Incredible Butter Softening Hack
This hack is wonderfully straightforward, transforming your rock-hard butter into perfectly softened perfection in just a few minutes. Follow these steps carefully to achieve optimal results every time:
Step 1: Prepare Your Heating Vessel
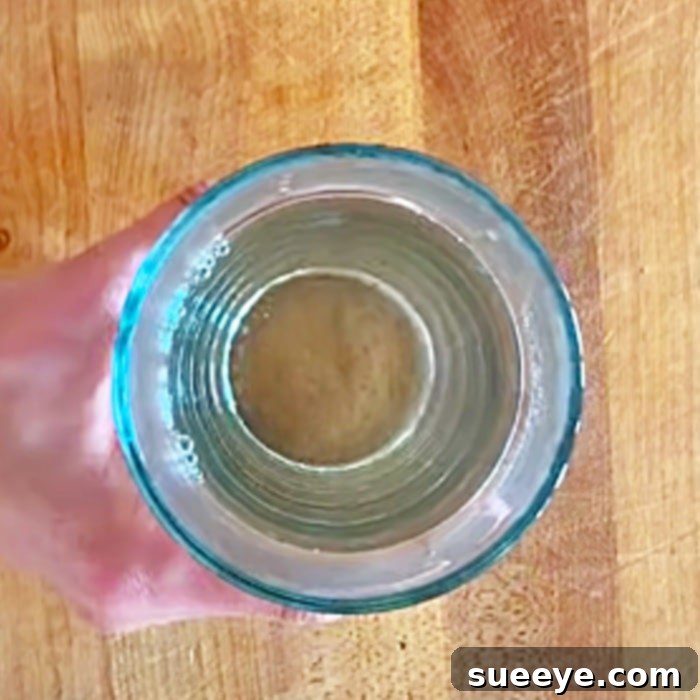
Begin by taking your tall glass tumbler and filling it with hot water. The water should be hot enough to warm the glass significantly, but it doesn’t need to be scalding or boiling. Hot tap water is usually sufficient. Let the hot water sit in the glass for approximately one to two minutes. This allows the glass to absorb the heat, turning it into a warm, humid chamber, which is key to the softening process.
Step 2: Prepare the Butter and Glass
While the glass is warming, unwrap your stick of butter. It’s best to place the butter on a plate or a clean, flat surface that can withstand a little heat. Once the glass has warmed sufficiently, carefully pour out the hot water. Be cautious as the glass will be hot to the touch. You might want to use oven mitts or a towel to handle it. Quickly dry the inside and outside of the glass to prevent water droplets from getting onto the butter, which can affect its texture.
Step 3: Create the Warming Chamber
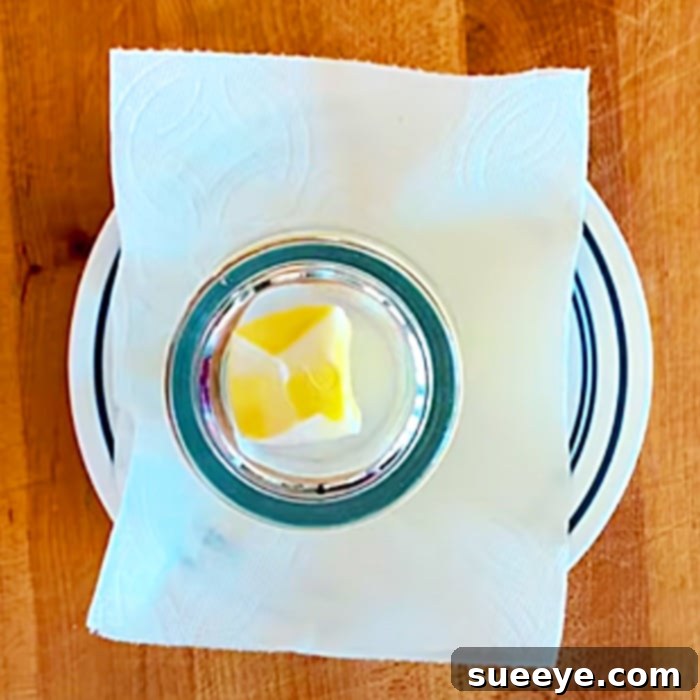
Immediately after drying, invert the hot glass tumbler and place it over the stick of butter on the plate. Ensure that the glass completely covers the entire stick of butter, creating a sealed, warm environment. The heat radiated from the glass, combined with the slight humidity trapped within, will gently and evenly soften the butter without melting it. The warm air surrounding the butter will begin to work its magic.
Step 4: The Waiting Game and Revelation
Leave the inverted glass over the butter for approximately two to five minutes. The exact time may vary slightly depending on how cold your butter initially was and how hot your glass became. After a few minutes, carefully remove the glass. What you’ll find underneath is perfectly softened butter, ready for your recipe! It will be pliable and yielding, just like the ideal consistency described earlier – soft enough to leave an indentation when gently pressed, but not oily or melted.
The Science Behind This Butter Softening Magic
This hack isn’t just a clever trick; it leverages basic principles of physics. When you heat the glass, you’re building up thermal energy. By inverting it over the butter, you create a small, warm, and slightly humid microclimate. The heat from the glass radiates inwards, gently raising the temperature of the air around the butter. This warm air then transfers heat to the butter stick. Crucially, the enclosed space helps retain this heat and moisture, ensuring the butter softens evenly from the outside in, rather than melting one side while the other remains cold, which often happens in a microwave. The humidity also helps prevent the butter from drying out or developing a “crust” as it softens.
Beyond the Glass Hack: Other Methods for Softening Butter
While the hot glass method is incredibly efficient, it’s always good to have a few other tricks up your sleeve. Each method has its pros and cons, and the best choice often depends on how much butter you need and how much time you have.
The Traditional Countertop Method
The simplest method, requiring the least effort but the most patience. Simply remove your butter from the refrigerator 30 minutes to an hour (or more, depending on room temperature) before you plan to use it. This method provides the most even softening, but it’s not helpful when you’re in a hurry.
The Grating Method
If you need softened butter very quickly, use a box grater to grate the cold butter into small pieces. The increased surface area allows the butter to warm up much faster. Within 5-10 minutes, your grated butter should be soft enough to use, especially if you gently press and knead the pieces together with your hands.
The Pounding/Rolling Method
For smaller amounts of butter, you can place it between two sheets of parchment paper or plastic wrap. Use a rolling pin or the flat side of a meat tenderizer to gently pound and roll the butter until it’s flattened and pliable. This breaks down the butter’s structure and increases its surface area, speeding up the softening process. It can be ready in a few minutes.
The Microwave Method (Use with Extreme Caution!)
This is often a last resort because it’s very easy to melt butter in the microwave, leading to an oily mess rather than a softened state. If you must use this method, place the unwrapped butter on a microwave-safe plate. Microwave on the LOWEST power setting (often 10-20% power) for very short bursts – 5 to 10 seconds at a time. Flip the butter after each burst. Check the consistency frequently. Stop as soon as it feels slightly pliable. Overdoing it even by a few seconds can turn it to liquid.
The Water Bath Method
Similar in principle to the hot glass hack, but for larger quantities or if you don’t have a tall glass. Cut the butter into smaller pieces and place them in a heatproof bowl. Set this bowl over another bowl of warm (not hot) water, ensuring the bottom of the top bowl doesn’t touch the water. The steam and warmth will gently soften the butter. Stir occasionally for even results. This method offers more control than a microwave.
Tips for Achieving the Perfect Butter Consistency
- The “Finger Test”: The ultimate test for softened butter is to gently press it with your finger. It should leave an indentation without your finger sinking through easily, and without any visible oiliness. If it’s too hard, give it more time. If it’s oily or transparent, it’s melted.
- Even Temperature: Aim for butter that is consistently soft throughout, not soft on the outside and still cold in the middle. The hot glass hack excels at this.
- Don’t Rush It: While these hacks are fast, resist the urge to overheat or over-process the butter. Patience, even for a few minutes, yields the best results.
- Quality Matters: High-quality butter often softens more evenly and predictably due to its fat content and composition.
Recipes That Absolutely Demand Softened Butter
Knowing how to quickly soften butter opens up a world of baking possibilities. Here are just a few examples of recipes where properly softened butter is absolutely critical for success:
- Chocolate Chip Cookies: Essential for the creaming method to achieve chewy centers and crisp edges.
- Buttercream Frosting: Key for a smooth, airy, and stable frosting that pipes beautifully.
- Classic Pound Cake: Relies heavily on the emulsification of butter and sugar for its dense, yet tender crumb.
- Muffins and Quick Breads (some recipes): While many use melted butter or oil, some recipes for a richer, more cake-like texture call for softened butter.
- Sugar Cookies: For a dough that is easy to roll out and produces delicate, delicious cookies.
Final Thoughts: Empowering Your Inner Baker
This hot glass butter softening hack from Natasha’s Kitchen is truly a gem. It addresses a common pain point for home bakers and cooks with an elegant, simple, and effective solution. Gone are the days of impatiently waiting for butter or risking a melted mess in the microwave. By understanding not just the ‘how’ but also the ‘why’ behind softened butter, you gain a deeper appreciation for the nuances of baking.
Incorporating this technique into your kitchen routine will not only save you precious time but also boost your confidence, ensuring that your ingredients are always in perfect condition for your culinary creations. Whether you’re whipping up a batch of cookies, frosting a cake, or preparing a savory dish, perfectly softened butter is a cornerstone of delicious results. Give this hack a try on your next baking adventure – you’ll be glad you did!