
How to Effectively Remove Stubborn Grease from Kitchen Cabinets: A Comprehensive Guide
For anyone who loves to cook, the kitchen is often the heart of the home. However, it’s also the place where stubborn grease and grime silently accumulate, especially on kitchen cabinets. This build-up isn’t just unsightly; it can become sticky, attract dust, and be incredibly difficult to remove if left unaddressed. If you’ve ever battled layers of greasy residue clinging to your beautiful cabinetry, you know the frustration. Fortunately, achieving sparkling, grease-free cabinets doesn’t require harsh chemicals or endless scrubbing. With the right approach and a simple homemade solution, you can restore your kitchen’s luster.
Inspired by effective cleaning methods, such as those shared by experts like Andrea Jean Cleaning on YouTube, we’ve compiled a comprehensive guide to help you tackle even the toughest grease stains. This article will walk you through an easy-to-follow process using readily available ingredients, ensuring your cabinets not only look clean but are also protected for the long run. Say goodbye to sticky surfaces and hello to a refreshed, inviting kitchen!
Understanding Kitchen Grease: Why It Builds Up and Why It Matters
Before diving into the cleaning process, it’s helpful to understand why grease accumulates so persistently on kitchen cabinets. Every time you cook – whether frying, sautéing, or even boiling – tiny particles of oil, steam, and food debris are released into the air. These airborne particles eventually settle on nearby surfaces, including your cabinets. Over time, these layers harden, becoming a sticky, yellowish film that traps dust and dirt, making it appear even more prominent and difficult to dislodge.
Beyond aesthetics, unchecked grease build-up can lead to several problems. It can attract pests, harbor bacteria, and even degrade the finish of your cabinets, especially wood. Regular cleaning not only maintains a hygienic environment but also preserves the longevity and beauty of your kitchen investment. Tackling grease early and effectively is key to a healthier, happier kitchen.
The Best Homemade Degreaser: A Powerful & Safe Solution
While many commercial degreasers are available, a powerful, safe, and incredibly effective solution can be mixed right in your kitchen. The secret lies in combining two household staples: Dawn dish soap and Murphy’s Wood Soap. This dynamic duo creates a cleaning agent that cuts through grease while being gentle enough for most cabinet finishes.
- Dawn Dish Soap: Renowned for its grease-cutting power, Dawn (or similar concentrated dish soap) is formulated to break down fats and oils. Its surfactant properties encapsulate grease particles, allowing them to be easily wiped away.
- Murphy’s Wood Soap: This classic cleaner is specifically designed to clean and condition wood surfaces without harsh chemicals. It helps lift dirt and grime while preserving the natural oils and finish of your wooden cabinets, preventing them from drying out or looking dull.
Together, they form a formidable team: Dawn tackles the grease, while Murphy’s ensures your wood cabinets are treated with care, leaving them clean, shiny, and nourished.
Materials You’ll Need for a Deep Cabinet Clean
Having the right tools on hand makes all the difference for an efficient and effective cleaning session. Gather these items before you begin:
- Dawn Dish Soap: The original formula is highly recommended for its potent grease-cutting abilities.
- Murphy’s Oil Soap: Essential for cleaning and protecting wood cabinets.
- Warm Water: Helps activate the cleaning agents and makes grease more pliable.
- Mixing Bowl: For combining your homemade degreaser.
- Microfiber Cloths (at least 3-4): These are crucial. Use one for applying the cleaner, another for rinsing, and a dry one for buffing. Microfiber is highly absorbent and excellent at picking up grease and dirt without scratching surfaces.
- Soft Scrub Brush or Sponge: A soft-bristled brush or a non-abrasive sponge is ideal for gently agitating stubborn spots without damaging the cabinet finish. Avoid anything too abrasive.
- Old Toothbrush: Perfect for reaching into tight corners, crevices, and around hardware where grease loves to hide.
- Spray Bottle (Optional but Recommended): For easy application of the cleaning solution, especially for larger areas.
- Protective Gloves: To protect your hands from prolonged exposure to cleaning agents and grime.
- Drop Cloths or Old Towels: To protect your countertops, flooring, and appliances from drips and spills during the cleaning process.
- Spray Olive Oil (Optional but Highly Recommended): For conditioning and restoring the luster of wood cabinets after cleaning.
Step-by-Step Guide: How to Quickly & Effectively Remove Grease from Your Cabinets
Follow these detailed steps to transform your greasy cabinets into gleaming masterpieces.
Step 1: Preparation is Key
Before you start scrubbing, a little preparation goes a long way. Begin by clearing your countertops of any appliances, dishes, or decorative items. This gives you unobstructed access to your cabinets. Next, lightly dust your cabinets with a dry microfiber cloth or a feather duster. This crucial step removes loose dust and crumbs, preventing them from turning into a muddy mess when combined with your cleaning solution. Finally, lay down drop cloths or old towels on your countertops and floor directly below the cabinets you’ll be cleaning to protect them from drips.
It’s always wise to test your cleaning solution on an inconspicuous spot of your cabinet (e.g., inside a cabinet door or in a hidden corner) to ensure it doesn’t cause any discoloration or damage, especially if your cabinets have a delicate finish.
Step 2: Mix Your Potent Degreaser
In your mixing bowl, combine approximately equal parts of Dawn dish soap and Murphy’s Wood Soap. For instance, start with about a quarter cup of each. Then, add a splash of warm water – enough to create a slightly diluted, easy-to-spread solution. The warm water helps to activate the soap and makes it more effective at dissolving grease. Stir gently until the ingredients are well combined. If using a spray bottle, ensure the solution is thin enough to spray easily without clogging.
Step 3: Apply and Agitate
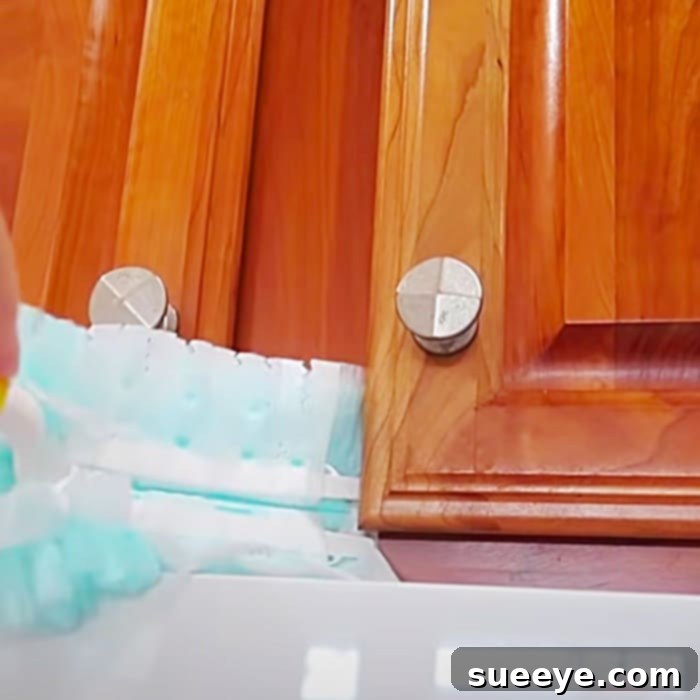
Dip your designated cleaning microfiber cloth into the solution, wringing out any excess so it’s damp, not dripping. Alternatively, lightly spray the solution directly onto a small section of your cabinet. Work in manageable sections – don’t try to clean all your cabinets at once. Apply the solution to the greasy areas, allowing it to sit for a minute or two to penetrate the grime. For stubborn grease, use your soft scrub brush or sponge to gently agitate the surface in small, circular motions. For intricate carvings or around hardware, deploy your old toothbrush. Be firm but gentle, letting the solution do most of the work.
Step 4: Rinse Thoroughly
This step is crucial to prevent streaks and soap residue. Take a clean microfiber cloth, dampen it with plain warm water, and thoroughly wipe down the section you just cleaned. It’s important to remove all traces of the cleaning solution. Rinse your cloth frequently or use a fresh one as it picks up soap and grime. You may need to wipe a section two or three times to ensure it’s completely free of residue. Soap residue, if left behind, can attract new dirt and leave a dull finish.
Step 5: Dry and Buff
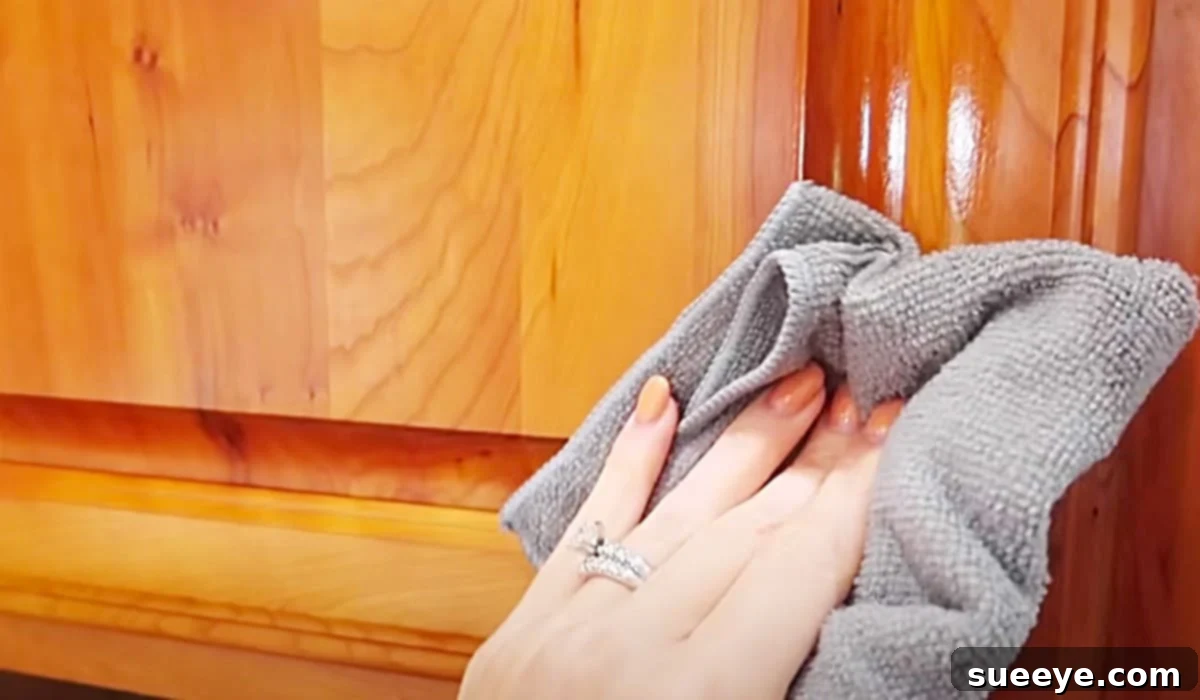
Immediately after rinsing, use a dry, clean microfiber cloth to thoroughly dry the cabinet surface. This prevents water spots, streaks, and potential moisture damage, especially on wood cabinets. Buff the surface gently to reveal a clean, streak-free shine. This drying step also helps to close the pores of the wood, further protecting it.
Step 6: Condition and Protect (Optional, but highly recommended)
For wooden cabinets, this final step can make a significant difference in their appearance and longevity. Once your cabinets are completely dry, take your spray olive oil. Lightly mist a small amount onto a clean, dry microfiber cloth, or very sparingly directly onto the cabinet surface. Gently rub the olive oil into the wood, working with the grain. This acts as a natural conditioner, restoring moisture, enhancing the wood’s natural sheen, and providing a subtle protective barrier against future grease and moisture. It can also help minimize the appearance of minor scratches or dull areas, breathing new life into your cabinetry.

Advanced Tips for Stubborn Grease and Different Cabinet Types
While the above method is highly effective, some situations might require additional considerations:
- For Extremely Stubborn Grease: If you encounter particularly caked-on grease, you might need to repeat the application and agitation steps. For very tough spots, a stronger concentration of Dawn dish soap (less Murphy’s, more Dawn) might be necessary, but always follow with thorough rinsing. A steam cleaner can also be incredibly effective at breaking down old grease, but ensure your cabinet material can withstand steam.
- Painted Cabinets: Exercise extra caution with painted cabinets. While the homemade solution is generally safe, avoid aggressive scrubbing which can chip or wear away the paint. Always test in an inconspicuous area first.
- Laminate Cabinets: Laminate surfaces are generally quite durable and less porous than wood, making them easier to clean. The same method applies, though you might find grease lifts off even more readily.
- Unfinished Wood Cabinets: These are the most delicate. Any liquid can be absorbed and cause staining or swelling. If you have unfinished cabinets, it’s best to consult a professional or use very minimal moisture and dry immediately. Our suggested method might be too wet for completely unfinished wood.
- Metal Cabinets: If you have metal cabinets, the Dawn and water solution will work wonderfully. You won’t need the Murphy’s Wood Soap or olive oil for conditioning.
Maintaining a Grease-Free Kitchen: Prevention is Better Than Cure
Once you’ve put in the effort to deep clean your cabinets, you’ll want to keep them looking pristine. Regular maintenance is key to preventing future heavy grease build-up:
- Wipe Down Regularly: After cooking, especially after frying or sautéing, quickly wipe down nearby cabinet surfaces with a damp cloth and then dry immediately. This catches grease before it has a chance to harden.
- Use Your Exhaust Fan: Always use your kitchen exhaust fan or range hood when cooking. This significantly reduces airborne grease particles and steam from settling on your cabinets.
- Employ Splatter Guards: When frying, use a splatter screen over your pans to contain oil splashes.
- Weekly Light Clean: Designate a quick weekly wipe-down of high-traffic cabinet areas with a dilute solution of dish soap and water.
- Monthly Deeper Clean: Aim for a monthly, more thorough clean using the Dawn and Murphy’s solution, focusing on areas that get more exposure to cooking fumes.
Common Mistakes to Avoid When Cleaning Kitchen Cabinets
To ensure your cabinets remain beautiful and undamaged, be mindful of these common cleaning errors:
- Using Harsh Chemicals: Avoid ammonia-based cleaners, bleach, or abrasive household cleaners. These can strip finishes, dry out wood, or cause discoloration.
- Abrasive Scrubbers: Steel wool, harsh sponges, or stiff brushes can scratch and permanently damage cabinet surfaces, especially painted or lacquered ones.
- Soaking Wood Cabinets: Never drench wood cabinets with water. Excess moisture can cause swelling, warping, or delamination. Always use a damp (not wet) cloth and dry thoroughly.
- Not Drying Properly: Leaving cabinets to air dry can lead to water spots, streaks, and long-term moisture damage. Always wipe dry with a clean cloth.
- Ignoring Hidden Spots: Don’t forget the tops of cabinets, the undersides, and the insides of doors near the cooking area. Grease can accumulate there too!
Conclusion
Saying goodbye to greasy kitchen cabinets doesn’t have to be a daunting task. By utilizing a simple yet powerful homemade cleaning solution of Dawn dish soap and Murphy’s Wood Soap, combined with a methodical approach, you can effectively cut through years of built-up grime. This method not only cleans but also protects and restores the natural beauty of your cabinets, making your kitchen a more inviting and hygienic space.
Embrace these easy steps, remember the importance of regular maintenance, and watch as your kitchen transforms. A clean kitchen isn’t just about appearances; it’s about creating a healthier and more enjoyable environment for you and your family. Give this method a try, and prepare to be amazed by the renewed sparkle of your cabinets!