
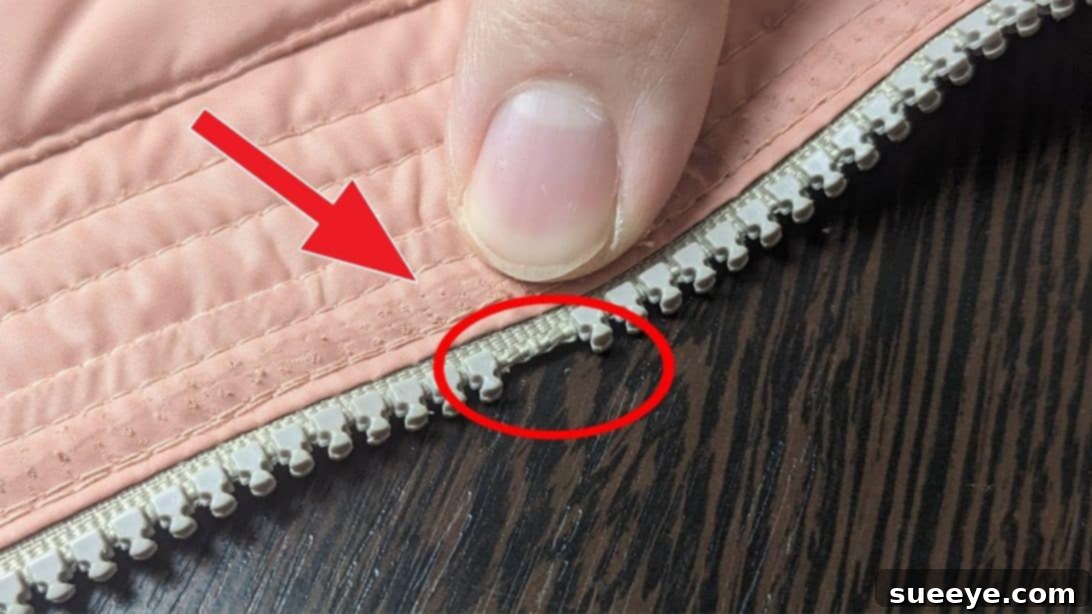
The Ultimate DIY Guide: How to Fix a Broken Zipper with Missing Teeth and Prongs Without Replacing It
Few things are as frustrating as a broken zipper. It can render a perfectly good jacket unwearable, a favorite pair of jeans unusable, or a cherished bag impractical. The common assumption when facing a zipper with missing teeth or prongs is that the item is destined for the tailor or, worse, the trash bin. Many of us have experienced the disheartening moment when we realize a zipper isn’t just stuck, but genuinely damaged, seemingly beyond a simple fix. The thought of costly replacements or the hassle of finding a new item often leads to premature disposal.
However, what if we told you there’s a remarkably effective and surprisingly simple method to fix a broken zipper right from the comfort of your home? This isn’t about lubricating a sticky slider or coaxing a zipper back onto its track. This guide focuses on the more challenging issue of a zipper that has lost its vital teeth or elements, leaving gaps that prevent it from functioning. You might believe such damage is irreversible without a full replacement, but a clever technique allows you to restore your zipper’s integrity with just a few basic tools you likely already own.
This innovative approach not only saves you money but also empowers you with a valuable DIY skill, contributing to a more sustainable lifestyle by extending the life of your garments and accessories. Before you consider tossing that beloved item or spending a fortune on professional repairs, discover how to mend a broken zipper with missing elements, transforming what seemed like a lost cause into a triumph of home repair. Join us as we explore the steps to bring your damaged zipper back to life, all inspired by expert insights like those shared by Sly Master on YouTube, who demonstrates just how accessible this repair truly is.
Understanding Zipper Mechanics and Common Failures
Before diving into the repair, it’s helpful to understand what makes a zipper tick and why it might break. Zippers rely on a series of interlocking elements (teeth or coils) that mesh together when guided by a slider. When these elements are consistent and intact, the zipper opens and closes smoothly. However, wear and tear, excessive force, or manufacturing defects can lead to problems.
- Slider Issues: The most common problem, where the slider might get stuck or separate from the teeth. This is often an easier fix, sometimes requiring just lubrication or a gentle squeeze with pliers.
- Zipper Off Track: When the teeth don’t properly engage, causing the zipper to split open. This often means resetting the slider or adjusting the initial teeth alignment.
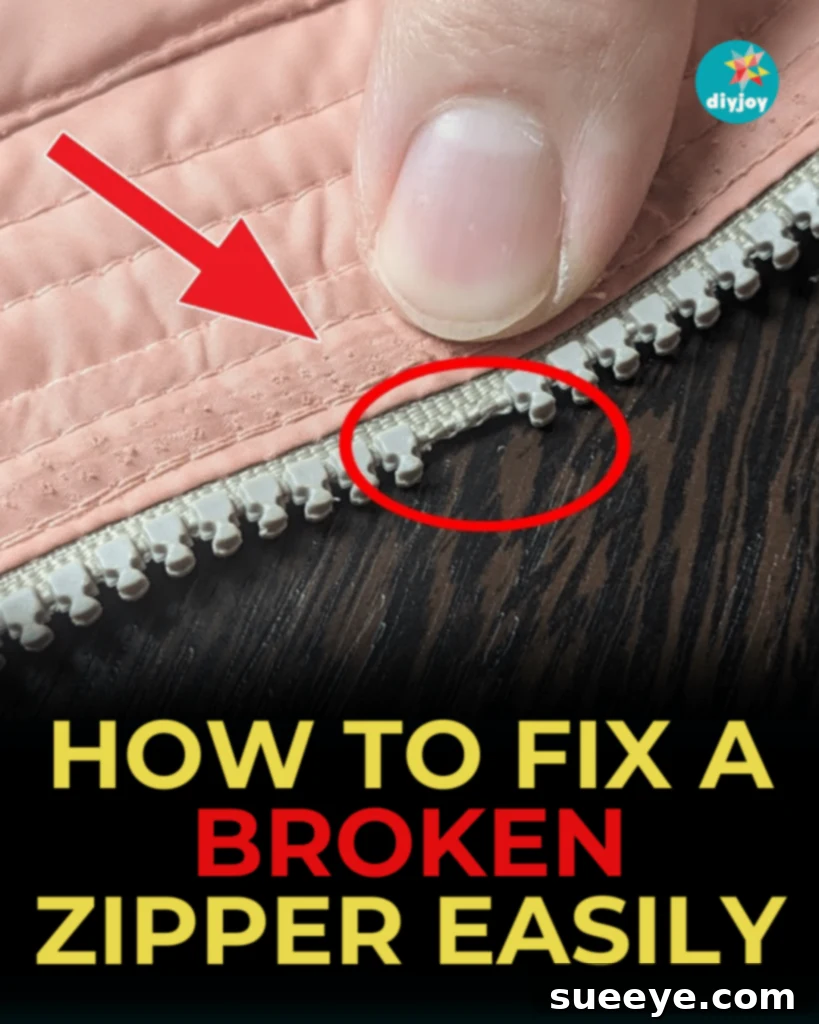
- Missing Teeth or Prongs: This is the specific focus of our guide. Individual elements have either fallen off, been broken, or worn down, creating gaps that prevent the zipper from holding together. This damage typically requires replacing the missing elements or fortifying the damaged section.
- Tape Damage: The fabric tape to which the teeth are attached can fray, tear, or detach, making the zipper unusable. This type of damage can be more challenging but might still be repairable depending on the extent.
Our method specifically addresses the frustrating issue of missing or damaged teeth, offering a practical solution that bypasses the need for a complete zipper replacement.
The Benefits of DIY Zipper Repair: More Than Just Saving Money
Opting to fix a broken zipper yourself offers a multitude of advantages beyond just financial savings:
- Significant Cost Savings: Replacing a zipper at a tailor can be surprisingly expensive, often ranging from $20 to $50 or even more, depending on the item and complexity. This DIY method requires minimal, often already-owned, tools.
- Extends Product Lifespan: Don’t discard a favorite jacket, pair of pants, or a valuable bag just because of a small zipper defect. Repairing it breathes new life into your items, promoting longevity and reducing waste.
- Environmental Sustainability: Every item repaired is one less item in a landfill. DIY repair is a small but meaningful step towards a more sustainable consumption pattern.
- Empowerment and Skill Development: Learning to fix things around the house is a rewarding experience. Mastering zipper repair adds a practical skill to your repertoire, boosting confidence in tackling other minor household repairs.
- Convenience and Time-Saving: No need for trips to the tailor, waiting times, or hunting for a new replacement item. Repairs can be done at your convenience, often in under an hour.
- Preserving Sentimental Value: Some items hold special memories. Repairing them ensures these cherished belongings can continue to be used and enjoyed.
RELATED: How To Shorten A Zipper
What You Need to Fix a Broken Zipper
Gathering the right tools beforehand will make the repair process smooth and efficient. You’ll be surprised how little you need to achieve a professional-looking fix.
- Long-Nose Pliers: These are absolutely crucial. Their fine tips allow for precise manipulation of tiny zipper elements, gently prying them open or crimping them securely. Regular pliers might be too bulky.
- Toothpick: A simple yet effective tool for carefully prying open elements without causing damage, and for fine-tuning their placement.
- Hairdryer: Used to apply controlled heat, which can help soften plastic elements or fuse the zipper tape around the newly placed elements for a secure fit.
- Thread and Needle: For securing the new top stop or reinforcing the end of the zipper tape. Choose a color that matches your zipper tape.
- Lighter: Essential for carefully singeing the cut edges of the zipper tape to prevent fraying. Exercise extreme caution when using a lighter.
- Scissors: Sharp scissors are needed for trimming excess zipper tape neatly.
- Optional: Magnifying Glass/Lamp: If you have trouble with small details, a magnifying aid can significantly help with precision.
With these humble tools in hand, you’re ready to embark on your zipper repair journey and save that beloved item from an early retirement.
How to Fix a Broken Zipper Without Replacing It: A Step-by-Step Guide
This detailed method focuses on replacing missing teeth or prongs by harvesting elements from an unused section of the same zipper. Patience and precision are key!
Step 1: Thoroughly Inspect the Zipper and Assess the Damage
Begin by carefully examining your broken zipper. Identify exactly where the teeth or prongs are missing. Count how many elements are gone and note their exact location on the zipper tape. This initial assessment will help you determine how many donor elements you’ll need and the extent of the repair required. Also, check the overall condition of the zipper tape itself – is it frayed or damaged extensively? This method is most effective when the tape is largely intact, and only the elements are missing.
Step 2: Carefully Remove Donor Elements from the Zipper Tape
Using your long-nose pliers, you will now carefully remove the necessary number of elements from the *top part* of the zipper tape – specifically, the section above where the zipper typically stops, or a section that won’t be used for zipping. You’ll also need to remove the existing top stop. The goal here is to harvest intact elements without damaging them. Gently grip an element with your pliers and carefully pry it away from the tape. Work slowly and methodically, ensuring you have enough replacement elements for all the missing spots on your broken section. Handle the removed elements with care as they are tiny and easily lost.
Step 3: Prepare the Donor Elements by Opening Them Up
Once you have your collection of donor elements, use a toothpick to carefully insert it into the opening of each element. Gently twist or push the toothpick to slightly open up the element. This makes it easier to slide them onto the damaged section of the zipper tape. Be gentle to avoid bending or deforming the delicate elements. They should be open just enough to fit over the edge of the tape where the missing teeth are, but not so wide that they become loose.
Step 4: Precisely Place and Crimp New Elements onto the Zipper Tape
Now comes the most critical step: attaching the new elements. Take one of the opened elements with your long-nose pliers. Carefully align it with the edge of the zipper tape where a tooth is missing, ensuring it faces the correct direction to interlock with the opposing side. Slide the element onto the tape. Once it’s in position, use your long-nose pliers to gently but firmly crimp the element closed, securing it onto the tape. The toothpick can be used for minor adjustments to the spacing and alignment between the elements. Work your way along the damaged section, adding one element at a time, ensuring they are evenly spaced and tightly secured. Test the slider’s movement periodically to ensure proper alignment.
Step 5: Secure the Newly Placed Elements with Heat
With all the new elements in place, use your hairdryer to apply gentle heat to the repaired section. This step is particularly effective for zippers with plastic elements or for helping to fuse the fabric tape more securely around metal elements. The heat helps to slightly soften the material, allowing the elements to settle firmly onto the tape, creating a stronger bond. Hold the hairdryer a few inches away and move it back and forth to avoid overheating any single spot. After heating, you can gently press the elements again with pliers if needed, while the material is still warm, to ensure maximum security.
Step 6: Finish the Zipper with a New Top Stop and Reinforced Edges
Once the elements are secure, it’s time for the finishing touches. Use your scissors to carefully cut off any excess zipper tape above the uppermost element. Then, take your thread and needle. Create a new top stop by stitching several strong stitches directly above the last functional element on both sides of the zipper tape. This prevents the slider from coming off the top. Finally, and with extreme caution, use a lighter to quickly and lightly singe the very edge of the cut zipper tape. This melts the synthetic fibers, preventing fraying and giving it a clean, professional finish. Keep the flame moving quickly and avoid direct contact with the stitching or the main body of the zipper.
Troubleshooting Common Zipper Repair Issues
While this method is highly effective, you might encounter a few minor hiccups. Here are some tips for common issues:
- Elements Not Staying Secure: If the new elements feel loose, re-crimp them more firmly with your long-nose pliers. Ensure they are fully closed around the tape. If using a hairdryer, apply a bit more heat and then crimp again.
- Zipper Still Splits: This usually indicates that some elements are not perfectly aligned or crimped tightly enough. Re-examine the repaired section closely. Sometimes, the slider itself might be slightly bent and needs gentle adjustment with pliers.
- Slider Is Stiff After Repair: If the slider doesn’t move smoothly, apply a small amount of lubricant. Wax (like a candle or crayon), graphite (from a pencil), or specialized zipper lubricant can help.
- Damaged Zipper Tape: If the original zipper tape is significantly torn or frayed in the damaged section, this repair might be more challenging. You might need to reinforce the tape with strong thread before adding new elements, or consider if the damage is beyond DIY repair.
- Losing Tiny Elements: These parts are minuscule! Work over a clean, well-lit surface, perhaps with a tray or cloth underneath to catch any dropped pieces.
Maintaining Your Zippers for Longevity
Prevention is always better than cure. Here are some simple tips to keep your zippers in top condition and avoid future breaks:
- Clean Regularly: Dirt, dust, and debris can accumulate in zipper teeth, leading to stiffness and wear. Use a small brush or an old toothbrush to gently clean the teeth periodically.
- Lubricate Occasionally: For smoother operation, especially on metal zippers, apply a lubricant like a graphite pencil, wax, or specialized zipper wax. This reduces friction and prevents wear.
- Handle with Care: Avoid yanking or forcing a zipper, especially if it feels stuck. Always hold the fabric near the zipper when pulling to reduce stress on the teeth and slider.
- Don’t Overstuff: Overloading bags or clothes can put immense pressure on zippers, causing them to break or separate.
- Close Before Washing: Always zip up garments before washing them. This prevents the zipper from snagging on other clothes or getting bent in the washing machine or dryer.
When to Consider Professional Repair or Full Replacement
While this DIY method is incredibly versatile, there are instances where professional intervention or a full zipper replacement might be the more practical solution:
- Extensive Tape Damage: If the fabric tape itself is extensively torn, shredded, or detached over a long section, repairing individual teeth may not be sufficient or durable.
- Complex Zipper Types: Heavy-duty industrial zippers, invisible zippers, or very fine specialty zippers might require specific tools or expertise beyond the scope of a home repair.
- High-Value or Delicate Items: For expensive designer bags, formal wear, or delicate items where aesthetic perfection is paramount, a professional tailor might offer a more seamless finish.
- Lack of Confidence or Time: If you’re not comfortable with intricate manual work or simply don’t have the time, a professional can provide a quick and reliable service.
- Beyond Repair: Sometimes, a zipper is simply too damaged, perhaps due to rust, severe bending, or multiple catastrophic failures that make individual element replacement impractical.
For most common zipper issues involving missing teeth or prongs on everyday items, however, this DIY approach provides an accessible and effective solution.
Conclusion: Empower Yourself with DIY Zipper Repair
The next time you encounter a broken zipper with missing teeth or prongs, don’t despair or immediately reach for your wallet. With a little patience, precision, and a few common household tools, you now possess the knowledge to perform a remarkable DIY zipper repair. This guide has demonstrated that fixing a broken zipper without replacing it is not only possible but also a highly rewarding endeavor. You save money, contribute to sustainability by extending the life of your belongings, and gain a valuable practical skill.
From jackets to bags, understanding how to mend a zipper transforms you into a resourceful problem-solver. Give this method a try – you might be surprised at how easy it is to bring your favorite items back from the brink of disuse. Share your success stories and any additional tips you discover along the way!