
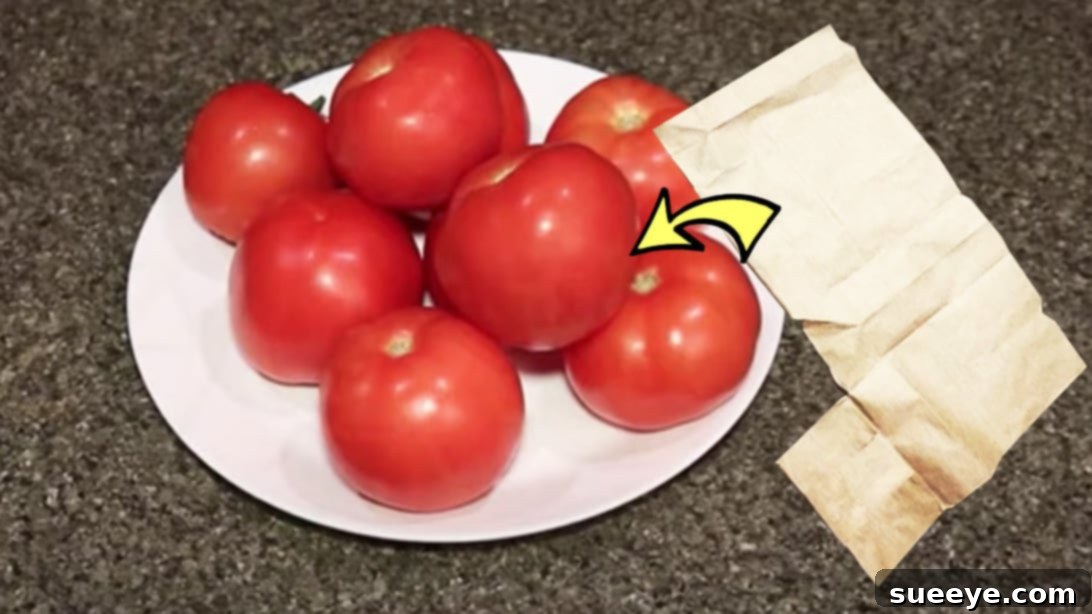
Mastering Tomato Freshness: Extend Shelf Life for Months Without Freezing
Tomatoes are a versatile staple in kitchens worldwide, but their notoriously short shelf life often leads to waste. Many home cooks resort to freezing, which, while effective for long-term storage, can significantly alter the texture and flavor of the tomato, making it less ideal for fresh consumption. What if there was a simple, natural method to keep your beautiful, ripe tomatoes fresh for weeks, even months, without compromising their quality?
This comprehensive guide reveals an ingenious technique, championed by experts like ezy2Learn on Youtube, that allows you to dramatically extend the freshness of your tomatoes. The secret lies in understanding and controlling the factors that accelerate spoilage, primarily ethylene gas and microbial growth. By adopting this easy-to-follow process, you can enjoy garden-fresh tomatoes for much longer, reducing food waste and ensuring peak flavor for all your culinary creations.
This method focuses on creating an optimal environment for your tomatoes, protecting them from common culprits of deterioration. Forget mushy, flavorless tomatoes; embrace a smarter approach to produce preservation that maintains their vibrant color, firm texture, and juicy goodness.
Why Do Tomatoes Spoil So Quickly? The Science Behind the Shelf Life
Before diving into the preservation technique, it’s crucial to understand why tomatoes have such a limited shelf life. The primary antagonist is a natural plant hormone called ethylene gas. As tomatoes ripen, they release ethylene, which in turn accelerates the ripening process of other fruits and vegetables around them – and themselves. This self-perpetuating cycle quickly leads to overripeness, softening, and eventual decay. Additionally, bacteria and fungi thrive on the surface of fruits and vegetables, contributing to spoilage and mold growth.
Conventional wisdom often suggests refrigerating tomatoes, but this can be a double-edged sword. While refrigeration slows down ripening, the cold temperatures can degrade the cell membranes, leading to a mealy texture and a significant loss of flavor. This method offers a superior alternative by addressing both ethylene gas and microbial activity without the detrimental effects of freezing or standard refrigeration on quality.
Materials You’ll Need for Extended Tomato Freshness
Gathering these simple, inexpensive materials is the first step towards enjoying long-lasting fresh tomatoes. Most of these items are likely already in your kitchen pantry.
- 2 teaspoons of Salt: A common household item, salt acts as a mild disinfectant and helps draw out impurities.
- 1/2 teaspoon of Turmeric Powder: More than just a spice, turmeric is a powerful natural antiseptic and antifungal agent, crucial for inhibiting microbial growth.
- Water: For preparing the cleansing solution and for a final rinse.
- Storage Container: An airtight or semi-airtight container, like a plastic bin or large tray, will house your wrapped tomatoes.
- Newspaper or Brown Paper Bag: This is key for absorbing ethylene gas and excess moisture, creating a protective barrier for each tomato.
- Colander: For draining and rinsing your tomatoes.
- Clean Kitchen Towels: Essential for thoroughly drying each tomato, preventing moisture-related spoilage.
Step-by-Step Guide: Preserving Tomatoes Without Freezing
Follow these detailed instructions carefully to maximize the freshness and longevity of your tomatoes. Precision in each step is vital for the method’s success.
Step 1: Prepare the Natural Cleansing Solution
In a large bowl or basin, combine two teaspoons of salt and half a teaspoon of turmeric powder with several cups of water. Stir the mixture well until the salt is completely dissolved and the turmeric is evenly dispersed. This solution serves as a powerful natural sanitizer. Turmeric, renowned for its antiseptic and antimicrobial properties, acts as a protective shield against various germs and fungi that commonly cause spoilage. The salt further aids in this cleansing process, helping to eliminate surface contaminants.
Step 2: Initial Tomato Preparation and Soaking
Before introducing your tomatoes to the solution, inspect each one carefully. Remove any stems that may still be attached, as these can harbor dirt and microbes. Gently place the stem-free tomatoes into the prepared salt and turmeric solution, ensuring they are fully submerged. Allow the tomatoes to soak for approximately 30 minutes. This soaking period is critical, giving the natural preservatives ample time to work their magic, penetrating the outer layer of the tomato skin to sanitize and cleanse effectively.
Step 3: Thorough Cleaning and Rinsing
After the 30-minute soak, remove the tomatoes from the solution. While holding each tomato under running fresh water, gently rub its surface between your fingers. This action helps to remove any residual dirt, grime, or lingering impurities that may have been loosened by the cleansing bath. Transfer the thoroughly cleaned tomatoes to a colander to allow excess water to drain. A complete rinse ensures no turmeric residue remains, which could impart a slight flavor if left on the skin.
Step 4: The Crucial Drying Process
Once rinsed, transfer your tomatoes to a clean kitchen towel. It is absolutely paramount to dry each tomato individually and meticulously. Using a separate, dry section of the towel for each tomato, gently wipe away every trace of moisture. Any remaining water on the surface of the tomato can create an ideal breeding ground for mold and bacteria, negating all previous preservation efforts. This step requires patience but is a non-negotiable part of extending their shelf life. Ensure your colander is also completely dry before moving to the next step, to prevent reintroducing moisture.
Step 5: Individual Wrapping for Protection
Now, prepare your storage container or tray. Line the bottom with a sheet of brown paper or newspaper. Then, take each dried tomato and individually wrap it completely in a separate sheet of brown paper or newspaper. The paper serves two critical functions: first, it acts as a physical barrier, protecting the tomato from external contaminants and physical damage. Second, and most importantly, the paper effectively absorbs the ethylene gas produced by the ripening tomatoes. By isolating each tomato and absorbing the gas, you significantly slow down the ripening process, preventing a domino effect of spoilage. Arrange the wrapped tomatoes in the container with their stem scars facing upwards. This orientation helps prevent moisture from collecting around the weakest point of the tomato.
Step 6: Strategic Stacking and Storage Conditions
Arrange the individually wrapped tomatoes in your storage container in a single layer if possible. If you have many tomatoes, you may stack them no more than two layers deep to ensure adequate air circulation and prevent pressure points. Overcrowding can hinder the paper’s ability to absorb ethylene and may lead to premature spoilage. Once stacked, cover the container loosely. Store the wrapped tomatoes in a cool, dark location away from direct sunlight. Ideal spots include the bottom of a kitchen cupboard, a pantry, or a closet. The consistent, stable temperature and absence of light are crucial for maintaining freshness, as light and warmth accelerate ripening.
Step 7: Weekly Inspection and Maintenance
Even with this meticulous preservation method, vigilance is key. Make it a habit to check your stored tomatoes on a weekly basis. Gently unwrap a few to inspect their firmness and color. Remove any tomatoes that have become fully ripened, soft, or show any signs of deterioration (e.g., mold spots, excessive wrinkling). By promptly removing ripened tomatoes, you prevent their continued ethylene production from affecting the remaining, still-fresh tomatoes. This proactive approach ensures the longevity of your entire batch.
Step 8: What to Do with Ripened or Soft Tomatoes
If during your weekly inspection you discover any tomatoes that are already soft or fully ripened, do not discard them! Simply transfer these specific tomatoes to your refrigerator immediately. The colder temperature will halt their ripening process and prevent further deterioration, giving you a few more days to use them before they spoil completely. These are perfect for immediate consumption in salads, sandwiches, or for cooking into sauces, salsas, or soups.
Benefits of This Natural Tomato Preservation Method
Adopting this method offers a multitude of advantages over traditional storage techniques:
- Extended Shelf Life: Keep tomatoes fresh for up to three months, drastically reducing food waste.
- Preserved Quality: Unlike freezing, this method maintains the original texture, flavor, and nutritional integrity of the tomatoes.
- Natural and Chemical-Free: Relies on common household items like salt, turmeric, and paper, avoiding artificial preservatives.
- Cost-Effective: Reduces the need to frequently purchase new tomatoes, saving money in the long run.
- Eco-Friendly: Minimizes food waste, contributing to a more sustainable kitchen.
- Versatility: Fresh tomatoes are always on hand for any recipe requiring their vibrant taste.
Final Thoughts on Tomato Storage
This natural, non-freezing method for preserving tomatoes is a game-changer for anyone who loves fresh produce and hates food waste. By understanding the science behind tomato spoilage and applying a few simple steps, you can significantly extend the enjoyment of your harvest or market purchases. From the initial cleansing bath with salt and turmeric to the strategic individual wrapping and cool, dark storage, each step plays a vital role in slowing down ripening and warding off microbes. Embrace this clever kitchen hack, and say goodbye to prematurely spoiled tomatoes, ensuring you always have firm, flavorful tomatoes ready for your next culinary adventure.
Experiment with this method and share your experiences. You might be surprised at how long your tomatoes stay perfectly fresh, ready to elevate any dish.