
4 Essential Ways to Erase Permanent Marker Stains Easily
There’s nothing quite like the heart-stopping moment when you discover a permanent marker stain on a pristine surface. Whether it’s a rogue Sharpie mark on your beautiful wooden desk, an accidental scribble on your freshly painted wall, or a crafting mishap on a favorite garment, the initial thought is often one of dread: “This will never come off!” For parents, these unwelcome artistic expressions by little ones are an all too familiar challenge. However, before you despair and contemplate expensive professional cleaning or even replacement, take a deep breath. The solution to these persistent marks might already be lurking in your bathroom cabinet or under your kitchen sink. This comprehensive guide will reveal four incredibly effective, surprisingly simple, and budget-friendly methods to tackle permanent marker stains using common household products. Get ready to reclaim your surfaces and make those stubborn marks vanish!
The beauty of these methods lies in their accessibility. You likely already own these everyday essentials, making them a go-to solution for unexpected permanent marker mishaps. Forget harsh chemicals or specialized cleaners; these practical hacks leverage the power of common items to save your day and your sanity.
Essential Supplies for Permanent Marker Removal:
- Hairspray: A common styling product with surprising solvent properties.
- Nail Polish Remover (Acetone-based): A powerful solvent, but use with caution.
- Rubbing Alcohol (Isopropyl Alcohol): An excellent all-around cleaner and disinfectant.
- White Vinegar: An acidic household staple known for its cleaning prowess.
Each of these items offers a unique approach to dissolving permanent marker ink, and understanding their strengths and limitations will help you choose the best method for your specific stain and surface.
Method 1: The Hairspray Hack
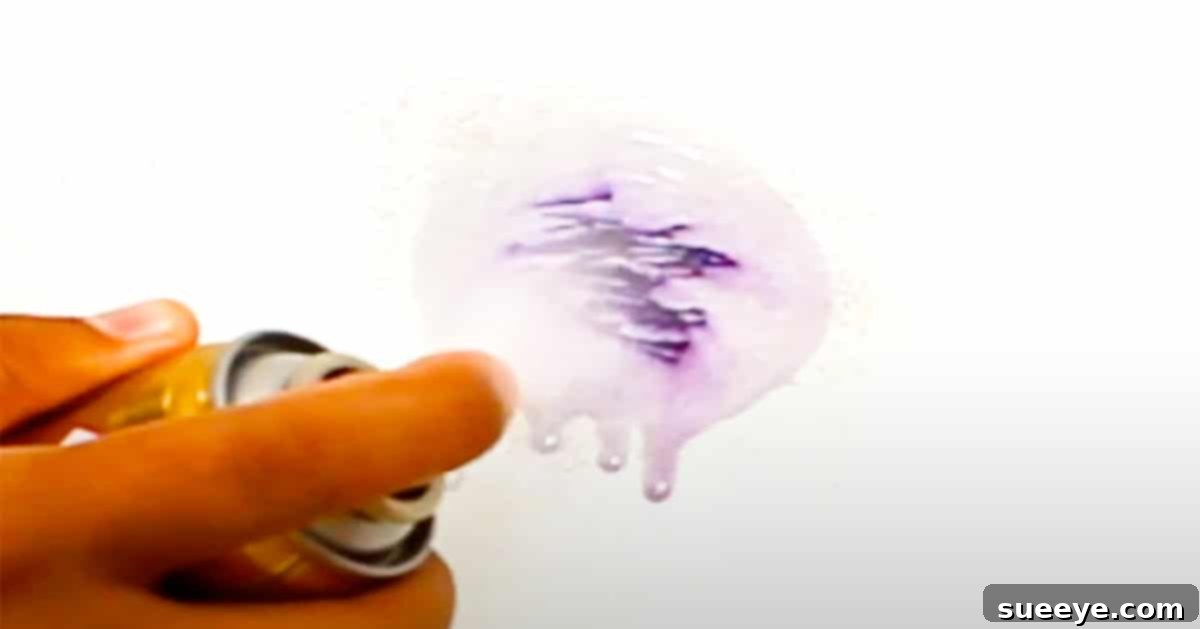
Hairspray might seem like an unlikely cleaning agent, but it’s a well-known secret weapon for tackling ink stains, including permanent marker. Many hairsprays contain alcohol, which acts as a solvent to break down the ink. This method is often the first one people reach for due to its widespread availability and relative gentleness on many surfaces.
How to Use Hairspray for Marker Removal:
- Prepare the Area: Ensure the area is well-ventilated. Have a clean towel, paper towels, or a soft cloth ready.
- Spray Directly: Hold the hairspray can about 6-8 inches away from the permanent marker stain and spray a liberal amount directly onto the mark. Don’t be shy; you want to saturate the area.
- Let it Sit: Allow the hairspray to sit on the stain for 30-60 seconds. This gives the alcohol time to penetrate and dissolve the ink.
- Blot and Wipe: Using a clean part of your towel or cloth, gently blot the stain. Avoid aggressive rubbing, as this can spread the ink further. As the ink transfers to the cloth, move to a new clean section of the cloth.
- Repeat if Necessary: For stubborn or older stains, you may need to repeat the process several times.
- Clean Up: Once the marker is gone, wipe the area with a damp cloth to remove any hairspray residue, then dry thoroughly.
Best Surfaces for Hairspray:
Hairspray is often effective on non-porous surfaces like glass, ceramic tiles, and some plastics. It can also be surprisingly effective on certain fabrics, especially fresh stains. However, as noted in the original content, some painted walls might react to hairspray, potentially leaving a residue or a dull spot. Always test on an inconspicuous area first, especially on painted or delicate surfaces. If using on fabric, treat the stain, then immediately launder the item as usual to prevent any sticky residue.
Method 2: Nail Polish Remover (Acetone)
Nail polish remover, particularly varieties containing acetone, is a powerful solvent. Acetone is highly effective at breaking down many types of ink, making it a strong contender for stubborn permanent marker stains. However, its strength also means it requires careful application and an understanding of its limitations.
How to Use Nail Polish Remover for Marker Removal:
- Ventilation is Key: Acetone has strong fumes, so ensure you’re working in a well-ventilated area, or even outdoors if possible.
- Test First: This step is non-negotiable. Acetone can damage, dissolve, or discolor many materials, including certain plastics, varnished wood, painted surfaces, and some fabrics. Apply a tiny amount to a hidden spot to check for adverse reactions.
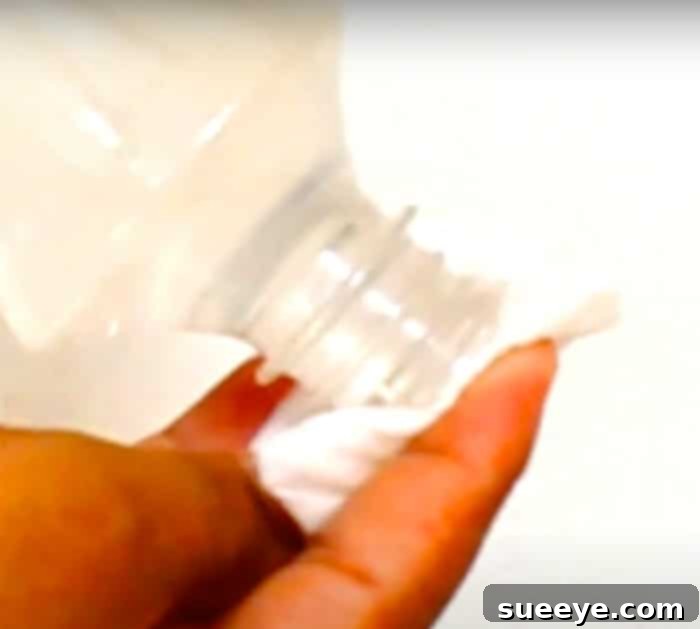
- Apply to Cotton Pad: Instead of applying directly, pour a small amount of nail polish remover onto a cotton ball or cotton pad.
- Blot the Stain: Gently blot the permanent marker stain with the acetone-soaked cotton pad. Do not rub aggressively, as this can spread the ink or damage the surface.
- Work in Sections: For larger stains, work on small sections at a time, continually using a clean part of the cotton pad or a fresh one.
- Rinse and Dry: Immediately after the stain is gone, wipe the area thoroughly with a damp cloth to remove all traces of acetone, then dry with a clean towel. Residual acetone can continue to affect the surface.
Best Surfaces for Nail Polish Remover:
Acetone is generally safe for glass, ceramic, and metal. It can be a last resort for very tough stains on some non-porous surfaces where other methods have failed, but always with extreme caution. Avoid using it on wood (especially varnished or polished), most plastics, acrylics, painted surfaces, synthetic fabrics like rayon or acetate, and delicate materials.
Method 3: Rubbing Alcohol (Isopropyl Alcohol)
Rubbing alcohol, or isopropyl alcohol, is another fantastic and versatile solvent that is often readily available in most homes. It’s less aggressive than acetone but still highly effective at dissolving permanent marker inks, making it a safer bet for a wider range of surfaces.
How to Use Rubbing Alcohol for Marker Removal:
- Gather Supplies: You’ll need rubbing alcohol (70% or 90% isopropyl alcohol), cotton balls, cotton pads, or a clean white cloth.
- Test an Inconspicuous Area: Especially crucial for painted walls, colored fabrics, or finished wood. Apply a tiny amount and blot to ensure no color lifting or damage occurs.
- Apply to Cloth/Pad: Saturate a cotton ball, pad, or a corner of your cloth with rubbing alcohol.
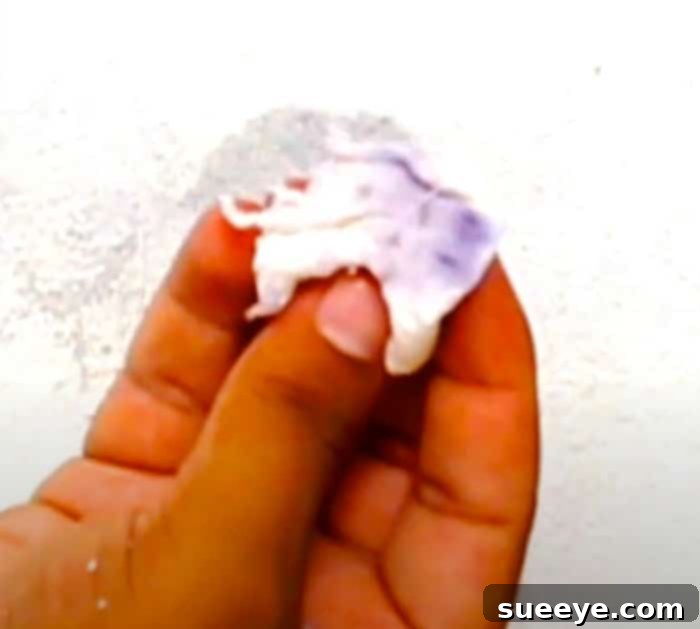
- Blot and Lift: Gently blot the permanent marker stain. The key is to lift the ink, not rub it deeper into the surface. As the ink transfers to your cloth, move to a clean section or use a fresh cotton ball.
- Rinse if Needed: On non-porous surfaces, a simple wipe with a damp cloth to remove any residue is usually sufficient. For fabrics, follow up with a thorough rinse or wash.
- Repeat: For older or more stubborn stains, multiple applications and gentle blotting might be necessary.
Best Surfaces for Rubbing Alcohol:
Rubbing alcohol is often recommended for removing permanent marker from painted walls (after testing), whiteboards, certain plastics, laminates, glass, and some fabrics. Its milder nature compared to acetone makes it a go-to choice for less durable surfaces, but always proceed with caution and a patch test.
Method 4: White Vinegar
White vinegar is a natural, non-toxic household staple renowned for its cleaning power. While it might not be as potent a solvent as alcohol or acetone for every type of permanent marker, its mild acidity can effectively break down certain ink compounds, making it a great option for a gentler approach, especially on fabrics and some hard surfaces.
How to Use White Vinegar for Marker Removal:
- Prepare the Area: Have a clean cloth or sponge handy.
- Saturate the Stain: Pour or spray white vinegar directly onto the permanent marker stain. Ensure the mark is thoroughly wet.
- Let it Soak: Allow the vinegar to sit on the stain for at least 5-10 minutes. For tougher stains, you can let it sit for longer, even up to an hour, making sure it doesn’t dry out.
- Gently Scrub: Using a clean cloth or a soft brush (like an old toothbrush for fabrics), gently scrub the stained area in a circular motion. You should start to see the ink dissolving.
- Rinse Thoroughly: Wipe the surface with a damp cloth to remove any vinegar residue and dissolved ink. For fabrics, rinse under cold water or machine wash immediately.
- Repeat: If the stain persists, reapply vinegar and repeat the soaking and scrubbing process.
Best Surfaces for White Vinegar:
White vinegar is often effective on fabric stains (pre-treat and wash), laminate countertops, some plastics, and even glass. Because it’s acidic, it’s generally safe for most household surfaces, but it’s always wise to test it on an inconspicuous area first, especially on porous stone or certain delicate finishes.
General Tips for Success When Removing Permanent Marker
- Act Fast: Fresh permanent marker stains are always easier to remove than old, set-in marks. The sooner you tackle it, the better your chances of complete removal.
- Always Test First: Regardless of the method you choose, always perform a patch test on a small, inconspicuous area of the surface. This is critical to ensure the cleaning agent won’t damage, discolor, or etch the material.
- Blot, Don’t Rub: When applying the cleaning agent and lifting the ink, always blot the stain. Rubbing can spread the ink, push it deeper into porous surfaces, or even damage the surface material.
- Use Clean Cloths/Pads: Continuously use a clean section of your cloth or a fresh cotton ball/pad. This prevents transferring the removed ink back onto the surface.
- Ensure Ventilation: When working with solvents like nail polish remover or rubbing alcohol, ensure you are in a well-ventilated area to avoid inhaling fumes.
- Follow-Up Cleaning: After the marker stain is removed, always wipe the area with a clean, damp cloth (water only) to remove any residue from the cleaning product. Dry the surface thoroughly afterward.
- Patience is a Virtue: Some stubborn permanent marker stains may require multiple applications and a little patience. Don’t give up after the first attempt!
Conclusion: Say Goodbye to Stubborn Stains!
Accidental permanent marker stains are a common occurrence, but they don’t have to be a permanent problem. With these four simple and effective methods – hairspray, nail polish remover, rubbing alcohol, and white vinegar – you’re equipped with powerful, inexpensive, and readily available solutions. Each product offers a unique advantage, allowing you to choose the best approach for different surfaces and stain types. By following these cleaning hacks and always remembering to test first and blot gently, you can confidently tackle those dreaded Sharpie marks and restore your surfaces to their pristine condition. So, next time you encounter a permanent marker mishap, remember these household heroes and watch those “permanent” stains vanish in no time!