
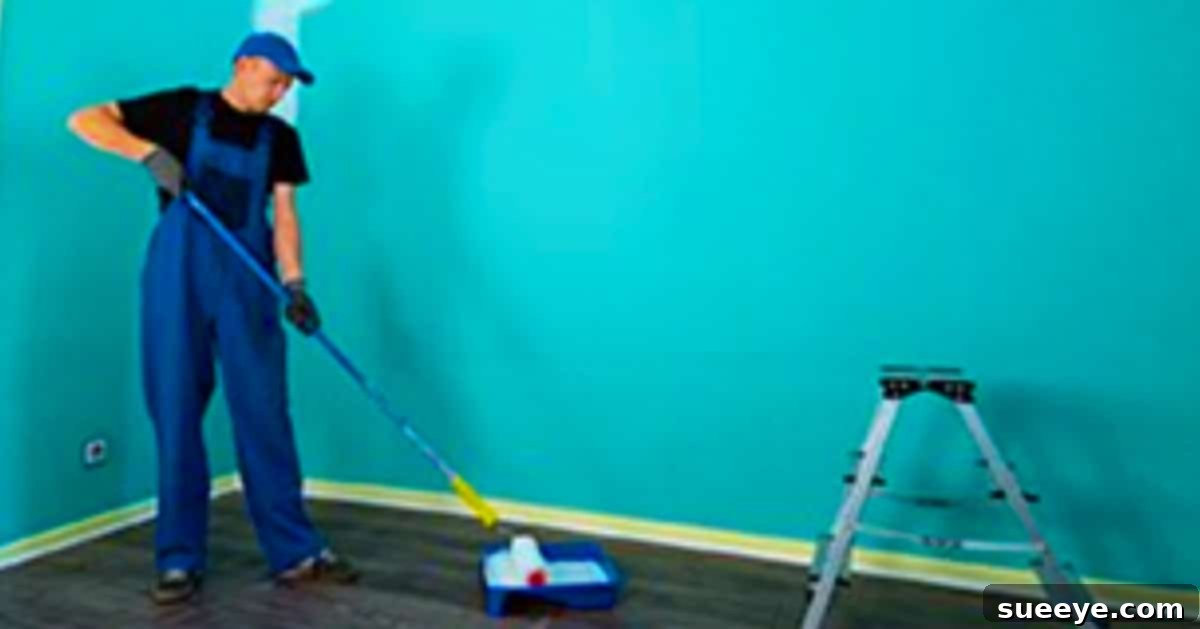
One of the most rewarding home improvement projects you can undertake is painting a room. Yet, it’s also one that can quickly become frustrating without the right knowledge and techniques. Over the years, I’ve learned an invaluable lesson: always do your homework before embarking on any project, especially when it comes to transforming your living space with a fresh coat of paint. Consulting the pros isn’t just about hiring them; it’s about understanding their secrets to efficiency and excellence. By learning what seasoned painters do to ensure a smooth project and maximize results with minimal time, you can elevate your DIY painting skills from amateur to near-professional.
This comprehensive guide compiles essential tips designed to save you time, effort, and potential headaches. From selecting the perfect filler to effectively concealing stubborn water stains, these strategies are chosen to give you a professional edge. Get ready to discover seven valuable insights that will not only make your painting projects go much quicker but will also dramatically enhance the quality and finish of your work, making your home look its best.
Mastering Home Painting: Pro Tips for a Flawless Finish and Faster Results
Tip 1: Flawless Foundation: The Power of Professional Wall Filler
Choosing the Right Filler for Seamless Walls
The foundation of any great paint job begins with immaculate wall preparation. Skimping on this crucial step can undermine even the most expensive paint and the most careful application. Walls are rarely perfect; they often bear the marks of previous tenants, hung pictures, or general wear and tear in the form of nail holes, screw holes, or minor dents. Addressing these imperfections effectively is paramount for a truly smooth and professional-looking finish.
This is where an expert choice of wall filler becomes invaluable. Pro painters universally recommend Dap Plastic Wood Filler, and for good reason. Its distinctive characteristic of going on pink and drying to a perfect neutral shade makes it incredibly easy to see where you’ve applied it, ensuring no spots are missed, yet it blends seamlessly once dry and painted over. More impressively, it fills holes and minor depressions in a single application, saving considerable time that would otherwise be spent on multiple coats and lengthy drying times. Its superior adhesion and minimal shrinkage mean a durable, lasting repair that truly disappears under paint.
To use it effectively, ensure the wall surface is clean and free of loose debris. Apply the Dap Plastic Wood Filler with a putty knife, pressing it firmly into the hole or crack. Overfill slightly, then smooth it flush with the wall surface using a clean edge of the knife. Allow it to dry completely—the color change from pink to neutral is your cue. Once dry, light sanding with fine-grit sandpaper (around 150-220 grit) will create a perfectly smooth, undetectable patch, ready for priming and painting. This meticulous preparation ensures your paint adheres evenly, and your walls look pristine.
Tip 2: Efficiency Redefined: The 18-Inch Roller and Extender Combo
Maximize Coverage, Minimize Effort
One of the most common pitfalls for DIY painters is underestimating the impact of tools on efficiency and finished quality. Many home painters opt for standard 9-inch rollers, assuming they are sufficient. However, for anything larger than a small bathroom, these smaller rollers drastically slow down the process and can lead to uneven coverage due to more frequent reloading and lap marks.
The second game-changing tip favored by professional painters is to use a large 18-inch paint roller, preferably with an integrated or attachable extender pole. This setup is a powerhouse for covering expansive wall and ceiling areas rapidly and uniformly. The sheer width of an 18-inch roller means you cover twice the surface area in a single pass compared to a 9-inch roller. This translates directly into significant time savings and dramatically reduces the number of roller marks, resulting in a much smoother, more consistent finish across the entire surface.
The extender pole is equally critical. It eliminates the constant need to climb up and down ladders, repositioning them every few feet. Not only does this save immense physical effort and reduce fatigue over a long painting session, but it also allows you to maintain a continuous painting rhythm. You can reach high ceilings and wall sections comfortably from the floor, ensuring consistent pressure and even paint distribution from top to bottom. When choosing your roller, consider the nap size based on your wall texture—a shorter nap (3/8″ to 1/2″) is ideal for smooth walls, while a longer nap (3/4″ or more) is better for textured surfaces. Investing in a high-quality 18-inch roller and extender means smarter, faster, and more professional-looking painting for any large room in your home.
Tip 3: Conquering Stains: The Indispensable Oil-Based Primer
Sealing Away Unsightly Blemishes
Priming is a fundamental step in painting that many DIY enthusiasts often overlook or misunderstand. While general primers enhance adhesion and provide a uniform base for new paint, some wall imperfections require a specialized approach. One of the most stubborn and frustrating issues homeowners face is recurring water stains. Whether from a past leak or condensation, these yellowish-brown marks have a notorious habit of bleeding through standard latex paint, even after multiple coats, leaving an unsightly shadow that detracts from your otherwise perfect finish.
The third invaluable tip from the pros is to always use an oil-based primer specifically for water stains. The unique chemical composition of oil-based primers allows them to create an impermeable barrier that effectively seals in the stain, preventing its tannins and discoloration from bleeding through the topcoat. Unlike water-based primers, which can sometimes reactivate and pull water-soluble stains to the surface, oil-based primers lock them away permanently. This immediately puts you ahead in the game because it requires only one application to effectively seal the stain, rather than repeatedly applying multiple coats of paint in frustration.
When encountering water stains, clean the affected area thoroughly and allow it to dry completely. Then, apply a thin, even coat of oil-based primer specifically to the stained area, extending slightly beyond its edges. Allow it to dry fully according to the manufacturer’s instructions, which typically takes a few hours. Once dry, you’ll have a perfectly sealed surface ready for your chosen topcoat. This specialized approach not only ensures that those persistent stains vanish for good but also saves you considerable time and paint, delivering a truly pristine and professional result.
Tip 4: Precision Edges: The Art of Taping and Cutting In
Achieving Crisp Lines with Confidence
Achieving clean, sharp lines where walls meet ceilings, trim, or other surfaces is a hallmark of professional painting. Sloppy edges can instantly diminish the quality of your entire project. This fourth tip focuses on mastering both painter’s tape and the “cutting in” technique to ensure those crisp boundaries.
Painter’s tape is your best friend for protecting adjacent surfaces and creating straight lines. Always use high-quality painter’s tape designed for clean removal and sharp edges. Apply the tape firmly, ensuring no gaps or bubbles where paint could seep underneath. Press down along the edge with a putty knife or your fingernail to create a tight seal. For best results, remove the tape when the paint is still slightly wet but no longer tacky. Pull it off at a 45-degree angle to avoid pulling up dried paint.
However, true professionals often rely on a technique called “cutting in,” which involves painting precise lines freehand with an angled brush. This skill takes practice but offers unparalleled precision and can be faster than taping for experienced painters. Use a high-quality 2-inch or 2.5-inch angled sash brush. Load the brush with a moderate amount of paint, then brace your non-dominant hand against the wall or ceiling for stability. Slowly and steadily guide the brush along the edge, allowing the bristles to gently feather the paint onto the desired line. Combining careful taping for large areas and meticulous cutting in for intricate details will elevate your paint job to a level of precision you’ll be proud of.
Tip 5: Mastering Roller Technique: The “W” Method for Even Coverage
Eliminating Streaks and Roller Marks
One of the most common complaints from DIY painters is the appearance of streaks, lap marks, or uneven coverage on their walls. This isn’t usually due to poor paint quality but rather an incorrect roller application technique. The fifth professional tip focuses on a simple yet highly effective method: the “W” or “M” pattern for rolling paint.
Before you begin, ensure your roller cover is adequately loaded with paint – not dripping, but fully saturated. An underloaded roller will cause streaks, while an overloaded one will lead to drips. Start by applying paint in a large “W” shape on a section of the wall, approximately three by three feet, without lifting the roller. Once the “W” is complete, without reloading the roller, fill in the open spaces within the “W” by rolling horizontally and vertically, ensuring the paint is evenly distributed. This technique feathers the edges and prevents the harsh lines that can occur when rolling in straight, parallel strokes.
Always maintain a “wet edge” – meaning you should always be rolling into paint that is still wet. This prevents noticeable lap marks where dried paint meets new paint. Work in sections, moving from one “W” pattern to the next, overlapping slightly with the previous section’s wet edge. Apply consistent, moderate pressure to the roller, allowing the tool to do the work. By using this systematic approach, you’ll achieve remarkably consistent coverage with no unsightly streaks or roller marks, giving your walls a uniform and professional finish that truly stands out.
Tip 6: Strategic Preparation: Protecting Your Space and Yourself
Ensuring a Clean and Safe Painting Environment
Beyond filling holes and choosing the right primer, comprehensive preparation extends to protecting your entire space and yourself. This sixth tip emphasizes the importance of strategic masking and personal safety, ensuring a clean working environment and a smooth, stress-free painting process.
Before you even open a can of paint, take the time to move furniture out of the room. If that’s not possible, gather it in the center of the room and cover it completely with plastic sheeting or canvas drop cloths. Protect your floors thoroughly with canvas drop cloths, which are more durable and less slippery than plastic. Secure the drop cloths with painter’s tape along the baseboards to prevent them from shifting. Remove all light switch plates, outlet covers, and any wall fixtures that aren’t being painted. It’s far easier and yields cleaner results to remove these items than to tape around them.
Equally important is ensuring proper ventilation. Open windows and use fans to circulate air, especially when working with oil-based primers or paints with strong VOCs (Volatile Organic Compounds). This not only helps with drying times but also protects your health by minimizing exposure to fumes. Don’t forget personal protective equipment: gloves will keep your hands clean, and a respirator or dust mask can protect your lungs from paint fumes and sanding dust. A little extra time spent on preparation before dipping your brush can save you hours of clean-up and provide a much safer, more enjoyable painting experience.
Tip 7: The Final Touch: Inspection and Clean-Up for a Lasting Finish
Ensuring Durability and a Pristine Look
The painting process doesn’t truly end with the final stroke; what follows—inspection and proper clean-up—is just as crucial for ensuring a lasting, professional-grade finish and preserving your tools. This seventh and final tip guides you through the concluding steps to perfect your newly painted space.
Once your paint has dried completely, conduct a thorough inspection of the room. Look for any missed spots, drips, or areas where the coverage might be uneven. It’s easier to catch and correct these minor imperfections early. Use a small artist’s brush for touch-ups on small blemishes or a carefully loaded brush for any areas that require a bit more attention. Stand back and examine your work from various angles and under different lighting conditions to ensure a flawless appearance across all surfaces.
Proper clean-up is not just about tidiness; it’s about prolonging the life of your painting tools. Clean brushes and rollers immediately after use. Water-based paints can be cleaned with warm water and soap until the water runs clear. For oil-based paints and primers, you’ll need mineral spirits or a designated paint thinner. Store cleaned brushes flat or hanging to maintain their shape. Properly seal any leftover paint in its original can, ensuring the lid is tight. Store it in a cool, dry place away from extreme temperatures for future touch-ups. A meticulous final inspection and diligent clean-up will not only protect your investment in tools and materials but also guarantee that your beautifully painted room remains pristine for years to come.
These painting tips are truly invaluable, offering a blueprint for success in any home painting project. They will not only make your painting time go much quicker but will also dramatically elevate the quality of your work, making it look far more professional than you thought possible. From the meticulous preparation of your walls and the strategic use of efficient tools to the nuanced application techniques and diligent clean-up, each piece of advice builds towards a superior outcome. The next time you pick up a paintbrush to transform a room in your home, you’ll be equipped with the confidence and expertise to do it right, creating a space you’ll love for years to come.