
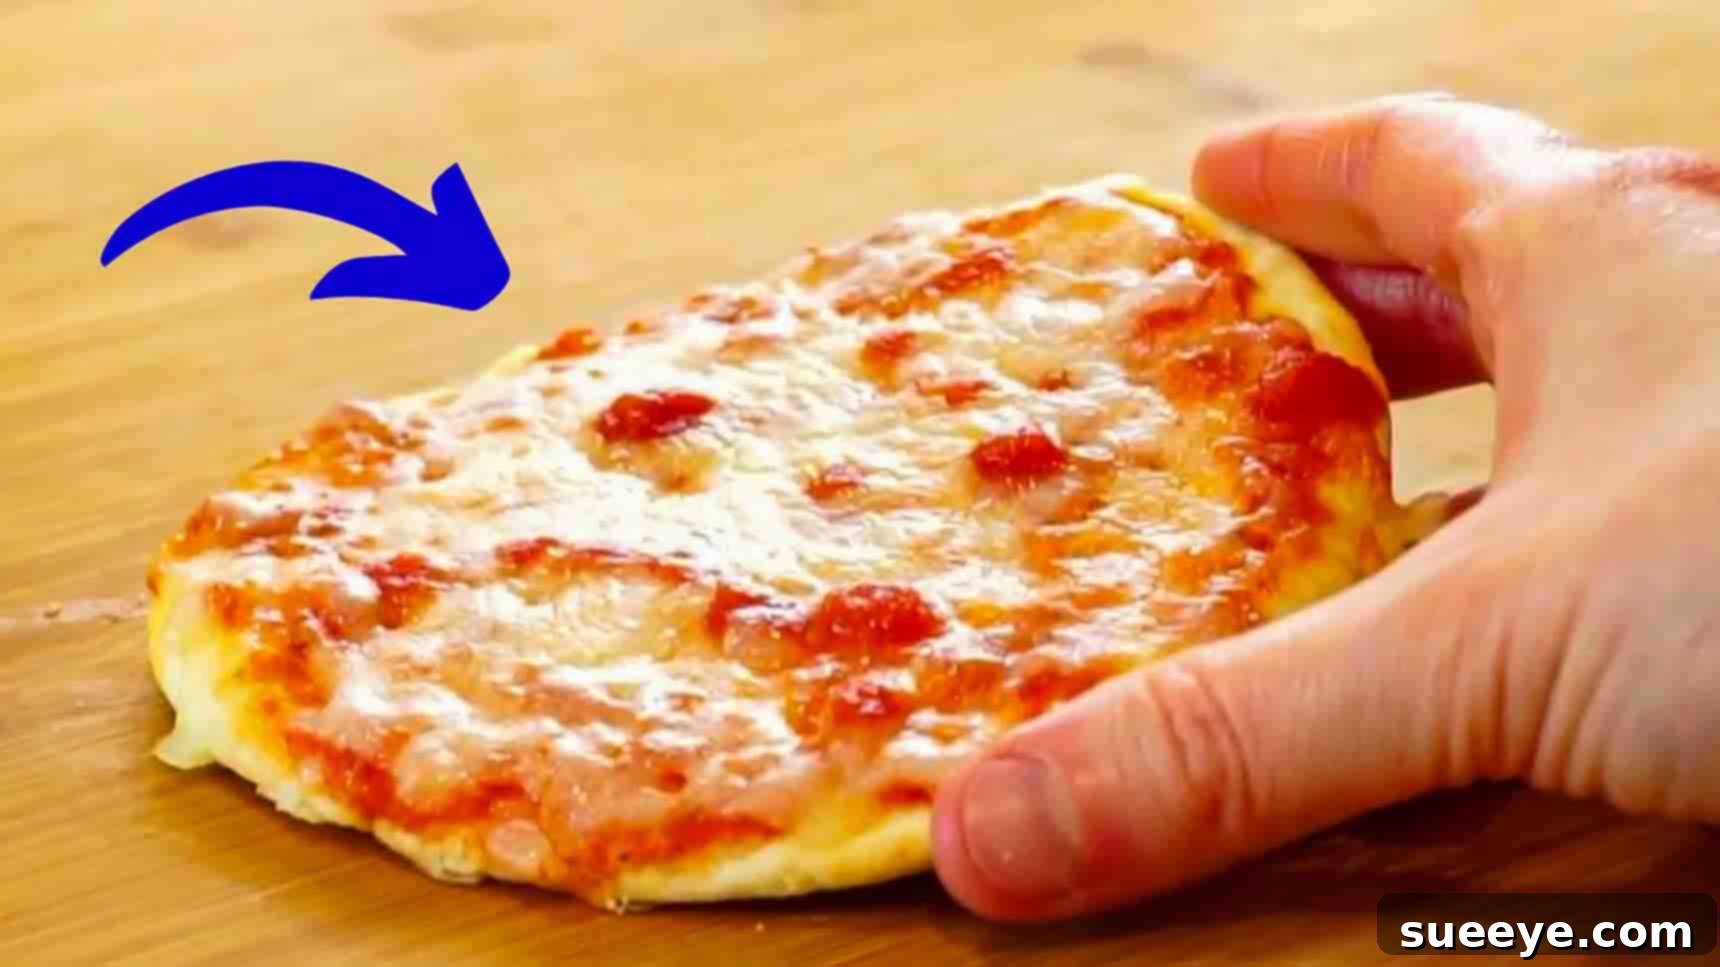
Craving a cheesy, satisfying pizza but short on time? Imagine whipping up a delicious, personal-sized pizza in just a few minutes, using only four basic ingredients! This isn’t a dream – it’s the brilliant reality of the microwave pizza recipe from Emma’s Goodies on YouTube. Perfect for busy parents, hungry students, or anyone needing a super-quick snack, this recipe promises soft, flavorful, and incredibly cheesy results without the wait of traditional baking. Say goodbye to complicated crusts and lengthy cooking times, and prepare to master the ultimate speedy pizza. Let’s dive into this incredibly easy and delightful culinary hack!
The Ultimate 4-Ingredient Microwave Pizza: Fast, Fresh & Fabulous
In today’s fast-paced world, finding time to prepare wholesome and enjoyable meals can be a challenge. That’s where the magic of a microwave pizza comes in. Forget frozen alternatives laden with preservatives or expensive takeout; with this simple recipe, you can create a fresh, warm, and delicious pizza whenever the craving strikes. This guide will walk you through every step, ensuring your microwave pizza is not just quick, but also incredibly tasty and perfectly cooked. We’ll explore the minimal ingredients required, essential tips for success, and even creative ways to customize your speedy pie.
Why This Microwave Pizza Recipe is a Game-Changer
This isn’t just another quick recipe; it’s a revolutionary approach to homemade pizza. Here’s why Emma’s Goodies’ method stands out:
- Unbeatable Speed: From start to finish, you’re looking at under 5 minutes of total preparation and cooking time. It’s truly a “pizza in a flash” solution.
- Minimal Ingredients: You only need four core items, which you likely already have in your pantry or can easily find at any grocery store. No obscure ingredients or specialty items required.
- Effortless Preparation: No complex dough kneading or extended proofing. The dough comes together in seconds, making it accessible even for novice cooks.
- Perfect for Kids & Families: It’s a fantastic way to involve children in cooking, allowing them to customize their own personal pizzas. Plus, it’s a healthier, more controlled alternative to processed snacks.
- Cost-Effective: Making pizza at home is significantly cheaper than ordering delivery, especially when using such basic ingredients.
- Customizable: While the base is simple, the possibilities for toppings are endless, allowing you to tailor each pizza to individual preferences.
- Less Cleanup: With fewer dishes and no oven to preheat, cleanup is a breeze, making it ideal for those hectic weeknights.
Whether you need a last-minute lunch, an after-school snack, or a fun activity with the kids, this microwave pizza delivers on convenience, flavor, and satisfaction.
Essential Ingredients for Your Microwave Masterpiece
The beauty of this recipe lies in its simplicity. With just four foundational ingredients, you’re on your way to a delightful pizza experience. Here’s what you’ll need, along with some insights and potential substitutions:
- 1/3 cup Self-Rising Flour: This is the secret to a quick, fluffy crust without needing yeast or baking powder separately. Self-rising flour already contains leavening agents and salt. If you don’t have it, you can easily make your own by combining 1/3 cup all-purpose flour with 1/2 teaspoon baking powder and a pinch of salt.
- 2 tbsp Milk: Any type of milk will work here – dairy milk (whole, skim, 2%) or even non-dairy alternatives like almond or soy milk. The milk helps bind the flour to form a pliable dough and contributes to the crust’s texture and tenderness.
- 1 tbsp Seasoned Sauce: This is where much of your pizza’s flavor will come from. A good quality marinara sauce or pizza sauce is ideal. Ensure it’s seasoned with herbs like oregano, basil, and garlic. If your sauce is plain, you can quickly enhance it with a dash of garlic powder, onion powder, and Italian seasoning. For an absolute emergency, even ketchup mixed with a sprinkle of oregano can serve as a quick fix, though a proper pizza sauce is highly recommended for best results.
- 2 tbsp of Shredded Cheese: Mozzarella is the classic choice for its superior melting properties and stretchy texture. However, feel free to experiment with a blend of cheeses like cheddar, provolone, or Monterey Jack for different flavor profiles. Pre-shredded cheese works perfectly for convenience, but freshly shredded cheese often melts more smoothly.
These four ingredients form the core of your microwave pizza. With them, you have everything you need for a basic, yet incredibly satisfying, personal pizza. Feel free to have a sprinkle of grated Parmesan cheese on hand for an extra burst of savory flavor if desired.
Quick Prep: Gather Your Tools
Beyond the ingredients, you’ll only need a few basic kitchen items to bring your microwave pizza to life. No fancy gadgets or specialized equipment required!
- Mixing Bowl: A small bowl is perfect for combining the flour and milk to form your dough.
- Fork: Essential for mixing the dough and for poking holes in the crust to prevent puffing.
- Parchment Paper: Crucial for preventing the pizza from sticking to your microwave plate and for easy transfer. A microwave-safe plate can also be used, but parchment paper simplifies cleanup significantly.
- Rolling Pin (Optional, but Recommended): While you can flatten the dough with your hands, a mini rolling pin or even a clean, cylindrical bottle will help achieve an even thickness.
- Microwave Oven: The star of the show! Ensure your microwave is clean and functioning correctly.
Step-by-Step Directions: Crafting Your Speedy Pizza
Follow these straightforward steps, and you’ll be enjoying a homemade microwave pizza in no time. Precision in timing and technique will ensure a perfectly cooked crust and melted cheese.
Step 1: Preparing the Dough and Initial Cook
The foundation of any great pizza is its crust, and even in the microwave, we can achieve a surprisingly good one. This initial phase focuses on making and par-baking your dough to ensure it’s firm and ready to hold toppings.
- Combine Ingredients: In your mixing bowl, add the 1/3 cup of self-rising flour. Gradually pour in the 2 tablespoons of milk. Use a fork or a small spoon to mix these two ingredients thoroughly. At first, it might seem a bit dry, but keep mixing until a cohesive dough ball forms.
- Knead Lightly: Once the ingredients are combined, transfer the dough onto a clean, lightly floured surface or directly onto a piece of parchment paper. Knead it gently for about 30 seconds to a minute. This helps develop the gluten just enough to make it smooth and pliable, but avoid over-kneading, which can make the crust tough.
- Shape the Crust: Using a rolling pin or your hands, roll out the dough into a circular or roughly rectangular shape, aiming for about one-quarter of an inch thickness (around 0.6 cm). Try to keep the edges slightly thicker if you prefer a chewier crust. The size should be suitable for your microwave-safe plate or simply manageable for a personal pizza.
- Prepare for Par-Baking: Carefully transfer the rolled-out dough onto a piece of parchment paper. If you rolled it on parchment, just ensure it’s centered. Give it a few last gentle rolls to perfect its shape if needed.
- Prevent Puffing: This is a crucial step! Using a fork, generously poke holes all over the surface of the dough. These holes act as vents, preventing large air pockets from forming and causing the dough to puff up unevenly in the microwave. This ensures a flatter, more consistent crust.
- Apply the Sauce: Spoon about a tablespoon of your seasoned tomato sauce onto the dough. Spread it evenly across the surface, leaving a small border around the edges for the crust. Ensure the sauce is well-seasoned; if not, now is the time to add a pinch of dried oregano, basil, or garlic powder for extra flavor.
- First Microwave Cook (Par-Bake): Place the parchment paper with the sauced dough onto a microwave-safe plate. Pop it into the microwave and cook for approximately 40 seconds on high power. This step, known as par-baking, helps to partially cook the dough, preventing it from becoming soggy once the cheese is added and ensuring a slightly crispier base.
Step 2: Adding Cheese and Final Microwave Session
With the crust partially cooked, it’s time for the most exciting part – adding the cheese and finishing your pizza!
- Remove and Top with Cheese: After 40 seconds, carefully remove the plate from the microwave. The dough should look slightly dry and set. Now, generously sprinkle your 2 tablespoons of shredded cheese over the sauced crust. If you like, this is also the perfect time to add a pinch of grated Parmesan cheese for an extra layer of savory depth. Ensure an even distribution for maximum cheesiness in every bite.
- Final Microwave Cook: Place the pizza back into the microwave. Cook for an additional 35 to 45 seconds on high power. The exact time may vary slightly depending on your microwave’s wattage and how much cheese you’ve added. The goal is to see the cheese fully melted, bubbly, and perhaps just starting to lightly brown around the edges. Keep a close eye on it to prevent burning.
- Serve Immediately: Once the cheese is perfectly melted, carefully remove your finished microwave pizza from the microwave. Be cautious, as the plate and pizza will be hot. Allow it to cool for about 30 seconds to a minute before slicing and serving. This brief cooling period helps the cheese set slightly and prevents burns.
And there you have it! Your soft, flavorful, and incredibly cheesy microwave pizza is now finished and ready to be devoured. Enjoy the satisfaction of a homemade treat crafted in mere minutes!
Expert Tips for Your Perfect Microwave Pizza
While the recipe is incredibly simple, a few insider tips can elevate your microwave pizza from good to absolutely fantastic:
- Don’t Over-Knead: A light, brief knead is enough for this dough. Over-kneading self-rising flour can make the crust tough.
- Microwave Wattage Varies: Microwave times are estimates. Get to know your microwave! Start with the lower end of the time range and add 5-10 second increments until the cheese is perfectly melted and bubbly.
- Even Dough Thickness: Strive for a consistent 1/4-inch thickness. Too thick, and it might not cook through; too thin, and it could become hard.
- Don’t Overload: For microwave pizzas, less is often more. Keep toppings minimal, especially if they need to cook. Too many toppings will prevent the cheese from melting properly and can make the crust soggy.
- Pre-cooked Toppings Only: If adding meat (like pepperoni or cooked sausage), ensure it’s already fully cooked, as the microwave time is insufficient to cook raw meat safely.
- Parchment Paper is Your Friend: It prevents sticking, makes transfer easy, and simplifies cleanup. Don’t skip it!
- Rest Before Slicing: Letting the pizza cool for 30-60 seconds allows the cheese to set slightly, preventing it from sliding off when you cut into it.
Creative Variations & Topping Ideas
While a classic cheese pizza is always a winner, this quick crust serves as an excellent base for experimentation. Here are some ideas to spark your creativity:
- Vegetable Power: Finely diced bell peppers, thinly sliced mushrooms, chopped olives, or a sprinkle of dried oregano can add color, texture, and fresh flavors. Remember to keep them thinly sliced or pre-sautéed to ensure they warm through.
- Meat Lover’s Delight: For those who love a meaty kick, tiny pieces of pre-cooked pepperoni, crumbled cooked sausage, or even shredded cooked chicken can be added. Again, moderation is key for even cooking.
- Herbaceous Freshness: A sprinkle of fresh basil leaves (added after cooking) or a dash of dried Italian herbs mixed into the sauce or sprinkled over the cheese can significantly enhance the aroma and taste.
- Cheese Blends: Beyond mozzarella, try a mix of provolone, cheddar, or even a tiny bit of smoked gouda for a gourmet touch.
- Spicy Kick: A pinch of red pepper flakes can transform your mild pizza into a zesty treat.
- Breakfast Pizza: Top with a thin layer of scrambled egg, cooked bacon bits, and cheese for a unique breakfast or brunch option.
Remember, the microwave’s cooking limitations mean you should opt for toppings that are either very thin, very small, or already cooked. The goal is even heating and melting without making the crust soggy.
Serving Suggestions for Your Speedy Pizza
Your microwave pizza is incredibly versatile and perfect for various occasions:
- Quick Snack: Ideal for satisfying those sudden pizza cravings between meals.
- Effortless Lunch: Pair it with a simple side salad for a balanced and speedy lunch.
- After-School Treat: A fantastic option for kids looking for a warm, delicious snack after a long day.
- Party Appetizer: Make several small microwave pizzas with different toppings for a fun, interactive appetizer spread.
- Midnight Munchies: When hunger strikes late at night, this recipe is a lifesaver for a quick, comforting bite.
Serve your microwave pizza warm, perhaps with a side of extra marinara for dipping, or a sprinkle of fresh herbs for garnish. Its personal size makes it easy to handle and enjoy!
Frequently Asked Questions About Microwave Pizza
New to microwave pizza? Here are some common questions and their answers to help you master this quick culinary skill:
- Can I use regular all-purpose flour instead of self-rising flour?
- Yes, you absolutely can! For every 1 cup of all-purpose flour, mix in 1.5 teaspoons of baking powder and 1/4 teaspoon of salt. For this recipe, you’d use 1/3 cup all-purpose flour with 1/2 teaspoon baking powder and a pinch of salt.
- Can I add more toppings to my microwave pizza?
- You can, but sparingly. The microwave cooks differently than an oven, and too many toppings can lead to an unevenly cooked crust or unmelted cheese. Stick to small amounts of very thin or pre-cooked toppings.
- Why do I need to poke holes in the dough?
- Poking holes (docking) the dough prevents it from puffing up excessively and creating large air bubbles during microwaving. This ensures a flatter, more consistent crust that’s easier to top and eat.
- My pizza crust came out a bit tough. What went wrong?
- This usually happens from over-kneading the dough or overcooking it in the microwave. Remember to knead only briefly (30-60 seconds) and watch your microwave times carefully. Less is often more with microwave cooking.
- Can I prepare the dough ahead of time?
- While technically possible, this dough is best made fresh right before cooking. It comes together so quickly that there’s little benefit to making it ahead, and pre-made dough might lose some of its leavening power.
- Is it really a “1-minute” pizza?
- The total microwave cooking time is around 75-85 seconds, which is incredibly fast! The “1-minute” refers more to the spirit of how quickly you can get a warm, fresh pizza, including minimal prep time.
- How do I make this pizza gluten-free?
- You can easily adapt this recipe by using a gluten-free self-rising flour blend. Ensure the brand you choose is suitable for baking and has leavening agents included, or add them yourself as mentioned for regular all-purpose flour.
Conclusion: Your Go-To for Quick Pizza Cravings
The 4-ingredient microwave pizza from Emma’s Goodies is more than just a recipe; it’s a testament to how simple, quick, and satisfying homemade food can be. In a world where convenience often trumps quality, this delightful snack proves that you don’t have to compromise. With minimal ingredients, effortless steps, and just a few minutes of your time, you can create a warm, cheesy, and utterly delicious pizza that caters to individual tastes and busy schedules.
Whether you’re a student living in a dorm, a parent juggling multiple tasks, or simply someone who loves pizza but hates the wait, this recipe is a culinary revelation. Experiment with toppings, personalize your pie, and enjoy the incredible satisfaction of making your own pizza with unprecedented speed. So, next time that pizza craving hits, skip the delivery and reach for your microwave – your taste buds (and your schedule) will thank you!
Don’t forget to watch the original video from Emma’s Goodies for a visual guide and more inspiration. Happy microwaving!