
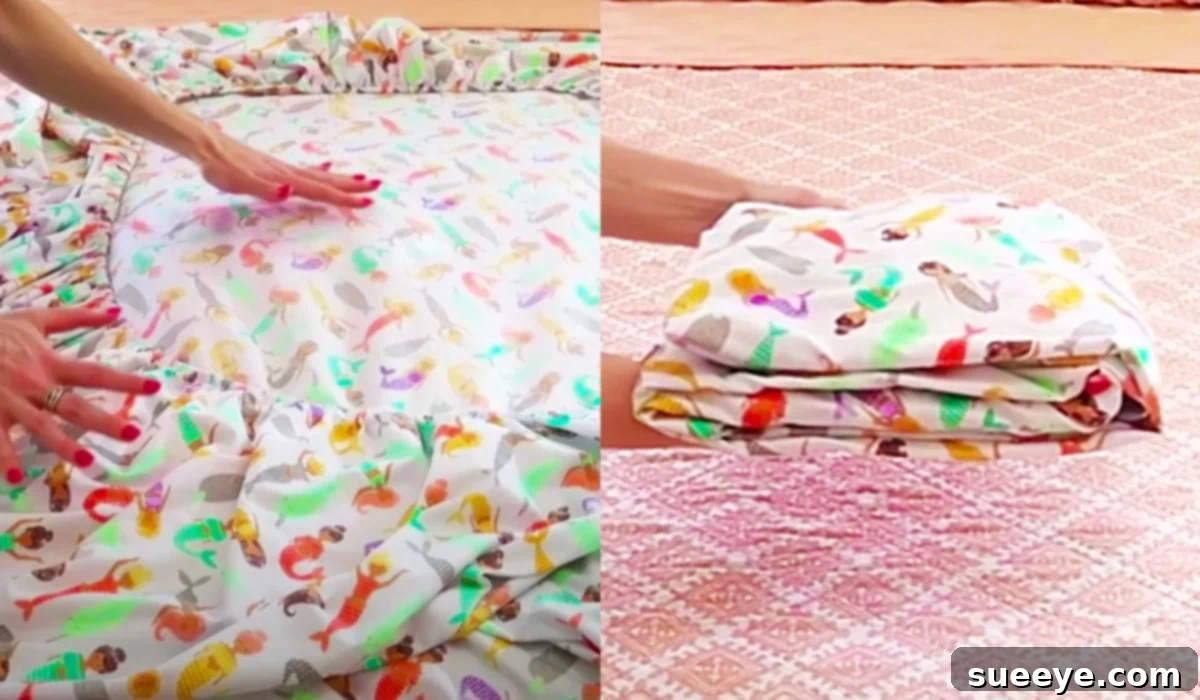
For many homeowners, the linen closet can be a source of constant frustration, especially when it comes to keeping bed sheets neatly organized. While flat sheets are relatively straightforward to fold into tidy squares or rectangles, their counterpart, the fitted sheet, presents a unique and often infuriating challenge. The elasticized corners, designed to hug your mattress securely, become a formidable obstacle when attempting to achieve that crisp, perfectly folded look. The result is often a crumpled, unruly lump that takes up valuable space and makes finding matching sets a dreaded chore. If you’ve ever wrestled with a fitted sheet, only to give up and shove it into the cupboard in a chaotic heap, you are certainly not alone. Fortunately, the days of battling your bedding are over. Thanks to brilliant insights, such as those shared by Andrea Jean Cleaning on YouTube, mastering the art of folding a fitted sheet is not only achievable but surprisingly simple. This comprehensive guide will transform your linen closet experience, making fitted sheet folding an effortless task you’ll actually look forward to.
The inherent design of a fitted sheet – with its elastic sewn all around the edges – is a double-edged sword. While this elasticity ensures a snug fit on your mattress, preventing the sheet from slipping off during the night, it simultaneously makes folding a seemingly impossible feat. The elastic gathers and bunches, refusing to conform to the straight lines and sharp corners that characterize a neatly folded sheet. This structural characteristic is precisely what leads to the common “fitted sheet dilemma,” where your carefully organized linen shelf quickly devolves into a messy pile. Many people simply roll them, stuff them, or attempt a haphazard fold that still leaves them looking disheveled. This struggle is real, but the good news is that it’s entirely avoidable. By understanding a few key techniques, you can transform these cumbersome textiles into perfectly presentable bundles that rival any folded flat sheet.
Beyond the immediate satisfaction of a tidy linen closet, learning how to properly fold fitted sheets offers a multitude of practical benefits. Firstly, space optimization is a significant advantage. A neatly folded sheet takes up considerably less room than a balled-up one, allowing you to store more linens in the same amount of space. This is particularly beneficial for those with smaller homes or limited storage options. Secondly, it drastically improves the aesthetic appeal of your cupboards. Imagine opening your linen closet to find perfectly stacked, uniformly folded sheet sets rather than a jumbled mess. This not only looks better but also contributes to a sense of calm and order in your home. Thirdly, proper folding can help extend the lifespan of your sheets. When sheets are crammed or stretched unevenly, the fabric and elastic can suffer wear and tear over time. A gentle, methodical fold protects the material and maintains the integrity of the elastic, ensuring your sheets last longer and look better for years to come. Finally, it simplifies the process of finding and retrieving your bedding. No more digging through piles to find the matching pillowcases or the right size sheet; everything will be visible and accessible.
How to Fold a Fitted Sheet: The Ultimate Guide to a Tidy Linen Closet
Before you begin, ensure your fitted sheet is clean, completely dry, and free of any lingering wrinkles from the dryer. A freshly laundered sheet will be easier to handle and will result in a crisper final fold. Find a large, flat surface to work on – a bed, a dining table, or even a clean section of the floor will suffice. Having ample space allows you to spread the sheet out fully and manipulate it without hindrance. With your workspace ready and your sheet prepped, you’re ready to embark on a journey to linen closet nirvana.
Step 1: Laying Your Fitted Sheet Out Flat
The initial step, and arguably one of the most crucial, is to properly orient and lay your fitted sheet flat. Begin by holding the sheet by its two shorter ends. Then, gently lay the sheet face down on your chosen flat surface. This means the printed or “right” side of the sheet should be against the surface, and the elasticized, gathered edge should be facing upwards, towards you. Visualizing this step correctly is key to making the subsequent folds manageable. Take your time to smooth out any major creases or folds. The goal here is to get the sheet as flat and rectangular as possible, allowing the elastic to be on the inside of the perimeter you are creating. Some people find it easier to identify the long edges and align them, ensuring the sheet is spread out evenly. Don’t worry if it doesn’t look perfectly symmetrical at this stage; the elastic will naturally create some unevenness. The primary objective is to create a base that is as smooth and extended as possible, setting the stage for the ingenious tucking method that follows.

Step 2: Employing the Ingenious Tucking Method for a Flat, Workable Sheet
Now comes the “aha!” moment – the brilliant tucking method that transforms the unruly elastic into a neat, straight edge. This is where the magic happens, and you’ll wonder why you hadn’t thought of it sooner. With the sheet laid flat and the elastic edges facing up, locate two adjacent corners (for example, the top-left and top-right corners, or any two corners that meet at one side). Pick up the top-left corner with your left hand, turning it inside out so that the seam is visible. Then, take the top-right corner with your right hand, and gently tuck it inside the inverted top-left corner. You are essentially nesting one corner into the other. This action immediately begins to create a clean, straight edge where the elastic once bunched. Smooth out any wrinkles as you do this, ensuring the fabrics align as best as possible. The goal is to make these two corners act as one, creating a much more manageable straight line.
Once you have nested the first two adjacent corners, proceed to the remaining two corners (the bottom-left and bottom-right in our example). Repeat the same process: pick up one corner, invert it, and then tuck the other corner neatly inside it. Again, take care to smooth out the fabric, making sure the edges meet. Now you should have two sets of nested corners, each creating a relatively straight line along what was once the elasticized edge. The sheet will still be large, but these combined corners are the foundation of your perfectly folded sheet.
The next critical step is to bring these two sets of nested corners together. Pick up one set of nested corners with one hand and the other set with your other hand. Then, bring them together and tuck one set inside the other. For instance, take the nested top-left/top-right corners and carefully tuck them inside the nested bottom-left/bottom-right corners. You should now have all four corners neatly contained within each other, creating a single, robust corner that is significantly thicker than the rest of the sheet. This technique effectively hides all the elasticized edges within this single corner, leaving you with three straight, folded edges and one clean, straight open edge.
At this point, your fitted sheet will begin to resemble a large, somewhat uneven rectangle or square, albeit one with a thicker corner. Lay the sheet back down on your flat surface. Take a moment to smooth out the entire sheet, ensuring it’s as flat and wrinkle-free as possible. You should now have a much more manageable shape, similar to a flat sheet, with all the unruly elastic neatly tucked away. This transformation from a shapeless mass to a rectangular form is the true genius of this method. From here, the subsequent folds are incredibly straightforward and identical to folding a regular flat sheet.
Subsequent Folds for a Perfect Package
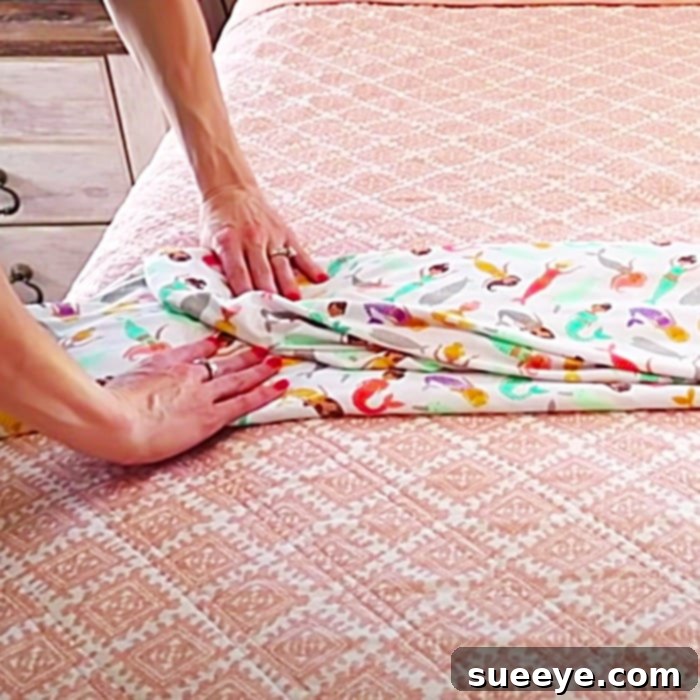
With your sheet now in a neat, rectangular shape, the remaining steps are intuitive. First, fold the sheet lengthwise into thirds. Take one of the long sides and fold it over towards the center, then take the other long side and fold it over to meet or slightly overlap the first fold. This should create a long, narrow strip. Smooth out any wrinkles as you go. Next, you will fold this long strip crosswise. Depending on the size of your sheet and your desired final dimension, you might fold it in half, then in half again, or into thirds. The objective is to create a compact, uniform package. For example, a common method is to fold the strip in half, bringing the two ends together. Then, fold it in half one more time. This results in a neat, symmetrical rectangle or square that will stack beautifully in your linen closet.
Tips for Success and Beyond
Practice truly makes perfect with this technique. Don’t be discouraged if your first few attempts aren’t flawless. With each fitted sheet you fold, you’ll gain confidence and speed. Some find it helpful to watch the video tutorial a few times to visualize each step before attempting it themselves. If you have particularly large or king-sized fitted sheets, you might find it easier to enlist the help of a partner for the initial laying and corner-tucking steps, though it’s entirely doable solo with a large enough flat surface. Always fold your sheets immediately after they come out of the dryer. This helps prevent deep wrinkles from setting in and makes the fabric more pliable and easier to handle. For an even more organized linen closet, consider storing entire sheet sets (fitted sheet, flat sheet, and pillowcases) together inside one of the folded pillowcases. This keeps everything together and creates a streamlined, uniform look.
Embracing this simple yet revolutionary method for folding fitted sheets can have a profound impact on the organization and tranquility of your home. It transforms a formerly frustrating chore into a satisfying task, contributing to a more orderly living environment. No longer will you dread opening your linen closet; instead, you’ll be greeted by neatly stacked, easily accessible sheet sets. This wonderful idea, championed by cleaning experts, is more than just a laundry hack; it’s a step towards greater household efficiency and peace of mind. Give it a try, and prepare to be amazed at how simple and effective it truly is. Your linen closet (and your sanity) will thank you!