
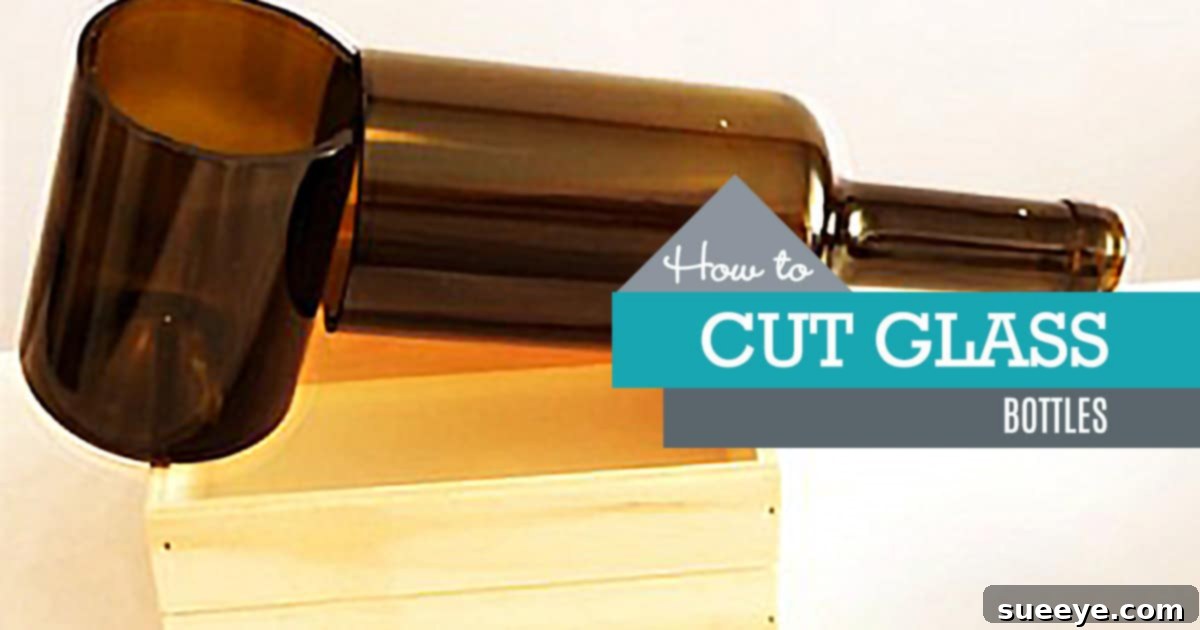
Unlock a world of creative possibilities by learning how to cut glass bottles at home! This sustainable practice transforms discarded bottles into beautiful and functional pieces for DIY crafts, unique home decor, and personalized gifts. Forget about throwing away perfectly good glass or spending a fortune on pre-cut items; with a few simple tools and techniques, you can master the art of glass bottle cutting yourself. Whether you’re looking to create stylish drinking glasses, elegant planters, or captivating candle holders, upcycling glass bottles is an eco-friendly and rewarding endeavor. This comprehensive guide will walk you through three popular and effective methods for cutting glass bottles, ensuring you find the perfect technique for all your crafting aspirations.
Mastering the Art of Glass Bottle Cutting: A DIY Guide
Glass bottle cutting might seem daunting at first, but with the right approach and a focus on safety, anyone can achieve impressive results. This guide explores popular techniques, from simple string and acetone methods to more specialized tools, empowering you to safely and effectively cut glass bottles for countless DIY projects. We’ll cover everything from preparation to finishing, ensuring your cut edges are smooth and safe to handle.
3 Easy Ways to Cut Glass Bottles at Home
Prioritizing Safety: Essential Precautions for Glass Cutting
Working with glass requires careful attention to safety. Always wear appropriate personal protective equipment (PPE) to prevent injuries. Safety glasses are non-negotiable to protect your eyes from flying glass shards or splashes. Thick work gloves can shield your hands from sharp edges during the cutting and handling process. It’s also advisable to work in a well-ventilated area, especially when using flammable liquids like acetone or when sanding glass, as fine glass dust can be irritating. Keep a first-aid kit nearby for any minor cuts or scrapes. Handle all materials with care, and never rush the process. Your safety is paramount for an enjoyable crafting experience.
Preparing Your Bottles for Cutting
Before you begin any cutting method, proper bottle preparation is key to success. First, thoroughly clean your bottles. Remove all labels, glue residue, and any other contaminants. Soaking bottles in warm, soapy water can help loosen stubborn labels, and a gentle scrub with a sponge or brush will ensure a pristine surface. Make sure the bottles are completely dry before you start. Inspect each bottle for any cracks, chips, or imperfections; compromised glass can shatter unpredictably when stressed, so only use bottles that are in excellent condition. Uniform, sturdy bottles, like those used for wine, liquor, or soda, generally yield the best results.
Method 1: The String and Thermal Shock Technique
The string method is a classic DIY approach that utilizes the principle of thermal shock to create a clean break in the glass. It’s a satisfying technique that often feels like magic when the glass finally separates.
Materials You’ll Need:
- Glass Bottle: Clean and dry, free of cracks.
- Cotton String or Fabric String: Essential for absorbing flammable liquid. Ensure it’s thick enough to hold liquid, like macrame string or cotton twine. Synthetic strings are not recommended as they may melt rather than burn cleanly.
- Acetone: Nail polish remover (containing acetone) or pure acetone. This acts as the fuel for your string.
- Container with Cold Water: A sink filled with cold water or a bucket large enough to submerge the bottle. Ice can be added to make the water even colder, enhancing the thermal shock.
- Lighter or Matches: To ignite the string.
- Safety Gloves and Glasses: Always wear them!
- Sandpaper (fine-grit, wet/dry): For smoothing edges (e.g., 80, 120, 220, 400 grit).
Step-by-Step Guide:
Step 1: Mark and Wrap the String
Determine where you want to cut your bottle. For consistency, you can use a marker to draw a guideline around the bottle. Take your cotton string and wrap it tightly around the bottle exactly on this line. Aim for about 3-5 wraps to ensure enough fuel for a sustained flame. Tie the string securely with a knot, making sure it lays flat against the glass and doesn’t overlap excessively. Trim any long, excess ends of the string, keeping them short to prevent uneven burning.
Step 2: Saturate the String with Acetone
Carefully remove the string from the bottle, keeping its wrapped shape as much as possible. Submerge the entire string in acetone, ensuring it is fully saturated. The acetone will act as a concentrated heat source when ignited. Once soaked, place the string back onto the bottle, precisely on your desired cut line. Ensure it sits snugly and evenly around the bottle. This precise placement is crucial for a clean, straight break.
Step 3: Ignite and Rotate the Bottle
With caution, ignite the acetone-soaked string using a lighter or match. Immediately begin to slowly and steadily rotate the bottle horizontally, ensuring the flame heats the glass evenly along the entire circumference of the cut line. Continue rotating until the acetone has almost entirely burned off, typically lasting 30-60 seconds. You want the glass to get as hot as possible along the score line without scorching the bottle or letting the flame die prematurely. The heat creates stress in the glass.
Step 4: Submerge in Cold Water
Immediately after the flame dies down and while the glass is still hot, swiftly submerge the heated section of the bottle into the prepared container of very cold water. The sudden temperature change will cause the glass to experience thermal shock, leading to a clean, crisp break along the heated line. You should hear a distinct “ping” or “crack” as the bottle separates. If it doesn’t break on the first attempt, you might need to repeat steps 2-4, ensuring the string is fully saturated and the glass is adequately heated before submersion.
Method 2: Using a Glass Cutter and Thermal Shock
This method combines the precision of a glass cutter with the effectiveness of thermal shock, often yielding more predictable and cleaner cuts than the string method, especially for those seeking a guided scoring line.
Materials You’ll Need:
- Glass Bottle: Clean and dry.
- Glass Cutter: A standard handheld glass cutter with a carbide wheel.
- Duct Tape or Electrical Tape: To create a guide and protect your hand.
- Candle (or small butane torch): For targeted heating.
- Ice Cubes or Ice Water: For cooling the scored line.
- Safety Gloves and Glasses: Always wear them!
- Sandpaper (fine-grit, wet/dry): For smoothing edges.
Step-by-Step Guide:
Step 1: Create a Taping Guide
To ensure a straight and even score line, apply a strip of duct tape or electrical tape around the bottle where you intend to make your cut. This tape will serve as a visual and tactile guide for your glass cutter, helping you maintain a consistent line. Ensure the tape is applied perfectly straight and securely, creating a stable edge for your tool. The tape also provides a slightly elevated surface, making it easier to hold the bottle steady while scoring.
Step 2: Score the Bottle with a Glass Cutter
Place the glass bottle on a flat, stable surface. Position the glass cutter with its wheel resting firmly against the glass, just above or below your tape guide. Apply consistent, firm pressure and slowly rotate the bottle, guiding the cutter to create a single, continuous score line around its entire circumference. The goal is to make a clean, unbroken line; avoid going over the same line multiple times, as this can create microscopic fractures that lead to an uneven break. You should hear a faint scratching sound as the cutter does its work. Once the line meets its starting point, you’re done scoring.
Step 3: Heat and Cool the Scored Line
Light your candle. Hold the bottle horizontally and slowly rotate it, concentrating the candle’s flame directly onto the scored line. Heat the line evenly for about 20-30 seconds. The heat expands the glass along the score. Immediately after heating, take an ice cube and firmly rub it along the same scored line. The sudden cold contracts the glass, creating tension that will cause the glass to crack along the score. You should hear distinct clicking or popping sounds as the crack propagates.
Repeat this heat-and-cool cycle several times – typically 3-5 repetitions – until the bottle splits cleanly in half. Patience is key here; don’t force the break. Let the thermal shock do its work gradually. When the bottle separates, be prepared to catch both pieces to prevent them from falling and breaking further.
Method 3: Using a Dedicated Bottle Cutter Tool
For those who plan to cut many bottles or desire the most consistent and precise results, a specialized bottle cutter tool is an excellent investment. These devices are designed to make the scoring process incredibly easy and accurate, often leading to cleaner breaks with less effort.
Materials You’ll Need:
- Glass Bottle: Clean and dry.
- Bottle Cutter Tool: A purpose-built device for scoring bottles.
- Candle (or small butane torch): For targeted heating.
- Ice Cubes or Ice Water: For cooling the scored line.
- Safety Gloves and Glasses: Always wear them!
- Sandpaper (fine-grit, wet/dry): For smoothing edges.
Step-by-Step Guide:
Step 1: Set Up and Score with the Bottle Cutter
Adjust your bottle cutter to the desired height for your cut. Most bottle cutters feature adjustable wheels and supports to accommodate various bottle sizes and desired cut lengths. Place the bottle into the center of the cutting mechanism, ensuring it rests firmly against the supports and the scoring wheel. Apply gentle, consistent pressure and rotate the bottle one full turn against the cutter. You should hear a light “crunching” or “scratching” sound as the carbide wheel scores a perfectly straight line around the bottle. Avoid over-scoring, as a single, continuous line is best for a clean break.
Step 2: Heat and Cool the Scoring Line
Once scored, ignite your candle or small butane torch. Direct the flame precisely onto the scored line, slowly rotating the bottle to heat the entire circumference evenly for about 20-30 seconds. The heat will cause the glass to expand. Immediately follow this by rubbing an ice cube directly along the heated score line. The sudden thermal shock will cause the glass to contract rapidly, initiating and propagating a crack along your perfectly scored line. You’ll likely hear faint crackling sounds as the glass separates.
Repeat this heat-and-cool process several times (usually 3-5 cycles) until the bottle cleanly splits into two pieces. A dedicated bottle cutter tool typically provides the most uniform score, which in turn leads to a more consistent and predictable break. Handle the separated pieces with care, as the edges will still be very sharp.
Finishing the Edges: Smoothing for Safety and Beauty
No matter which cutting method you choose, the freshly cut edges of your glass bottle will be extremely sharp and potentially dangerous. Smoothing these edges is a crucial final step for both safety and the aesthetic appeal of your finished project.
- Initial Rough Sanding: Begin by carefully sanding the rough edges. You can do this by hand using wet/dry sandpaper (starting with a coarser grit like 80 or 120) under running water, or by using a rotary tool with a diamond grinding bit. Always keep the glass and sandpaper wet to reduce dust and friction.
- Progressive Finer Grits: Gradually move to finer grits of sandpaper (e.g., 220, then 400, and even 600 grit) to achieve an increasingly smooth and polished finish. Continue to sand under water, rotating the bottle to ensure even smoothing around the entire rim.
- Beveling the Edge: For a professional finish, you can gently bevel the inner and outer edges slightly. This removes any tiny chips and provides a more comfortable, rounded feel.
- Final Polish (Optional): For a truly polished edge, you can use even finer grits (up to 1000 or 2000) or a polishing compound with a buffing wheel.
- Safety Check: Once you believe the edges are smooth, carefully run your finger along them (with caution and gloves) to ensure there are no sharp points or rough patches remaining.
Comparing the Bottle Cutting Methods
Each method offers distinct advantages:
- The String Method: This is arguably the most budget-friendly and accessible method, requiring minimal specialized tools. It’s great for occasional DIYers but can be less predictable, sometimes resulting in slightly uneven breaks.
- Glass Cutter and Thermal Shock: This technique offers more control over the score line, leading to generally cleaner breaks than the string method. It’s a good intermediate option, balancing cost with precision.
- Dedicated Bottle Cutter Tool: This is the most consistent and easiest method for achieving perfectly straight and clean cuts. It requires an initial investment in the tool but pays off in accuracy and repeatability, especially for avid crafters.
No matter your chosen method, the key to success lies in patience, precision, and adherence to safety guidelines.
Creative Projects to Make with Your Cut Glass Bottles
The possibilities are endless once you master bottle cutting! Here are some inspiring ideas to kickstart your creativity:
- Drinking Glasses/Tumblers: Transform wine or soda bottles into stylish, upcycled drinking glasses.
- Candle Holders: Cut bottles to create unique tealight or pillar candle holders, adding a warm glow to any space.
- Planters/Vases: Use the bottom half of bottles as charming succulent planters or the top half as slender vases for single stems.
- Pendant Lights: For the more advanced DIYer, cut bottles can be repurposed into eye-catching pendant light fixtures.
- Wind Chimes: Combine multiple cut bottle pieces with other elements to craft intricate wind chimes.
- Storage Containers: Create unique jars for spices, craft supplies, or small trinkets.
- Terrariums: Large bottles can be cut to create custom mini-terrariums.
These projects not only showcase your crafting skills but also contribute to a more sustainable lifestyle by giving new life to discarded materials.
Learning how to cut glass bottles at home is a highly rewarding skill that opens up a world of creative possibilities for home decor and unique gifts. By following these detailed instructions and always prioritizing safety, you can confidently transform ordinary glass bottles into extraordinary works of art. Experiment with the different methods to discover your preferred technique, and soon you’ll be creating beautiful, upcycled glass pieces that are both functional and environmentally friendly. So gather your supplies, put on your safety gear, and start crafting your next amazing glass creation today!