
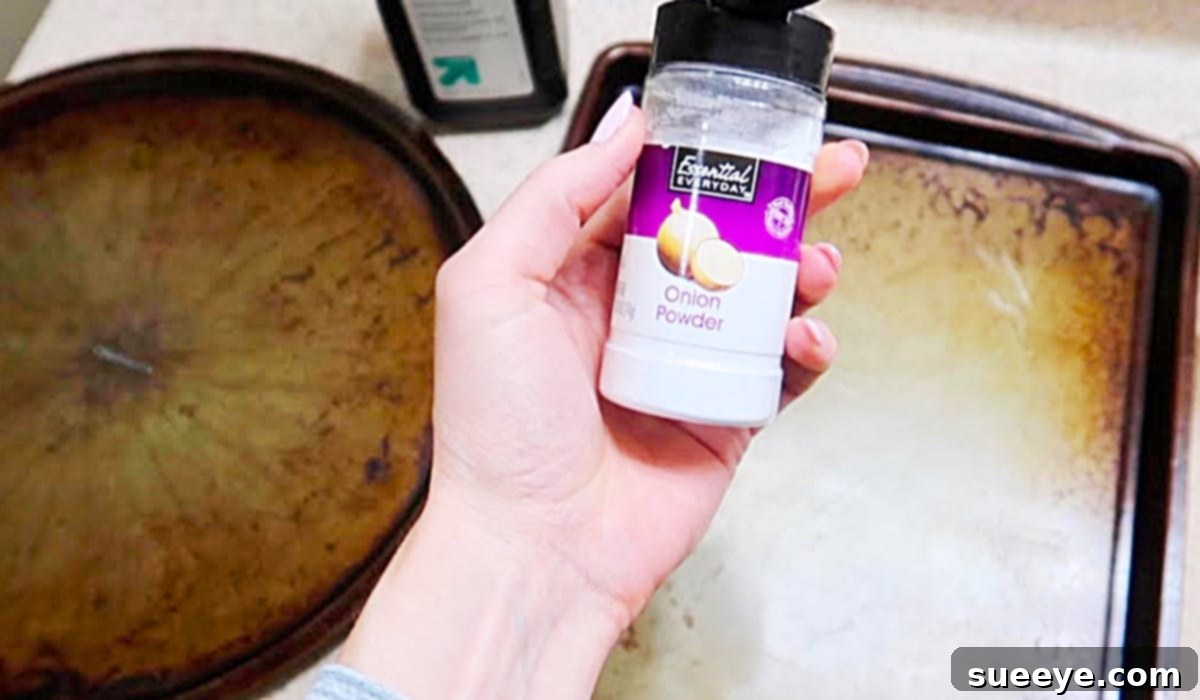
There’s nothing quite like the sight of sparkling, clean bakeware neatly arranged in your kitchen. However, this idyllic scene can quickly be marred by stubborn, baked-on stains that accumulate over time. Those beautiful pots, pans, and sheet pans can develop a yellowish, greasy film on their bottoms, turning them from culinary showpieces into frustrating eyesores. This common kitchen dilemma has plagued home cooks for ages, leading many to believe that once a pan is stained, it’s destined for the bin.
If you’ve found yourself in this very predicament with your cherished stainless steel pots and pans, wondering how to restore their original luster, you’re in the right place. We understand the frustration of scrubbing endlessly without seeing results. The good news is, achieving pristine bakeware is entirely possible with the right approach and a bit of effort. We’ve explored various cleaning hacks and effective methods to bring your kitchenware back to life, drawing inspiration from helpful resources such as the excellent cleaning tutorials by Andrea Jean Cleaning on YouTube.
In this comprehensive guide, we’ll delve into proven techniques that tackle everything from light discoloration to the most tenacious, carbonized grime. You’ll learn how to effectively clean and maintain your bakeware, ensuring it looks amazing and performs optimally for years to come. Say goodbye to unsightly stains and hello to cookware that you’re proud to display and use!
Revitalize Your Kitchen: The Ultimate Guide to Cleaning Stained Bakeware
Baked-on grease, burnt food residue, and general wear and tear can quickly diminish the appearance and hygiene of your bakeware. While many believe these stains are permanent, a few targeted cleaning methods can work wonders. We’ll explore two primary strategies: a gentler, homemade solution ideal for maintenance and semi-light stains, and a powerful commercial-grade cleaner for those truly tough, caked-on messes. The key is understanding which method suits your specific cleaning challenge.
Essential Materials for Restoring Your Bakeware
Before you embark on your bakeware cleaning journey, gather the necessary supplies. Having everything at hand will make the process smoother and more efficient. Remember that different methods require different tools, so review the lists carefully.
- Onion powder (for the gentle method)
- Hydrogen peroxide (for the gentle method)
- A Brillo Pad or similar steel wool scrub pad
- Easy-Off Oven Cleaner (for heavy-duty stains)
- Rubber gloves (essential for safety, especially with oven cleaner)
- Protective eyewear (highly recommended when using oven cleaner)
- Stiff-bristled scrub brush or sponge
- Plastic scraper (optional, for very stubborn, loosened residue)
- Dish soap
- Warm water
- Good ventilation (crucial for oven cleaner application)
Detailed Methods for Achieving Spotless Bakeware
Let’s dive into the step-by-step instructions for each powerful cleaning method. Remember to always prioritize safety and follow product instructions carefully.
Method 1: The Onion Powder and Hydrogen Peroxide Soak – For Light Stains & Maintenance
This surprisingly effective method, demonstrated by experts like Andrea Jean Cleaning, is perfect for routine maintenance and tackling those semi-light, yellowish stains that haven’t fully carbonized onto your bakeware. It’s a fantastic, less abrasive alternative that uses common household items.
Why This Method Works:
Onion powder acts as a mild abrasive, while hydrogen peroxide is a gentle oxidizing agent. Together, they create a paste that helps to break down and lift light grease and food residues without harsh chemicals, making your scrubbing efforts much more productive.
Step-by-Step Instructions:
- Prepare the Pan: Ensure your pan is dry before beginning. Identify the stained areas you wish to treat.
- Apply Onion Powder: Generously sprinkle a layer of onion powder directly onto the stained surfaces of your bakeware. Make sure the powder covers the discolored areas thoroughly.
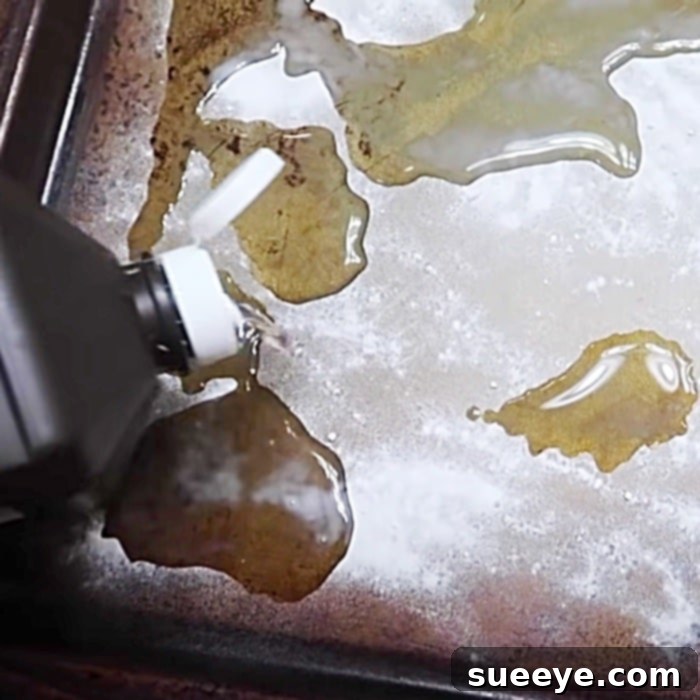
- Add Hydrogen Peroxide: Carefully pour small pools of hydrogen peroxide over the onion powder. You’ll notice it start to bubble slightly, indicating a gentle reaction. The goal is to create a thick, slightly pasty mixture that adheres to the pan’s surface.
- Let it Soak: Allow the mixture to sit on the stains for at least 30 minutes to an hour. For slightly tougher but still mild stains, you can extend the soaking time up to a few hours. This allows the ingredients time to work their magic and loosen the grime.
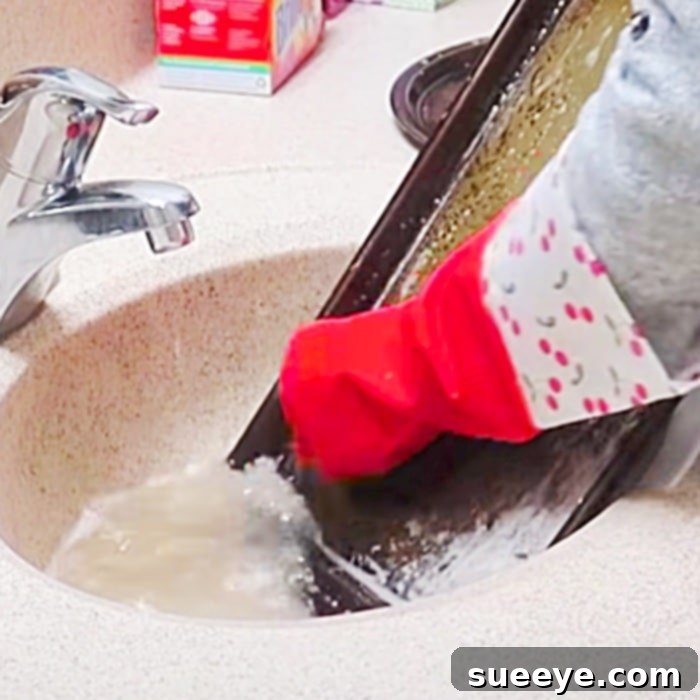
- Scrub with a Brillo Pad: Once the soaking time is complete, take a Brillo pad (or a similar steel wool soap pad) and begin to vigorously scrub the treated areas. The abrasive nature of the pad combined with the paste will help lift away the loosened stains. You may need to apply a bit of elbow grease.
- Rinse Thoroughly: After scrubbing, rinse the pan thoroughly under warm running water. Use a dishcloth or sponge to wipe away any remaining residue. You should see a noticeable improvement in the pan’s appearance.
- Repeat if Necessary: For slightly more persistent stains, you can repeat the process. This method is excellent for maintaining your bakeware’s cleanliness and preventing heavy buildup.
Method 2: Easy-Off Oven Cleaner – For Tough, Baked-On Stains
When you’re faced with truly formidable, carbonized, and heavily baked-on stains that refuse to budge with gentler methods, a heavy-duty solution is often required. Easy-Off Oven Cleaner is renowned for its ability to dissolve stubborn grease and grime, making it a powerful ally in restoring severely stained bakeware. This method is particularly effective for stainless steel pots, pans, and sheet pans that have seen extensive use and neglect.
Important Safety Precautions:
Easy-Off Oven Cleaner is a potent chemical and must be handled with extreme care. Always prioritize safety:
- Ventilation is Key: Use this cleaner in a well-ventilated area, preferably outdoors or near an open window with a fan. Avoid inhaling the fumes.
- Protect Your Skin and Eyes: Always wear rubber gloves and protective eyewear to prevent contact with skin and eyes.
- Protect Surfaces: Lay down old newspapers, cardboard, or plastic sheeting to protect your work surface from drips or overspray.
- Avoid Certain Materials: Do NOT use Easy-Off Oven Cleaner on aluminum, non-stick coatings, painted surfaces, or self-cleaning ovens, as it can cause damage and discoloration. Stick to stainless steel or enameled cast iron (check manufacturer’s instructions).
- Keep Away from Children and Pets: Store the product securely and ensure no children or pets are in the immediate vicinity during use.
Step-by-Step Instructions:
- Prepare Your Workspace: Move your stained bakeware to a well-ventilated area. Don your rubber gloves and safety glasses. Protect your surrounding surfaces.
- Spray the Cleaner: Hold the Easy-Off can upright and spray an even, generous layer of the cleaner directly onto the heavily stained areas of your bakeware. Ensure good coverage, but avoid overspraying onto unintended surfaces.
- Allow to Dwell: This is where the magic happens. Let the oven cleaner sit on the stains for the recommended time, which is typically 30 minutes to a few hours, or even overnight for extremely stubborn grime. Check the product’s specific instructions, as dwell times can vary. For the toughest carbon buildup, leaving it overnight can yield astonishing results.
- Scrape and Scrub: Once the dwell time is complete, you will notice that the baked-on grease has softened and turned into a brownish, gel-like substance. Use a plastic scraper to gently remove the bulk of the loosened grime. Follow up with a Brillo pad or a stiff-bristled scrub brush to scrub away the remaining residue. You might be amazed at how easily the once-stubborn stains lift away.
- Rinse Thoroughly: This step is critical. Rinse the bakeware under very hot water for an extended period, ensuring all traces of the oven cleaner are removed. Use plenty of dish soap and scrub thoroughly with a sponge or dishcloth to neutralize any remaining chemical residue. It’s essential to ensure no cleaner is left behind, especially on surfaces that will come into contact with food.
- Inspect and Repeat: Inspect your bakeware. If there are still some lingering stains, you may need to repeat the process for severely neglected items. Otherwise, dry your sparkling clean bakeware immediately to prevent water spots.
General Tips for Maintaining Your Bakeware’s Pristine Condition
While these cleaning methods are incredibly effective for reversing damage, prevention and regular maintenance are key to keeping your bakeware looking new and extending its lifespan. Adopt these habits to minimize future cleaning challenges:
- Clean Regularly: Don’t let stains build up. Clean your pots, pans, and sheet pans after every use. A quick wash with hot, soapy water can prevent a lot of future headaches.
- Pre-Soak: If food is stuck, pre-soak the bakeware in hot, soapy water immediately after use. This can dramatically loosen residues before they dry and harden.
- Use Parchment Paper or Silicone Mats: For baking, especially on sheet pans, using parchment paper or silicone baking mats can protect the pan’s surface from direct contact with food and grease, making cleanup a breeze.
- Avoid High Heat Empty: Heating empty pans to extremely high temperatures can contribute to discoloration and carbon buildup.
- Choose the Right Tools: Use appropriate utensils (silicone, wood, or plastic) to avoid scratching the pan’s surface, especially on non-stick bakeware.
- Match Cleaning Method to Material: Be aware of your bakeware’s material. The oven cleaner method, for example, is unsuitable for aluminum or non-stick surfaces. Always double-check manufacturer recommendations.
- Store Properly: Store bakeware in a way that prevents scratching and damage. Consider pan protectors or hanging them.
The journey from stained, unsightly bakeware to gleaming, like-new kitchen tools might seem daunting, but with the right techniques, it’s entirely achievable. Whether you opt for the gentle, yet effective, onion powder and hydrogen peroxide soak for maintenance and lighter stains, or bring out the powerful Easy-Off Oven Cleaner for the most tenacious grime, you now possess the knowledge to tackle any bakeware challenge.
Remember, consistency is crucial. Regular cleaning and adopting preventative measures will not only keep your bakeware looking its best but also ensure a more hygienic and enjoyable cooking experience. Don’t let stubborn stains diminish the joy of cooking and baking. Reclaim the beauty of your kitchen and enjoy the satisfaction of sparkling clean pots, pans, and sheet pans!