
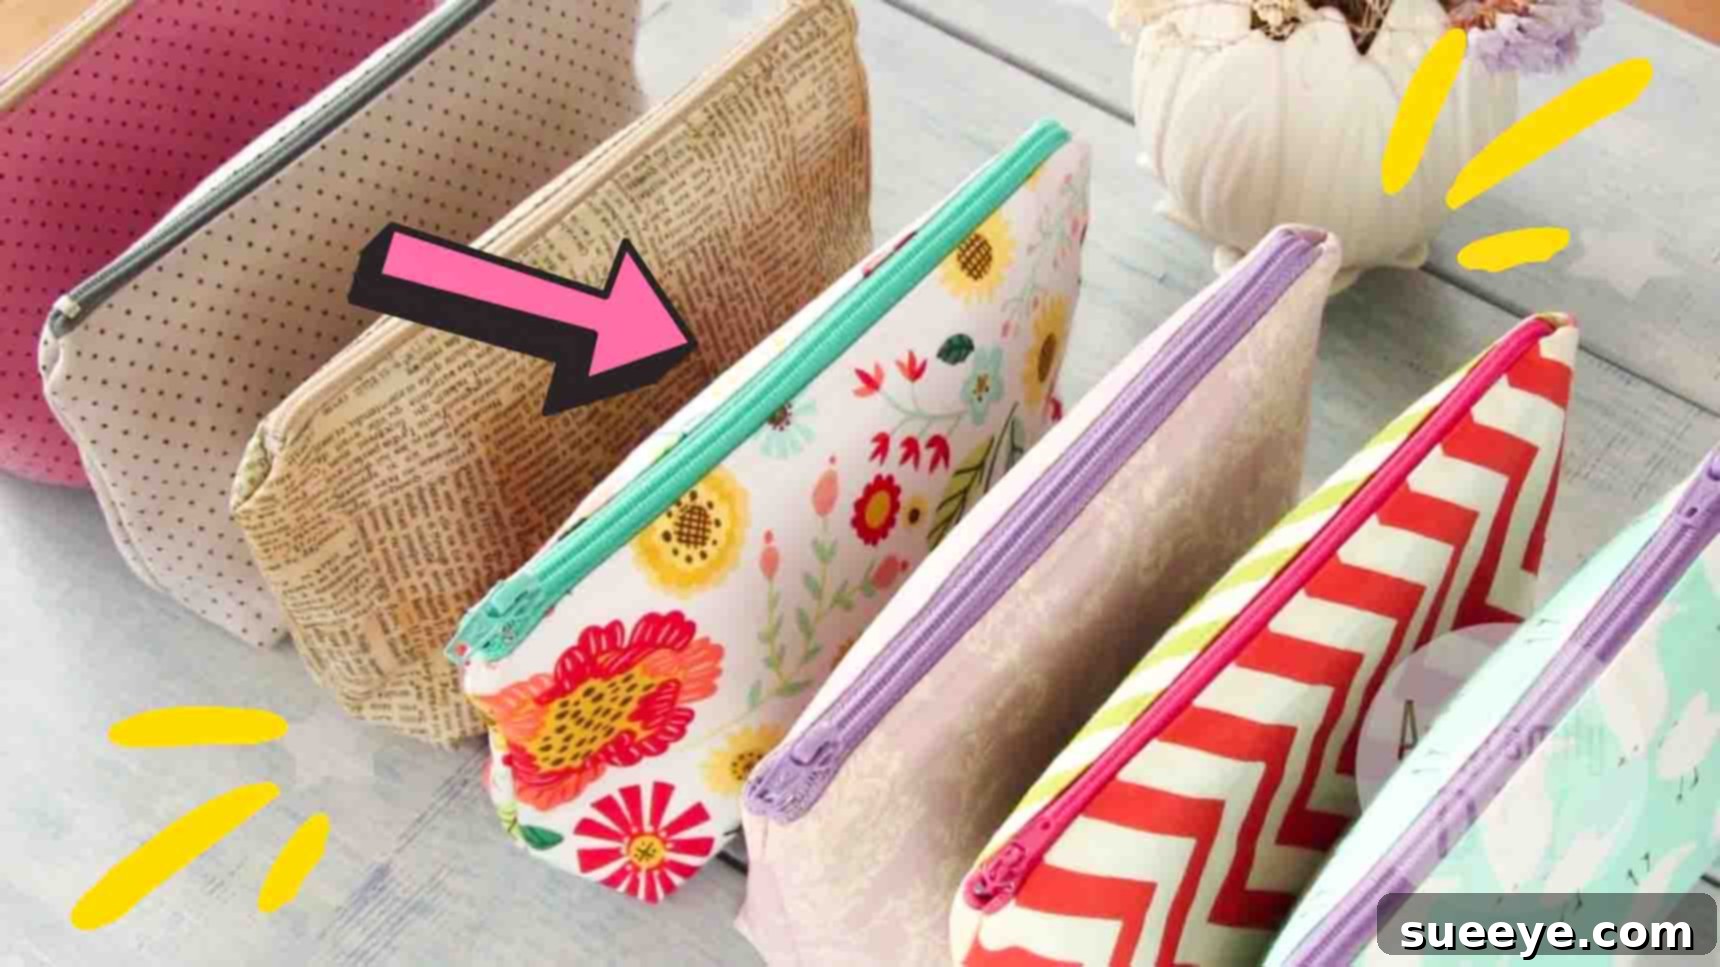
Master the Art of Sewing: Your Ultimate Guide to a DIY Cosmetic Pouch
Are you searching for a fun, rewarding, and incredibly practical sewing project that even absolute beginners can confidently tackle? Look no further! This comprehensive guide will walk you through creating your very own stylish cosmetic pouch, inspired by the brilliant and accessible tutorial from AmyFamily DIY on YouTube. Whether you’re a seasoned seamstress or just threading your first needle, this project promises a satisfying outcome: a personalized pouch perfect for organizing your makeup, craft supplies, or any small essentials. Ditch the store-bought generic bags and embrace the charm and functionality of a handmade creation. This tutorial is designed to be straightforward, ensuring that you’ll be amazed at how quickly you can sew a beautiful and durable makeup bag. Get ready to transform simple fabric pieces into a charming and useful accessory!
For makeup enthusiasts, the constant quest for the perfect storage solution is real. Palettes, brushes, lipsticks, and skincare items seem to multiply, and finding a pouch that fits all your favorites can be a challenge. Why settle for less when you can design one that perfectly suits your needs and style? Not only is this DIY approach cost-effective, but it also allows for endless customization. Choose fabrics that reflect your personality, add unique embellishments, and create a pouch that truly stands out. This project is not just about sewing; it’s about expressing your creativity and making something truly unique. Let’s gather our materials and embark on this exciting sewing adventure!
Essential Materials for Your Cosmetic Pouch
Before we dive into the creative process, gathering all your materials is crucial for a smooth and enjoyable experience. The beauty of this project lies in its simplicity and the minimal materials required. You might even have some of these items already in your craft stash! Here’s what you’ll need to create your chic cosmetic pouch:
- Outer Fabric: Two rectangular pieces, each measuring 25 cm x 17 cm (approximately 9.8 inches x 6.7 inches). Choose a durable and attractive fabric for the exterior of your pouch. Cotton, canvas, or even faux leather work wonderfully.
- Inner Fabric: Two rectangular pieces, identical in size to your outer fabric (25 cm x 17 cm). This will form the lining of your pouch. Consider a lighter-colored fabric for the lining to make it easier to find items inside.
- Zipper: One zipper, 25 cm (approximately 9.8 inches) in length. Opt for a good quality zipper that operates smoothly. A nylon coil zipper is often easier to sew for beginners.
- Fusible Adhesive (Interfacing): Two rectangles, matching the size of your fabric pieces. This adhesive adds structure and stability to your outer fabric, making your pouch more durable and giving it a professional finish. Medium-weight fusible interfacing is generally recommended.
Recommended Tools for a Seamless Sewing Experience
Having the right tools can make a world of difference in any sewing project, especially for beginners. While the list below might seem extensive, most of these are standard sewing essentials that you’ll use time and again for future projects. Don’t worry if you don’t have everything; improvisation is part of the DIY spirit!
- Sewing Machine: A basic sewing machine with a straight stitch function is all you need. Ensure it’s in good working order and threaded correctly.
- Iron and Ironing Board: Essential for pressing seams flat and applying fusible interfacing, which makes your finished product look crisp and professional.
- Fabric Scissors: Sharp scissors specifically for fabric will ensure clean, precise cuts. Avoid using them on paper, as it dulls the blades.
- Rotary Cutter and Cutting Mat (Optional but Recommended): For even more precise and faster fabric cutting, a rotary cutter and self-healing mat are invaluable.
- Measuring Tape or Ruler: Crucial for accurate measurements of your fabric and zipper.
- Fabric Marking Tool: A tailor’s chalk, fabric pen, or even a pencil (on the wrong side of the fabric) for marking lines.
- Pins or Fabric Clips: To hold your fabric pieces together securely before sewing. Clips are particularly useful for thicker fabrics or when working with multiple layers.
- Matching Thread: Choose a polyester all-purpose thread that matches your outer fabric or zipper color for a cohesive look.
- Seam Ripper: Your best friend when mistakes happen! It allows you to carefully remove stitches without damaging the fabric.
- Zipper Foot (for your sewing machine): This specialized presser foot makes sewing close to the zipper teeth much easier and more precise.
Step-by-Step Directions: Crafting Your Perfect Pouch
Now that you have all your materials and tools ready, let’s dive into the exciting part: sewing! Follow these detailed instructions carefully, and remember that patience and precision are key to a beautifully finished project. Don’t rush, and enjoy each step of the creation process.
Step 1: Attaching the Zipper with Precision
The zipper can sometimes intimidate beginner sewers, but with the right technique, it’s surprisingly simple. This method ensures a clean, professional finish and smooth zipper operation.
- Prepare Your Outer Fabric: Begin by taking your two rectangular pieces of outer fabric. Iron one piece of fusible adhesive to the wrong side of each outer fabric piece, following the manufacturer’s instructions. This step adds stiffness and body to your pouch, making it more durable.
- First Zipper Attachment: Place your zipper right side up. Position one piece of outer fabric on top of the zipper, right side up, aligning the raw edge of the fabric with one long edge of the zipper tape. Ensure the zipper pull is facing the outer fabric.
- Add the Inner Fabric: Now, take one piece of inner fabric and place it on top of the outer fabric and zipper assembly, right side down. All three layers – inner fabric (right side down), outer fabric (right side up), and zipper (right side up) – should be aligned along one long edge.
- Secure and Sew: Carefully even out all the edges and secure these three layers with pins or fabric clips along the aligned edge. Using your sewing machine’s zipper foot, sew along this edge with a straight stitch, getting as close to the zipper teeth as possible without stitching over them.
- Press and Topstitch: Unfold the fabric layers so that the outer fabric and inner fabric are now spread out, with the zipper neatly nestled in between. Press the seam flat with an iron, ensuring the fabrics are pulled away from the zipper teeth. Then, make another stitch on the right side of the outer fabric, approximately 2-3 millimeters (about 1/8 inch) away from the edge of the zipper tape. This topstitching not only gives a polished look but also prevents the fabric from getting caught in the zipper slider during use.
- Second Zipper Attachment: Repeat the process for the other side of the zipper. Take your remaining outer fabric piece and place it right side up. Lay the sewn piece (with the zipper attached) on top of it, aligning the remaining free long edge of the zipper with the raw edge of this outer fabric piece.
- Complete the Assembly: Place the remaining inner fabric piece on top of this assembly, right side down, again aligning all layers along the zipper’s edge. Secure with pins or clips.
- Sew and Finish: Sew along this edge, just as you did before. Unfold the fabrics, iron the seam flat, and then create another line of topstitching on this side, 2-3 millimeters from the zipper edge. At this point, your zipper should be neatly sandwiched between the outer and inner fabric pieces, and you’ll have a long rectangular piece of fabric with a functional zipper in the middle.
Step 2: Assembling and Shaping Your Pouch
With the zipper perfectly attached, the next steps involve bringing your pouch to life by giving it its shape and structure. This stage includes sewing the sides and boxing the corners to create a flat bottom, a hallmark of many practical cosmetic bags.
- Prepare for Assembly: Crucially, before proceeding, partially open the zipper. This step is vital because it allows you to turn the pouch right side out later. If the zipper is closed, you won’t be able to access the inside!
- Fold and Align: Lay your fabric flat. You will now fold the fabric so that the two outer fabric pieces are right sides together, and the two inner fabric pieces are right sides together. The zipper blade should be facing towards the inner fabric section. Align all raw edges perfectly. Secure the perimeter with plenty of pins or fabric clips, ensuring that the zipper teeth are folded inward and aligned.
- Create the Turning Gap: On one of the longer sides of the inner fabric section, leave a gap of about 7-10 cm (3-4 inches) unsewn. This opening is where you will turn your pouch right side out later, so it’s essential to remember its placement. Mark this gap clearly with pins or a fabric marker.
- Sew the Perimeter: Starting from one end of the gap on the inner fabric, sew all around the perimeter of the rectangle with a straight stitch, using a consistent seam allowance (e.g., 1 cm or 3/8 inch). Continue sewing past the zipper area and along the outer fabric section, then back around to the other side of your marked gap. Reinforce the stitches at the beginning and end of your sewing, and also when passing over the zipper area for added durability.
- Trim Corners: After sewing, carefully trim the excess fabric from all four corners, cutting diagonally close to the stitch line but without snipping the stitches. This reduces bulk and ensures sharper, neater corners when the pouch is turned right side out.
- Box the Corners for Dimension: This step gives your pouch its structured, flat bottom. Open up each corner individually. Bring the opposite seams together, flattening the corner into a triangle shape. You’ll see a point forming. From the tip of this point, measure and mark a line perpendicular to the seam, approximately 4 to 7 cm (1.5 to 2.7 inches) long, depending on how deep you want your pouch’s bottom to be. A larger measurement will create a wider, deeper base. Repeat this marking process for all four corners (two on the outer fabric and two on the inner fabric).
- Sew the Boxed Corners: Sew along these marked lines on all four corners. This creates the “boxed” effect. After sewing, you can trim the excess fabric from these newly sewn corners for a cleaner finish.
- Turn Right Side Out: Now comes the magical moment! Reach into the opening you left in the inner lining and carefully pull all the outer fabric through this gap. Take your time to push out all the corners completely, using a blunt object like a chopstick or a turning tool if needed, to achieve crisp edges.
- Close the Gap: Once your pouch is fully turned right side out, you’ll have the opening in the inner lining. Fold the raw edges of this gap inward, aligning them with the seam line. Press them flat with an iron. Then, sew this opening closed using either a very neat machine topstitch close to the edge or, for an invisible finish, a hand-sewn ladder stitch.
- Final Pressing: Give your finished pouch a final press with the iron, smoothing out any wrinkles and ensuring all seams lie flat. This last touch will give your handmade cosmetic pouch a truly professional and polished appearance.
Tips for Success and Customization
To ensure your cosmetic pouch turns out perfectly and to inspire future projects, consider these extra tips:
- Practice Makes Perfect: If you’re new to sewing, don’t be afraid to practice on scrap fabric before working on your final pieces.
- Press Often: Ironing at each stage (especially after sewing seams) is the secret to professional-looking sewing. It makes a huge difference!
- Use a Walking Foot: If you’re working with slippery fabrics or multiple layers, a walking foot attachment for your sewing machine can help feed the fabric evenly.
- Experiment with Fabrics: While cotton is beginner-friendly, once you’re comfortable, try mixing textures. A durable canvas exterior with a silky lining, or even a clear vinyl lining for easy cleaning, can be wonderful.
- Personalize Your Pouch: Get creative! Add embroidery, iron-on patches, fabric paint, or decorative trim to make your pouch uniquely yours. You could even add a small fabric loop or a wrist strap to the side.
- Consider Different Sizes: Once you master this basic pattern, you can easily adjust the dimensions to create larger toiletry bags, smaller coin purses, or even pencil cases.
- Gift Ideas: A handmade cosmetic pouch makes an incredibly thoughtful and practical gift for friends and family. Fill it with small toiletries or makeup for an extra special touch.
Why Choose a DIY Cosmetic Pouch?
Beyond the satisfaction of creating something with your own hands, there are numerous benefits to sewing your own cosmetic pouch:
- Cost-Effective: High-quality cosmetic bags can be surprisingly expensive. Making your own allows you to achieve a designer look for a fraction of the cost.
- Customization: You are the designer! Choose fabrics, colors, and patterns that truly reflect your style or match your favorite handbag. No more settling for limited store options.
- Perfect Fit: Tailor the size and dimensions to perfectly fit your specific makeup collection or travel essentials. Need a tall pouch for brushes? You can make it!
- Durability: By selecting quality fabrics and carefully constructing your pouch, you can create a bag that is more durable and long-lasting than many mass-produced alternatives.
- Sustainable Choice: Using fabric scraps or upcycling old textiles contributes to a more sustainable lifestyle.
- Skill Building: Each project, no matter how simple, helps you hone your sewing skills, building confidence for more complex creations in the future.
- Mindful Activity: Sewing can be a wonderfully relaxing and meditative hobby, offering a creative outlet and a break from daily stresses.
Your Easy DIY Cosmetic Pouch Tutorial: A Rewarding Craft!
Congratulations! You’ve successfully navigated the steps to create your very own DIY cosmetic pouch. This project from AmyFamily DIY is a testament to how simple yet rewarding sewing can be. From the initial cuts to the final press, each stage brings you closer to a beautiful and functional accessory that you can proudly say you made yourself. Whether it’s to keep your makeup organized, hold your sewing notions, or serve as a thoughtful handmade gift, this pouch is incredibly versatile.
Embrace the joy of crafting and the pride that comes with a handmade item. Don’t hesitate to experiment with different fabrics and embellishments to truly make each pouch your own. We hope this expanded tutorial has inspired you to pick up your needle and thread and discover the wonderful world of DIY sewing. Happy crafting!