
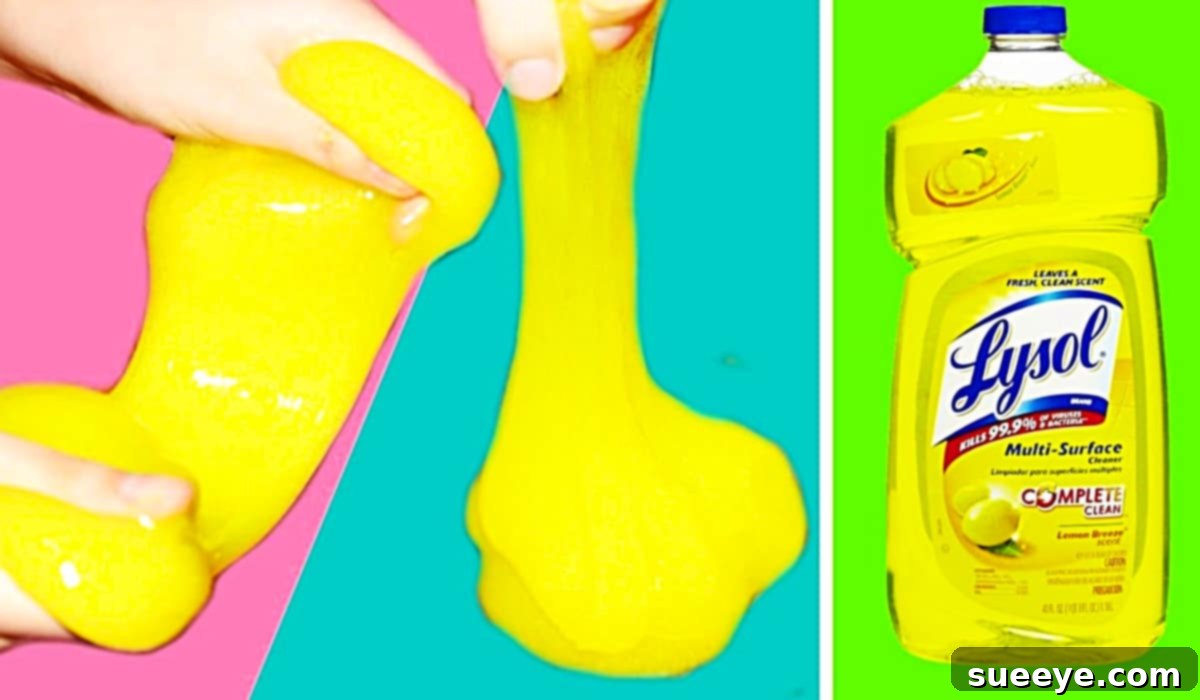
The Ultimate DIY Lysol Cleaning Slime: Your Guide to Effortless Deep Cleaning and Sanitization
In the quest for a perfectly clean home and car, we often encounter those elusive spots – the tiny crevices, keyboard crannies, and car vents that seem impossible to reach with traditional cleaning tools. Enter the humble yet remarkably powerful cleaning slime. More than just a playful compound, this ingenious creation has proven to be an exceptionally effective solution for tackling dust, crumbs, and grime in even the most intricate spaces. Its unique, pliable texture allows it to conform to irregular surfaces, trapping dirt and debris without leaving behind any residue.
The journey to discover this cleaning marvel led me to an outstanding recipe for Lysol-infused cleaning slime, shared by the brilliant Sandaisy on YouTube. Upon encountering this innovative idea, I was immediately inspired to create my own batch. My primary motivation was to meticulously detail the interior of my car, which notoriously collects dust and crumbs in its many nooks. However, as I embarked on the simple process of crafting this amazing Lysol slime, a multitude of other applications began to flood my mind. With spring cleaning just around the corner, I envisioned this versatile slime becoming an indispensable tool for refreshing window sills, revitalizing blinds, and meticulously cleaning around the edges of baseboards and flooring. The beauty of this powerful cleaning solution lies not only in its effectiveness but also in its incredible ease of preparation – truly anyone can make it at home.
The Magic Behind Cleaning Slime: Why It Works So Effectively
What makes cleaning slime such an extraordinary cleaning agent? Its secret lies in its viscoelastic properties – it acts like a liquid and a solid simultaneously. When pressed gently onto a surface, it flows into every tiny gap and indentation, enveloping dust, crumbs, pet hair, and other small particles. As you lift the slime, these contaminants are firmly trapped within its matrix, leaving the surface remarkably clean. Unlike sprays or wipes, it doesn’t push dirt around or introduce moisture into sensitive electronics or car dashboards. It simply adheres to and lifts the grime away.
The addition of Lysol elevates this cleaning tool beyond mere dust removal. Lysol, a trusted household disinfectant, introduces powerful sanitizing capabilities to the slime. This means your DIY cleaning slime isn’t just picking up visible dirt; it’s also actively working to kill germs and bacteria on the surfaces it touches. This dual action makes it perfect for high-touch areas in your car, office, or home, providing an extra layer of cleanliness and peace of mind. It’s a game-changer for maintaining hygienic environments.
Essential Ingredients for Your DIY Lysol Cleaning Slime
Creating your own batch of Lysol cleaning slime requires just a few readily available ingredients. The beauty of this recipe is its simplicity and the common availability of its components. Here’s what you’ll need:
- 1 medium-sized bottle of clear glue: Elmer’s brand is often recommended for its consistent quality, but most clear PVA (polyvinyl acetate) glues will work beautifully. You can also opt for white PVA glue, though clear glue often results in a more visually appealing slime, allowing you to see the dirt it collects.
- 6 teaspoons of Lysol liquid cleaner: This is the active ingredient for sanitization and also acts as an activator for the slime. It’s crucial to add this gradually, one teaspoon at a time, as you stir to achieve the perfect consistency.
- 1 teaspoon of baking soda: Baking soda helps to activate the glue and contributes to the slime’s texture. It also offers mild abrasive properties and can help with deodorizing surfaces.
Step-by-Step Guide to Making Your DIY Cleaning Slime
Following Sandaisy’s ingenious method on YouTube, you’ll find that crafting this exceptional cleaning slime is incredibly straightforward. Precision in following these steps will ensure your slime achieves the ideal texture for optimal cleaning power. Let’s get started:
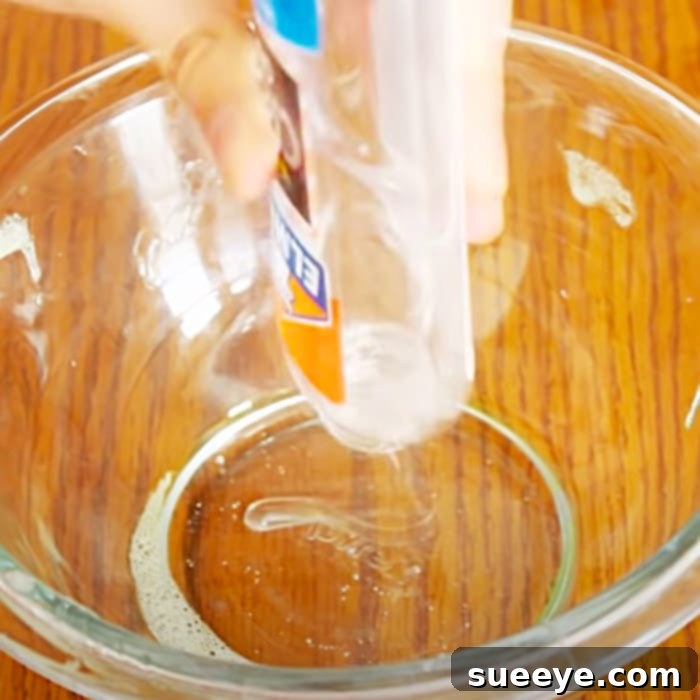
Step 1: Prepare Your Base. Begin by pouring the entire contents of a medium-sized bottle of clear glue into a clean mixing bowl. Ensure your bowl is large enough to allow for thorough mixing without spills. The glue forms the foundational base of your slime, providing its signature stickiness and pliability. If you’re using white glue, the process remains the same, but the final product will be opaque.
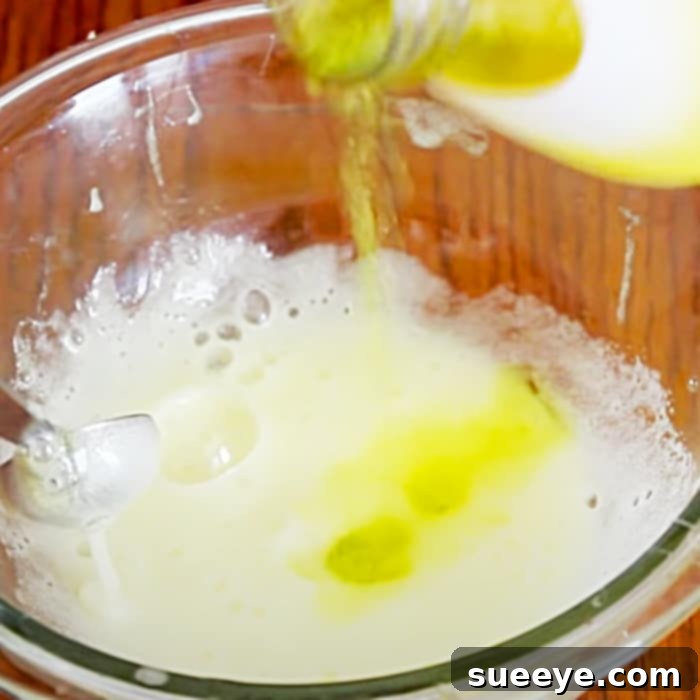
Step 2: Initial Activation with Lysol. Next, add two teaspoons of Lysol liquid cleaner to the glue. Using a spoon or spatula, begin to stir the mixture continuously. You’ll notice the glue starting to react with the Lysol, thickening slightly. This initial addition of Lysol starts the activation process, transforming the liquid glue into a more cohesive substance. Stir thoroughly to ensure the Lysol is evenly distributed.
Step 3: Incorporate Baking Soda. Once the Lysol is well-mixed, add one teaspoon of baking soda to the bowl. Continue stirring diligently. The baking soda works in conjunction with the Lysol to further activate the glue, contributing to the desired non-sticky, pliable texture of the slime. Keep mixing until the baking soda is fully integrated and you observe the mixture becoming noticeably thicker and beginning to pull away from the sides of the bowl.
Step 4: Achieving the Perfect Consistency. This is the most crucial step for achieving the optimal slime texture. You will now gradually add the remaining four teaspoons of Lysol cleaner, one teaspoon at a time, continuing to stir vigorously after each addition. As you incorporate each teaspoon of Lysol, the mixture will progressively thicken and solidify into a cohesive slime. Keep stirring until the slime begins to form the proper consistency—it should be firm enough to pick up and manipulate without sticking excessively to your hands, yet still soft and pliable enough to penetrate crevices. If it feels too sticky, add another small splash of Lysol (a quarter teaspoon at a time) and continue kneading until it reaches perfection. If it becomes too stiff, a tiny bit more glue can sometimes help, but it’s best to avoid this by adding Lysol slowly.
Unleashing the Power: Best Uses for Your Lysol Cleaning Slime
Once your Lysol cleaning slime is ready, its versatile applications will astonish you. This innovative tool simplifies many of the most challenging cleaning tasks around your home, office, and vehicle. Here are some of the prime areas where your new cleaning companion will shine:
Automotive Detailing
Car interiors are notorious for accumulating dust, crumbs, and debris in hard-to-reach places. Your Lysol cleaning slime is perfect for:
- Dashboard and Console Gaps: Easily conform to the contours of your dashboard, picking up dust from vents, seams, and display bezels.
- Air Vents: Press it into air conditioning vents to trap dust and allergens that have settled deep inside, improving air quality.
- Cup Holders and Door Pockets: Swirl it around these areas to lift crumbs, lint, and sticky residues.
- Steering Wheel and Shifter: Gently dab to remove skin oils, dust, and grime, especially useful for intricate button layouts.
Electronic Devices
Electronics gather dust and crumbs that can impact performance and hygiene. The non-liquid nature of slime makes it ideal:
- Keyboards (Desktop and Laptop): The slime will sink between the keys, grabbing crumbs, dust, and hair without damaging components.
- Remote Controls and Game Controllers: Excellent for cleaning around buttons and seams where grime tends to build up.
- Printer Vents and Fans: Gently press over vents to clear out dust, helping your devices run cooler and more efficiently.
- Phone Speakers and Ports: With extreme care and light pressure, it can pull lint and dust from speaker grilles and charging ports (use caution to avoid forcing slime too deep).
Household Nooks and Crannies
Beyond electronics and cars, your cleaning slime will be a lifesaver for those forgotten household areas:
- Window Sills and Blinds: Perfect for trapping dust from intricate blind slats and the often-neglected corners of window sills.
- Baseboards and Floor Edges: Run it along baseboards and where the floor meets the wall to pick up dust bunnies and fine debris that vacuums miss.
- Decorative Items and Lamp Bases: Ideal for intricate carvings, textured surfaces, and the often-dusty bases of lamps and figurines.
- Appliance Vents: Clean toaster crumb trays (when cool), coffee maker vents, and the grilles on small kitchen appliances.
- Air Vents and Grilles: Press into home air conditioning or heating vents to remove accumulated dust and improve airflow.
Tips for Optimal Use and Storage
To maximize the life and effectiveness of your Lysol cleaning slime, follow these simple tips:
- Gentle Pressure is Key: Always press the slime gently onto surfaces. Avoid rubbing or scrubbing, as this can transfer residues or tear off small pieces of slime. The goal is to allow it to seep into crevices and lift dirt, not to aggressively clean.
- Knead and Fold: As the slime picks up dirt, it will gradually darken. To expose fresh, clean surfaces of the slime, simply fold and knead it. This distributes the collected dirt internally and keeps the exterior ready for more cleaning.
- Airtight Storage: Store your cleaning slime in an airtight container or a sealed zip-top bag when not in use. This prevents it from drying out and helps maintain its pliable texture.
- Cool, Dry Place: Keep the container in a cool, dry place, away from direct sunlight or extreme temperatures. Heat can cause the slime to become overly sticky or degrade faster.
- Know When to Discard: Your slime’s lifespan depends on how frequently and thoroughly you use it. When it becomes noticeably saturated with dirt, changes color significantly, loses its stickiness, or starts to crumble, it’s time to discard it and make a fresh batch.
Safety Considerations
While Lysol cleaning slime is incredibly useful, it’s essential to use it responsibly. Always keep the slime out of reach of small children and pets, as it is not edible and contains chemicals. After each cleaning session, remember to wash your hands thoroughly with soap and water. Avoid contact with your eyes and mouth. If you have sensitive skin, consider wearing gloves during preparation and use to prevent any potential irritation from the Lysol. Always perform a small patch test on an inconspicuous area of delicate surfaces before widespread use to ensure no adverse reactions occur.
Conclusion: Embrace a New Era of Cleanliness
This fabulous DIY Lysol cleaning slime truly revolutionizes how we approach challenging cleaning tasks. Its ability to effortlessly reach and clean small, intricate places that are otherwise inaccessible with traditional methods makes it an invaluable addition to any cleaning arsenal. I am genuinely delighted to have discovered this brilliant idea, and I wholeheartedly recommend it. Say goodbye to stubborn dust and grime in those hard-to-reach areas, and embrace the satisfying ease of a cleaner, more hygienic environment with your very own homemade cleaning slime!