
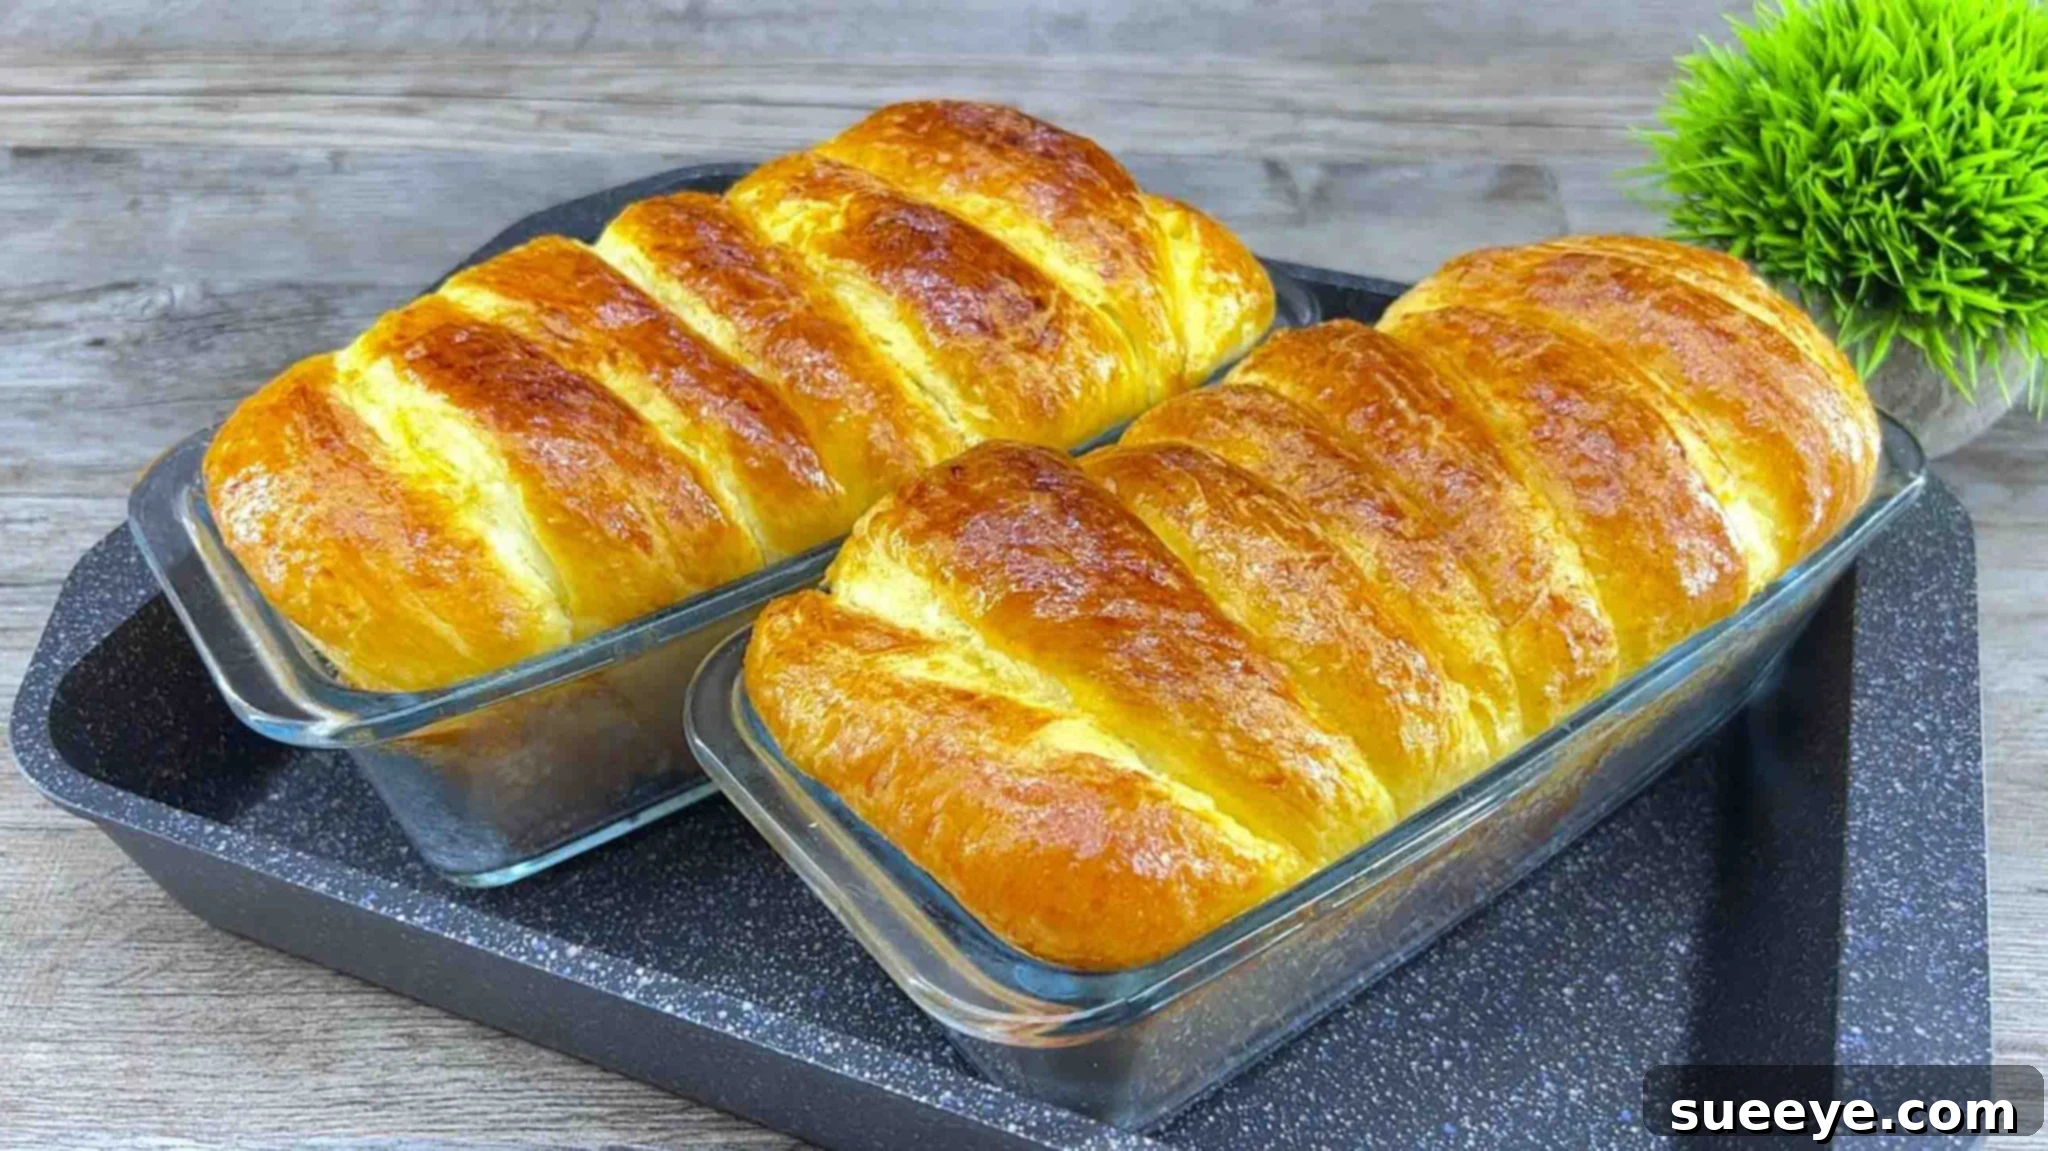
Ultimate 100-Year-Old Tasty Bread Recipe: Bake Your Own Fluffy Loaves at Home
There’s nothing quite like the comforting aroma of freshly baked bread wafting through your home. The soft, warm texture, the golden crust, and the wholesome taste are a simple pleasure that store-bought loaves often fail to deliver. Beyond the sensory delight, opting for homemade bread is a smart choice for your wallet and your health. Commercial bread can be surprisingly pricey and often contains preservatives, additives, and high-fructose corn syrup that you might prefer to avoid. By contrast, baking your own allows you to control every ingredient, ensuring a healthier and more natural product for you and your family.
Many people shy away from baking bread, intimidated by what seems like a complex process. However, we’re here to change that perception with an incredibly easy-to-follow, time-tested recipe. This particular 100-year-old bread recipe, popularized by Piekarnia Lesi on YouTube, is a true gem. It’s so straightforward that even beginner bakers will feel confident tackling it. What sets this recipe apart is its ability to consistently produce super fluffy, incredibly tasty bread that truly tastes heavenly – exactly what homemade bread should be. Once you experience the superior flavor and texture of this traditional loaf, you’ll likely never look back at store-bought options. Get ready to embark on a delightful baking journey and learn this amazing recipe today!
Why This 100-Year-Old Bread Recipe is a Must-Try
In an age where culinary trends come and go, some recipes stand the test of time for a reason. This 100-year-old bread recipe is a testament to the enduring power of simple, authentic ingredients and proven techniques. Its longevity speaks volumes about its quality and consistent results. While many modern recipes promise speed, this traditional method focuses on developing flavor and texture through careful steps, resulting in a bread that’s both nourishing and deeply satisfying. It’s an easy recipe that doesn’t compromise on taste or quality, making it an ideal choice for anyone looking to bake delicious, wholesome bread without unnecessary complications. The wisdom embedded in this ancient recipe ensures a perfect loaf every time, bringing a piece of baking heritage directly into your kitchen.
Ingredients for Your Homemade Fluffy Bread
One of the beauties of this classic bread recipe is its reliance on simple, pantry-staple ingredients. You won’t need any exotic flours or hard-to-find components. With just a few basic items, you can create a truly exceptional loaf that will impress everyone. Ensure all your ingredients are at room temperature, especially the milk and egg, as this helps with yeast activation and overall dough consistency.
- 1 large egg
- 150 ml of milk (whole or 2% recommended for richness)
- 3 tbsp granulated sugar
- 1 tsp active dry yeast
- 2 cups (approximately 240g-250g) all-purpose plain flour
- 1/2 tsp fine sea salt
- 2 tbsp unsalted butter, softened
Step-by-Step Guide: How to Bake Your 100-Year-Old Fluffy Bread
Step 1: Preparing and Kneading the Dough
The journey to perfect homemade bread begins with careful mixing and kneading. In a spacious mixing bowl, start by whisking your large egg until it’s lightly scrambled. Next, pour in 150 ml of milk, followed by 3 tablespoons of granulated sugar, and 1 teaspoon of active dry yeast. The sugar will provide food for the yeast, helping it activate and create a beautiful rise in your bread. Mix these liquid ingredients thoroughly with a whisk until everything is well combined and the yeast starts to dissolve.
Once your wet ingredients are harmoniously blended, it’s time to incorporate the dry ones. Place a fine-mesh sieve directly over your bowl. Gradually add 2 cups of plain flour, about one cup at a time, sifting it properly into the wet mixture. Sifting isn’t just for removing lumps; it also aerates the flour, which contributes to a lighter, fluffier texture in the final bread. After the flour, sprinkle in 1/2 teaspoon of salt. The salt is crucial not only for flavor but also for controlling the yeast’s activity and strengthening the gluten structure. Mix all the ingredients thoroughly with a spoon or spatula until a shaggy dough forms.
Now, cover the bowl with plastic wrap or a clean kitchen towel and place it in a warm spot in your kitchen for approximately 20 minutes. This initial resting period allows the yeast to begin its work, gently fermenting the dough and developing flavor. After 20 minutes, transfer the slightly risen dough onto a lightly floured surface. Begin to knead the dough. After a few minutes of kneading, lightly stretch the dough out, create a small well in the center, and add 2 tablespoons of softened unsalted butter. The butter will enrich the dough, making it incredibly tender and flavorful. Continue to knead the dough vigorously until it becomes smooth, elastic, and no longer sticky. This process usually takes about 8-10 minutes. Once smooth, shape the dough into a neat round ball, cover it again, and set it aside in a warm place for another 20 minutes for its second short rest and rise.
After the second 20-minute rest, place the dough back on your floured surface. Lightly sprinkle some additional flour on top of the dough to prevent sticking. Using a rolling pin, gently roll the dough out into a rectangular shape. Spread a thin layer of softened butter evenly across the entire surface of the rolled-out dough. This butter layer is key to creating a rich flavor and helps in developing beautiful layers. Fold the dough into thirds, like a letter, bringing one short end to the center and then folding the other short end over it. Gently roll the folded dough again with your rolling pin to slightly flatten it. Apply another thin layer of butter on this surface. Finally, gently roll the dough using your hands to form a log, then use a sharp knife or dough cutter to cut it into evenly sized pieces. These pieces will form your individual bread rolls or smaller loaves.
Step 2: Proofing and Baking to Golden Perfection
Once your dough has been expertly cut into pieces, the next crucial step is to prepare them for their final rise and subsequent baking. Take two baking dishes or loaf pans and generously grease them with butter. This ensures that your beautiful loaves will not stick and can be easily removed once baked. Carefully place each half of your divided dough into its greased baking dish. Make sure there’s enough room for the dough to expand. Cover each dish with plastic wrap or a clean kitchen towel, then set them aside in a warm, draft-free place for a final proofing stage of 60 minutes. This hour-long rest is vital, allowing the yeast to produce more gas, which will significantly increase the volume of your bread and contribute to its incredibly fluffy texture. Do not rush this step, as proper proofing is key to a light and airy crumb.
Towards the end of the 60-minute proofing period, preheat your oven to 340 degrees Fahrenheit (approximately 170 degrees Celsius). A properly preheated oven is essential for even baking and a good oven spring. Once the dough has nearly doubled in size, gently brush the top surface of each risen dough with either a beaten egg wash (for a glossy, golden-brown crust) or a little milk (for a softer, less shiny finish). This wash not only adds to the aesthetic appeal but can also contribute to a slightly crisper crust. Carefully place your baking dishes onto a baking tray, then transfer them into the preheated oven. Bake for approximately 25 to 30 minutes. The exact baking time may vary slightly depending on your oven, so keep an eye on your bread. It should turn a beautiful golden brown on top and sound hollow when tapped on the bottom.
Tips for Baking Your Best Homemade Bread
Achieving the perfect loaf often comes down to a few small details. For this 100-year-old recipe, here are some tips to ensure your bread is always a success:
- Room Temperature Ingredients: Always ensure your milk, egg, and butter are at room temperature. Cold ingredients can shock the yeast and hinder its activation, leading to a less risen dough.
- Don’t Rush Proofing: The resting and rising times are crucial. If your kitchen is cooler, it might take a little longer for the dough to rise sufficiently. Be patient; a well-proofed dough yields the best texture.
- Kneading is Key: Proper kneading develops the gluten, which gives bread its structure and chewiness. If kneading by hand, use a push-fold-turn motion. The dough should feel smooth and elastic, not sticky, by the end.
- Oven Accuracy: Ovens can vary. Consider using an oven thermometer to ensure your oven maintains the correct temperature for consistent baking.
- Cool Completely: Resist the urge to slice into your warm bread immediately. Allowing the bread to cool on a wire rack completes the cooking process and prevents a gummy texture inside.
- Storage: Store leftover bread in an airtight container or bread bag at room temperature for up to 3-4 days. For longer storage, slice and freeze for up to 3 months.
Savor the Unbeatable Taste of Tradition with Your Homemade Bread
Baking this 100-year-old bread recipe is more than just making food; it’s an experience that connects you with generations of bakers who understood the simple pleasure of crafting a perfect loaf. From the moment the yeast activates to the triumphant aroma filling your kitchen, every step is rewarding. The result is a loaf that surpasses any store-bought alternative – a soft, fluffy, and richly flavored bread that’s free from unnecessary additives and made with your own loving hands.
This recipe not only provides a healthy and delicious staple for your family but also ignites a sense of accomplishment and culinary creativity. Imagine warm slices with butter and jam, accompanying a hearty meal, or simply enjoyed on its own. The ease of this traditional recipe makes it approachable for anyone, regardless of their baking experience. So, roll up your sleeves, gather your ingredients, and bring a piece of history and unparalleled taste into your home. You’ll be amazed at how simple and satisfying it is to bake your own “heavenly” bread. Happy baking!