
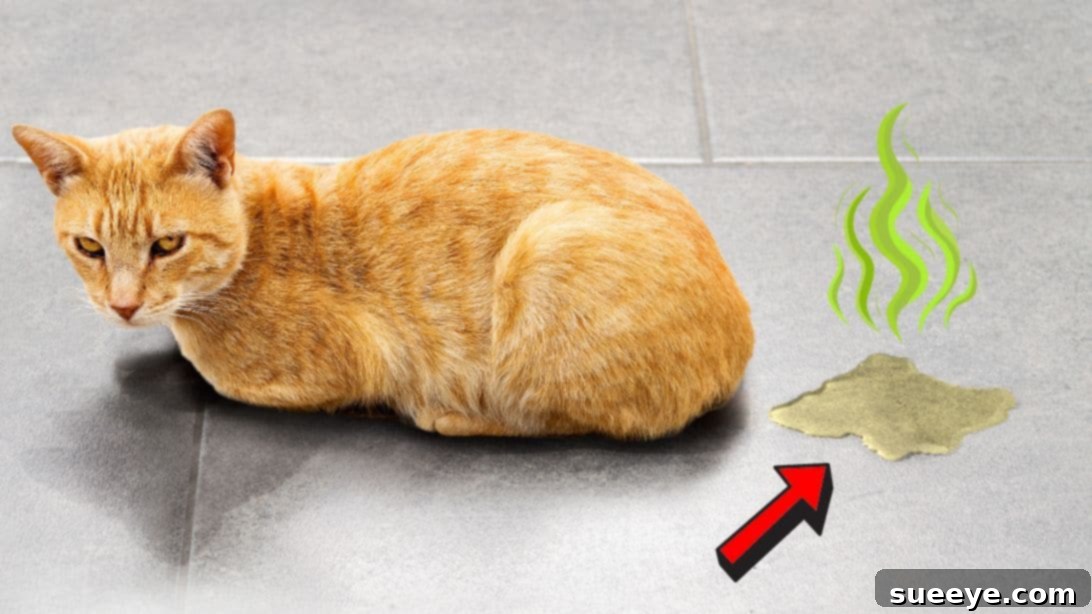
Does your living space feel invaded by a persistent, unpleasant smell that just won’t seem to vanish? Perhaps your home carries the unmistakable scent of pet urine, the lingering pungency of a skunk encounter, or a mysterious musty odor that defies all conventional cleaning efforts. If you’re nodding along, feeling frustrated by an environment that just doesn’t smell “clean” or “fresh,” then you’ve landed in the right place. This article will guide you through a truly remarkable DIY solution that promises to neutralize even the most stubborn and offensive odors, transforming your home into a sanctuary of freshness.
The Persistent Problem: Unmasking Stubborn Household Odors
Many homeowners face the daunting challenge of confronting deeply embedded odors that refuse to budge. Often, these aren’t just superficial smells; they’re molecules that have permeated surfaces like walls, floor tiles, grout, and even subflooring. My own experience highlights this perfectly: a friend recently moved into a new house, and the odor was simply unbearable. It wasn’t just “bad”; it was a pervasive, indescribable funk that made spending any time inside deeply unpleasant. After much investigation, we discovered the culprit: the previous owner had cats, and their urine had likely dried and seeped into the porous surfaces of the floor tiles and walls. This is a common scenario, as pet urine, particularly cat urine, contains uric acid crystals that are incredibly difficult to remove with standard cleaners and re-crystallize when exposed to humidity, releasing offensive ammonia-like smells.
But pet odors aren’t the only culprits. Skunk spray, while less common, is another notoriously difficult scent to eradicate, clinging to surfaces and fabrics with surprising tenacity. Even persistent mustiness, perhaps from a damp basement or poor ventilation, can create an unwelcoming atmosphere. Traditional air fresheners merely mask these odors with stronger perfumes, offering a temporary cover-up rather than a genuine solution. What’s needed is a powerful neutralizer that breaks down the odor-causing molecules at their source, rather than just covering them up.
Why Choose a DIY Odor Eliminator?
In a market flooded with chemical-laden odor removers, why opt for a homemade solution? The answer lies in effectiveness, cost-efficiency, and control over ingredients. Many commercial products contain harsh chemicals that can be irritating or even harmful, especially in homes with children or pets. Furthermore, they often come with a hefty price tag and may not deliver on their promises for truly stubborn smells. A DIY approach, using common household ingredients, offers a powerful alternative that is both economical and remarkably effective. This particular formula, inspired by solutions shared by reputable DIY creators like MBJ DIY, has been tried and tested, proving its ability to tackle the toughest odors head-on.
The beauty of this homemade odor neutralizer lies in its simplicity and the synergy of its components. You’re not just mixing random ingredients; you’re combining substances known for their powerful deodorizing and cleaning properties. This ensures that you’re not only eliminating the current stench but also getting to the root of the problem, preventing it from returning. It’s a solution that empowers you to take control of your home’s air quality without relying on expensive, potentially harmful commercial alternatives.
The Miracle Solution: Introducing Your Homemade Odor Neutralizer
After discovering the extent of the odor problem in my friend’s new home, the quest for an effective solution began. We scoured online resources for a homemade spray that could genuinely eliminate the smell, not just mask it. That’s when we stumbled upon this DIY odor stopper solution (neutralizer), and it truly worked like magic. The transformation was almost instantaneous – the foul smell was gone, replaced by a clean, neutral air. This homemade odor neutralizer proved to be an absolute lifesaver, restoring comfort and peace to the home.
Whether you’re dealing with the lingering scent of dog or cat urine, the aftermath of a skunk encounter, or even the remnants of rodent activity, this air freshener spray is incredibly effective. The results are dramatic; you will literally struggle to detect any previous odor after following the steps outlined below. While many tutorials exist online, this specific method has been thoroughly tried and tested, consistently delivering impressive results in removing urine smells and other pervasive bad odors. It’s a trusted recipe that consistently works to restore freshness to your environment.
RELATED: How to Remove Stinky Odor From Cushions
Homemade Odor Eliminator Solution: The Essential Ingredients
The power of this odor eliminator comes from a combination of readily available household staples. Each ingredient plays a crucial role in breaking down and neutralizing odor molecules, rather than just covering them up. Understanding their individual contributions will help you appreciate the science behind this effective solution.
- 1 quart of hydrogen peroxide (3%): This is the primary oxidizing agent. Hydrogen peroxide works by breaking down organic compounds, including those responsible for pet urine odors and skunk spray, into less offensive substances. The 3% solution is common and safe for many household uses, but its oxidizing power is key here.
- 1/2 cup of baking soda: A renowned natural deodorizer, baking soda (sodium bicarbonate) is amphoteric, meaning it reacts with both acidic and alkaline odor molecules, effectively neutralizing them. It also absorbs odors by trapping them within its crystalline structure, making it incredibly effective against a wide range of unpleasant smells.
- 1 teaspoon of dish soap: The role of dish soap is crucial as a surfactant. It helps to break down the surface tension of water, allowing the other active ingredients to penetrate deeper into the porous surfaces where odors are embedded. It also helps to emulsify and lift away grease and grime that might be trapping odor molecules.
- 1/2 cup bleach (for tiled surfaces only): Bleach, or sodium hypochlorite, is a powerful disinfectant and oxidizing agent. When used *specifically* on non-porous tiled surfaces in the final step, it helps to kill any remaining bacteria that might be contributing to odors and further breaks down resilient stains and smells. **It is essential to note its specific use and dangers, as detailed in Step 5.**
- Gallon of water: Primarily used in the final bleach solution to dilute it to a safe and effective concentration for tiled surfaces.
- Bucket: For mixing the solution and for the final bleach dilution.
- Brush: A stiff-bristled brush will be indispensable for scrubbing the solution into affected surfaces, ensuring maximum penetration and removal of dried residues.
- Rag/Clean Towels: For wiping, cleaning, and blotting up excess solution and residues.
This carefully chosen combination creates a formidable force against even the most entrenched odors, providing a deep clean that goes beyond mere surface treatment.
Step-by-Step Guide: Crafting Your Powerful Homemade Deodorizer
Creating this potent odor eliminator is straightforward. Follow these steps carefully to ensure maximum effectiveness and safety.
Step 1: Preparing the Base – Hydrogen Peroxide
Begin by pouring 1 quart (approximately 4 cups) of 3% hydrogen peroxide into your clean bucket. Hydrogen peroxide is the foundation of this solution due to its strong oxidizing properties, which are essential for breaking down the chemical compounds responsible for stubborn odors. Ensure you handle it with care, avoiding direct contact with skin and eyes. Using a dedicated cleaning bucket will help prevent cross-contamination with other substances.
Step 2: Activating the Formula with Baking Soda and Dish Soap
Next, add 1/2 cup of baking soda to the hydrogen peroxide in the bucket. Follow this with 1 teaspoon of liquid dish soap. Stir the mixture thoroughly until the baking soda is completely dissolved. This step is crucial because baking soda acts as a powerful deodorizer, absorbing and neutralizing odors, while the dish soap helps the solution penetrate deeper into affected surfaces. Ensure there are no lumps of baking soda, as proper dissolution is key for an even and effective application.
Step 3: Readying for Application – The Spray Bottle Method
Carefully transfer the mixed solution into a clean spray bottle. This method allows for targeted and even application, which is essential for treating specific areas like walls and grout lines. After shaking the bottle to ensure the ingredients are well combined, it’s critical to loosen the spray cap slightly to release any built-up pressure. The reaction between hydrogen peroxide and baking soda can sometimes generate gas, so periodically releasing pressure prevents the bottle from rupturing or spraying unexpectedly when opened.
Step 4: Targeting the Odor – Application and Initial Scrubbing
Now, it’s time to put your homemade deodorizer to work. Liberally spray the solution onto the affected floor or wall surfaces where the urine or other bad odors are present. Once applied, use a sturdy brush and a clean rag to scrub the area thoroughly. The scrubbing action helps the solution penetrate deep into the pores of the material, breaking down the odor-causing residues. Allow the solution to sit for 15-30 minutes to work its magic.
IMPORTANT CAUTION: This solution, particularly the hydrogen peroxide component, may cause discoloration on some dark-colored fabrics or carpets. **Always test the solution on an inconspicuous, hidden area first.** Apply a small amount, let it dry completely, and check for any color change or damage. If no discoloration occurs, proceed with confidence. After application, baking soda may leave a white residue once dried. This is normal and can be easily wiped away with a clean, damp cloth or brushed off once the area is dry.
Step 5: Advanced Cleaning for Tiled Surfaces – The Bleach Boost
This final step is **ONLY for tiled floors and walls** and should never be used on carpets, fabrics, or other porous materials that can be damaged by bleach. After the initial neutralizer solution has dried completely, combine 1/2 cup of bleach with a gallon of water in a separate bucket. Using a clean rag or mop, gently rub this diluted bleach solution over the previously treated tiled walls and floors. This step provides an extra layer of disinfection and odor elimination, particularly effective on non-porous surfaces like tile and grout, where it can further break down any remaining odor molecules and kill bacteria.
EXTREME WARNING: Never mix bleach directly with the hydrogen peroxide/baking soda solution. This can create dangerous chlorine gas. Always perform this step *after* the initial solution has dried and been cleaned, and use a separate bucket and tools. Ensure adequate ventilation when using bleach. Avoid skin and eye contact, and wear gloves. If your affected area includes carpet or fabric, skip this bleach step entirely, as bleach will permanently stain and damage these materials.
Beyond the Basics: Tips for a Continuously Fresh Home
While this homemade odor neutralizer is incredibly effective for eliminating existing odors, maintaining a fresh home requires ongoing effort. Here are some additional tips:
- Ventilation is Key: Regularly open windows and doors to allow fresh air to circulate, especially in areas prone to dampness or strong smells.
- Address the Source: For pet owners, quick cleanup of accidents is crucial. Use absorbent materials to blot up urine immediately, then apply the DIY solution.
- Regular Cleaning: Incorporate this homemade deodorizer into your routine cleaning for high-traffic or pet-prone areas.
- Dehumidifiers: In humid climates or basements, a dehumidifier can prevent mold and mildew growth, which are common sources of musty odors.
- Washable Covers: For pet beds and upholstered furniture, use washable covers that can be regularly laundered.
- Air Purifiers: Consider investing in an air purifier with a HEPA filter and activated carbon for continuous air quality improvement, especially if you have allergies or multiple pets.
Final Thoughts: Reclaiming Your Home from Unwanted Odors
Living in a home permeated by unpleasant odors can be incredibly draining, impacting your comfort, mood, and even your social life. This DIY odor eliminator offers a powerful, cost-effective, and surprisingly simple solution to reclaim your living space from even the most stubborn smells. From the lingering scent of pet accidents to mysterious mustiness or the unforgettable stench of a skunk, this formula has proven its efficacy. By following these detailed steps, you can confidently tackle these challenging odors, ensuring your home is a welcoming and fresh environment once more. Don’t let unwanted smells dictate the atmosphere of your home; empower yourself with this incredible homemade solution and experience the magic of true odor neutralization.