
DIY Pallet Wood Garden Hose Caddy: A Sustainable and Stylish Outdoor Storage Solution
Every gardener understands the frustration of a tangled, unruly garden hose. Not only is it an eyesore, but it’s also a tripping hazard and can shorten the lifespan of your hose significantly. For years, like many others, I relied on commercially available hose caddies. However, the relentless summer heat and constant exposure to the elements proved to be their downfall, especially for plastic models. My last plastic garden hose caddy, despite its initial charming “rod iron” aesthetic, eventually succumbed to the sun’s harsh rays, breaking in half and leaving my hose sprawling across the driveway.
This common predicament sparked an idea: why not create a more durable, attractive, and sustainable solution? With my garage door as the primary location for hose storage, a swift replacement was essential to prevent accidentally running over the hose with my car. The quest for a robust and affordable alternative led me to an exciting DIY project: building a garden hose caddy from reclaimed pallet wood. This approach not only offered a practical solution but also aligned with a desire for eco-friendly home improvement.
The Common Problem: Flimsy Hose Caddies and Why DIY is Better
Many homeowners share a similar story of disappointment with store-bought garden hose storage solutions. Plastic caddies, while initially appealing due to their low cost and various designs (like my former “rod iron” look-alike), rarely withstand the test of time. They become brittle under UV exposure, crack with temperature fluctuations, and often lack the stability needed for a heavy, coiled hose. Metal caddies can rust, and even expensive options may not perfectly fit your specific aesthetic or functional needs.
My own experience highlighted these shortcomings. The plastic caddy, once a handsome addition to my outdoor space, quickly deteriorated. Its sudden collapse left a gap in my outdoor organization, emphasizing the need for something truly resilient. This personal anecdote is a testament to the fact that sometimes, the best solution isn’t found on a store shelf, but rather crafted with your own hands. The journey to a DIY garden hose caddy became not just about replacing a broken item, but about creating something superior in quality, durability, and charm.
Why Choose Pallet Wood for Your Outdoor Storage Solution?
The decision to use pallet wood for this project was driven by several compelling reasons. Firstly, pallet wood is incredibly cost-effective, often free if you know where to look. Many businesses are happy to give away their used pallets, making it a budget-friendly option for any home improvement project. My husband and I already had a stash of leftover pallet wood from previous endeavors, making this particular garden hose hanger virtually free to make!
Secondly, repurposing pallet wood is an excellent way to practice sustainability. Instead of contributing to landfill waste, you’re giving discarded materials a new life, transforming them into functional and beautiful objects. This upcycling aspect makes the project environmentally conscious and adds a unique story to your finished piece. Beyond the environmental benefits, pallet wood, when properly prepared and treated, offers a rustic charm that store-bought items often lack. Its weathered appearance can add character and a touch of farmhouse style to any garden or patio.
Lastly, working with pallet wood is surprisingly versatile and forgiving. It’s an ideal material for beginners in woodworking, allowing for creative freedom without the pressure of expensive materials. Its inherent strength, especially from hardwood pallets, can create a remarkably sturdy hose caddy that will outlast many commercial alternatives. For a project like a DIY garden hose caddy, where durability and a natural aesthetic are key, pallet wood stands out as an excellent choice.
Gathering Your Materials and Tools for the Ultimate Hose Holder
One of the most appealing aspects of this DIY garden hose caddy project is its accessibility. You don’t need a professional workshop or an extensive collection of specialized tools. Most of what you’ll require can be found in a basic home toolbox or purchased affordably. The simplicity of the required tools and materials made this project seem perfectly achievable in a short amount of time, even for a weekend warrior.
Essential Materials:
- Pallet Wood: Approximately 1-2 standard pallets. Look for “HT” (heat treated) stamps, avoiding “MB” (methyl bromide treated) pallets for safety. Ensure the wood is clean and free of excessive splinters or damage.
- Wood Screws: Exterior-grade screws (e.g., galvanized or stainless steel) of various lengths (1.5-inch to 2.5-inch) for secure fastening.
- Wood Glue: A strong, waterproof wood glue designed for outdoor use to reinforce joints.
- Sandpaper: Various grits (80-grit for initial shaping, 120-grit for smoothing, 220-grit for fine finishing).
- Outdoor Wood Sealer/Stain/Paint: To protect the wood from moisture, UV rays, and rot. Choose a product suitable for outdoor exposure.
Necessary Tools:
- Measuring Tape: For accurate cutting and assembly.
- Pencil: For marking cuts and drill points.
- Saw: A miter saw or circular saw is ideal for straight, precise cuts. A jigsaw can be useful for curves if you decide to add decorative elements.
- Drill/Driver: With appropriate drill bits for pilot holes and driver bits for screws.
- Clamps: Essential for holding pieces together securely during gluing and screwing.
- Safety Glasses and Gloves: Always prioritize safety when working with power tools and raw wood.
- Orbital Sander (Optional but Recommended): Speeds up the sanding process significantly.
Having these simple tools on hand ensures a smooth and efficient building process. My husband and I were fortunate to already possess most of these items, which further cemented the “virtually no cost” appeal of this project. The ease of gathering supplies makes this DIY garden hose caddy an excellent choice for anyone looking to jump into a rewarding woodworking venture.
Step-by-Step Guide: Building Your Robust Pallet Wood Hose Caddy
The beauty of this project lies in its straightforward construction. Even if you’re a novice woodworker, following these steps will guide you toward a successful and satisfying outcome. My husband, who definitely took the lead on the construction while I supervised (and cheered him on!), found the instructions clear and the process enjoyable. It was a wonderful opportunity for us to collaborate and create something functional together.
Step 1: Disassemble Pallets and Prepare the Wood
Safety first! Wear sturdy gloves and safety glasses. Carefully disassemble your pallets. This can be the most labor-intensive part. Use a pry bar, a reciprocating saw, or even a specialized pallet breaker tool to separate the boards from the stringers. Once disassembled, inspect each board for nails, staples, and splinters. Remove all metal fasteners. Clean the wood thoroughly, brushing off dirt and debris. Give the boards a good initial sanding with 80-grit sandpaper to remove rough spots and prepare them for cutting.
Step 2: Measure and Cut Your Pieces
This design typically consists of a sturdy base, a vertical support, and a horizontal arm for the hose. Here are approximate dimensions, which you can adjust based on your pallet wood availability and desired hose capacity:
- Base (2 pieces): Approximately 18-24 inches long (pallet width is usually around 3.5 inches). These will form a stable cross-section.
- Vertical Support (1 piece): Approximately 36-48 inches long. This will be the main upright.
- Hose Arm (1 piece): Approximately 10-12 inches long. This will be the piece the hose wraps around.
- Brace (Optional, 2 small pieces): Small triangular or rectangular pieces to reinforce the connection between the vertical support and the arm.
Measure twice, cut once! Use a miter saw or circular saw for precise, straight cuts.
Step 3: Assemble the Base
Take your two base pieces. Form an “X” or a “+” shape for maximum stability. Apply a generous amount of waterproof wood glue to the mating surfaces. Secure them together using two long exterior-grade screws at each joint, pre-drilling pilot holes to prevent splitting. Ensure the base is level and sturdy. This foundation is crucial for holding the weight of a coiled hose.
Step 4: Attach the Vertical Support
Center the long vertical support piece onto the assembled base. Apply wood glue to the bottom edge of the vertical support where it meets the base. Secure it to the base using several long exterior-grade screws, drilling up from the bottom of the base into the vertical support. You might also add small corner brackets or triangular braces to the sides of the vertical support where it meets the base for enhanced stability. Use clamps to hold the pieces firmly in place while the glue sets and you drive the screws.
Step 5: Craft and Mount the Hose Arm
The hose arm is the functional part where your hose will rest. You can cut a simple rectangular piece, or for a more decorative touch, round off the edges or cut a gentle curve. Attach this arm horizontally near the top of the vertical support, leaving enough space below it for the hose to coil. Apply wood glue to the back of the arm where it meets the vertical support. Secure it with several screws driven from the back of the vertical support into the arm. For extra strength, consider adding diagonal braces underneath the arm, connecting it to the vertical support.
Step 6: Finishing Touches and Protection
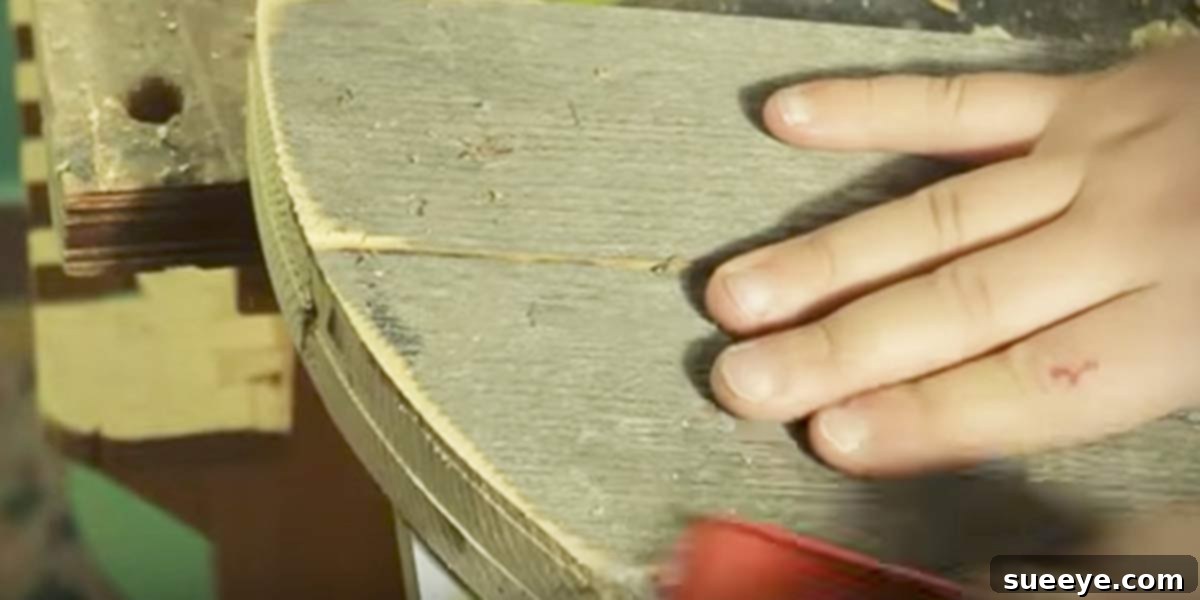
Once all the pieces are securely assembled and the glue has dried, it’s time for sanding. Start with 120-grit sandpaper to smooth out any rough areas and then finish with 220-grit for a silky smooth surface. This is important not just for aesthetics but also to prevent splinters when handling the caddy. Finally, apply a high-quality outdoor wood sealer, stain, or paint. This step is critical for protecting your pallet wood garden hose caddy from rain, sun, and insects, ensuring its longevity in outdoor conditions. Multiple coats are often recommended for maximum protection.
I just finished up this project, and I’m absolutely thrilled to replace my broken plastic hose caddy with this awesome little DIY creation. It was completed in no time, and the satisfaction of having built something so practical and beautiful is immense!
Customizing Your Pallet Wood Hose Caddy
One of the greatest advantages of a DIY project is the freedom to customize. While a natural, weathered wood look is charming, you can easily personalize your garden hose caddy to match your outdoor decor. Consider painting it a vibrant color to add a pop of personality to your garden, or a more subtle shade to blend seamlessly with your landscaping. Stenciling a garden-themed design or a house number onto the vertical support can add a unique touch. You could even attach a small metal hook to the side for hanging gardening gloves or a small trowel, transforming it into a mini gardening station.
Benefits of Your New Pallet Wood Garden Hose Caddy
Your newly constructed pallet wood garden hose caddy offers a multitude of benefits over its flimsy predecessors. First and foremost, its durability will significantly outlast most plastic options. Crafted from solid wood and properly sealed, it’s designed to withstand the harsh outdoor elements. Secondly, it’s an aesthetically pleasing addition to your garden or garage area. The rustic charm of reclaimed wood brings warmth and character that store-bought items often lack, enhancing your outdoor decor.
Beyond its looks and robustness, this project embodies sustainability through upcycling, giving new life to discarded materials. It’s a testament to cost-effective home improvement, as the materials are often free or very inexpensive. Finally, there’s the undeniable satisfaction of creating something functional and beautiful with your own hands. This DIY garden hose caddy isn’t just a storage solution; it’s a statement about practical ingenuity and personal style.
Maintaining Your Wooden Hose Caddy for Longevity
To ensure your beautiful pallet wood garden hose caddy remains a functional and attractive fixture in your garden for years to come, a little maintenance goes a long way. Periodically inspect the caddy for any signs of wear, such as cracking wood or peeling sealant. Depending on your climate and the type of sealant used, you may need to reapply a fresh coat of outdoor wood sealer every 1-3 years. A light sanding before re-sealing will help the new coat adhere better. Keeping the caddy clean by wiping off dirt and debris will also contribute to its longevity. With proper care, this DIY project will serve your gardening needs for many seasons.
Conclusion: Embrace the DIY Spirit!
Taking on this DIY pallet wood garden hose caddy project was incredibly rewarding. From the initial frustration of a broken plastic unit to the joy of seeing our sturdy, handmade creation, every step was a learning experience and a testament to the power of upcycling. My husband and I truly enjoyed the collaborative effort, proving that even simple home improvement tasks can be fun and bonding. If you’re looking for an affordable, durable, and environmentally friendly solution to your garden hose storage woes, I highly encourage you to try making your own. It’s a project that costs virtually nothing but delivers immense satisfaction and a beautiful, practical addition to your outdoor space. Get busy making yours!