
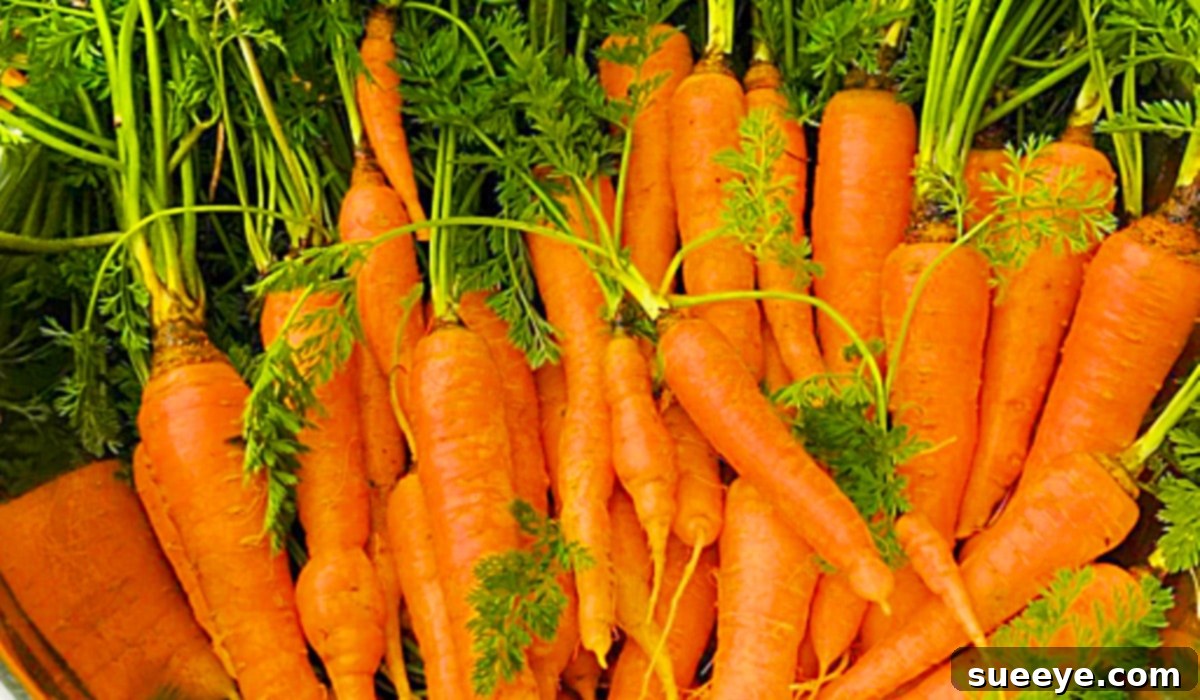
How To Grow Carrots In A Bucket
Imagine biting into a crisp, sweet carrot, knowing it was grown right in your own backyard – or even on your patio! Fresh, homegrown vegetables are truly one of life’s most accessible luxuries. The joy of cultivating your own food brings unparalleled satisfaction, offering superior taste, nutritional value, and the assurance of pesticide-free produce. Contrary to popular belief, growing your own food doesn’t require vast fields or extensive experience. With simple techniques and a little guidance, anyone can embark on a successful gardening journey. This guide will focus on one of the easiest and most rewarding methods for urban gardeners, small-space dwellers, or beginners: growing carrots in 5-gallon buckets.
Container gardening, especially with versatile 5-gallon buckets, removes many of the traditional barriers to gardening. You don’t need fertile garden beds or even a patch of earth; a sunny balcony, patio, or small yard is all it takes. Carrots, often perceived as tricky root vegetables, thrive wonderfully in containers when given the right conditions. This comprehensive guide will walk you through every step, from selecting the best seeds to harvesting your vibrant crop. We’ll draw inspiration and practical tips from excellent resources, ensuring you gain the confidence to achieve a bountiful carrot harvest. For a visual demonstration, a brilliant video tutorial by Home Grown Veg on YouTube offers an insightful step-by-step approach to growing carrots in 5-gallon buckets, covering everything from sprouting seeds to soil preparation and proper drainage.
Why Choose 5-Gallon Buckets for Growing Carrots?
Growing carrots in 5-gallon buckets offers a multitude of advantages, making it an ideal method for many aspiring gardeners:
- Space Efficiency: Buckets are perfect for small spaces like balconies, patios, rooftops, or even windowsills. They allow you to grow a significant amount of food without a traditional garden plot.
- Portability: You can easily move your buckets to chase the sun, protect plants from harsh weather, or rearrange your growing space as needed. This flexibility is invaluable.
- Pest and Disease Control: Elevating plants off the ground in containers can help deter certain soil-borne pests and diseases, making it easier to monitor and manage potential issues.
- Optimized Soil Conditions: With buckets, you have complete control over the growing medium. You can ensure your carrots get the light, loose, and well-draining soil they absolutely require to grow straight and strong, unlike sometimes unpredictable garden soil.
- Improved Drainage: When properly modified, 5-gallon buckets provide excellent drainage, which is crucial for preventing root rot and ensuring healthy carrot development.
- Accessibility: For gardeners with mobility limitations or those who find bending over difficult, elevated containers offer a more comfortable gardening experience.
Materials You’ll Need for Your Carrot Project:
Gathering your materials before you start will make the process smooth and enjoyable. Here’s a detailed list:
- 5-Gallon Buckets: Opt for food-grade buckets if possible, especially if they’ve been used for anything other than water. Clean them thoroughly.
- Quality Carrot Seeds: Choose varieties known to do well in containers. Shorter varieties like ‘Nantes,’ ‘Danvers Half Long,’ ‘Little Finger,’ or ‘Paris Market’ are excellent choices as they don’t require immense depth.
- A Shallow Container with Lid (e.g., Tupperware): This will be used for pre-sprouting your seeds, providing a mini-greenhouse environment.
- Paper Towels: Absorbent and ideal for the seed sprouting process.
- Water: For moistening paper towels, watering plants, and dissolving nutrients.
- High-Quality Organic Potting Soil: This is critical. Look for a mix that is light, loose, and well-draining. Avoid heavy garden soil which can compact and cause carrots to fork or become stunted.
- Drill or Sharp Tool: To create drainage holes in your buckets.
Step-by-Step Directions for Growing Carrots in Buckets:
Success in growing carrots largely depends on careful preparation and consistent care. Follow these steps for a bountiful harvest.
1. Preparing Your 5-Gallon Buckets
The first crucial step is to prepare your growing containers. Even though 5-gallon buckets are excellent for drainage, they don’t typically come with holes. Using a drill with a ½-inch bit or a sharp tool, create at least 4-6 drainage holes evenly spaced around the bottom of each bucket. Proper drainage is paramount to prevent waterlogging, which can lead to root rot and fungal diseases, ultimately killing your carrot plants. You might also consider placing a few small rocks or broken pottery shards at the bottom over the holes before adding soil, which helps prevent soil from washing out while maintaining drainage, though many modern potting mixes are designed to drain well on their own.
2. Pre-Sprouting Your Carrot Seeds (The Paper Towel Method)
While you can directly sow carrot seeds, pre-sprouting offers several benefits: it speeds up germination, allows you to plant only viable seeds, and helps with precise spacing. This technique is simple and effective:
- Moisten a few sheets of paper towel until they are damp but not dripping wet.
- Lay them flat in your shallow Tupperware container.
- Carefully sprinkle your carrot seeds onto the paper towels, leaving a little space between each seed.
- Cover the seeds with another damp paper towel layer.
- Close the lid on the Tupperware container, creating a humid environment.
- Place the container in a warm spot, ideally between 65-75°F (18-24°C), away from direct sunlight.
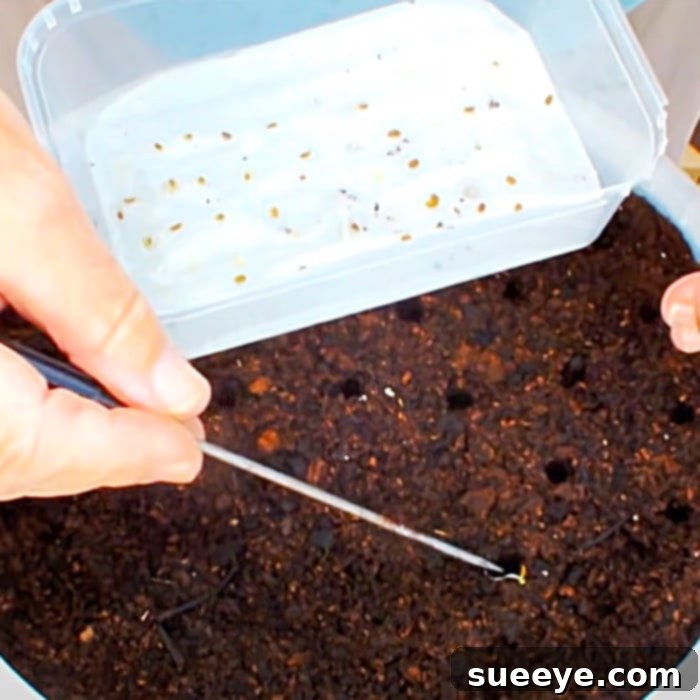
- Check daily, keeping the paper towels consistently moist. You should see tiny roots (radicles) emerging from the seeds within 5-10 days. Once these roots are visible, your seeds are ready for planting.
3. Filling Your Buckets with Soil
Once your buckets have drainage holes, fill them with your organic potting soil. Fill the buckets to within about 1-2 inches from the rim. Gently moisten the soil throughout the bucket. Carrots need loose soil to grow straight and long, so avoid compacting it too much. The ideal soil should be light, airy, and rich in organic matter, providing the perfect environment for root development.
4. Planting Your Sprouted Carrot Seeds
This step requires a delicate touch. Using tweezers or your fingers, gently pick up each sprouted seed (they will be fragile). Make a small indentation in the moist soil, about ¼ to ½ inch deep, and carefully place one sprouted seed in each spot, ensuring the tiny root is pointing downwards. Space your seeds about 2-3 inches apart. This spacing is crucial; overcrowding will lead to smaller, stunted carrots. Lightly cover the seeds with a thin layer of soil and gently pat it down. Water very carefully using a fine mist sprayer to avoid dislodging the seeds.
Caring for Your Growing Carrots
Once your carrots are planted, consistent care is key to a successful harvest.
Watering
Carrots require consistent moisture. The soil should remain damp but never waterlogged. Check the soil moisture daily by sticking your finger about an inch deep. If it feels dry, it’s time to water. In hot weather, container plants dry out faster than in-ground gardens, so you may need to water once or even twice a day. Avoid erratic watering, which can cause carrots to split or crack.
Sunlight Requirements
Carrots need plenty of sunshine. Place your buckets in a location that receives at least 6-8 hours of direct sunlight per day. If you have a portable setup, move them throughout the day to maximize sun exposure.
Thinning Your Seedlings
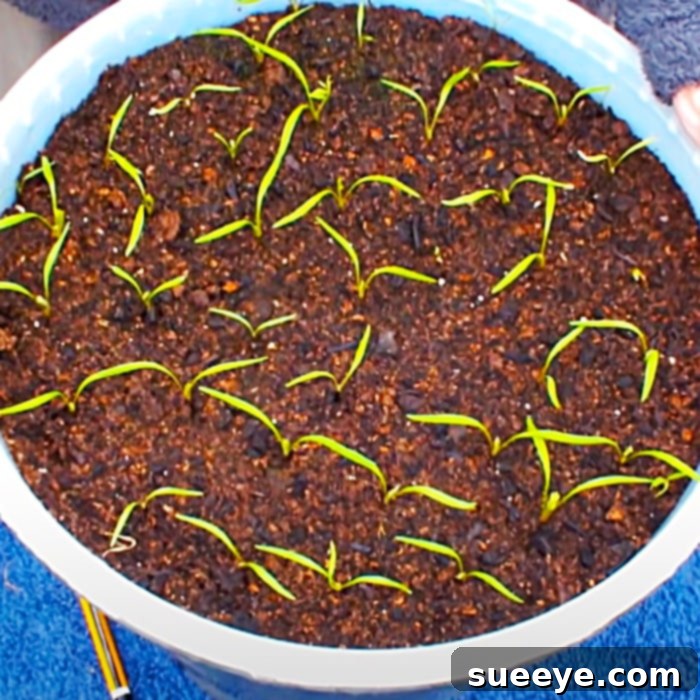
Even with careful spacing of pre-sprouted seeds, you might find some areas where seedlings are too close. Thinning is a vital step for carrot growth. Once your carrot greens are a few inches tall, thin them so that the remaining plants are about 2-4 inches apart, depending on the variety. This provides adequate space for the roots to expand without competing for nutrients. Gently pull out the weaker seedlings to avoid disturbing the roots of the keepers.
Fertilizing
Most quality potting soils come with some initial nutrients, but carrots will benefit from a boost. About 4-6 weeks after planting, or when the foliage is several inches tall, you can apply a balanced liquid organic fertilizer. Look for a fertilizer that is not too high in nitrogen, as excessive nitrogen promotes leafy growth at the expense of root development. Fertilizers higher in phosphorus and potassium are generally better for root crops. Follow the package directions for dilution and application.
Pest and Disease Management
Container gardening often reduces pest issues, but it’s still good to be vigilant. Common carrot pests include carrot rust flies (whose larvae tunnel into roots) and aphids. Inspect your plants regularly. For rust flies, floating row covers can provide a physical barrier. For aphids, a strong spray of water can dislodge them, or use insecticidal soap as a last resort. Ensure good air circulation to prevent fungal diseases.
Harvesting Your Homegrown Carrots
The most exciting part is the harvest! Carrots are typically ready for harvest anywhere from 60 to 80 days after planting, depending on the variety and growing conditions. You’ll know they’re ready when the “shoulders” of the carrot start to emerge from the soil surface and reach a desirable size.
To harvest, gently loosen the soil around the carrot with your hands or a small trowel. Then, firmly grasp the base of the leafy greens and pull straight up. If they resist, loosen the soil a bit more to avoid breaking the root. Harvest only what you need, as carrots can be stored in the soil in cooler weather for a while. Once harvested, twist off the green tops (they draw moisture from the roots) and store your carrots in the refrigerator.
Troubleshooting Common Carrot Growing Issues
Even with the best intentions, you might encounter a few hiccups. Here are some common problems and their solutions:
- Forked or Stunted Carrots: This usually indicates heavy, compacted soil, soil with obstacles (like rocks or clumps), or inconsistent watering. Ensure your potting mix is loose and free of debris.
- Poor Germination: Can be due to old seeds, too dry or too wet soil during germination, or temperature fluctuations. Ensure fresh seeds, consistent moisture, and appropriate warmth during sprouting.
- Small or Bitter Carrots: Often a result of overcrowding (not thinning), lack of sufficient sunlight, or allowing the soil to dry out excessively during growth.
- Pests: As mentioned, vigilance is key. Identify the pest and use appropriate organic controls.
Embrace the Joy of Homegrown Carrots
Growing carrots in 5-gallon buckets is a remarkably rewarding experience that offers delicious, fresh produce with minimal effort and space. From the simple act of sprouting a tiny seed to pulling up your first vibrant, crunchy carrot, every step of the journey is filled with anticipation and satisfaction. It’s a testament to the fact that you don’t need a sprawling garden to enjoy the freshest flavors nature has to offer. So, gather your materials, follow these easy steps, and prepare to delight in the unparalleled taste of your very own homegrown carrots. Happy gardening!