
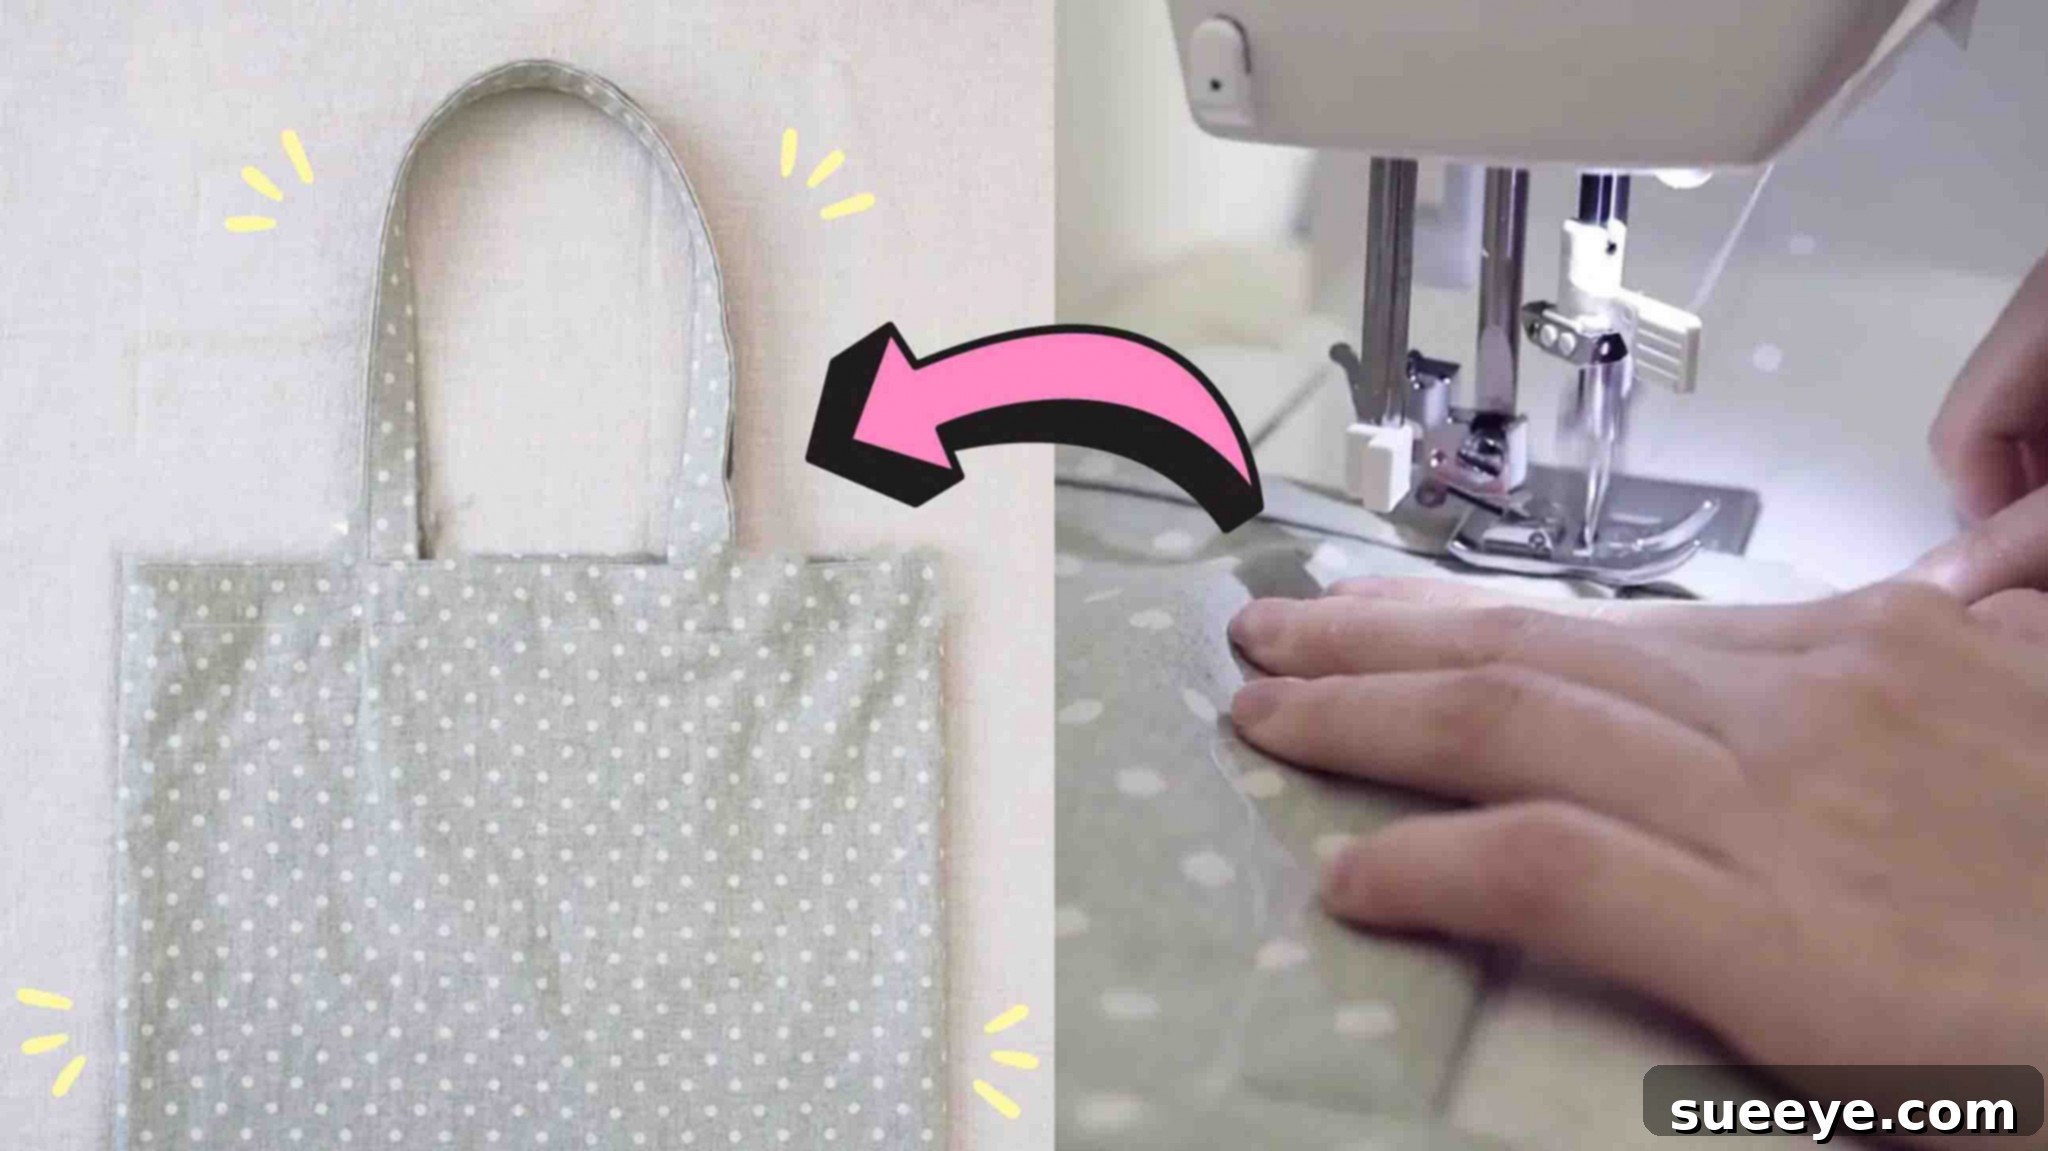
Craft Your Own Stylish Tote Bag: An Easy DIY Sewing Tutorial for Beginners
In the evolving world of fashion and personal expression, tote bags have firmly established themselves as more than just a functional accessory; they are a statement of style, sustainability, and practicality. Whether you’re embracing a minimalist lifestyle, seeking eco-friendly alternatives to plastic bags, or simply appreciate the versatility of a spacious carry-all, a well-made tote bag is an indispensable item. Imagine being able to create one that perfectly matches your unique aesthetic, all from the comfort of your own home!
This comprehensive guide will walk you through crafting your very own tote bag, transforming a few simple pieces of fabric into a stylish and durable accessory. Based on the beginner-friendly techniques from DIY Today’s Sewing and Embroidery on YouTube, this tutorial breaks down each step into manageable actions, making it accessible even for those new to sewing. Forget about store-bought bags; it’s time to unleash your creativity and sew a personalized tote that reflects your individuality and meets your daily needs. Let’s dive into the rewarding world of DIY sewing and create something beautiful together!
The Allure of DIY Tote Bags: Why Craft Your Own?
There’s a special satisfaction that comes with creating something with your own hands, and a DIY tote bag offers numerous benefits beyond just a new accessory. Firstly, it’s an incredibly sustainable choice. By making your own bag, you reduce reliance on mass-produced items, often contributing to less waste and a smaller carbon footprint. You can repurpose old fabrics, choose organic materials, or simply ensure your bag is made to last, unlike many fast-fashion alternatives.
Secondly, personalization is key. When you sew your own tote, you have complete control over the fabric, color, pattern, and even the size and features like pockets. This means your tote bag won’t just be an item you carry; it will be a unique reflection of your personality and style, something truly one-of-a-kind that no one else will have. It can be tailored to specific needs, whether you need a sturdy bag for groceries, a chic carrier for your books, or a versatile accessory for daily errands.
Finally, sewing a tote bag is an excellent entry point into the world of fabric crafts and garment making. It helps build fundamental sewing skills such as cutting, straight stitching, creating seams, and attaching handles. These skills are transferable to countless other projects, opening up a hobby that can bring immense joy and practical benefits. Plus, a handmade tote bag makes for a thoughtful and personal gift that friends and family are sure to appreciate.
Essential Tools and Materials for Your DIY Tote Bag Journey
Before embarking on your sewing adventure, gathering all the necessary tools and materials is crucial. Having everything at hand will ensure a smooth and enjoyable crafting process. Here’s a detailed list of what you’ll need:
- Fabrics: You’ll need two main types of fabric for this project. The primary fabric for the outer shell of the bag (2 pieces, 22 inches in length and 16 inches in width) and matching or contrasting fabric for the handles (2 pieces, 43 inches in length and 4 inches in width) and the inner pocket (1 piece, 11 inches in length and 8 inches in width). Consider sturdy fabrics like canvas, denim, duck cloth, or heavier cottons for durability. Lighter cottons can also work, especially if you plan to line the bag later for added structure.
- Sewing Thread: Opt for high-quality cotton or polyester thread that matches or complements your fabric color. Polyester thread is generally stronger and more durable, making it a good choice for bags that will see a lot of use. Ensure it’s suitable for machine sewing.
- Ruler: A clear acrylic ruler is ideal for accurate measuring and cutting, especially when paired with a rotary cutter. A standard measuring tape can also be used for longer measurements. Precision in measurements is key to a professional-looking finish.
- Fabric Clips: These small clips are a fantastic alternative to pins, especially for thicker fabrics that pins might struggle with or leave marks on. They securely hold fabric layers together, making them easier to sew.
- Heat Erasable Fabric Pen: This specialized pen allows you to mark your fabric for cutting lines, sewing guides, or placement indicators, and the marks conveniently disappear with the heat of an iron, leaving no trace.
- Sewing Scissor: Keep a pair of sharp scissors specifically for cutting thread. Using them only for thread helps maintain their sharpness for clean cuts.
- Fabric Scissor: A dedicated pair of very sharp scissors for cutting fabric is a must. Never use these scissors on paper, as it will dull the blades and make fabric cutting difficult and imprecise.
- Pins: While clips are great for edges, pins are essential for holding smaller sections, curves, or specific points of fabric together during sewing. Get a good variety, including glass-head pins that won’t melt if you iron over them.
- Safety Pins: Useful for threading elastic or turning narrow fabric tubes inside out, though less critical for this specific tote bag tutorial unless you find them helpful for positioning.
- Sewing Machine: A reliable sewing machine is your main tool. Ensure it’s in good working order, threaded correctly, and you have suitable needles for your fabric type.
- Iron and Ironing Board: Pressing seams and folds is as important as sewing itself. It creates crisp lines, helps fabric lie flat, and gives your finished project a professional appearance.
Step-by-Step Guide: Crafting Your Custom Tote Bag
Follow these detailed instructions to construct your beautiful and functional tote bag. Take your time with each step, paying attention to accuracy, and you’ll be delighted with the results.
Step 1: Laying the Foundation – Crafting the Outer Layer and Handles
The first step involves creating the main body of your tote bag and its sturdy handles. Precision in cutting and careful stitching are essential here to ensure your bag has a strong foundation and a clean finish.
- Prepare the Main Bag Panels: Begin by taking your primary fabric for the outer shell. You will need two rectangular pieces. Carefully measure and cut each piece to be 22 inches in length and 16 inches in width. Using your fabric pen and ruler will help ensure straight and accurate cuts. These two pieces will form the front and back of your tote bag.
- Construct the Bag Body: Place the two main fabric pieces right sides together, ensuring all edges are aligned. Using your sewing machine, sew around three of the four edges. Specifically, sew down both 22-inch sides and across one of the 16-inch sides. Remember to leave one of the 16-inch sides completely open. Use a standard seam allowance (e.g., 1/2 inch or 5/8 inch) and backstitch at the beginning and end of each seam to reinforce it.
- Finish the Seams (Optional but Recommended): For a professional finish and to prevent fraying, you can trim the seam allowances and press them open. If you have a serger, you can serge the raw edges. Alternatively, you can use a zig-zag stitch along the raw edges to contain fraying.
- Create the Outer Shell: Carefully turn the sewn fabric piece right side out. Use a point turner or a blunt object to gently push out the corners, making them sharp and neat. Now, press all the seams flat with an iron. For added durability and a crisp edge, you can topstitch along the three sewn edges from the right side, about 1/4 inch from the seam line. After topstitching, turn the fabric inside out again; this will be the “wrong side” of your outer bag for the next steps.
- Craft the Handles: Next, prepare the fabric for your tote bag handles. Cut two pieces of fabric, each measuring 43 inches in length and 4 inches in width. These dimensions will create comfortable and durable handles.
- Shape and Press the Handles: Take each handle strip. Fold it in half lengthwise (so it now measures 43 inches by 2 inches) with the wrong sides together and press firmly with an iron to create a crease. Unfold. Then, fold each long raw edge inwards towards the central crease line and press again. Finally, fold the strip along the original central crease, encasing all raw edges inside. Press once more to create a neat, four-layer strap. This creates a strong, clean-finished handle.
- Sew the Handles: With your handles now perfectly pressed, sew along both long edges of each handle, close to the folded edges (about 1/8 inch or 1/4 inch from the edge). This secures all layers and gives the handles a professional, finished look. Repeat for the second handle.
- Attach the Handles to the Bag: Turn your main bag body right side out. Decide on the placement for your handles. Typically, they are positioned about 4-5 inches in from each side seam on the front and back panels. Using your clips, temporarily attach each handle to the top raw edge of the bag. Ensure the handles are not twisted and are evenly spaced. Double-check their placement to make sure they look symmetrical and functional.
- Secure the Handles: Once you are satisfied with the handle placement, sew them securely to the top edge of the bag. Stitch across the top raw edge, securing the handles to the bag body. You can make a few rows of stitching or a box-and-cross stitch pattern at each handle attachment point for extra reinforcement, as this is a high-stress area.
Step 2: Adding Practicality – Integrating the Inner Pocket and Finishing Touches
A well-placed inner pocket can significantly enhance the functionality of your tote bag, providing a secure spot for smaller essentials. This step also covers the final finishing of the bag’s top edge.
- Prepare the Pocket Fabric: Take the fabric piece designated for your inner pocket. Measure and cut it to 11 inches in length and 8 inches in width. This size is generally sufficient for keys, a phone, or a small wallet.
- Hem the Pocket Opening: Turn the pocket fabric to its wrong side. Along one of the 11-inch edges (this will be the top opening of your pocket), fold about 0.8 inches of fabric towards the wrong side, press it, and then fold it again another 0.8 inches. This double fold creates a clean, durable hem for the pocket opening. Use clips to hold it in place.
- Sew the Pocket Hem: Stitch along the inner folded edge of the pocket hem you just created, securing the double fold. This creates a finished top edge for your pocket.
- Fold and Press Pocket Sides and Bottom: Now, along the remaining three raw edges of the pocket (the two 8-inch sides and the bottom 11-inch side), fold approximately 0.5 inches of fabric towards the wrong side and press neatly. This prepares the edges for attachment and prevents fraying.
- Attach the Pocket to the Bag: Turn your main tote bag body inside out again. Decide where you want the pocket to be placed on the inside of the bag. A good common placement is centered on one of the inner panels, a few inches down from the top edge. Pin or clip the folded edges of the pocket to the bag fabric. Ensure the pocket is straight and centered.
- Sew the Pocket: Stitch the pocket to the bag along the three folded edges (the two sides and the bottom). Backstitch at the beginning and end of each seam, and pivot precisely at the corners to create a neat square or rectangle. For extra durability, you can reinforce the top corners of the pocket with small triangle stitches or by sewing a small box-and-cross pattern.
- Prepare the Top Edge of the Bag: Now, for the final top edge of the entire tote bag. With the bag still inside out, fold the top raw edge of the bag (where the handles are attached) downwards towards the inside by about 1 inch. Press this fold firmly with an iron all the way around the bag opening.
- Create the Final Top Hem: Fold the pressed edge down again by another 1 inch (or to your desired hem depth), encasing the raw edge. Press this second fold firmly as well. This creates a clean, double-folded hem for the bag’s opening. Ensure the handles are still properly aligned and secured within this fold.
- Stitch the Top Hem: Using your sewing machine, sew around the entire top opening of the bag, stitching close to the inner folded edge of the hem. Make sure to catch all layers of fabric, including the securely attached handles. Backstitch at the start and end of your seam for durability. For an even more professional look, you can add a second line of stitching closer to the outer edge of the hem.
- Final Turn and Inspection: Once the top hem is sewn, turn your tote bag right side out. Give it a final press with the iron to flatten any remaining wrinkles and crisp up the edges. Inspect all seams and stitches to ensure everything is secure and neat. Your handmade tote bag is now finished!
Tips for a Flawless Finish and Long-Lasting Tote Bag
To ensure your handcrafted tote bag is not only beautiful but also durable and professional-looking, consider these additional tips:
- Always Press as You Sew: Ironing your fabric and seams at each stage makes a tremendous difference in the final appearance. It helps to set stitches, create crisp folds, and prevent puckering.
- Choose the Right Needle: Match your sewing machine needle to your fabric type and weight. A universal needle works for most cottons, but a denim or heavy-duty needle is better for canvas or multiple layers of thick fabric.
- Reinforce Stress Points: Areas like the handle attachments and pocket corners experience the most wear. Consider adding extra rows of stitching, a small box stitch, or even a cross stitch at these points for enhanced durability.
- Consider Interfacing: For extra structure and stiffness, you can add a layer of fusible interfacing to your outer fabric panels. This will give your tote bag a more professional and substantial feel.
- Practice Makes Perfect: Don’t be discouraged if your first project isn’t absolutely perfect. Every stitch is a learning opportunity. The more you sew, the more confident and skilled you’ll become.
- Finish Raw Edges: To prevent your bag from fraying over time, consider finishing all raw seams with a zig-zag stitch on your sewing machine or by serging them if you have a serger.
Beyond the Basic Tote: Expanding Your Sewing Skills
Once you’ve mastered the basic tote bag, you might find yourself eager to explore more complex designs and techniques. The beauty of sewing is its endless possibilities for customization and creativity. Consider adding a fabric lining to give your bag an even cleaner interior finish and extra durability. You could also integrate a zipper closure or magnetic snap for added security, or experiment with different pocket configurations, such as exterior slip pockets or divided interior pockets.
Varying the strap style is another way to personalize your tote; think about adjustable cross-body straps, wider shoulder straps for comfort, or even incorporating leather details. Don’t be afraid to play with different fabric combinations, adding appliqués, embroidery, or screen-printed designs to make your tote truly stand out. Each new feature you add or technique you try will build your sewing confidence and expand your creative repertoire, turning you into a more versatile and skilled crafter.
Your Handcrafted Tote Bag Awaits!
Congratulations! You’ve successfully navigated the steps to create a versatile and stylish tote bag tailored exactly to your liking. This project isn’t just about sewing a bag; it’s about embracing creativity, developing valuable skills, and making a conscious choice for personalized, sustainable fashion. Each time you carry your handmade tote, you’ll be reminded of your accomplishment and the unique touch you bring to the world.
We encourage you to share your creations and inspire others. Remember, the journey of learning to sew is incredibly rewarding, and every project, no matter how simple, adds to your growing expertise. So, pick out your favorite fabric, set up your sewing machine, and embark on this delightful crafting adventure. Your perfect, custom-made tote bag is just a few stitches away!
Learn More from the Experts
For a visual demonstration of these steps and additional tips, be sure to check out the original tutorial from DIY Today’s Sewing and Embroidery on YouTube. Their clear instructions and demonstrations are an excellent resource for any beginner looking to enhance their sewing skills.