
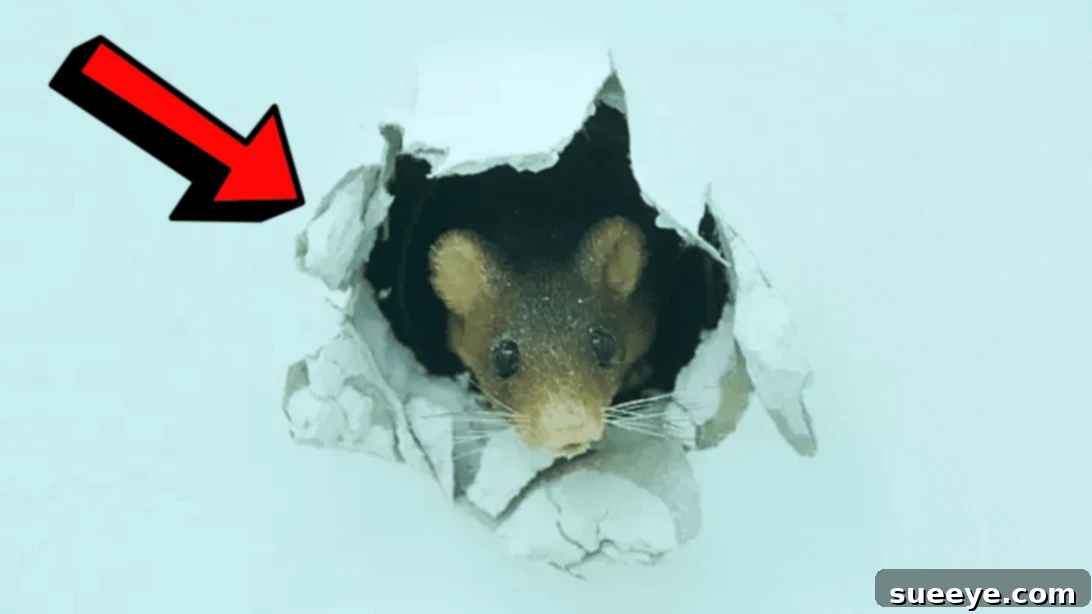
How to Effectively Remove and Prevent Mice in Walls: A Comprehensive Guide
Mice can transform from a minor nuisance into a significant problem once they establish themselves within the unseen confines of your home’s walls. These cunning pests are not only capable of causing extensive damage to your property by gnawing through electrical wires, insulation, and structural wood, but they also pose serious health risks. Their droppings and urine can contaminate living spaces, spreading diseases such as Hantavirus, Salmonella, and Leptospirosis. The tell-tale scratching, scurrying, and gnawing noises emanating from your walls can disrupt your peace of mind, making your home feel less secure and sanitary. Addressing a mouse infestation swiftly and decisively is crucial, as their rapid breeding cycle means a small problem can quickly escalate into a full-blown invasion. While professional pest control services are always an option, many effective steps can be taken by homeowners to mitigate and eliminate these unwanted guests. This guide, inspired by practical tips from How to House on YouTube, will walk you through a detailed, step-by-step process to reclaim your home from these persistent pests.
RELATED: Ingenious Mouse Trap Ideas for Homeowners
Understanding mouse behavior and implementing robust prevention strategies are key to long-term success. Even if you currently don’t suspect a mouse infestation, keeping these proven methods in mind can serve as a strong defense against future intrusions. Prevention is always more effective and less stressful than eradication. Let’s delve into the essential strategies for detecting, removing, and preventing mice from making your walls their home.
Understanding the Threat: Why Mice Infest Your Walls
Mice seek shelter, warmth, and food, making the secluded cavities within your home’s walls an ideal habitat. These spaces offer protection from predators, the elements, and the disturbances of human activity. Once inside, they can quickly build nests, particularly near heat sources or food preparation areas. Their presence isn’t just about the unsettling sounds; it’s about the potential for structural damage and health hazards. They can chew through almost anything – from drywall and wood to electrical wiring, which presents a significant fire risk. Their constant foraging and nesting can also compromise insulation, leading to higher energy bills. Recognizing these dangers underscores the urgency of effective mouse removal and prevention.
Essential Steps to Eliminate Mice from Your Walls: A Quick Overview
Before diving into the detailed methods, here’s a quick summary of the comprehensive approach we’ll be covering:
- Look for Clear Signs of Mouse Activity: Confirming their presence and identifying their pathways.
- Thoroughly Inspect Your Home for Entry Points: Pinpointing how they gain access to your interior and walls.
- Block All Identified Entry Points: Sealing off their routes to prevent further infiltration.
- Strategically Place Traps: Implementing effective trapping methods to capture existing rodents.
- Consider Using Rodenticides (with caution): Employing chemical solutions for severe infestations under strict guidelines.
- Clean and Sanitize Affected Areas: Removing hazardous droppings and urine, and disinfecting surfaces.
- Monitor for Ongoing Activity and Implement Long-Term Prevention: Ensuring sustained protection against future invasions.
Comprehensive Guide: How to Get Rid of Mice in Walls
Tackling a mouse infestation in your walls requires a systematic and persistent approach. Each step is critical to ensure both the removal of existing mice and the prevention of future problems.
Step 1: Look for Unmistakable Signs of Mouse Activity
The first and most crucial step is to confirm the presence of mice and understand the extent of the infestation. Mice are nocturnal creatures, so while you might hear scratching or scurrying sounds at night – particularly when the house is quiet – you’ll need to look for more concrete evidence during the day.
- Droppings: Mouse droppings are small (about the size of a rice grain), dark, and pellet-shaped. You’ll often find them along walls, in cupboards, under sinks, or near food sources. Fresh droppings are soft and moist, while older ones are hard and dry.
- Gnaw Marks: Mice constantly chew to keep their incisors from overgrowing. Look for small chew marks on food packaging, wooden structures, wires, furniture, or even utility pipes. Fresh gnaw marks will appear lighter in color.
- Greasy Rub Marks: As mice travel, the grease and dirt from their fur leave dark, greasy smudges or rub marks along walls, baseboards, and narrow passageways. These marks indicate well-used runways.
- Nesting Materials: Mice shred materials like paper, fabric, insulation, and dryer lint to build their nests. Finding piles of these shredded materials, especially in secluded spots like attics, basements, or inside wall voids, is a strong indicator of an active infestation.
- Unusual Odors: A persistent, stale, musky odor, particularly in enclosed areas, can indicate a heavy mouse infestation. This smell comes from their urine and droppings.
- Pet Behavior: If your cats or dogs seem unusually attentive to specific areas of a wall, scratching or sniffing intensely, they might be sensing mice hidden within.
By carefully examining these signs, you can pinpoint the areas of highest activity and prioritize your efforts.
Step 2: Inspect Your Home for All Potential Entry Points
Mice are incredibly adept at squeezing through tiny spaces. They can flatten their bodies to pass through holes as small as a dime. A thorough inspection of your home’s exterior and interior is vital to identify and seal all possible entry points. This requires patience and attention to detail.
- Exterior Inspection: Walk around the perimeter of your house. Look for cracks in the foundation, gaps around utility pipes (water, gas, electrical), loose-fitting doors and windows, damaged vent screens, and openings in the roofline or eaves. Pay close attention to areas where pipes or wires enter the house.
- Interior Inspection: Inside, check behind appliances, inside cabinets, particularly under sinks, and in basements, attics, and crawl spaces. Look for holes or gaps around pipes, wires, and ducts leading into walls. Don’t forget to inspect fireplace openings, dryer vents, and any areas with visible light gaps.
- The “Dime-Sized Rule”: Remember that any opening larger than a pencil eraser (or about 1/4 inch) is large enough for a mouse to enter. Use a flashlight to illuminate dark corners and a mirror to check hard-to-reach spots.
Documenting these points, perhaps with photos, can help you keep track of what needs to be sealed.
Step 3: Block and Seal All Entry Points Effectively
Once you’ve identified all potential entry points, sealing them off is a critical step in preventing more mice from entering your home and isolating those already inside. This is often more important than trapping, as new mice will simply replace those you remove if access remains open.
- Materials for Sealing:
- Steel Wool: Excellent for filling small holes and gaps, especially around pipes. Mice cannot chew through it.
- Caulking or Expanding Foam: Use for sealing cracks and smaller gaps. Ensure you use a high-quality, durable caulk or rodent-resistant foam.
- Metal Sheeting or Hardware Cloth: Ideal for larger openings in vents or foundations. Use mesh with openings no larger than 1/4 inch.
- Cement or Mortar: For repairing cracks in foundations or brickwork.
- Weatherstripping and Door Sweeps: To seal gaps under and around doors and windows.
- Prioritization: Start with exterior entry points first to prevent new invasions. Then, address interior openings that lead into wall voids.
- Durability: Choose materials that mice cannot easily chew through. Avoid using only plastic, rubber, or wood where gnawing is likely.
Sealing all entry points must be completed before or in conjunction with trapping, otherwise, your efforts will be futile as new mice will continually find their way in.
Step 4: Strategically Place Traps for Effective Removal
Trapping is a direct and effective method for removing mice already present in your walls. The key is to use the right traps, bait them correctly, and place them in high-traffic areas.
- Types of Traps:
- Snap Traps: These are highly effective and humane when used correctly, killing the mouse instantly. They are reusable and inexpensive.
- Humane Traps (Live Traps): These catch mice without harming them, allowing for release outdoors. However, mice can return, and releasing them too close to your home is not recommended. Ensure you check these frequently to prevent stress or starvation for the trapped mouse.
- Glue Boards (Adhesive Traps): While effective, these are often considered less humane as mice can suffer for extended periods. If used, check them very frequently.
- Best Baits: Mice are attracted to high-protein, high-fat foods. Peanut butter, hazelnut spread, chocolate, soft cheese, bacon, and even birdseed are excellent choices. Use only a small, pea-sized amount to prevent the mouse from simply licking it off.
- Strategic Placement:
- Place traps directly along walls, especially in corners, behind appliances, inside cabinets, and wherever you’ve seen signs of activity. Mice prefer to run along walls, avoiding open spaces.
- Set multiple traps. For a suspected infestation, placing 6-12 traps in key areas can significantly increase your success rate.
- Position traps perpendicular to walls, with the trigger mechanism facing the baseboard.
- Safety: If you have pets or small children, place traps in areas they cannot access, such as inside secure bait stations, behind furniture, or in inaccessible parts of wall voids.
- Daily Checks: Check traps daily. Dispose of captured mice promptly and humanely (if using live traps, release them several miles away from your home). Reset traps as needed.
Patience is key; it may take several days or even weeks to fully clear an infestation using traps.
Step 5: Use Rodenticides with Extreme Caution for Severe Infestations
For severe or persistent infestations, rodenticides (mouse poisons) might be considered. However, their use comes with significant risks and should always be approached with extreme caution.
- Risks: Rodenticides are poisonous to humans, pets, and other wildlife. Accidental ingestion can lead to serious illness or death. When mice consume rodenticides and die within walls, their decaying bodies can create foul odors and attract other pests.
- Proper Use:
- Always use rodenticides in tamper-resistant bait stations to prevent access by non-target animals and children.
- Place bait stations in secure locations where mice are active but out of reach of pets and children.
- Follow the manufacturer’s instructions meticulously regarding placement, quantity, and disposal.
- Be aware of the type of rodenticide. Anticoagulant rodenticides cause internal bleeding over several days, while others act more quickly.
- Ventilation and Disposal: If you suspect mice have died within walls, you may need to ventilate the area and potentially remove drywall to locate and remove the carcasses to prevent odors and secondary pest problems.
- Professional Consultation: Due to the inherent risks, it is highly recommended to consult with a professional pest control expert before using rodenticides, especially in a residential setting. They can assess the situation, recommend the safest and most effective products, and implement them safely.
Consider rodenticides only as a last resort and with the utmost care.
Step 6: Clean and Sanitize All Affected Areas Thoroughly
Once you’ve successfully removed the mice, a critical step is to thoroughly clean and sanitize all affected areas. Mouse droppings, urine, and nesting materials are biohazards that can transmit diseases and leave unpleasant odors.
- Personal Protective Equipment (PPE): Before starting, wear rubber or latex gloves, a respirator mask (N95 is recommended) to avoid inhaling airborne pathogens, and protective eyewear.
- Ventilate: Open windows and doors to air out the area for at least 30 minutes before cleaning.
- Avoid Sweeping/Vacuuming Dry Droppings: Do not sweep or vacuum dry droppings or nesting materials, as this can aerosolize viruses and bacteria.
- Disinfection Process:
- Spray droppings and contaminated surfaces with a disinfectant solution (1 part bleach to 10 parts water, or a commercial disinfectant). Let it soak for at least 5 minutes.
- Use paper towels to wipe up the soaked droppings and dispose of them in a sealed plastic bag.
- Mop or sponge the entire area with disinfectant.
- Nesting Material Removal: Carefully bag and dispose of any nesting materials. For insulation within walls, if it’s heavily contaminated, professional removal and replacement might be necessary.
- Laundry: Wash any contaminated clothing or bedding with hot water and detergent.
Proper sanitation is essential for eliminating health risks and preventing the lingering scent that could attract new mice.
Step 7: Monitor for Activity and Implement Long-Term Prevention Strategies
After the initial clean-up, ongoing vigilance and proactive prevention are vital to ensure mice do not return. This step is about making your home inhospitable to rodents permanently.
- Continuous Monitoring:
- Periodically check for new droppings, gnaw marks, or rub marks, especially in previously affected areas.
- Consider placing a few inactive traps in strategic locations to serve as early warning indicators of new activity.
- Food Storage: Store all food, including pet food, in airtight, rodent-proof containers (glass, metal, or thick plastic). Do not leave food out on counters, and clean up crumbs and spills immediately.
- Waste Management: Ensure garbage cans, both indoors and outdoors, have tight-fitting lids. Empty indoor trash regularly.
- Reduce Clutter: Clutter provides hiding spots and nesting materials for mice. Keep basements, attics, and garages tidy.
- Yard Maintenance: Trim shrubs and trees away from your house, as they can serve as bridges for mice to access upper entry points. Keep firewood stacked away from the house and elevate it off the ground.
- Regular Home Inspection: Make it a habit to regularly inspect your home’s exterior and interior for any new cracks, holes, or gaps that could become entry points. Promptly seal any new vulnerabilities you find.
- Consider Professional Preventative Services: For ongoing peace of mind, especially if you live in an area prone to rodent activity, a professional pest control service can offer regular inspections and preventative treatments.
Consistent application of these preventative measures is your best defense against future mouse infestations.
When to Call a Professional for Mouse Removal
While DIY methods can be highly effective, there are situations where calling a professional pest control service is the best course of action. Consider professional help if:
- The infestation is severe: You see many mice, or the signs of activity are extensive.
- DIY methods are ineffective: You’ve tried various strategies, but the problem persists.
- You’re concerned about health risks: If you suspect severe contamination or have vulnerable individuals in your home.
- You have limited access: If mice are in hard-to-reach areas within walls, a professional has specialized tools and techniques.
- Safety concerns with rodenticides: If you’re hesitant to use poisons due to pets or children, professionals can manage these risks.
Professionals offer expertise, more potent tools, and long-term solutions, often providing guarantees for their work.
Conclusion: Reclaiming Your Home from Unwanted Guests
Dealing with mice in your walls can be a daunting task, but with a systematic approach, persistence, and a strong focus on prevention, you can successfully eradicate these pests and safeguard your home. From meticulous inspection and strategic trapping to thorough sanitation and proactive sealing, each step plays a vital role in restoring peace and hygiene to your living space. Remember, early detection and swift action are your greatest allies. By understanding the signs, addressing entry points, and maintaining a vigilant environment, you can ensure your home remains a sanctuary free from the disruptions and dangers of rodent infestations. Stay proactive, and don’t hesitate to seek professional assistance if the challenge proves too great. Your efforts will result in a healthier, safer, and more comfortable home for everyone.
*All image credit belongs to How to House via YouTube. Follow and subscribe to their channel for more insightful home improvement tips!