
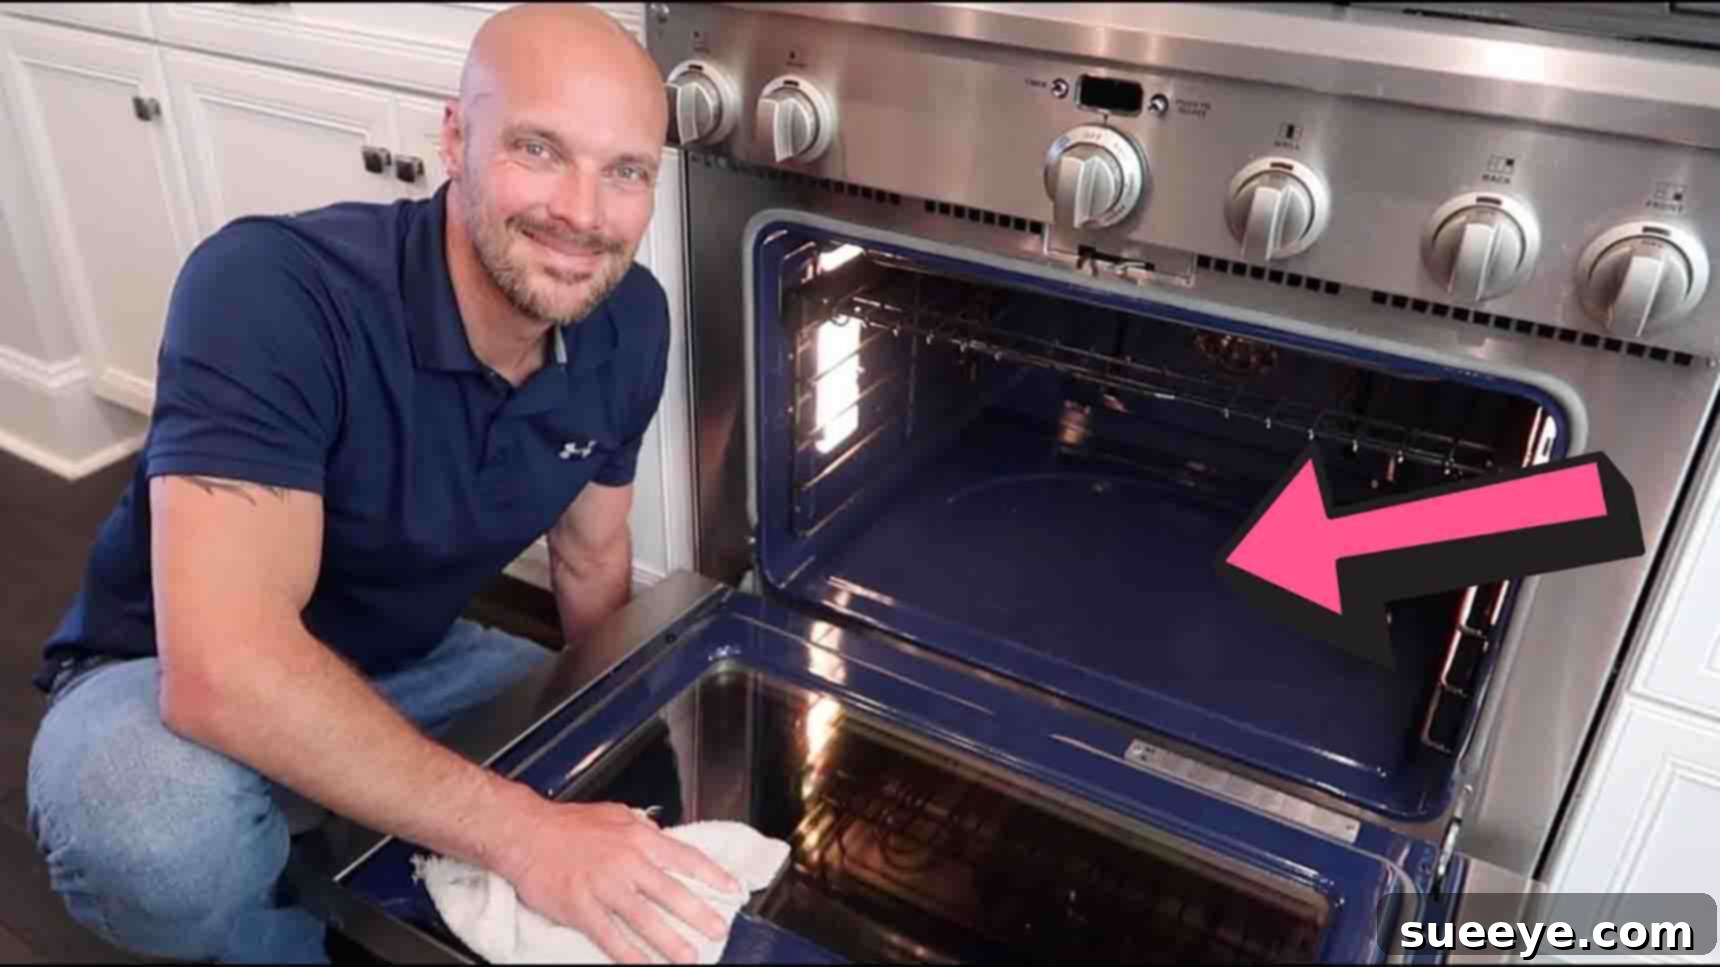
Achieve a Sparkling Oven: The Ultimate Chemical-Free Cleaning Guide
The thought of a grimy oven can be daunting, often leading us to reach for powerful, chemical-laden cleaners. However, for those who prefer a safer, more eco-friendly approach, particularly for kitchen appliances where food is prepared, there’s a remarkably effective solution. This guide will walk you through a brilliant method to deep clean your dirty oven using simple, natural ingredients. Inspired by the ingenious tips from Mr. Gizmo on YouTube, you’ll discover how to transform your oven into a spotless sanctuary without exposing yourself or your home to harsh fumes or residues. Say goodbye to corrosive sprays and hello to a naturally gleaming oven!
Why Opt for Natural Oven Cleaning?
In a world increasingly conscious of health and environmental impact, choosing natural cleaning methods for your home makes perfect sense, especially for your oven. Traditional oven cleaners often contain aggressive chemicals such as lye and ammonia, which are incredibly effective at dissolving grease but come with a significant downside. These substances can release strong, unpleasant fumes that are irritating to the respiratory system, eyes, and skin. For individuals with allergies, asthma, or young children and pets in the home, these fumes can pose serious health risks.
Opting for a chemical-free approach using common household items like baking soda and vinegar eliminates these concerns. Not only does it protect your family and pets from harmful exposure, but it also reduces your ecological footprint by avoiding the discharge of toxic chemicals into wastewater. Furthermore, harsh chemicals can sometimes damage the enamel or internal components of your oven over time, leading to costly repairs. Natural cleaners are gentle on your appliance while still being remarkably powerful against even the most stubborn baked-on food and grease. You’ll also appreciate the absence of lingering chemical smells, leaving your kitchen with a fresh, clean scent instead of an artificial one. It’s a win-win for your health, your wallet, and the planet.
Essential Materials: Your Natural Cleaning Arsenal
Gathering your tools for this chemical-free oven deep clean is simple and budget-friendly. Most of these items are likely already in your pantry or under your sink. Here’s what you’ll need to achieve a sparkling clean oven:
- Baking Soda: The star of our cleaning solution, baking soda (sodium bicarbonate) is a mild abrasive and a natural deodorizer. It works by breaking down acidic grease and food particles, making them easier to remove.
- Water: Used to create a paste with the baking soda, allowing it to adhere to oven surfaces and work its magic.
- White Vinegar: Stored in a spray bottle, white vinegar is crucial for the second phase of cleaning. Its acetic acid reacts with the baking soda residue, creating a fizzing action that lifts away any remaining grime and provides a streak-free shine. It also acts as a natural disinfectant.
- Rubber Gloves: Essential for protecting your hands from the grimy residue and the slightly abrasive baking soda paste.
- Two Towels: One damp towel will be used for initial wiping after scraping, and a dry towel for the final polish. Old rags or microfiber cloths work perfectly.
- Plastic Spatula or Scraper: A plastic tool is vital for carefully scraping away the baked-on grime without scratching your oven’s interior surfaces.
With these simple ingredients and tools, you’re well-equipped to tackle even the toughest oven messes safely and effectively.
Step-by-Step Guide: Achieving a Spotless Oven with No Harsh Chemicals
Preparation is Key
Before you begin the cleaning process, ensure your oven is completely cool to the touch. Safety first! Remove all oven racks, baking trays, and any loose food debris from inside the oven. You can tackle the racks separately using the same baking soda paste method, or simply soak them in a mixture of hot water and dish soap while your oven is soaking. Lay down old newspapers or towels on the floor beneath the oven to catch any drips or debris during the process, protecting your kitchen floor.
Step 1: The Baking Soda Power Paste and Its Rest
This is where the magic begins. In a medium-sized bowl, measure out approximately 1/2 cup of baking soda. Gradually add small amounts of water, stirring continuously, until you achieve a thick, spreadable paste. The consistency should be similar to pancake batter or toothpaste – thick enough to stick to the oven walls without being too runny. If it’s too watery, add more baking soda; if too dry, add a few more drops of water.
Once your paste is ready, don your rubber gloves. Using a plastic spatula, an old credit card, or even your gloved hands, begin applying the baking soda paste to all the dirty surfaces inside your oven. Pay particular attention to areas with caked-on grease and stubborn baked-on food spills. Don’t be shy; ensure a generous, even layer covers all the grime. You might notice the paste turning a brownish color as it absorbs the grease – this is a good sign that it’s working! Spread it from top to bottom, including the oven door glass, avoiding the heating elements if possible.
After thoroughly coating all the dirty areas, close your oven door. Now comes the waiting game: allow the baking soda paste to sit and work its wonders for a minimum of 12 hours. For extremely heavily soiled ovens, you can even let it sit overnight or for up to 24 hours. This extended contact time is crucial as it allows the baking soda to effectively penetrate and break down the tough, carbonized grease and food particles, making subsequent removal much easier.
Step 2: Scrape, Wipe, and Shine with the Vinegar Finish
After the recommended waiting period, it’s time to unveil the results of the baking soda’s hard work. Open your oven door and put your gloves back on. Using your plastic spatula or scraper, carefully begin to scrape away the dried baking soda paste and the loosened grime. You’ll notice that the hardened food particles and grease have softened significantly, allowing them to be scraped off with relative ease. Collect the scraped residue in a disposable container or directly into your trash bin to avoid clogging your drain.
Once you’ve removed the majority of the paste and the larger chunks of grime, take your damp towel and thoroughly wipe down all the oven surfaces. This step is essential for removing any remaining baking soda residue and loosened dirt. Rinse and wring out your towel frequently to ensure you’re cleaning with a fresh surface. You might need to repeat this wiping process several times until most of the visible grime is gone.
Now for the illuminating final touch: grab your spray bottle filled with white vinegar. Lightly mist the entire interior of the oven. As the vinegar makes contact with any leftover baking soda residue, you’ll observe a satisfying fizzing reaction. This effervescence is not just for show; the chemical reaction between the acidic vinegar and the alkaline baking soda actively works to loosen any lingering grime, dissolve remaining streaks, and neutralize odors. It acts as a powerful, natural degreaser and leaves your oven sparkling clean.
Finally, take your clean, dry towel and wipe down the oven interior one last time. This will remove the vinegar residue, polish the surfaces, and leave your oven looking pristine and streak-free. Stand back and admire your naturally clean, chemical-free oven!
Pro Tips for a Consistently Clean Oven
- Regular Maintenance: Don’t wait for your oven to become excessively dirty. A quick wipe down with a damp cloth after spills, or a mini baking soda treatment on specific spots, can prevent major deep cleaning sessions.
- Clean Oven Racks Separately: While the baking soda paste is working in your oven, you can clean your racks. Soak them in a bathtub or large sink with hot water and a few drops of dish soap, or even apply some of the baking soda paste to them for a few hours before scrubbing.
- Tackle Tough Spots: For extremely stubborn, burnt-on areas, you might need to apply a thicker paste of baking soda and let it sit for a longer duration (up to 24 hours). Gentle scrubbing with a non-scratch scour pad or brush might also be necessary before scraping.
- Don’t Forget the Oven Door Glass: This method works exceptionally well on oven door glass. Ensure the paste covers the entire interior glass surface for a clear view into your oven again.
- Ventilation: Although this method is chemical-free, ensuring good ventilation by opening a window or turning on your kitchen fan can help air out any odors and make the process more pleasant.
- Protect Heating Elements: While applying the paste, try to avoid getting too much directly on the heating elements at the top and bottom of the oven.
Frequently Asked Questions About Natural Oven Cleaning
- Q: Can I use this method on a self-cleaning oven?
- A: Yes, this method is safe for self-cleaning ovens. In fact, it’s an excellent alternative to using the high-heat self-cleaning cycle, which can release strong fumes and sometimes shorten the lifespan of your oven’s components. Just avoid getting the paste into the self-cleaning vents.
- Q: How often should I clean my oven?
- A: The frequency depends on how often you use your oven and what you cook. For regular users, a deep clean every 3-6 months is ideal, with spot cleaning for spills as they occur. If you rarely use it, once or twice a year might suffice.
- Q: What if my baking soda paste is too runny or too thick?
- A: If it’s too runny, add more baking soda. If it’s too thick and hard to spread, add a few drops of water at a time until you reach a good, spreadable consistency. The ideal paste should resemble toothpaste.
- Q: Can I use lemon juice instead of white vinegar?
- A: While lemon juice has some acidic properties and a pleasant scent, white vinegar is generally more effective for this specific reaction with baking soda due to its higher acetic acid content. Vinegar is also more cost-effective for larger cleaning tasks. However, a final wipe with diluted lemon juice can add a fresh scent.
- Q: Is this method safe for gas and electric ovens?
- A: Yes, this natural cleaning method is safe for both gas and electric ovens. The ingredients are non-corrosive and will not damage the internal workings or finishes of either type of appliance.
Conclusion: Your Oven, A Beacon of Cleanliness
Cleaning your oven doesn’t have to be a dreaded chore filled with harsh chemicals and unpleasant fumes. By embracing this simple yet incredibly effective method using common household ingredients like baking soda and white vinegar, you can achieve a truly sparkling clean oven that is both safe for your home and the environment. Not only will your oven look pristine, but you’ll also have peace of mind knowing that your food is being cooked in a truly clean appliance, free from chemical residues. So, next time you notice that tell-tale grime, skip the store-bought cleaners and confidently tackle it the natural way. Your oven, and your lungs, will thank you!