
Effortlessly Delicious: The Ultimate Fluffy No-Fuss Dinner Rolls Recipe
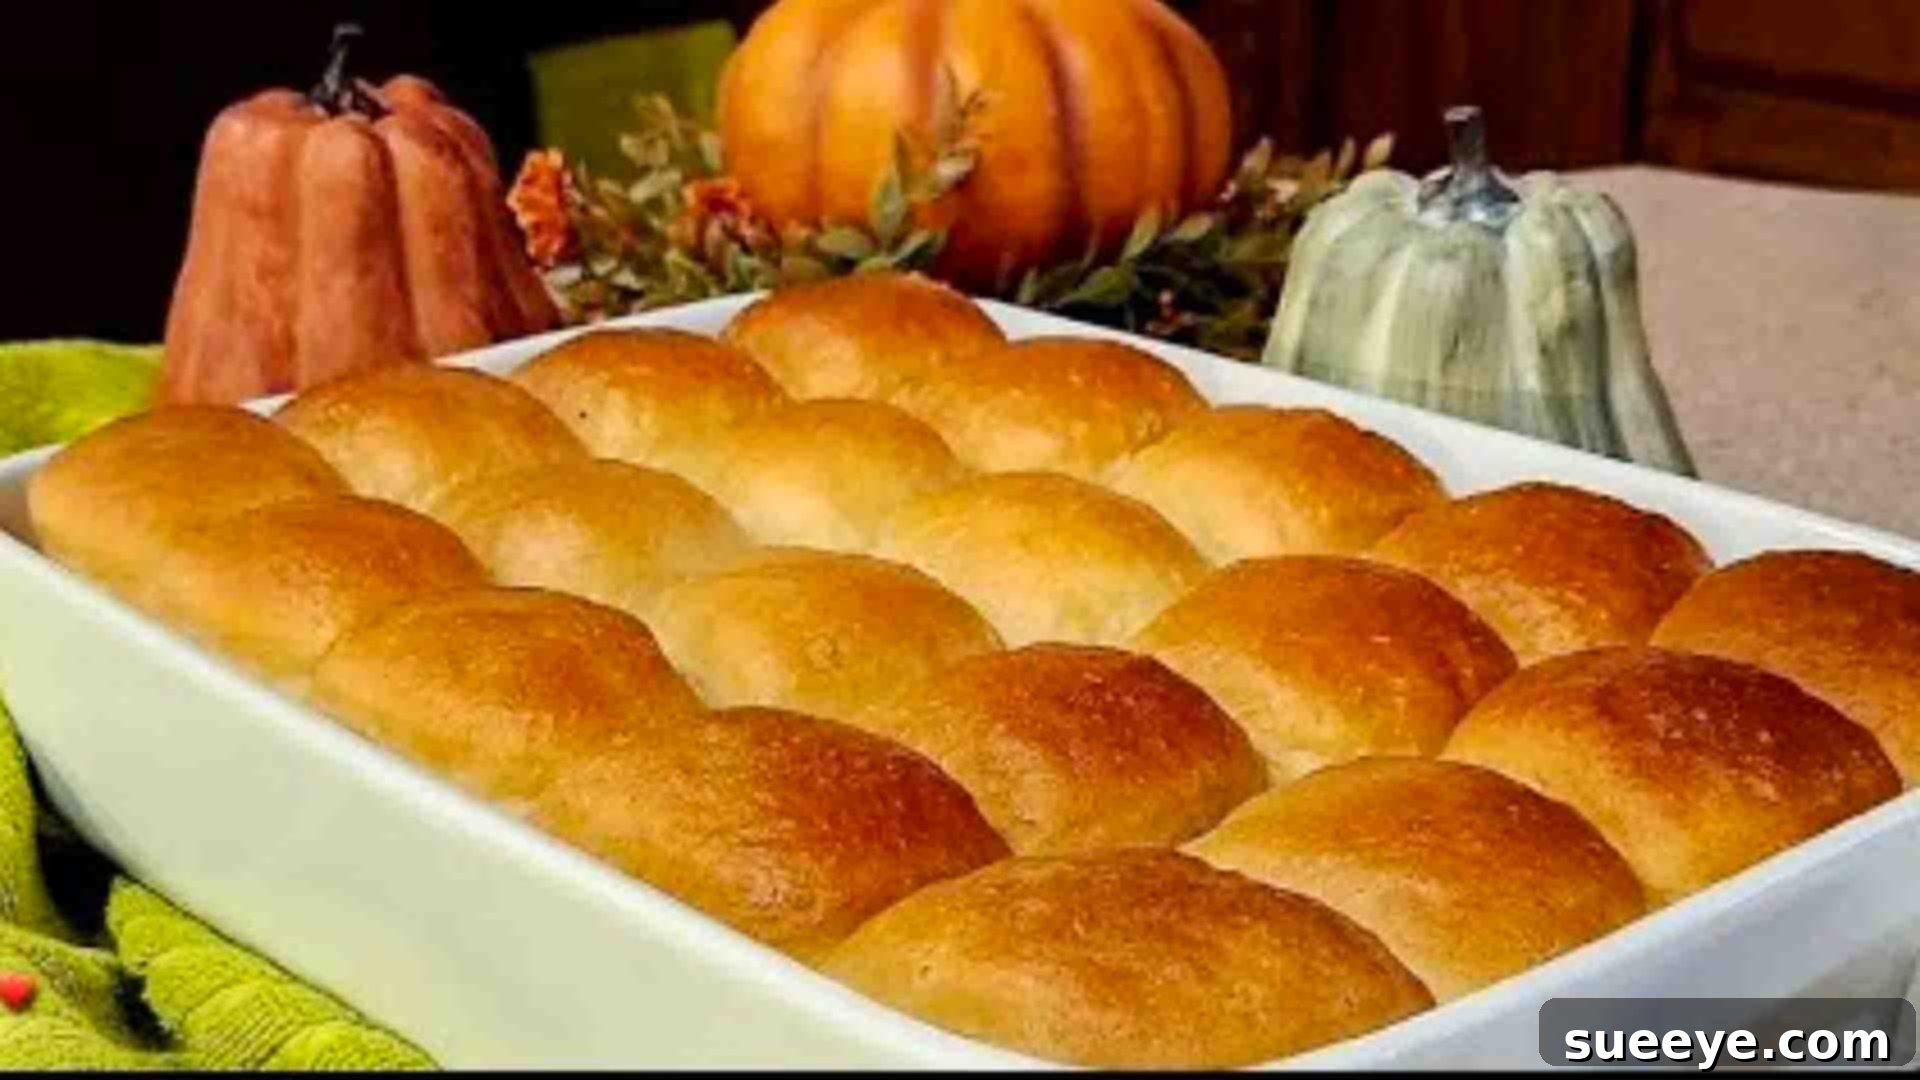
There’s something incredibly comforting and inviting about a basket of warm, fluffy dinner rolls gracing your table. They’re the perfect accompaniment to almost any meal, from a hearty stew to a light salad, and they have a magical way of making any gathering feel a little more special. If you’ve ever dreamt of baking your own but felt intimidated by yeast or complex techniques, this “no-fuss” recipe from Rachel cooks with love ❤ on YouTube is about to become your new best friend. Designed with beginners in mind, this recipe simplifies the baking process without compromising on taste or texture. Prepare to impress your family and friends with irresistibly soft, golden-brown rolls that practically melt in your mouth. Say goodbye to store-bought and embrace the joy of homemade with this foolproof guide to baking the perfect batch of dinner rolls today!
Essential Ingredients for Your Fluffy Dinner Rolls
Creating these delightful dinner rolls requires a handful of common pantry staples. Each ingredient plays a crucial role in achieving that signature fluffy texture and rich flavor. Ensure you have these fresh and ready before you begin your baking journey to guarantee the best results.
- 1 stick (1/2 cup) Salted Butter: This provides rich flavor and contributes significantly to the rolls’ tender crumb. Using salted butter also conveniently eliminates the need for additional salt in some steps.
- 2 cups Whole Milk, Cold: Whole milk is key for adding moisture, richness, and ultimately making the rolls incredibly soft and flavorful. Using it cold is a specific instruction for the initial stages of this particular recipe.
- 3 tablespoons Granulated Sugar: Sugar serves a dual purpose here; it not only imparts a subtle sweetness but, more importantly, acts as food for the yeast, helping it activate efficiently and ensuring a robust rise for your dough.
- 2 packets (approximately 4.5 teaspoons or 14g) Instant Yeast: Instant yeast is a baker’s best friend for its convenience. Unlike active dry yeast, it can be mixed directly with other ingredients without prior proofing, streamlining the process.
- 2 Extra-Large Eggs, Lightly Beaten: Eggs enhance the dough’s richness, contribute to its structure, and are vital for achieving that beautiful, golden-brown crust. Ensure they are lightly beaten for uniform incorporation into the mixture.
- 1 teaspoon Salt: Essential for balancing the flavors in the rolls and regulating the yeast’s activity, which results in a more complex and well-rounded taste.
- 5 1/2 cups All-Purpose Flour: This is the primary structural component of your dinner rolls. Accurate measurement is critical; ideally, measure by weight or use the spoon-and-level method to avoid adding too much flour, which can lead to dense rolls.
- 1 tablespoon Melted Butter (for brushing): This final touch after baking is crucial. It adds a beautiful, glossy sheen, infuses extra buttery flavor, and helps to keep the rolls wonderfully soft.
- Non-Stick Spray: Indispensable for preparing your baking dish. A thorough application ensures your delicious rolls won’t stick, making them easy to remove and serve.
Step-by-Step Guide to Baking Perfect Dinner Rolls
Follow these detailed instructions carefully to ensure your dinner rolls turn out light, airy, and utterly delicious. Each step is designed to be straightforward, even for novice bakers, making the process enjoyable and successful.
Step 1: Preparing the Dough and The First Rise
Begin your baking adventure by melting one stick of salted butter in your Dutch oven over medium heat. A Dutch oven is an excellent choice for this step due to its superior heat retention properties. Once the butter is completely melted and shimmering, carefully pour in 2 cups of cold whole milk and add 3 tablespoons of granulated sugar. Stir these ingredients together gently until the sugar has fully dissolved and all components are well combined. The mixture should be comfortably warm, but never scalding hot, as excessive heat can unfortunately kill the delicate yeast. At this critical point, remove the Dutch oven from the heat source.
Next, it’s time to introduce the star of the show: the yeast. Carefully sprinkle the contents of two packets of instant yeast evenly over the surface of your warm liquid mixture. Give it a gentle, brief stir, just enough to ensure the yeast granules are moistened. Avoid vigorous overmixing. Once stirred, place the lid back on the Dutch oven and allow this mixture to sit undisturbed for a full 15 minutes. During this crucial period, the yeast will begin its activation process, often referred to as “blooming.” You should observe a visible layer of foamy bubbles forming on the surface, which is a fantastic indicator that your yeast is alive, active, and ready to work its magic.
After the 15-minute blooming period, remove the lid. Now, incorporate the lightly beaten extra-large eggs and 1 teaspoon of salt into the yeast mixture. The next step involves adding the flour. Introduce the 5 1/2 cups of all-purpose flour gradually, adding approximately a cup at a time. After each addition, use a sturdy spatula or a wooden spoon to fold everything together until just combined. This gradual incorporation method is key to preventing lumps and ensuring the flour is evenly distributed throughout the dough. Continue folding until all the flour has been added and a shaggy, soft, and somewhat sticky dough has formed. It’s important to resist the temptation to add more flour at this stage, as an excess of flour can result in dense, dry rolls.
Once your dough is thoroughly combined, securely replace the lid on the Dutch oven. Find a warm, draft-free spot in your kitchen where the dough can comfortably rise. This could be a variety of locations: a cozy, warm spot on your kitchen countertop, inside a turned-off oven with only the light on (which provides a gentle, consistent warmth), or even a warm pantry. Allow the dough to rise for a period of 45 minutes to 1 hour, or until it has visibly doubled in size. This initial rise, also known as bulk fermentation, is absolutely crucial for developing the rich flavor and the desired light, airy texture of your finished dinner rolls.
Step 2: Shaping the Rolls, The Second Rise, and Baking to Golden Perfection
Once your dough has successfully completed its first rise and visibly doubled in size, it’s time to transition to the shaping stage. Begin by generously greasing your chosen baking dish – a standard 9×13 inch pan is typically ideal for this recipe – with non-stick spray. Ensure that all corners, sides, and the bottom are thoroughly coated; this critical step will prevent the rolls from sticking and guarantee easy removal after they are baked to perfection.
Next, lightly flour your working surface. Gently turn the risen dough out onto this floured surface. You’ll notice that the dough is wonderfully soft and pliable. Now, a very light kneading is in order. Flour your hands as needed to prevent sticking and gently knead the dough for just a couple of minutes. The primary goal here is to gently de-gas the dough and create a smoother surface, not to develop excessive gluten. Be mindful not to over-knead at this stage, as doing so can result in rolls with a tough, undesirable texture.
After the brief, gentle kneading, begin the process of shaping your dough into individual rolls. For the best consistency in size and to ensure even baking, aim for dough balls that each weigh approximately 2.4 ounces (which is about 68 grams). If you own a kitchen scale, this is the perfect opportunity to utilize it for precise portioning. To shape each roll, take a portion of dough, gently pull and tuck the edges underneath to create a smooth, taut top, and then roll it between your palms on the countertop until you achieve a perfectly smooth, round ball. Place each meticulously shaped dough ball into your prepared, greased baking dish, ensuring you leave a small but adequate space between each roll. This spacing is crucial as it allows room for expansion during the subsequent second rise and the baking process.
Continue this shaping process until all the dough has been transformed into individual rolls and they are neatly arranged within your baking dish. Once all the rolls are in place, loosely cover the baking dish with a clean kitchen towel. Return the dish to a warm, draft-free spot, similar to the first rise, and let the rolls undergo their second rise for another 45 minutes. This stage, also known as proofing, is absolutely essential for achieving that characteristic light and airy texture. At the end of this period, the rolls should appear visibly puffy and have nearly doubled in size once more.
As the second rise approaches its completion, preheat your oven to 350 degrees Fahrenheit (175 degrees Celsius). Ensuring the oven is at the correct temperature when the rolls are ready to bake is vital for proper oven spring and even cooking. Once the oven is preheated and your rolls have completed their second rise, carefully place the baking dish into the preheated oven. Bake for approximately 30 minutes. It’s worth noting that exact baking times can vary slightly depending on your specific oven, so keep a watchful eye on them. The rolls are perfectly done when they boast a beautiful golden-brown color on top and are thoroughly cooked through.
The moment you take the hot, wonderfully fragrant rolls out of the oven, immediately brush their tops with the pre-melted butter. This final step is transformative; it not only adds a glorious buttery flavor and a tempting shine but also plays a key role in keeping the crust exquisitely soft. Serve these warm, irresistible dinner rolls immediately and prepare to watch them disappear with delight!
Expert Tips for Exceptionally Fluffy Dinner Rolls Every Time
While this recipe is incredibly forgiving and beginner-friendly, a few expert tips can elevate your dinner rolls from simply good to absolutely outstanding. Paying attention to these subtle details will help ensure you achieve consistently perfect results batch after batch.
- Yeast Freshness is Key: Always prioritize checking the expiration date on your instant yeast packets. Old or inactive yeast is by far the most common culprit behind rolls that fail to rise. If you have any doubts about your yeast’s viability, perform a quick test: mix a teaspoon of yeast with a pinch of sugar in 1/4 cup of warm water (ideally between 105-115°F or 40-46°C). If it doesn’t become visibly foamy and bubbly within 5-10 minutes, your yeast is likely inactive, and it’s best to acquire fresh packets.
- Accurate Flour Measurement: Although the recipe specifies 5 1/2 cups of all-purpose flour, the precise amount can fluctuate slightly depending on ambient humidity levels and your specific method of measurement. The most accurate way to measure flour is by weight (1 cup of all-purpose flour is typically around 120-125 grams). If you are measuring by volume, remember to spoon the flour into your measuring cup rather than scooping directly from the bag, as scooping can compact the flour, leading to an excess amount that can make your rolls dense.
- Ideal Rising Environment: A warm, draft-free place is paramount for optimal yeast activity and a successful rise. Beyond a turned-off oven with the light on, other suitable spots include a slightly warmed microwave (achieved by briefly microwaving a cup of water for 30 seconds, then removing the water and placing the dough inside), or simply a warm, undisturbed corner of your kitchen, well-covered.
- Don’t Rush the Rise: In baking, patience truly is a virtue. It’s crucial to allow the dough to complete both its first and second rise cycles fully. Rushing these stages can unfortunately result in dense, heavy rolls. Look for clear visual cues: the dough should notably double in size and pass the gentle “poke test” (gently press a floured finger into the dough; if the indentation slowly springs back halfway, it’s perfectly ready).
- Avoid Over-Kneading (Initially): This recipe employs an initial “folding” process rather than vigorous kneading. The gentle kneading performed after the first rise is solely for shaping the individual rolls. Over-handling or aggressively kneading the dough can overdevelop the gluten, which can lead to tougher, chewier rolls instead of the desired fluffy texture.
- Consistent Roll Size: Utilizing a kitchen scale to portion your dough (aiming for approximately 2.4 oz or 68g per roll) is highly recommended. This ensures uniform roll sizes, which is critically important for even baking, preventing some rolls from being undercooked while others become overdone.
- Brushing with Butter: Do not, under any circumstances, skip the step of brushing the hot rolls with melted butter immediately after they emerge from the oven. This essential final touch creates a delightfully soft, golden crust and infuses an irresistible buttery flavor that genuinely elevates these rolls to a special treat.
Common Questions About Baking Homemade Dinner Rolls
Whether you’re new to baking or simply seeking additional insights, here are answers to some frequently asked questions that will empower you to master this delightful dinner roll recipe with confidence.
- Can I use active dry yeast instead of instant yeast?
- Yes, you certainly can substitute active dry yeast, but it requires a preliminary activation step. To do this, dissolve the active dry yeast in a small portion of the warm milk (taken from the total 2 cups required for the recipe) along with a pinch of sugar. Let this mixture sit for 5-10 minutes until it becomes foamy, indicating the yeast is active. Then, proceed to add this activated mixture to your Dutch oven with the remaining ingredients as directed in the recipe.
- What should I do if my dough isn’t rising?
- The most prevalent reasons for dough failing to rise include inactive or expired yeast (always verify the expiration date), liquid that was too hot during initial mixing (which can kill the yeast), or an environment that is too cold (which significantly inhibits yeast activity). Double-check that your milk mixture was warm but not scalding, and ensure your chosen rising spot is adequately warm and completely free from drafts.
- Is it possible to make these dinner rolls ahead of time?
- Absolutely! This recipe is quite flexible for make-ahead convenience. After the first rise, you can gently punch down the dough, proceed to shape the individual rolls, and then arrange them in your greased baking dish. Cover the dish tightly with plastic wrap and refrigerate for up to 24 hours. When you’re ready to bake, remove the dish from the refrigerator, allow the rolls to come to room temperature and complete their second rise (which might take a bit longer due to the cold), then bake as directed.
- Why are my dinner rolls dense or tough after baking?
- Density in dinner rolls often stems from insufficient rising time, inadvertently adding too much flour to the dough, or inactive yeast. Toughness, on the other hand, can commonly result from over-kneading the dough, particularly if excessive flour was incorporated during the shaping stage. Adhering closely to the recommended flour amount and employing gentle handling techniques are crucial for avoiding these issues.
- Can I incorporate other flavors into these rolls?
- Certainly! Once you’ve mastered the basic recipe, feel free to get creative. For a delightful savory twist, consider kneading in dried herbs such as rosemary or thyme, or a pinch of garlic powder, with the flour mixture. For those who prefer a touch of sweetness, a sprinkle of cinnamon and a slightly increased sugar content can work wonderfully. Experiment after you’ve confidently baked the foundational recipe!
Serving and Storing Your Homemade Dinner Rolls
Once your irresistible fluffy dinner rolls are baked to perfection and fill your kitchen with their inviting aroma, knowing how to best serve and store them will ensure you and your loved ones enjoy every last delicious bite.
Serving Suggestions:
- The Classic with Butter: There’s arguably nothing more comforting and universally loved than a warm, freshly baked roll split open and generously slathered with softened, creamy butter.
- Sweet Accompaniments: For a delightful breakfast, brunch, or a sweet treat, serve your rolls with your favorite fruit jam, marmalade, or a luscious drizzle of local honey. The subtle sweetness of the roll pairs beautifully.
- Hearty Meal Companion: These rolls are the quintessential accompaniment for hearty dishes. They are perfect for soaking up rich broths and savory gravies from comforting soups, slow-cooked stews, or succulent roasted meats.
- Miniature Sandwiches/Sliders: Get creative by slicing the rolls horizontally and filling them with delicate deli meats, a slice of cheese, or even leftover pulled pork or chicken for charming and flavorful sliders.
Storage Instructions:
- Room Temperature: Freshly baked dinner rolls are undoubtedly at their peak on the day they are made. If you have any glorious leftovers, store them in an airtight container or a resealable plastic bag at room temperature for up to 2-3 days to maintain their freshness.
- Refrigeration: While not strictly necessary for short-term storage, you can refrigerate your rolls in an airtight container for up to 5 days. Be aware that refrigeration can sometimes cause bread to dry out slightly faster, so bring them to room temperature or reheat gently before serving.
- Freezing: For long-term preservation, freezing is an excellent option. Allow the rolls to cool completely after baking. Place them in a freezer-safe bag or container, making sure to remove as much air as possible to prevent freezer burn. They can be frozen successfully for up to 2-3 months. Thaw them at room temperature or reheat directly from frozen for convenience.
Reheating Tips:
- Oven Method (Recommended): For the best possible results, wrap your rolls loosely in aluminum foil and reheat them in a preheated 300°F (150°C) oven for approximately 10-15 minutes, or until they are warmed through and soft again.
- Microwave Method (Quick Option): If you’re in a hurry, place a single roll on a microwave-safe plate and microwave for about 10-20 seconds. Exercise caution not to overheat, as microwaving can sometimes make bread tough or chewy if overdone.
Why This No-Fuss Recipe Will Be Your New Favorite
In a culinary world where baking can sometimes appear daunting and complex, this “Fluffy No-Fuss Dinner Rolls” recipe truly distinguishes itself through its exceptional simplicity and consistently delicious outcomes. It is genuinely designed for everyone, catering equally to absolute beginners taking their first steps in yeast baking and to seasoned bakers seeking a reliable, quick, and effortlessly easy option for their repertoire.
- Unrivaled Beginner-Friendly Approach: The step-by-step instructions provided are meticulously clear, refreshingly concise, and incredibly easy to follow. This makes it an ideal and welcoming starting point for anyone new to the wonderful world of yeast-based baking, building confidence with every successful batch.
- Minimal Effort, Maximum Reward: Despite the straightforward and uncomplicated process, the end result is profoundly rewarding – you’ll create light, airy, and deeply flavorful rolls that possess a quality often associated with professional bakeries, all from the comfort of your own kitchen.
- Incredibly Versatile: These delightful rolls are wonderfully versatile, making them a perfect complement to an extensive array of meals and suitable for virtually any occasion, from casual family dinners to more formal gatherings.
- Customization Potential: Once you’ve mastered the foundational recipe and understood the basics, it serves as an excellent blank canvas for culinary creativity. Feel free to experiment fearlessly with different herbs, spices, cheeses, or even a hint of sweetness to personalize your rolls to your unique taste.
- The Epitome of Comfort Food: There’s an undeniable and profound joy in serving warm, fragrant, homemade bread. These rolls effortlessly bring that comforting, wholesome feeling directly to your dinner table, enhancing any meal with their delectable goodness and inviting aroma.
So, gather your ingredients, set aside a modest hour or two from your day, and embark on this delightful and rewarding baking adventure. You will undoubtedly be amazed at how simple it is to create such a delicious, impressive, and beloved addition to your culinary repertoire. Happy baking, and enjoy every single fluffy, buttery bite!