Quilting Blocks
Vintage Road to Oklahoma Quilt Block Tutorial (with Free Pattern)
This classic quilt block tutorial by Fat Quarter Shop on YouTube is a very challenging yet fun project to keep…
Free Patternsfree sewing patternsQuilt BlocksQuilting
html PUBLIC "-//W3C//DTD HTML 4.0 Transitional//EN" ""
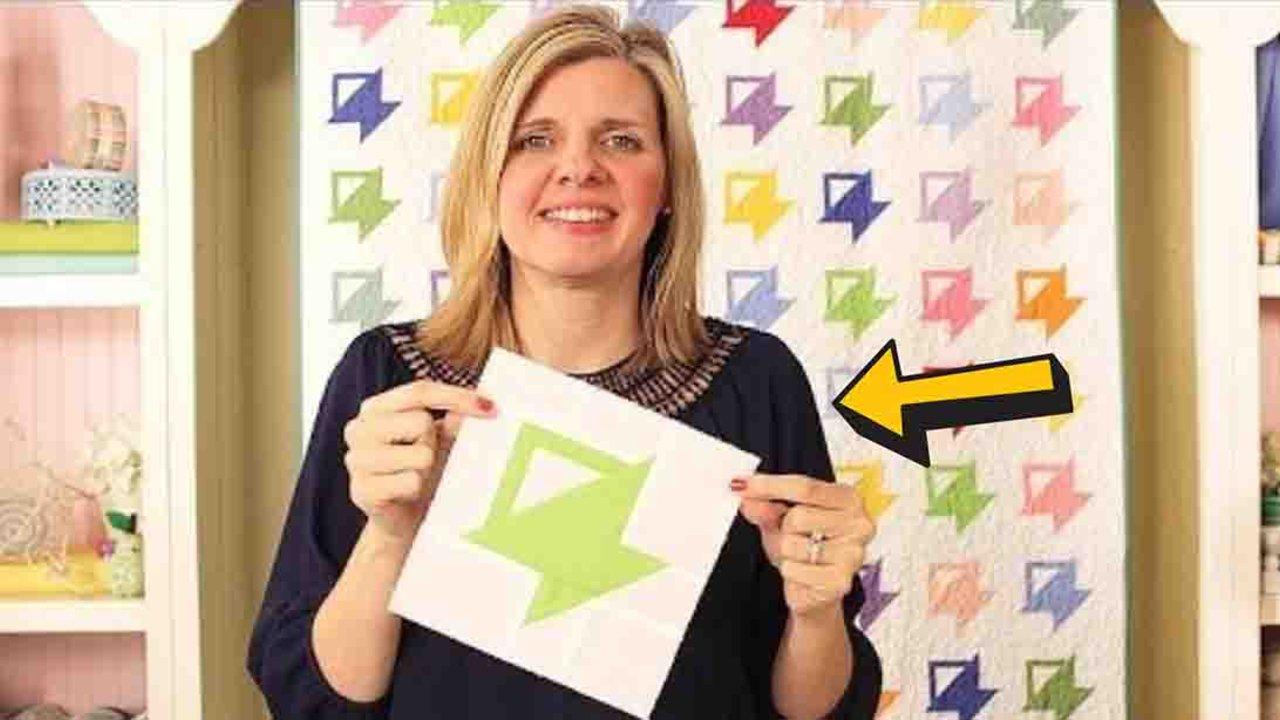
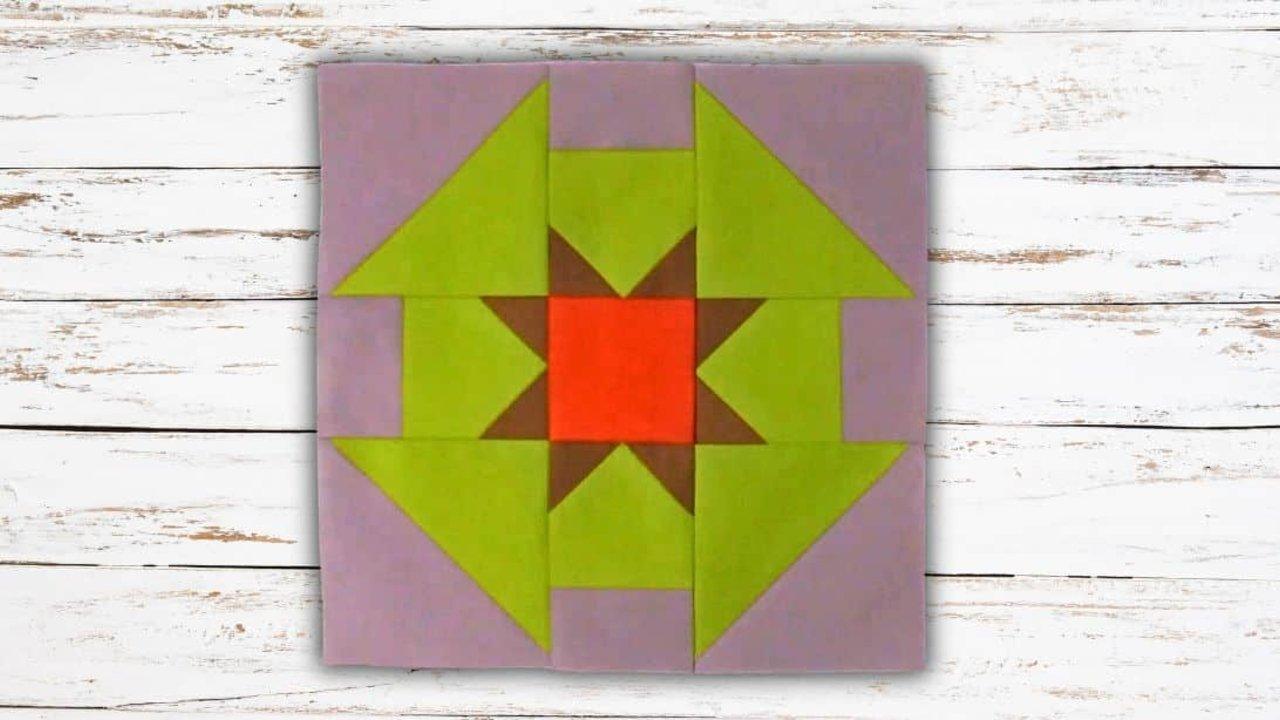
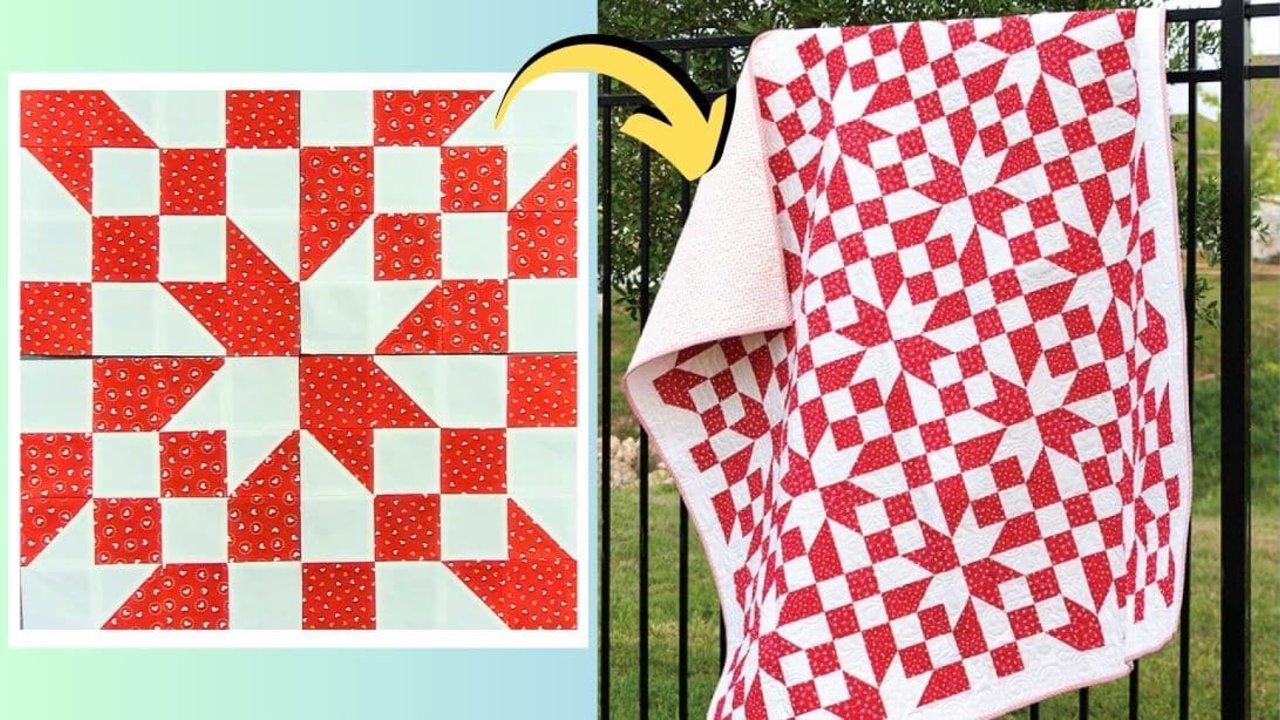
This classic quilt block tutorial by Fat Quarter Shop on YouTube is a very challenging yet fun project to keep yourself busy with this weekend. Learn how to make this two-tone quilt block that you can use to make your own blanket, table runner, or anything you want, and you can also sell or give this as a gift to a loved one. Whatever it is that you decide to make with this block, one thing is for sure, you’d surely love this quilt block.
Materials:
Printed Fabric #1
- 1 square @ 7½ inches (A)
- 2 rectangles @ 3×14 inches (B)
- 4 squares @ 3 inches (C)
Printed Fabric #2
- 1 square @ 7½ inches (D)
- 2 rectangles @ 3×14 inches (E)
- 4 squares @ 3 inches (F)
Background Fabric
- 2 squares @ 7½ inches (G)
- 4 rectangles @ 3×14 inches (H)
- 8 squares @ 3 inches (I)
Other Supplies You’ll Need
- Ruler
- Marking pen, pencil, or chalk
- Scissors or rotary cutter and a cutting mat
- Needle and thread
- Iron, for pressing
- Sewing machine
- 2½” half-square triangle paper triangles on a roll #H250
- Pattern (Click here to download the pattern)
Directions:
Step 1
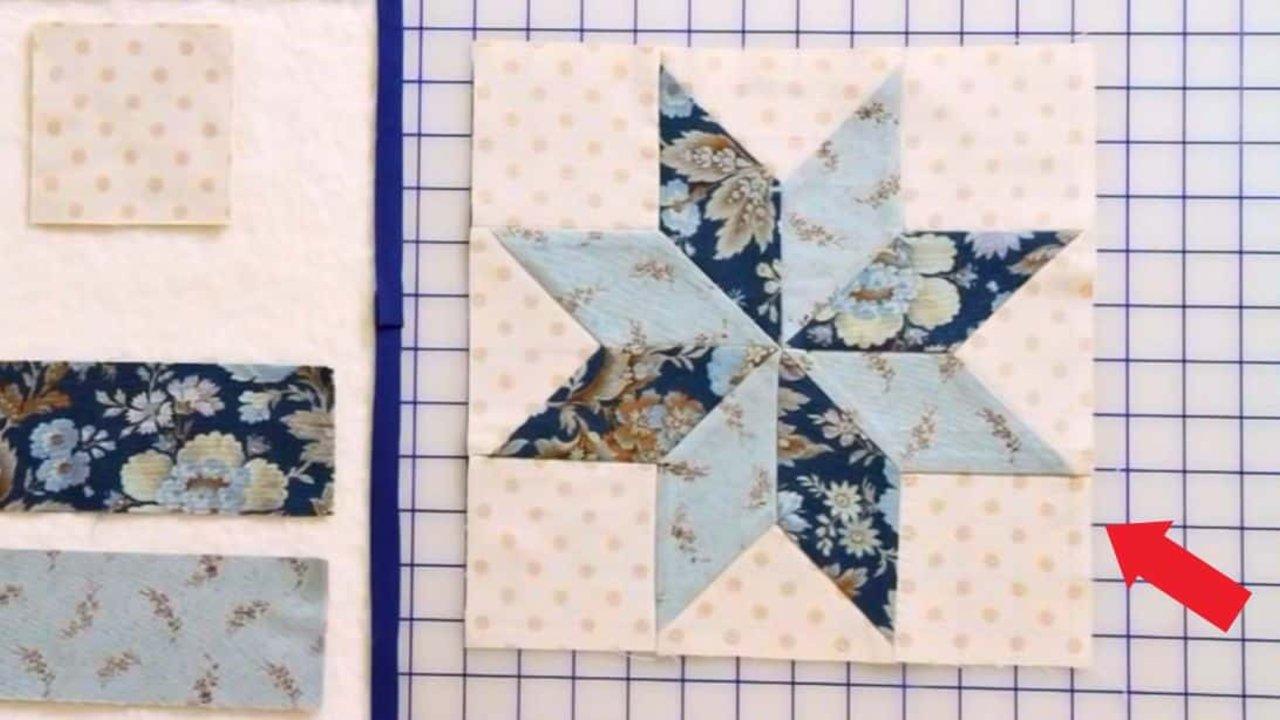
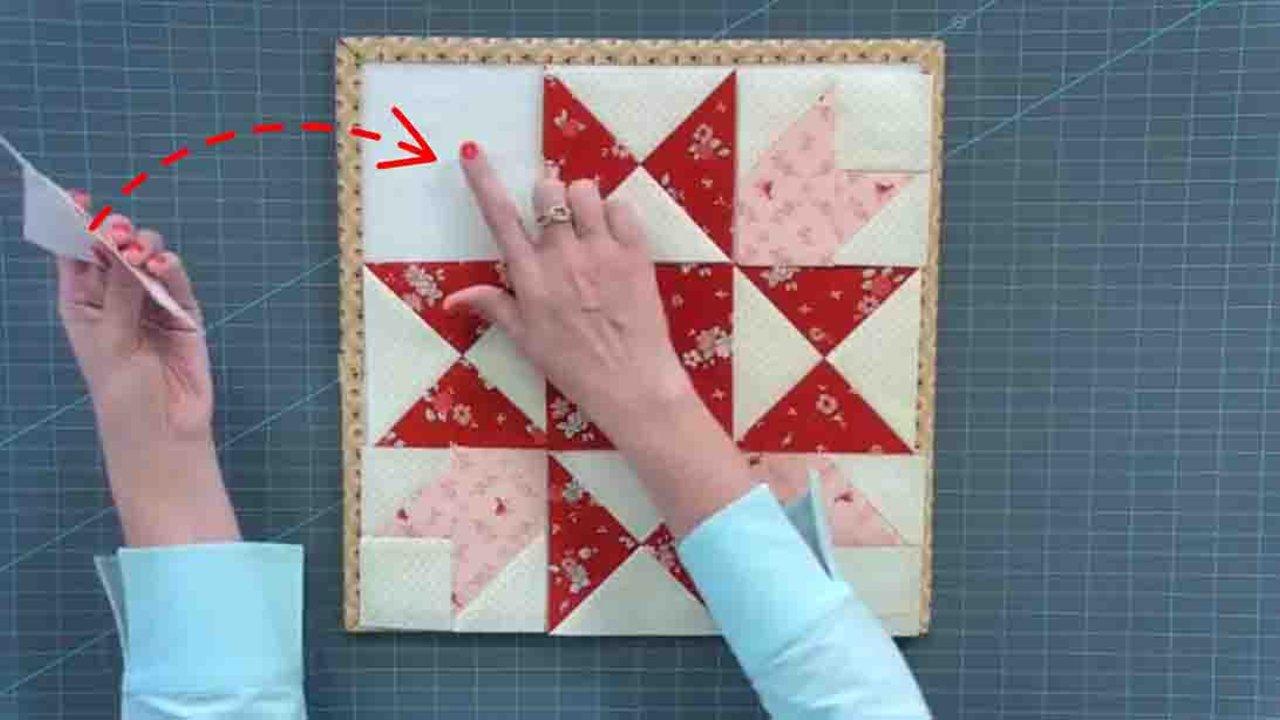
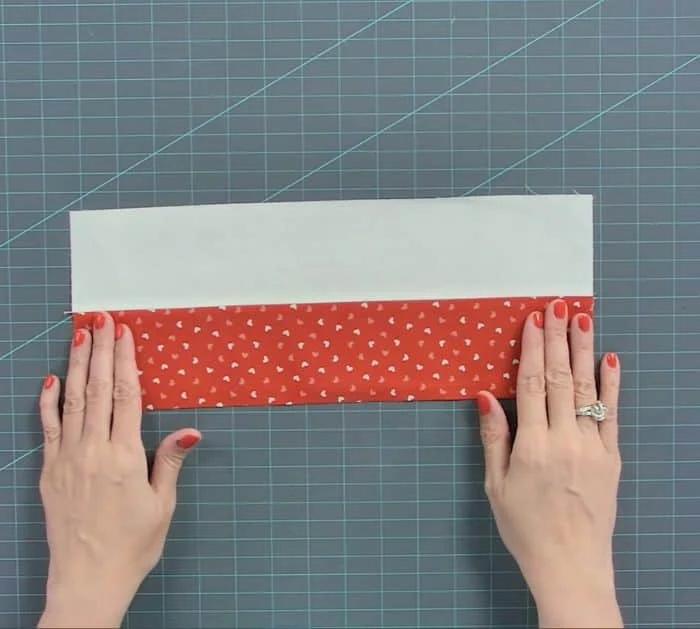
Layer the fabric G and A squares together with their right sides facing, then place a 2×2 section of the 2½-inch finished half-square triangle paper on top, and pin them together in place. Sew over the dotted lines with a ¼-inch seam allowance, then cut apart on the solid lines, and press it open. Assemble 1 fabric C square and 2 first half square triangle units and 1 fabric I square, then assemble 1 fabric H rectangle and 1 fabric B rectangle, and sub-cut each first strip set into 4 3×5½ inches. Now, assemble the 2 first patch units, then the 2 first star point units, and the 2 first four patch units.
Step 2
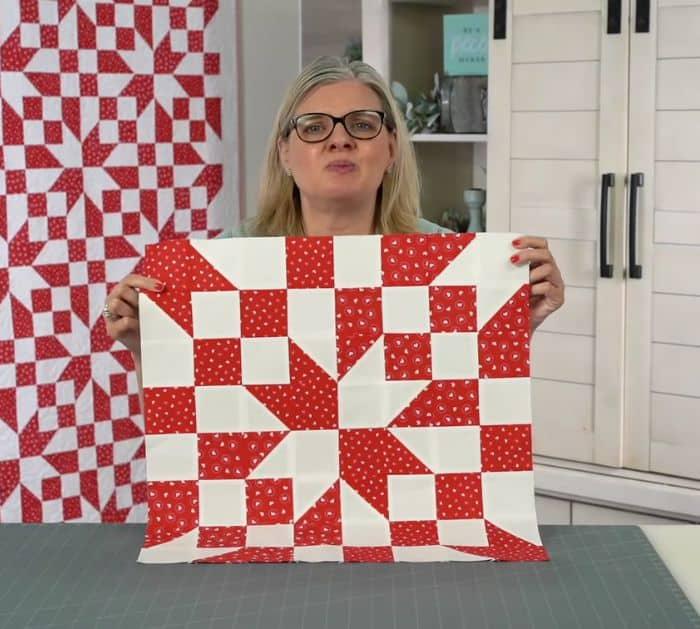
Assemble 1 fabric H rectangle and 1 fabric E rectangle, then sub-cut each 2nd strip set into 4 3×5½ inches, and assemble the 2 second two patch units. Next, layer the fabric G and fabric D square with their right sides together, then place a 2½-inch finished half-square triangle paper on top, and pin them in place. Sew over the dotted lines, then cut along the solid lines, and assemble the 2 second-half square triangle units. 1 fabric I square, and 1 fabric F square. Piece together the 2 second four patch units and the 2 second star point units, then assemble them into a block, and you’re done!
*All image credit belongs to Fat Quarter Shop via YouTube. Follow and subscribe to her channel for more!