
Elevate Your Style: Ultimate Guide to Styling and DIY Upgrades for Your Sweaters
As the crisp air of fall transitions into the chilly embrace of winter, one wardrobe staple consistently rises to the occasion: the humble sweater. A quintessential piece in any woman’s closet, sweaters offer unparalleled comfort and warmth. However, it’s easy for them to become a part of the everyday, blending into the background as merely functional attire. While some might hunt for the most intricately designed or vibrantly detailed sweaters, the truth is, even the most basic knit can become a stunning fashion statement with a little creativity and a touch of personalization.
Far from being just a plain garment, a sweater is a canvas waiting for your artistic touch. This comprehensive guide will explore numerous avenues to transform your average sweater into an extraordinary piece, ensuring you stand out and look effortlessly chic. We’ll delve into smart styling techniques and, more excitingly, a world of DIY possibilities that will redefine your perception of basic knitwear.
The Undeniable Charm of the Basic Sweater (And Why It Needs an Upgrade)
Every closet likely houses a collection of basic sweaters – neutral tones, simple knits, perhaps a classic crew neck or a versatile V-neck. Their appeal lies in their adaptability; they pair seamlessly with almost anything, from jeans to tailored skirts. But this very versatility can sometimes lead to a style rut. Wearing the same plain sweater day after day, no matter how comfortable, can feel uninspired.
The desire to upgrade stems from several compelling reasons:
- Personal Expression: Fashion is a form of self-expression. A customized sweater reflects your unique personality and aesthetic.
- Sustainability and Upcycling: Instead of buying new, breathe new life into existing garments. This eco-friendly approach reduces waste and promotes conscious consumption.
- Budget-Friendly Style: High-end, intricately designed sweaters can be expensive. DIY offers an affordable way to achieve a designer look without the hefty price tag.
- Standing Out from the Crowd: In a world of mass-produced fashion, a personalized piece ensures you have something truly one-of-a-kind.
Beyond DIY: Smart Styling Tips for Your Basic Sweaters
Before we dive into the exciting realm of DIY, let’s not underestimate the power of clever styling. Even without scissors or needle and thread, you can dramatically elevate a basic sweater. It’s all about how you pair it, layer it, and accessorize it.
1. The Art of Layering
Layering is perhaps the most effective way to add depth and interest to a plain sweater.
- Collared Shirts: Wear a crisp button-down shirt underneath your sweater, allowing the collar and cuffs to peek out. A denim shirt, a classic white poplin, or even a striped oxford can instantly make your outfit more polished and preppy.
- Turtlenecks: For extra warmth and a chic, minimalist look, layer a thin turtleneck beneath a crew-neck sweater. Opt for contrasting colors for a bolder statement or harmonious tones for a sophisticated blend.
- Statement Blouses: Experiment with blouses featuring ruffled collars, embellished necklines, or voluminous sleeves peeking from under your sweater.
- Underneath Dresses: Transform a summer dress into a winter-appropriate ensemble by layering a fitted sweater over or under it.
2. Accessorize Like a Pro
Accessories are your secret weapon for transforming an outfit.
- Statement Necklaces: A bold necklace draped over a simple sweater can instantly draw the eye and add a touch of glamour.
- Scarves: A beautifully tied scarf – whether a silk square, a chunky knit, or a delicate pashmina – can introduce color, pattern, and texture.
- Belts: Cinch your sweater at the waist with a stylish belt to create an hourglass silhouette and define your figure, especially with oversized knits.
- Brooches and Pins: A vintage brooch or a collection of quirky pins can add a unique, personalized touch to your sweater’s lapel or shoulder.
- Hats and Headbands: Elevate your overall look with a stylish beanie, a wide-brimmed fedora, or an elegant embellished headband.
3. Strategic Pairings with Bottoms and Footwear
The impact of your sweater outfit also depends heavily on what you pair it with.
- Skirts: Combine an oversized sweater with a flowing midi skirt for a bohemian vibe, or tuck a fitted sweater into a sleek pencil skirt for a refined look. A pleated skirt or a leather mini can also create interesting contrasts.
- Tailored Trousers: Elevate your casual sweater by pairing it with sophisticated tailored trousers or wide-leg pants for a chic, contemporary aesthetic.
- Jeans: While a classic pairing, you can refresh it by experimenting with different jean styles – distressed boyfriend jeans for an edgy look, high-waisted skinny jeans for a sleek silhouette, or wide-leg jeans for a retro touch.
- Footwear: Ankle boots, knee-high boots, stylish loafers, or even dressy sneakers can completely change the vibe of your sweater ensemble.
The Ultimate Transformation: DIY Your Way to a Unique Sweater Wardrobe
Now, for the truly exciting part: taking matters into your own hands and unleashing your inner designer. DIY sweater makeovers are incredibly rewarding, offering endless possibilities to create garments that are truly yours. Forget about mass-produced fashion; embrace individuality and sustainable style.
1. Embellishments: Sparkle and Shine
Adding beads, sequins, gems, or pearls is a fantastic way to introduce sparkle and texture.
- Method: Hand-sew individual embellishments or pre-made beaded trims onto the sweater. Focus on the neckline, cuffs, or shoulders for maximum impact. Fabric glue can also be used for smaller, lighter additions.
- Ideas: Create a scattered, star-like effect with tiny pearls, form a geometric pattern with flat sequins, or outline the sweater’s collar with a row of iridescent beads.
2. Embroidery: Artisanal Details
Embroidery transforms a simple sweater into a work of art, adding a touch of artisanal charm.
- Method: Use embroidery floss and a needle to stitch patterns directly onto the fabric. Simple stitches like chain stitch, French knots, or satin stitch can create beautiful designs.
- Ideas: Embroider delicate floral motifs around the neckline, add your initials or a meaningful symbol, or create abstract patterns across the front. Even a simple contrasting stitch along the seams can make a difference.
3. Patchwork and Appliqués: Texture and Storytelling
Patchwork allows you to combine different fabrics, colors, and textures, creating a visually rich garment.
- Method: Cut fabric scraps (velvet, denim, lace, even other knit fabrics) into desired shapes and hand-sew or machine-sew them onto your sweater. Use fabric adhesive for a no-sew option for appliqués.
- Ideas: Create a “quilted” effect with various fabric squares, add a large statement patch (e.g., an animal print or a vintage motif), or layer different fabric cut-outs to form an abstract design.
4. Trims: The Game Changer
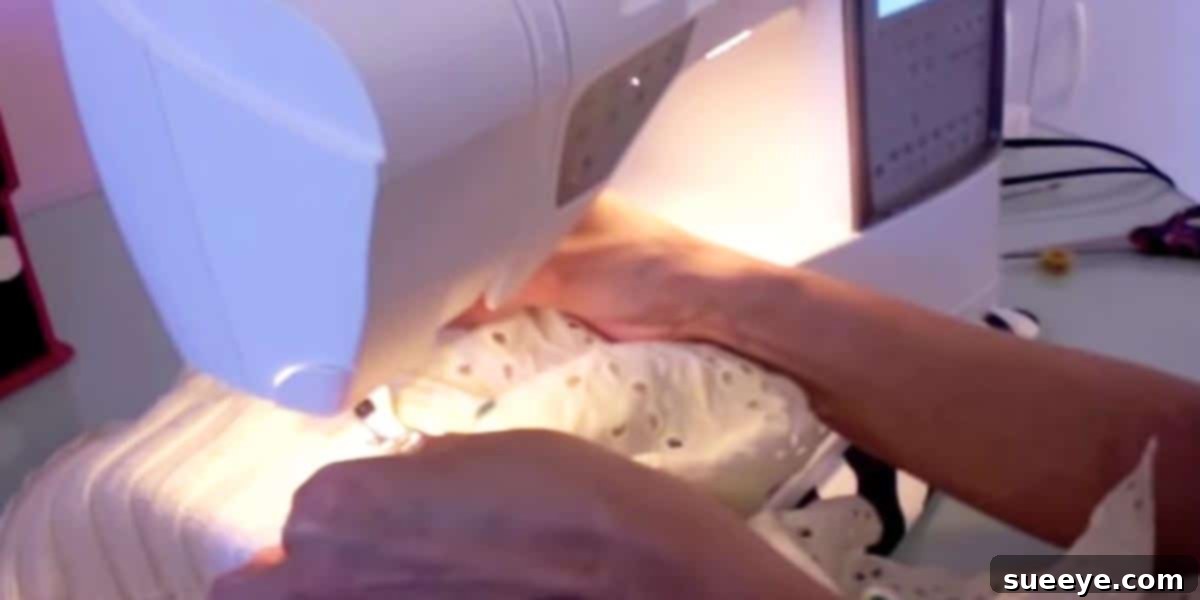
As highlighted in the original inspiration, the addition of a simple trim can completely revolutionize a sweater’s appearance. The right trim can transform a “blase” sweater into something truly cool.
- Method: Select a trim that complements or contrasts with your sweater’s fabric and color. Measure and cut the trim to size, then carefully sew it onto the desired area.
- Types of Trims:
- Lace Trim: Delicate lace sewn along the hem, cuffs, or even peeking out from a V-neck adds a touch of romantic elegance.
- Eyelet Trim: Similar to the inspiring tutorial, wide eyelet trim can create a lovely, almost vintage-inspired feminine look, especially when added to the hem or cuffs.
- Pom-Poms or Fringe: For a playful, bohemian vibe, attach pom-pom trim or fringe along the hem or sleeves.
- Ribbon and Ruffles: Satin or velvet ribbons woven through openings or sewn as decorative stripes can add sophistication. Fabric ruffles can create volume and drama.
- Placement Ideas: Attach trims to the bottom hem, around the cuffs, along the neckline, down the side seams, or even across the shoulders.
5. Fabric Painting and Dyeing: Artistic Expression
For those who love color and bold statements, fabric painting and dyeing offer creative freedom.
- Method: Use fabric paints to create hand-painted designs, stencils, or abstract splashes of color. Fabric dyes can be used for ombré effects, tie-dye patterns, or simply to refresh or completely change the color of an old sweater.
- Ideas: Paint a minimalist geometric pattern, stencil a floral design, create a vibrant ombré effect from the hem upwards, or try a subtle bleach-dye technique for unique patterns.
6. Deconstruction and Reconstruction: Bold Silhouettes
For the more adventurous DIYer, this involves altering the sweater’s basic structure.
- Method: Cut slits in the sleeves or sides for a trendy look, add cut-outs at the shoulders or back, or even crop an oversized sweater to create a more modern silhouette.
- Ideas: Convert a crew neck into an off-the-shoulder top, add lace inserts into cut-out sections, or create a unique asymmetrical hemline.
Inspired by a Transformation: The Eyelet Trim Revelation
Recalling the original inspiration, the sheer surprise and delight at witnessing a supposedly “ugly” sweater transform into something remarkably stylish with the simple addition of wide eyelet trim truly underscores the power of DIY. It’s an incredible testament to how a small, thoughtful detail can dramatically alter perception and elevate an entire garment. The initial dismissal, quickly followed by admiration, serves as a powerful reminder that every item in your wardrobe holds untapped potential.
Imagine finding an old sweater, perhaps one you’ve considered tossing out due to its plainness or outdated look. Then, with a visit to a craft store, selecting a beautiful eyelet trim that catches your eye. Carefully sewing this delicate, patterned fabric along the hemline, around the cuffs, or even as a new faux placket down the front. The result? A sweater that now exudes a gentle femininity, a touch of vintage charm, or a renewed sense of style that feels entirely fresh and new. This kind of transformation is not just about fashion; it’s about seeing potential, nurturing creativity, and giving beloved items a second life.
Tips for a Successful Sweater DIY Project
Ready to embark on your sweater transformation journey? Here are a few pointers to ensure your project is a success:
- Start Simple: If you’re new to DIY, begin with an easy project like adding a simple trim or some scattered beads.
- Choose the Right Materials: Ensure your embellishments and trims are compatible with the sweater’s fabric. Washable additions are always a plus.
- Pre-Wash Your Sweater: Always wash and dry your sweater before starting any DIY project to prevent shrinkage or changes in fabric texture after embellishments are applied.
- Practice Makes Perfect: If attempting embroidery or fabric painting, practice on a scrap piece of fabric first.
- Don’t Be Afraid to Experiment: The beauty of DIY is there are no strict rules. Let your imagination guide you!
Conclusion: Your Wardrobe, Your Rules
From strategic layering and clever accessorizing to an exciting array of DIY techniques, there are countless ways to breathe new life into your sweaters. No longer do basic knits have to be confined to the realm of the ordinary. With a dash of creativity and a willingness to experiment, you can transform them into personalized, fashion-forward pieces that truly reflect your unique style.
Embrace the challenge of upcycling, indulge in the joy of customization, and discover the immense satisfaction of wearing something you’ve lovingly transformed with your own hands. So, take a fresh look at your closet. Grab one of your old sweaters, envision its potential, and let this guide inspire you to create something amazing. Your autumn and winter wardrobe will thank you for it!