Seasonal Decor Crafts
3D Origami Christmas Tree Tutorial
Christmas has always been one of my ultimate favorite holidays. It’s that special time of the year when families, friends,…
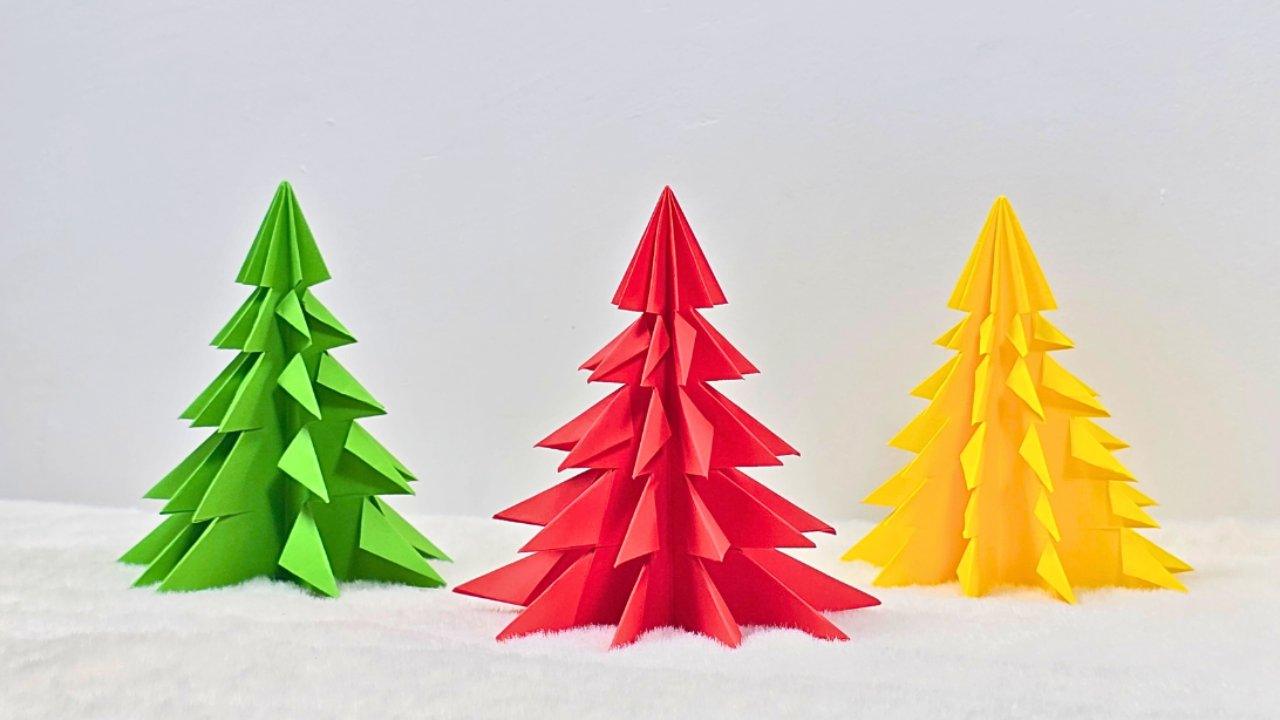
Christmas has always been one of my ultimate favorite holidays. It’s that special time of the year when families, friends, and loved ones come together to celebrate, laugh, and share stories over delicious food. There’s just something magical about the festive air — from the smell of home-cooked meals to the sound of Christmas songs playing in the background.
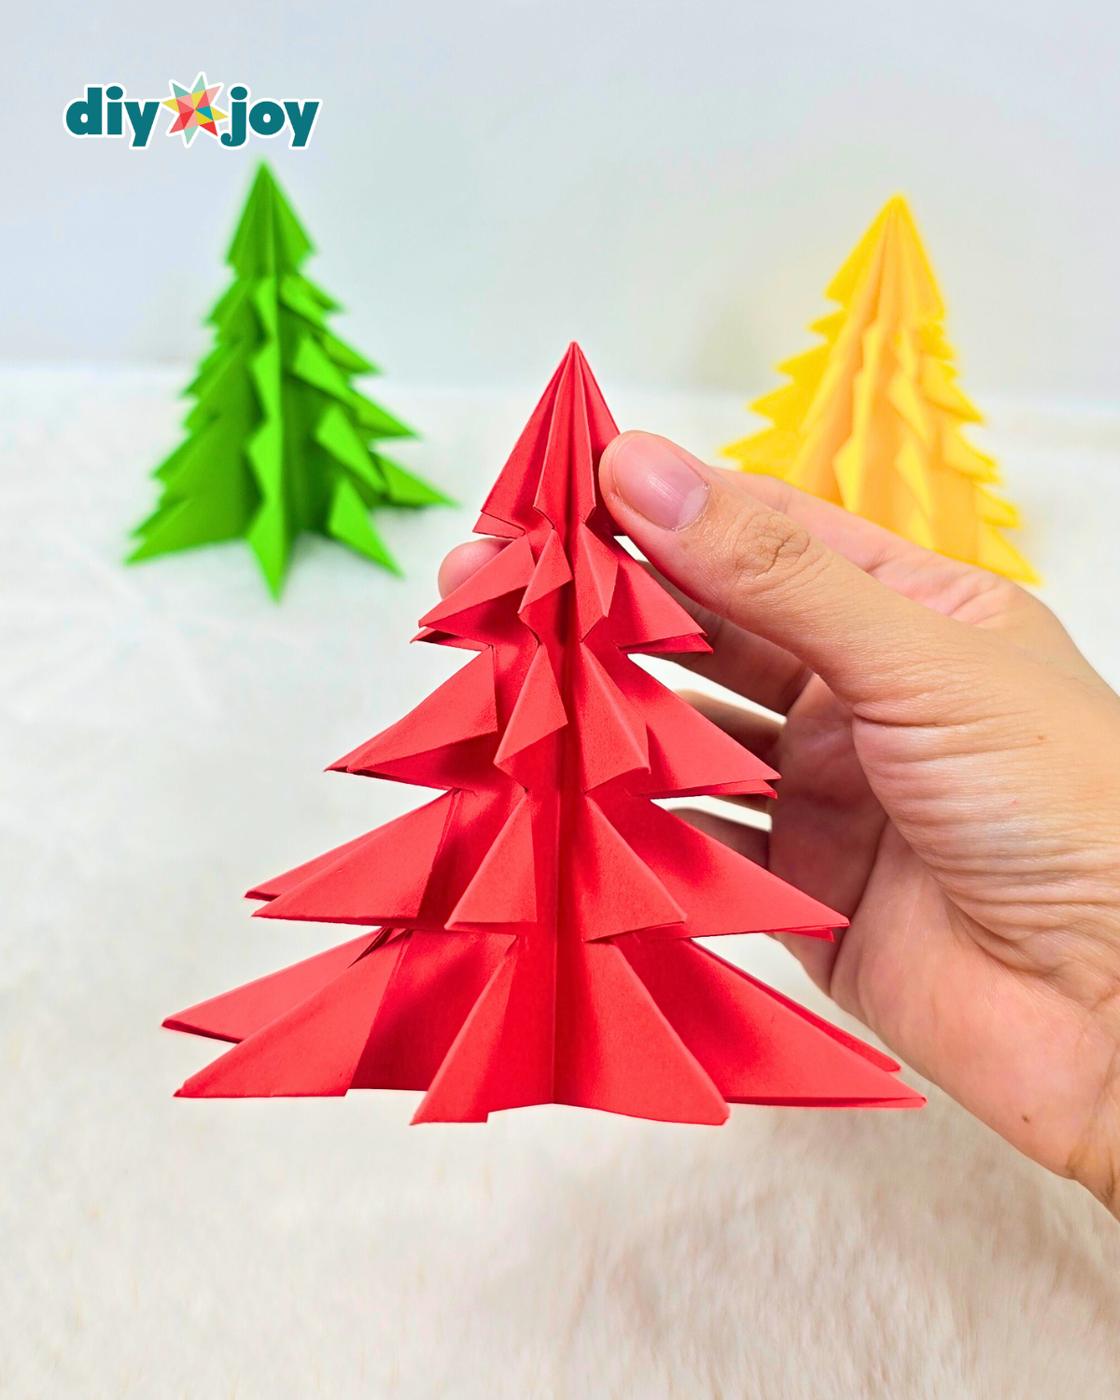
It’s also the season when we bring out our creative side. My family usually starts decorating early, which gives us plenty of time to plan the theme and pick out colors, though sometimes we just go with whatever looks cute and feels festive. I love how the house slowly transforms with twinkling lights, handmade decorations, and that unmistakable Christmas glow that instantly lifts everyone’s mood.
RELATED: Easy DIY Wine Cork Reindeer
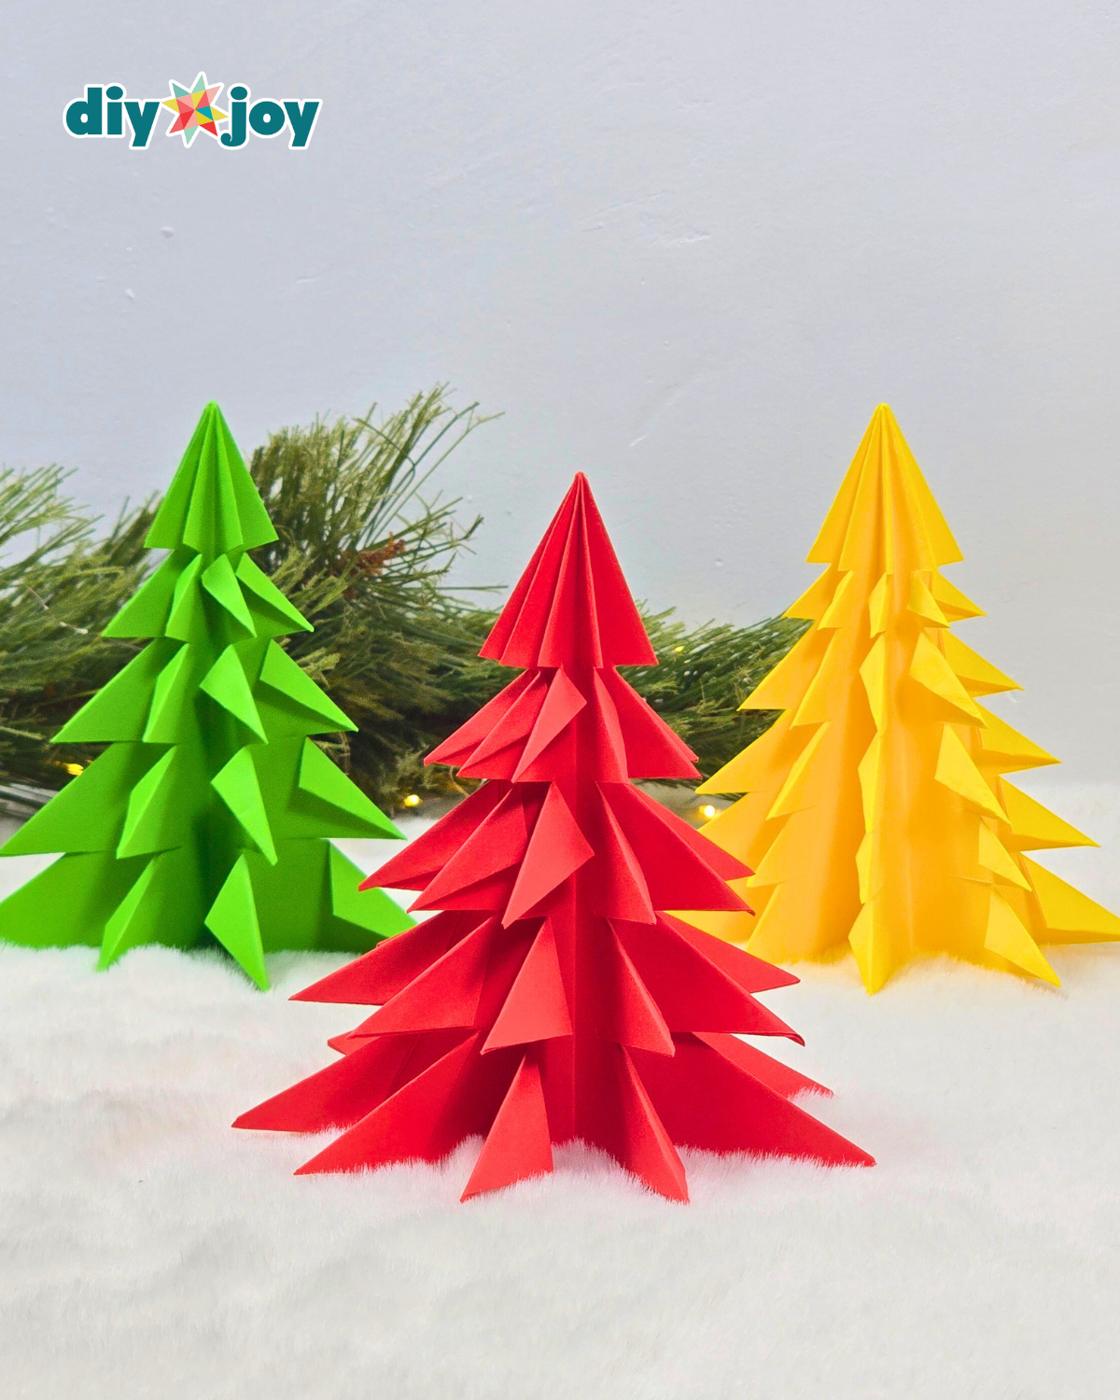
Personally, I find so much joy in creating DIY Christmas decorations. They’re not only fun and relaxing to make, but they’re also a great way to save money. I often reuse or upcycle old decorations and turn them into something fresh and beautiful. There’s also that sense of satisfaction knowing that you made something with your own hands that adds warmth and character to your home.
Why Make This Craft?
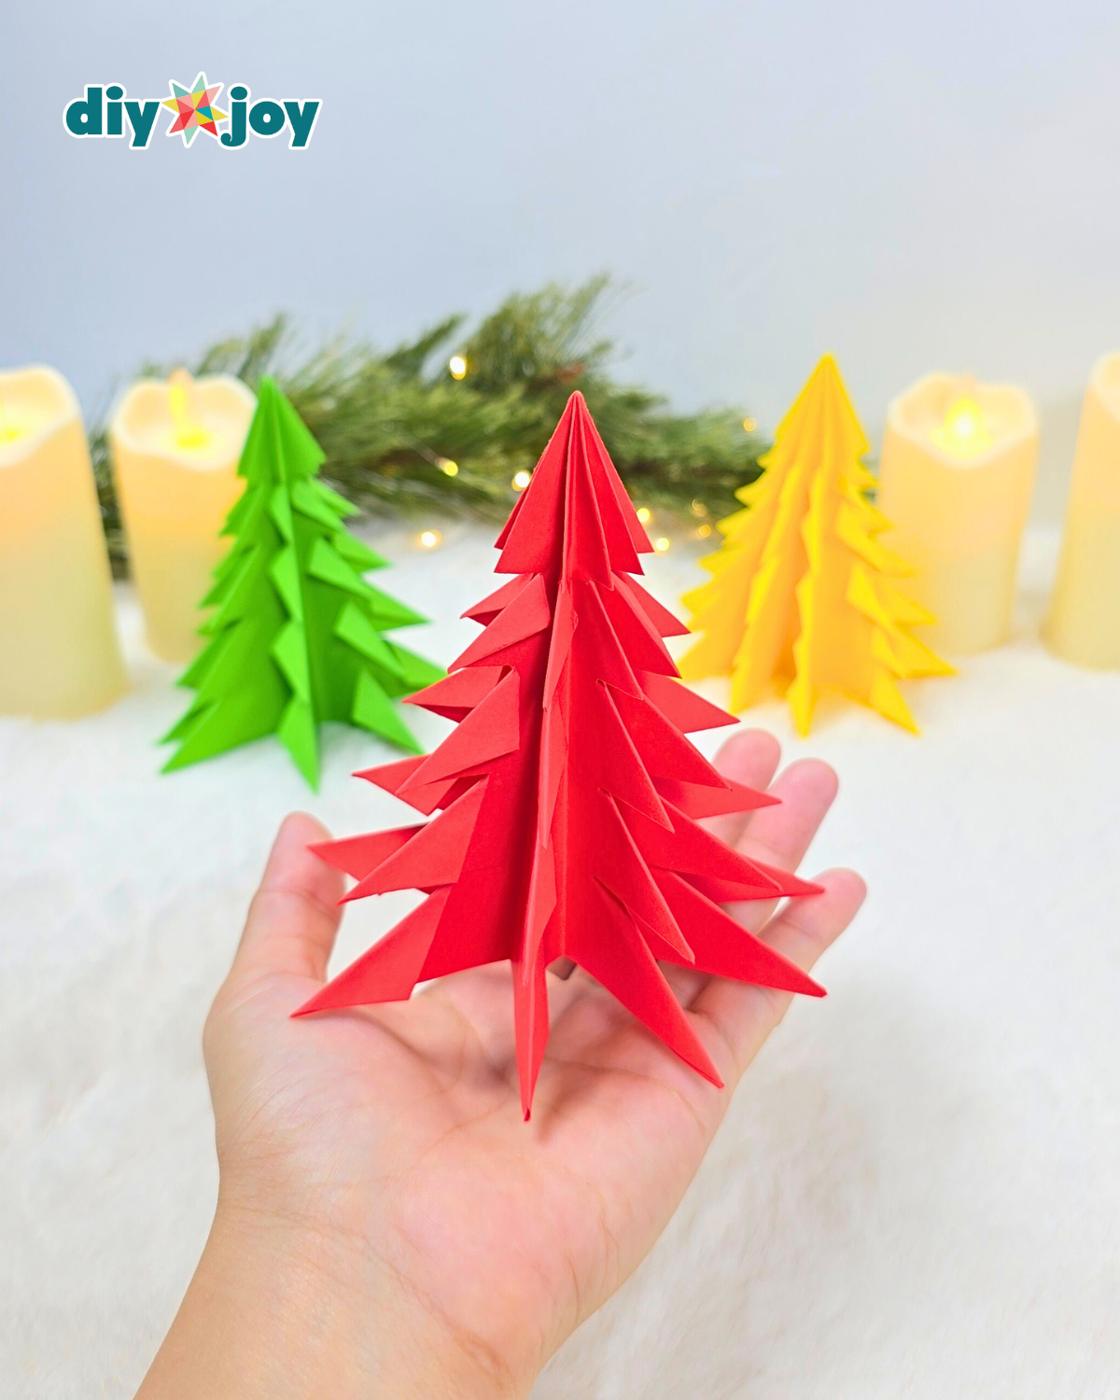
This DIY paper Christmas tree is a quick and affordable way to make your home feel festive. It’s perfect if you love handmade decorations but don’t want anything complicated or time-consuming.
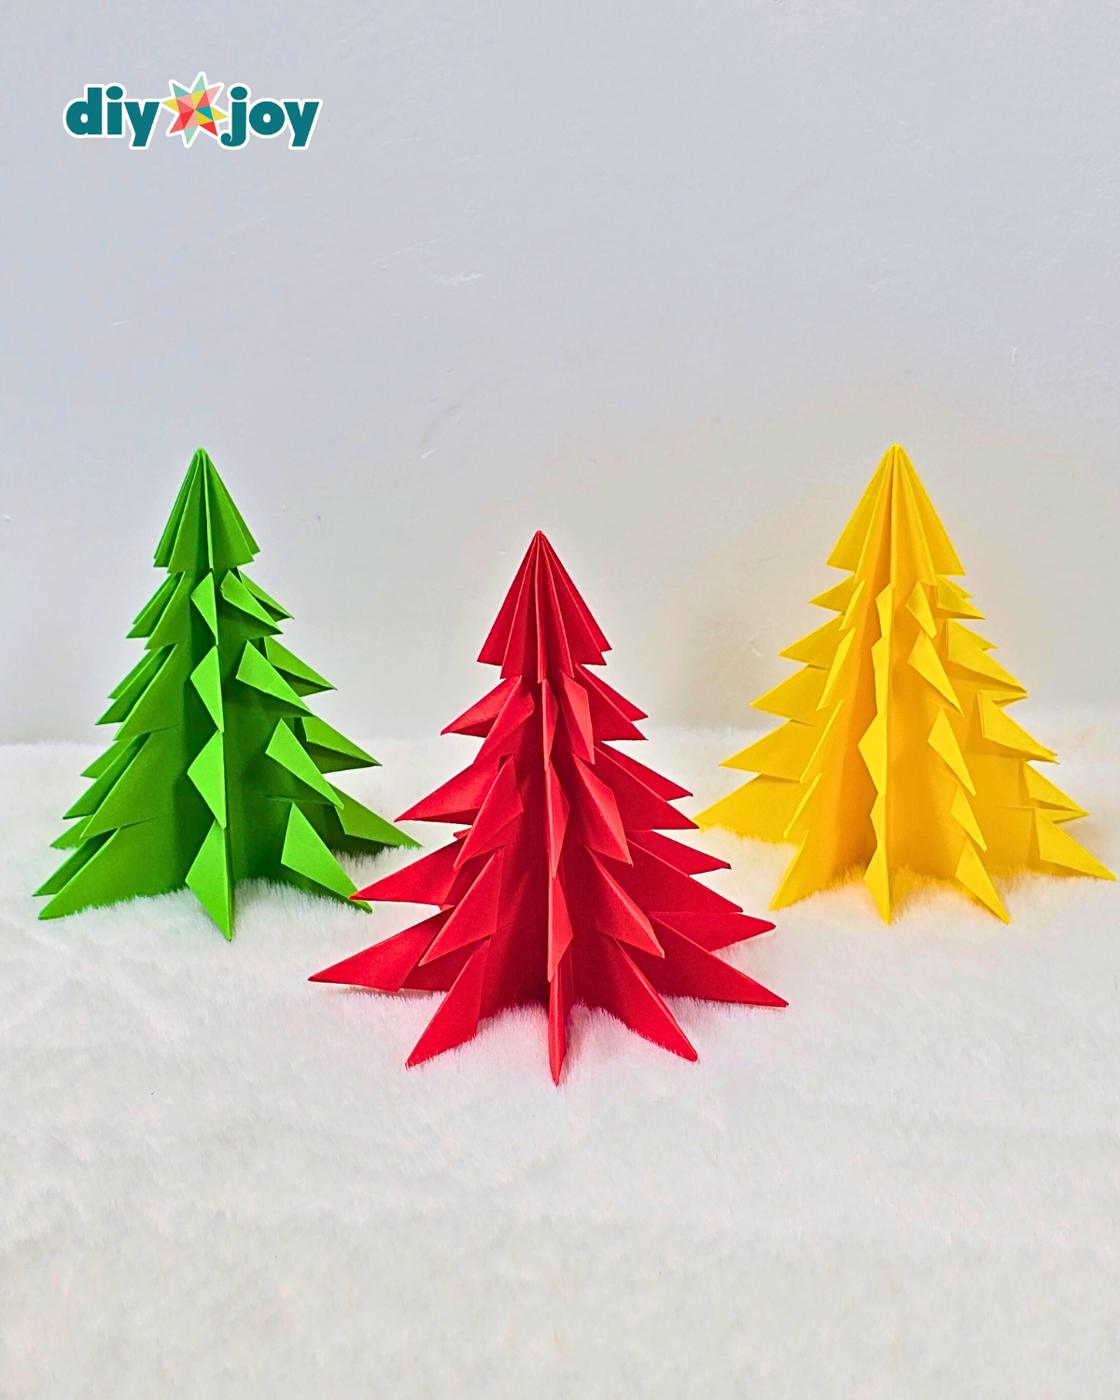
.One of my favorite and easiest Christmas crafts to make is an origami paper Christmas tree. You don’t need a lot of materials — just paper, a few folds, and a bit of creativity. It’s done in minutes, looks super cute, and makes the perfect addition to your holiday table or mantel. If you’re looking for an easy holiday DIY that’s both affordable and adorable, follow the step-by-step guide below and start crafting your own festive paper Christmas tree today!
▶ Watch this tutorial on TikTok
Craft Supplies Needed
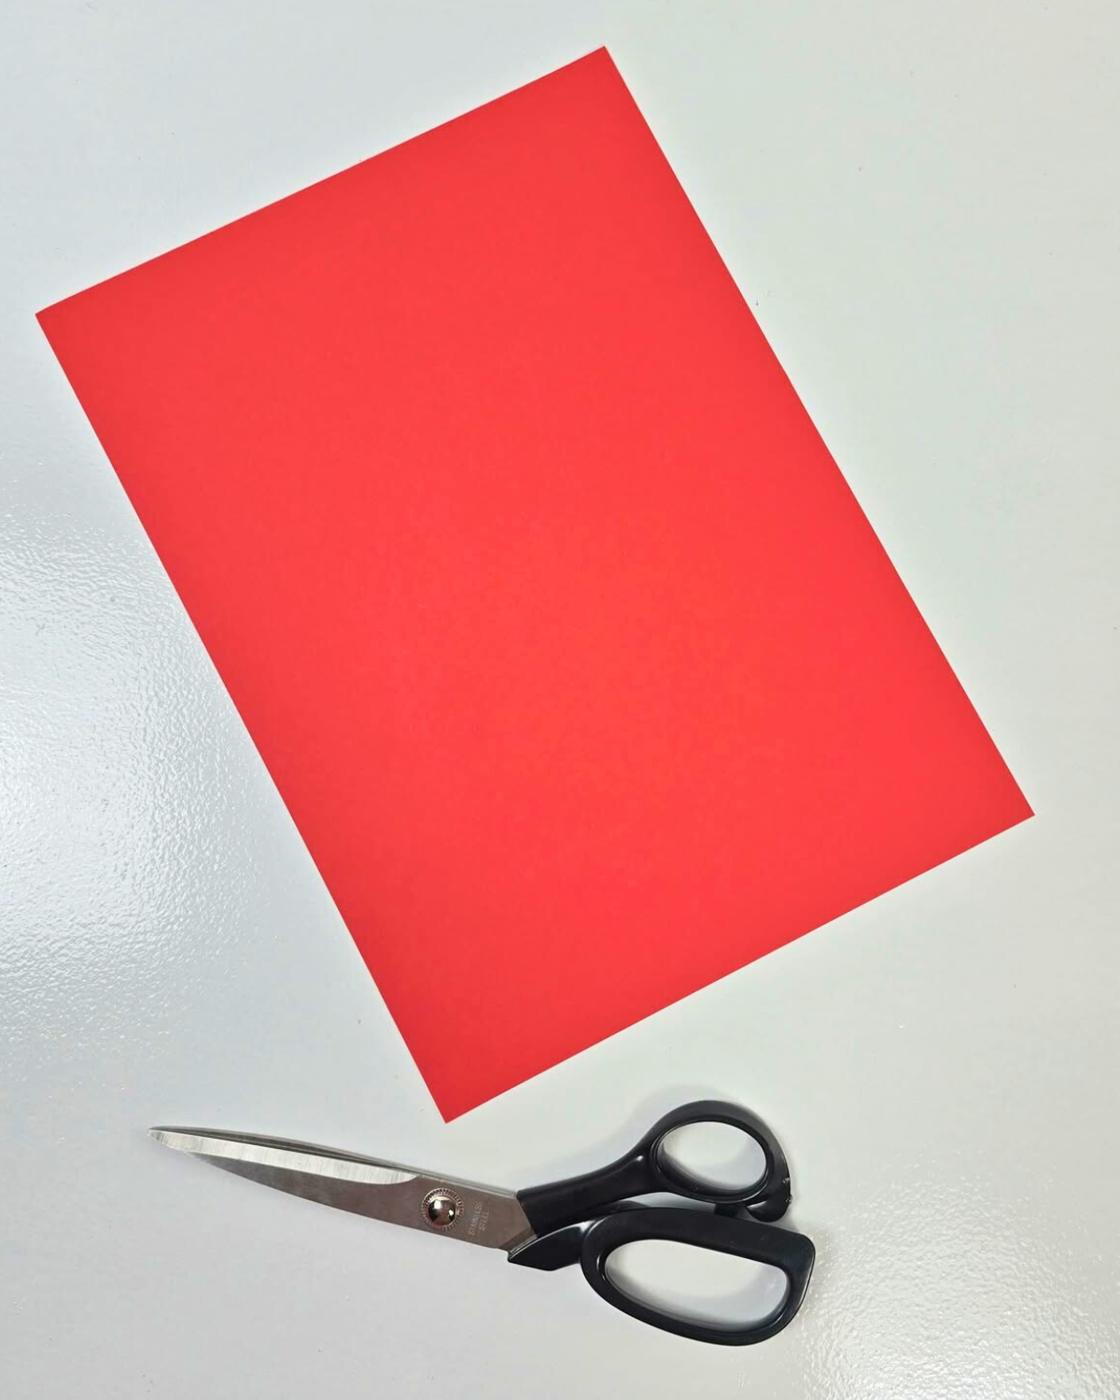
Here is everything I had out on the table. Most of it is craft drawer stuff you already own.
- Colored paper
- Scissors
Shop the Supplies
Here are the main supplies we used for this origami Christmas tree, so you can grab the same ones and get straight to crafting.
Colored Paper
This is the perfect colored paper for your origami Christmas tree
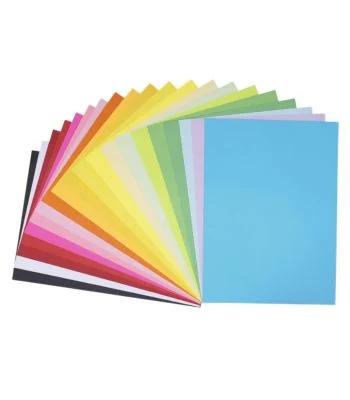
Shop This Colored Paper
Scissors
You need equally sharp scissors to make cutting paper easier and faster.

Shop These Scissors
How to Make an Origami Christmas Tree
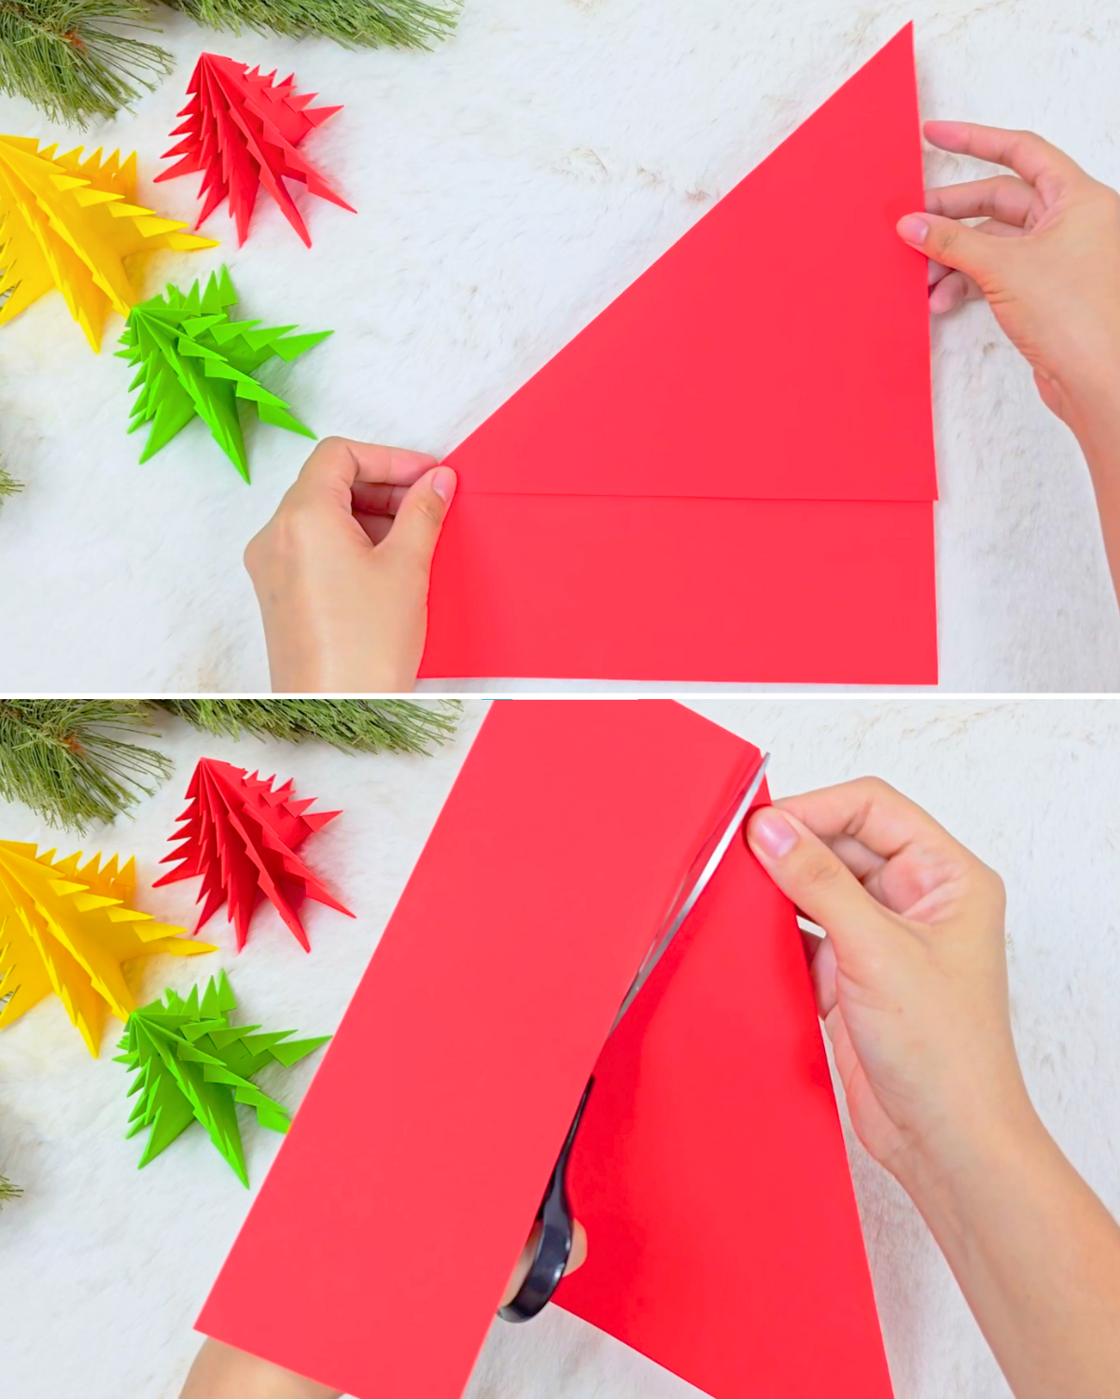
Step 1: Fold and Trim the Paper
Fold one corner of the paper diagonally toward the opposite edge, making sure the sides align perfectly, then carefully trim off the excess section; when you unfold it, you’ll have a perfect square piece of paper.
Step 2: Create Guiding Folds
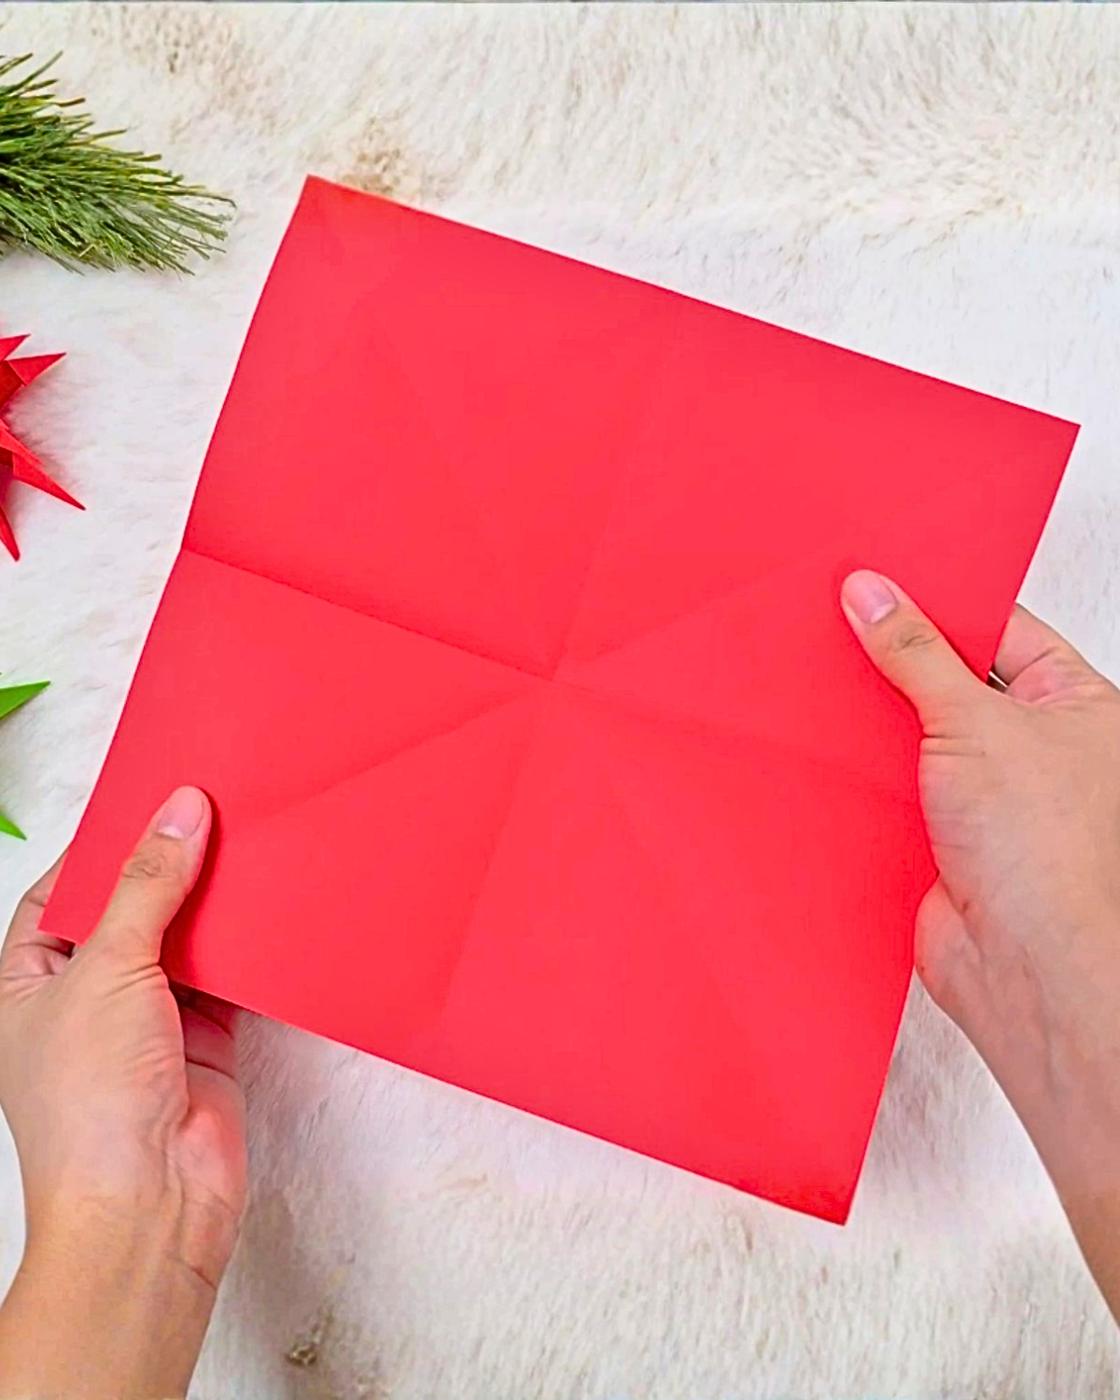
Fold the paper diagonally in the opposite direction of the first crease, then unfold it; next, fold the paper in half horizontally, followed by folding it in half vertically to create clear guideline folds.
Step 3: Fold the Paper Into a Smaller Square
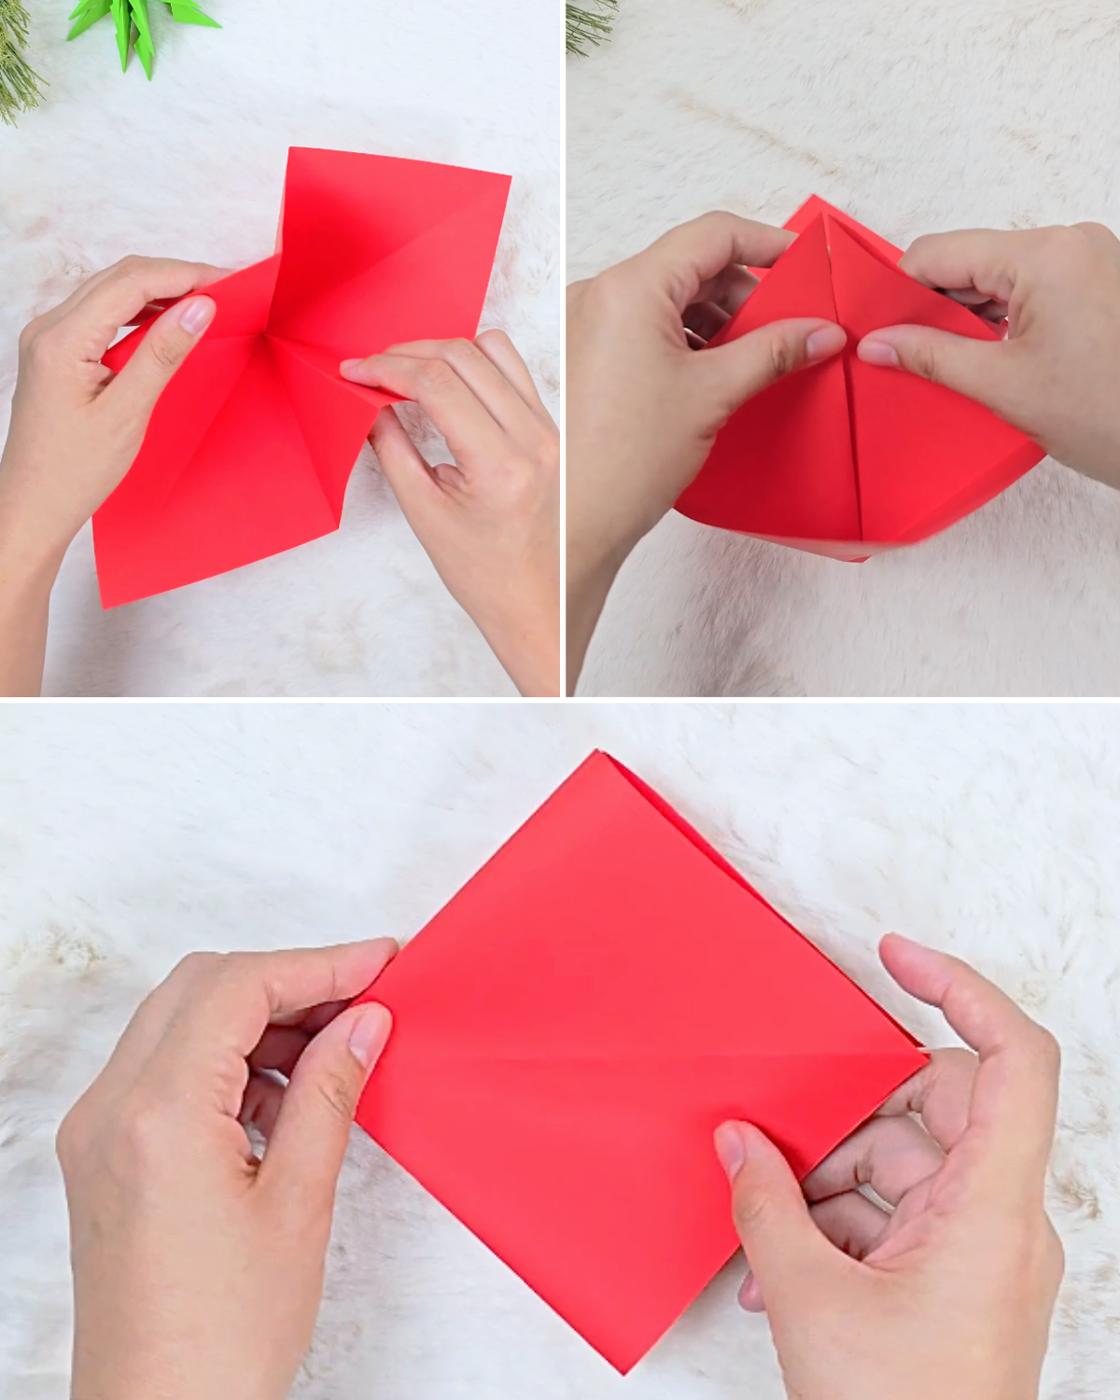
With the paper properly positioned, grab the opposing top and bottom corners and push the folds inward until they meet at the center; the paper should naturally fold in on itself along the guiding creases, forming a smaller square.
Step 4: Fold Into a Triangle
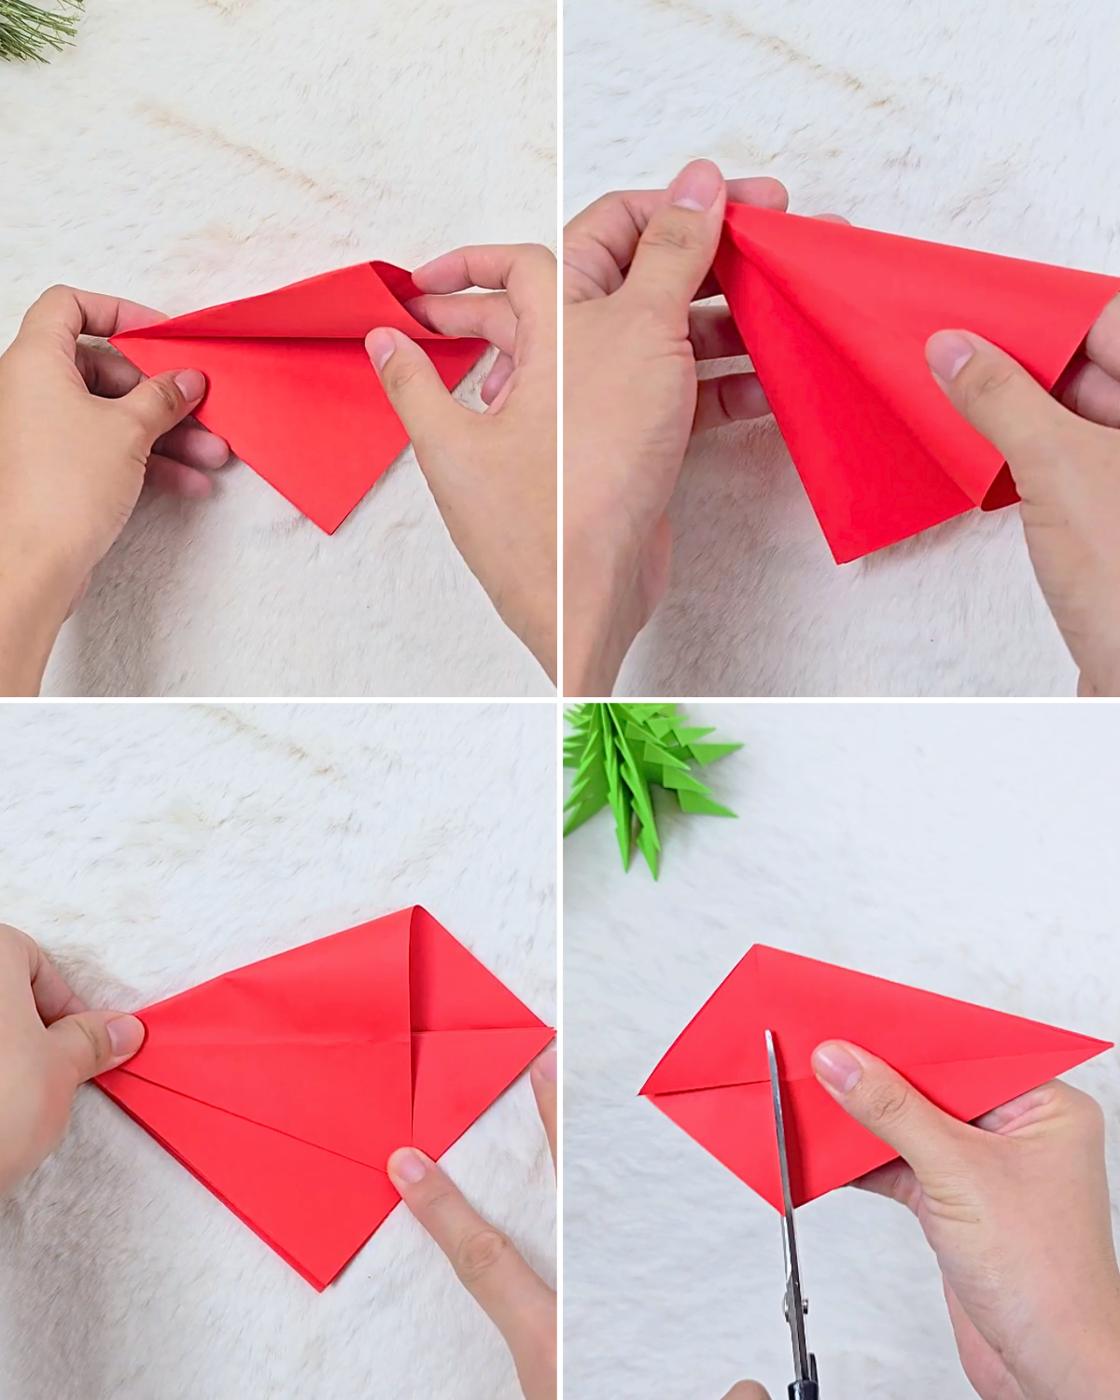
Fold the paper diagonally in half, then hold it by the pointed folded corner. Reach into the open edges, spread the paper open, and make sure to center the crease before pressing it down. Fold each flap away, repeating the steps for all remaining flaps. Once the paper is folded into a triangle, trim the excess along the base to straighten it.
Step 5: Cut and Fold the Slits
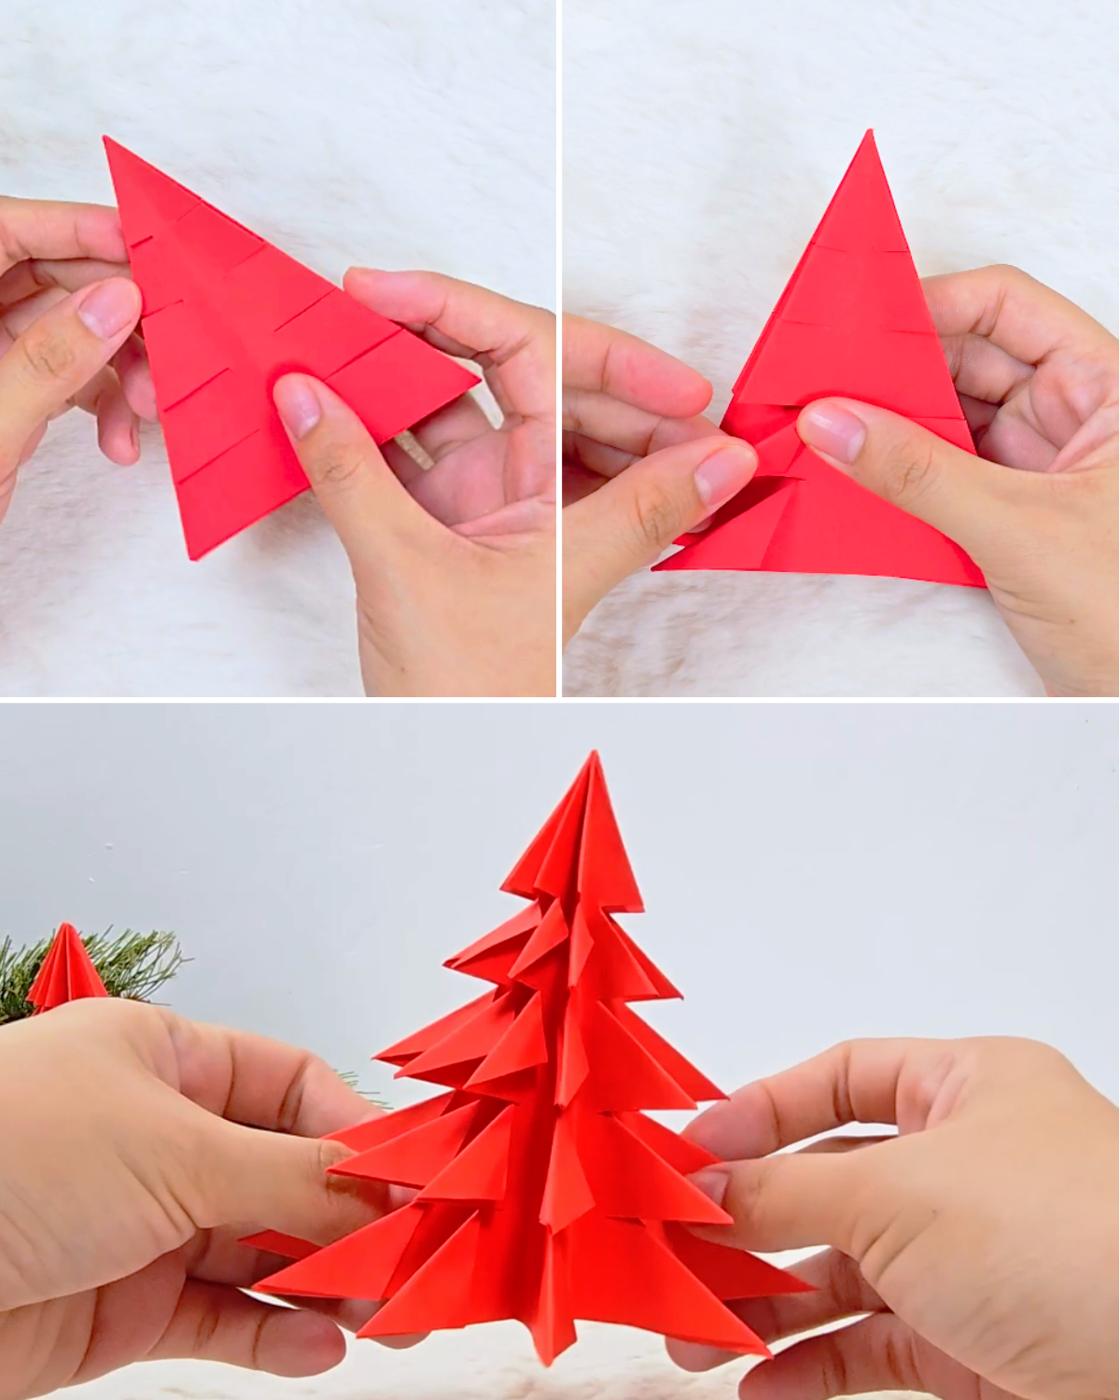
Cut several straight horizontal lines on both sides of the triangle, spacing them as evenly as possible and stopping before the center crease. Then, fold each outer slit diagonally to form pointed edges. Once all slits are folded, carefully adjust the paper, and your Origami Christmas Tree is complete.
Other Fun Crafts Here!
Seasonal
DIY Fall Wreath With Felt Leaves
Seasonal
How To Make A Spider Web Using Hot Glue

Seasonal
Halloween Crafts – DIY Banner Made From Toilet Paper Rolls
Crafts
Fall Crafts – Twine Pumpkins Made From Toilet Paper Rolls
*If you love this craft, then visit our official website, follow our Facebook page, and subscribe to our YouTube channel for more!