
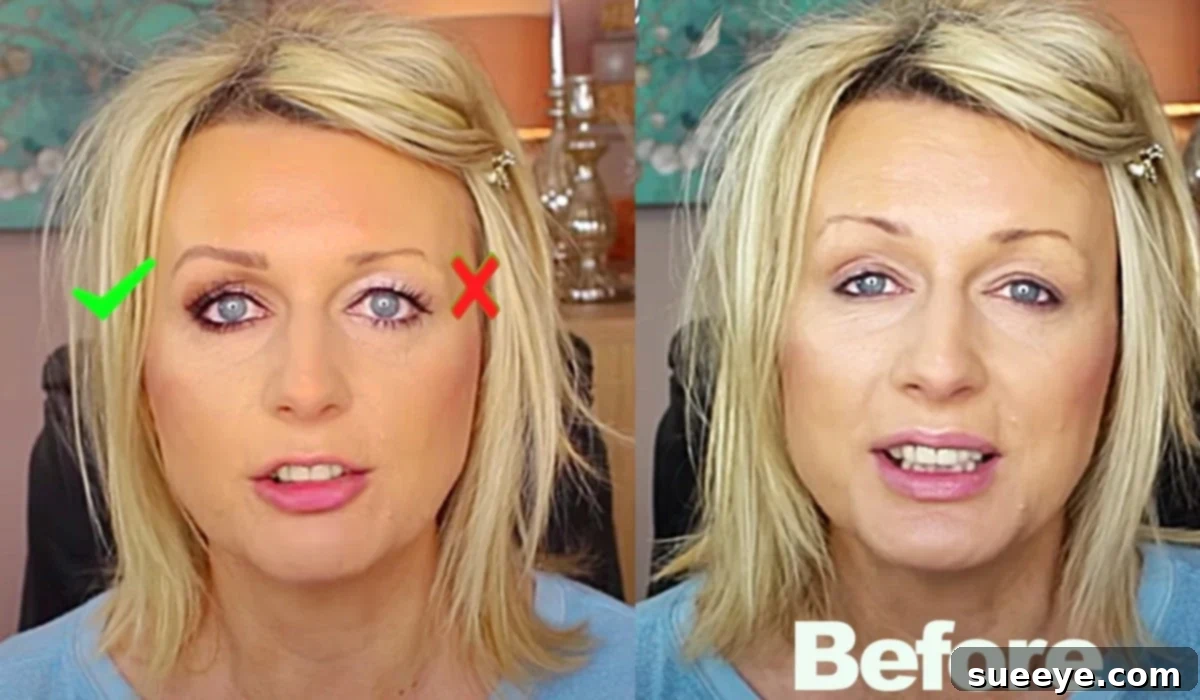
For anyone who has ever felt frustrated by their hooded eyelids, constantly searching for that perfect technique to make their eyes pop, this article is for you. We’ve all been there – applying eyeshadow only to have it disappear when our eyes are open, or struggling with eyeliner that never quite looks right. But fear not, as there are ingenious methods that can beautifully transform the appearance of hooded eyes, making them look significantly more open, bright, and defined.
One such game-changing technique, the “Halo Method,” has gained significant traction for its effectiveness. We were thrilled to discover a fantastic makeup video tutorial by Sugar Puff And Fluff on YouTube, which meticulously breaks down how to master this technique to minimize the appearance of hooded eyelids. This in-depth tutorial focuses on using specific shadow placements to create an illusion of depth and lift, making your upper lids appear expansive and radiant. Whether you’re new to makeup or a seasoned enthusiast, understanding these principles can revolutionize your daily routine.
Unlock Your Eyes: Makeup Tips & The Halo Method for Hooded Eyelids
Hooded eyelids are a common eye shape characterized by an extra fold of skin that droops over the crease, sometimes obscuring the mobile eyelid. This natural feature can make the eyes appear smaller or heavier, and traditional makeup techniques often don’t yield the desired results because the hidden lid space prevents certain applications from being seen. The goal with hooded eye makeup is to strategically use light and shadow to create the illusion of a more prominent lid and a lifted brow bone, effectively “opening up” the eye area.
The “Halo Method” is particularly effective for hooded eyes because it focuses on brightening the very center of the lid while adding definition around the edges. This draws attention to the brightest point, creating a rounded, more open look. It’s a versatile technique that can be adapted for both subtle daytime enhancement and dramatic evening looks, proving that hooded eyes are an opportunity for creativity, not a limitation.
Essential Materials for the Hooded Eyes Halo Method Tutorial:
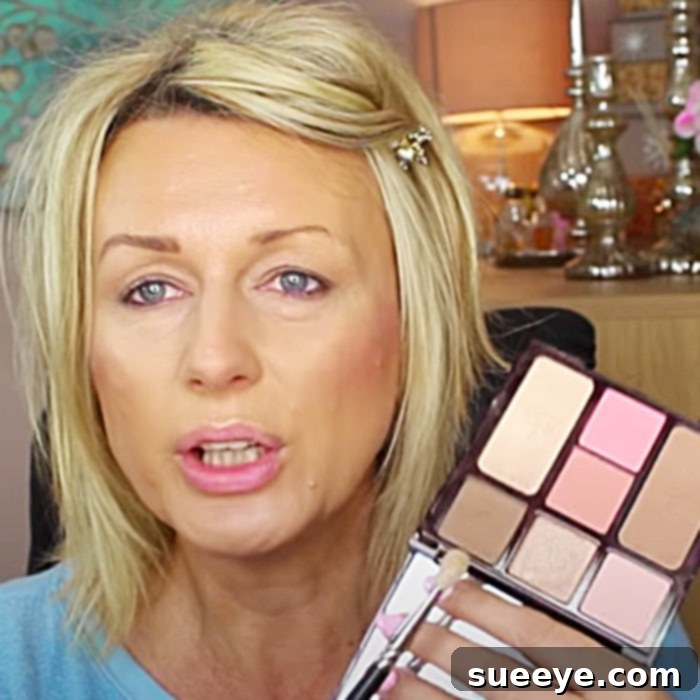
- Eyeshadow Palette: Opt for a palette that includes various shades of brown (light, medium, dark matte browns are key), along with a shimmery or light matte shade for the center of the lid. A contour palette with appropriate brown tones can also serve this purpose beautifully.
- Eyeliner: A pencil eyeliner is often preferred for hooded eyes due to its blendability and ease of application, allowing for thin, precise lines that won’t get lost in the hood. Liquid or gel liner can also be used for advanced users.
- Mascara: A volumizing and lengthening mascara is crucial to lift and define the lashes, further enhancing the open eye effect.
- Concealer (or Foundation): Essential for creating a clean, even base on your eyelids, ensuring your eyeshadows apply smoothly and last longer.
- Eyeshadow Primer: (Highly Recommended, though not listed in original) A good eye primer prevents creasing and enhances shadow vibrancy, especially important for hooded lids.
- Makeup Brushes: A set of quality brushes, including a flat shader brush, a fluffy blending brush, and a precise pencil brush, will make application much easier and more effective.
Step-by-Step Guide: Mastering the Halo Method for Hooded Eyes
This comprehensive tutorial, inspired by the expertise of Sugar Puff And Fluff, will walk you through minimizing the hooded effect on your eyelids in a few straightforward steps. Precision and blending are key, so take your time and practice to perfect the technique.
Step 1: Prepare Your Canvas
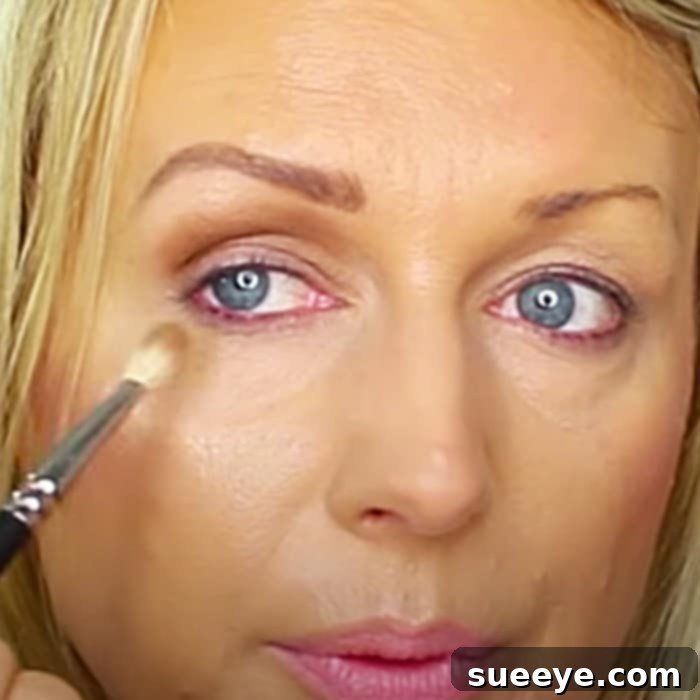
Begin with a clean, moisturized face. Apply your preferred foundation and concealer to create an even skin tone across your face and under your eyes. Crucially, extend a thin layer of concealer or foundation over your entire eyelid, from lash line to brow bone. For optimal longevity and to prevent creasing, follow this with an eyeshadow primer. This step ensures a smooth, uniform base for your eyeshadow application and makes colors pop.
Step 2: Define the Outer and Inner Corners
Using a medium-to-dark matte brown eyeshadow and a blending brush, gently apply this shade to the outer corner of your eyelid, extending slightly above your natural crease where the hood begins. Form a soft “V” shape, sweeping the color inwards but stopping before the center of the lid. Repeat this process on the inner corner of your eye, creating another soft “V” shape that mirrors the outer corner. The key is to build intensity slowly and blend meticulously, ensuring there are no harsh lines. This technique creates depth and frames the central part of your eyelid, which will soon be illuminated.
Step 3: Create the Halo Effect
This is where the magic of the halo method truly comes to life. Take a shimmery, light-colored eyeshadow (or a very light matte shade) and, using a flat shader brush, gently pat it onto the very center of your mobile eyelid. This creates a bright “halo” in the middle, drawing light and attention to this area. For hooded eyes, ensure this bright spot is visible when your eyes are open – you might need to extend it slightly higher than your natural crease. This strategic placement gives the illusion of a more rounded, open eye. Blend the edges of this bright spot softly into the darker shades from Step 2 to ensure a seamless transition.
Step 4: Define with Eyeliner
For hooded eyes, less is often more with eyeliner. Use an eyeliner pencil to create small, precise lines as close to your upper lash line as possible (tightlining can be very effective). A very thin line helps define the eyes without taking up valuable lid space. If you prefer a winged liner, keep the wing short and angled upwards, creating a lift rather than dragging the eye down. Avoid thick, heavy liner, as it can disappear into the hood or make the eyes appear smaller.
Step 5: Finish with Mascara and Brows
Complete your eye look by applying generous coats of volumizing and lengthening mascara to your upper and lower lashes. Focus on lifting the lashes upwards to further open up the eye area. Consider curling your lashes beforehand for an even more dramatic effect. Finally, don’t forget your eyebrows! Well-groomed and defined eyebrows frame the face and can make a significant difference in how open your eyes appear. Fill in any sparse areas and set them with a brow gel.
Why This Technique Works & Further Tips for Hooded Eyes
The “Halo Method” effectively addresses the challenges of hooded eyelids by manipulating light and shadow. The darker shades at the inner and outer corners recede, creating depth, while the bright center highlights the most visible part of your lid, pulling focus and creating the illusion of more space. This technique is particularly flattering for mature hooded eyes, as it offers a lifted and refreshed appearance without looking heavy.
Pro Tips for Perfecting Your Look:
- Always use a primer: It’s non-negotiable for preventing eyeshadow from transferring or creasing on hooded lids.
- Look straight ahead: When applying eyeshadow, especially in the crease area, keep your eyes open and look straight into the mirror. This allows you to see where the color will actually appear when your eyes are open.
- Blend upwards: Always blend your eyeshadows upwards and outwards towards your temples. This creates a lifting effect, counteracting any droopiness.
- Avoid dark shimmers in the crease: Shimmer shadows can emphasize the hooded area. Reserve shimmer for the mobile lid (the halo!) or the inner corner.
- Consider a neutral palette: Browns, soft grays, and muted plums are universally flattering for hooded eyes and offer natural definition.
- Practice makes perfect: Don’t get discouraged if it doesn’t look perfect the first time. Makeup is an art, and practice will improve your skill and confidence.
This is a truly wonderful tutorial, and we are confident that by following these steps, you will love the wide-open, youthful effect it gives to your eyes. Say goodbye to disappearing eyeshadow and hello to a vibrant, expressive gaze!