
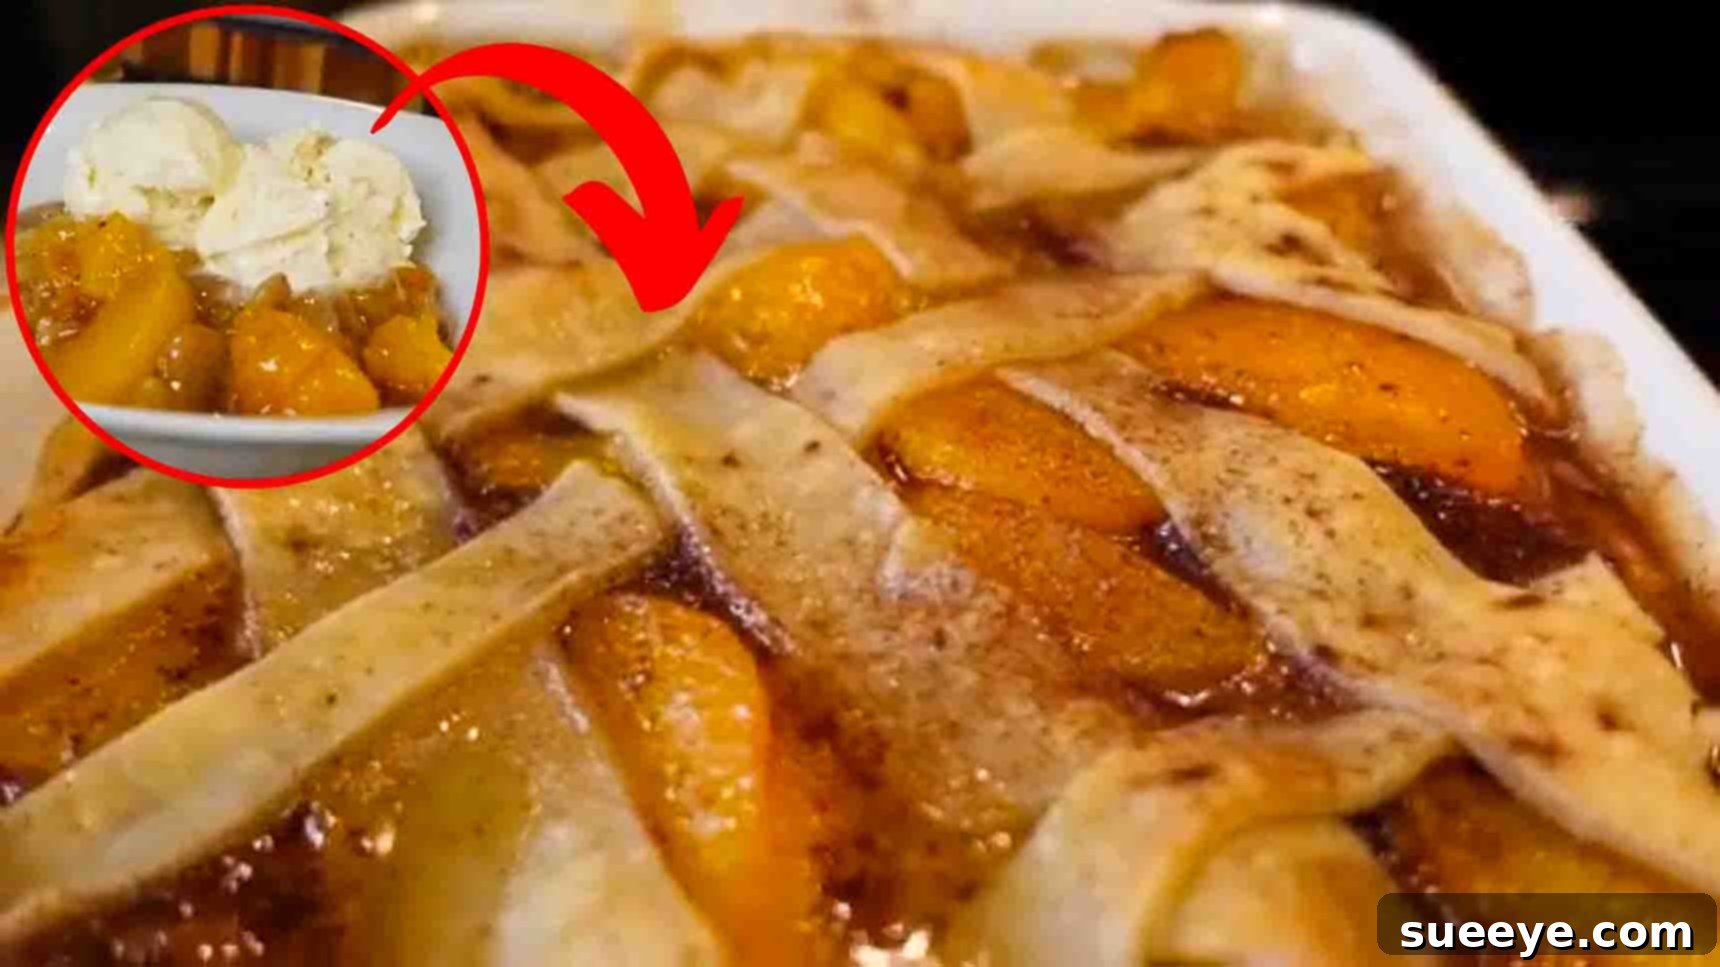
There’s something undeniably comforting and utterly delicious about a homemade peach cobbler. For many, including my own family, it’s a cherished dessert that brings smiles and a taste of sunshine to any table. Its warm, tender peaches bathed in a sweet, spiced syrup, all crowned with a golden, flaky crust, make it an irresistible classic. This isn’t just any peach cobbler; it’s a Southern-style masterpiece that promises to become a staple in your recipe collection.
The quest for the perfect peach cobbler led me to a fantastic recipe from ThatGirlCanCook! on YouTube. From the moment I first tried it, I knew I had found a winner. This recipe delivers an authentic, rich flavor profile and a wonderfully satisfying texture that truly sets it apart. It’s incredibly easy to follow, even for beginner bakers, and the results are consistently spectacular. If you’re looking for the ultimate dessert to impress your guests or simply treat your family, look no further. Prepare to embark on a culinary journey that celebrates the sweet simplicity of peaches in the most delightful way possible.
The Best Southern-Style Peach Cobbler Recipe: A Sweet Family Favorite
Few desserts evoke the warmth and hospitality of the American South quite like a classic peach cobbler. This beloved dish is more than just a dessert; it’s a culinary tradition, often passed down through generations. Our recipe for Southern-style peach cobbler perfectly captures that essence, offering a harmonious blend of sweet, juicy peaches with a buttery, golden-brown crust. It’s a versatile treat, perfect for summer gatherings when peaches are in peak season, yet equally comforting during cooler months thanks to the convenience of canned peaches. Get ready to create a memorable dessert that tastes like a slice of pure Southern charm.
Ingredients for Your Delicious Peach Cobbler
Crafting the perfect peach cobbler starts with selecting the right ingredients. This recipe prioritizes both flavor and convenience, making it accessible for home bakers of all skill levels. Here’s a detailed look at what you’ll need:
- Two (28 oz each) cans of Yellow Cling Peaches in Heavy Syrup: This is a key ingredient for both flavor and ease. One can will be drained, providing firm peach slices, while the syrup from the second can adds a rich, sweet base to your filling, ensuring a deeply flavorful and moist cobbler. Using canned peaches makes this a year-round delight!
- Two boxes of Pillsbury Pie Crust: For ultimate convenience and consistent results, pre-made pie crusts are a game-changer. They provide that desirable flaky texture without the fuss of making dough from scratch.
- 1/2 stick (4 tablespoons) Unsalted Butter, melted: Butter is essential for adding richness to the peach filling and achieving that beautiful golden-brown, crispy crust.
- 1/2 cup Light Brown Sugar: This provides a deep, caramel-like sweetness that complements the peaches beautifully, enhancing their natural flavor.
- 1 tablespoon Ground Cinnamon: A classic spice pairing with peaches, cinnamon adds warmth and aromatic complexity to the filling.
- 1/2 teaspoon Ground Nutmeg: Just a hint of nutmeg elevates the spice profile, contributing to that quintessential “Southern” flavor.
- 1 tablespoon Vanilla Extract: Vanilla enhances all the other flavors, adding a comforting, sweet aroma and depth.
- 2 tablespoons Cornstarch: This acts as a thickener for your peach filling, ensuring it’s beautifully syrupy but not watery.
- 2 tablespoons Cold Water: Used to create a cornstarch slurry, which prevents lumps when adding the thickener to the warm peach mixture.
- Pinch of Salt: A small amount of salt balances the sweetness and brings out the vibrant flavors of the peaches and spices.
- 1 tablespoon Fresh Lemon Juice: This brightens the peach flavor, prevents the filling from becoming overly sweet, and adds a subtle tang.
Step-by-Step Guide to Baking Your Best Peach Cobbler
Follow these detailed instructions to create a show-stopping peach cobbler that will have everyone asking for seconds. Precision and a little love are all you need!
Step 1: Crafting the Luscious Peach Filling
Begin by preparing your peach mixture. In a large, sturdy mixing bowl, combine the peaches. Remember, you’ll be draining the heavy syrup from one 28 oz can of yellow cling peaches, while the second 28 oz can goes in with all its delicious syrup. This combination ensures a perfect balance of peach flavor and sweet, syrupy goodness. Next, pour in 1 tablespoon of fragrant vanilla extract, followed by 1 tablespoon of warm ground cinnamon and 1/2 teaspoon of aromatic nutmeg. Add 1/2 stick (4 tablespoons) of melted unsalted butter, 1 tablespoon of fresh lemon juice, and 1/2 cup of light brown sugar. These ingredients will infuse your peaches with incredible depth and sweetness.
Once these ingredients are in the bowl, gently set it aside for a moment. In a separate, smaller bowl, prepare your cornstarch slurry. Whisk together 2 tablespoons of cornstarch with 2 tablespoons of cold water until smooth and no lumps remain. This step is crucial for achieving a thick, glossy filling without any unwanted starchy texture. Pour this slurry into your peach mixture. Now, it’s time to thoroughly combine all the ingredients. Stir gently but effectively, ensuring every peach slice is coated with the sweet, spiced mixture. Finish by adding a pinch of salt to balance the flavors, stirring once more. Your vibrant peach filling is now ready, bursting with potential!
Step 2: Preparing and Pre-Baking the Bottom Crust
Before adding your magnificent peach filling, you need to prepare the foundation: the bottom crust. Start by generously greasing your chosen baking dish with some melted butter. This not only prevents sticking but also adds an extra layer of flavor. Carefully unroll two Pillsbury pie crusts and gently lay them into the bottom and up the sides of your baking dish. Press them down gently to conform to the shape of the dish, ensuring there are no gaps or tears. Trim any excess pieces of crust that overhang too much, but don’t discard them just yet; they can be used for decorative elements or re-rolled.
With the crust in place, brush a little more melted butter over the entire surface of the pie crust. This step contributes to a richer flavor and helps achieve that beautiful golden hue. Next, using a fork, gently poke several holes across the bottom and sides of the crust. This crucial step, known as “docking,” allows steam to escape during baking, preventing the crust from puffing up and creating an uneven surface, which can lead to a soggy bottom. Place your prepared crust into a preheated oven at 375 degrees F (190 degrees C) and bake for eight to ten minutes. This pre-baking (or blind baking) step is key to ensuring your cobbler has a wonderfully crisp, non-soggy base, even with the juicy peach filling.
Step 3: Assembling the Cobbler with Peach Perfection
While your bottom crust is pre-baking, seize the opportunity to prepare the top crust. Take another Pillsbury pie crust (or use any trimmed excess from the bottom crust) and, using a sharp knife or a pastry wheel, cut it into even strips. These strips will form a beautiful lattice pattern over your peach filling, providing both visual appeal and a delightful texture. Set these strips aside, ready for assembly.
Once the bottom crust has finished its initial bake, carefully remove the baking dish from the oven. The crust should be lightly golden and slightly firm. Now, it’s time for the star of the show: spoon your thoroughly mixed peach filling evenly over the pre-baked crust. Distribute the peaches and their thick, spiced syrup across the entire surface. After the filling is perfectly in place, meticulously lay your prepared pie crust strips over the peach mixture. You can arrange them in a simple criss-cross pattern for a classic look, or get creative with a more intricate lattice. Ensure the strips are evenly spaced for balanced baking.
Step 4: The Final Bake for Golden Perfection
To achieve that signature golden-brown, glistening top crust, we’ll add a final touch. In a small bowl, combine 1 tablespoon of light brown sugar with a tablespoon or two of melted butter. Mix these thoroughly until you have a slightly gritty, sweet butter mixture. Generously brush this mixture all over the pie crust strips and any exposed parts of the bottom crust. This not only adds flavor but also helps create a beautiful caramelized finish. For an extra layer of aroma and visual appeal, lightly sprinkle some ground cinnamon over the entire top of the cobbler. This final dusting will release a wonderful fragrance as it bakes.
Carefully place your assembled peach cobbler back into the preheated 375 degrees F (190 degrees C) oven. Bake for an additional 40 to 50 minutes. The baking time can vary slightly depending on your oven, so keep a close eye on it. You’ll know your cobbler is perfectly baked when the top crust is a rich golden brown, the filling is bubbly and thick, and your kitchen is filled with an irresistible sweet, peachy aroma. If the crust starts browning too quickly, you can loosely tent the dish with aluminum foil. Once baked to perfection, remove the cobbler from the oven and allow it to cool slightly on a wire rack before serving. This cooling time is essential for the filling to set properly, ensuring every scoop is heavenly.
Tips for the Ultimate Peach Cobbler Experience
While this recipe is straightforward, a few extra tips can elevate your peach cobbler from great to extraordinary:
- Fresh vs. Canned Peaches: While this recipe calls for canned peaches for convenience and consistent results, you can absolutely use fresh ripe peaches! If using fresh, you’ll need about 6-8 medium peaches (approximately 4-5 pounds). Peel, pit, and slice them. You might need to add a touch more sugar if your peaches aren’t super sweet, and increase the cornstarch slightly if they are very juicy. Frozen peaches can also work; thaw and drain them well before using.
- Preventing a Soggy Bottom: The pre-baking (blind baking) of the bottom crust is crucial. Additionally, ensure your cornstarch slurry is properly mixed and cooked into the filling; this thickens the juices and prevents them from soaking into the crust.
- Perfect Golden Crust: Don’t skip brushing the top crust with melted butter and brown sugar before the final bake. This creates a beautiful caramelization and a wonderfully crisp texture. If your crust is browning too quickly, loosely tent the cobbler with aluminum foil for the remaining bake time.
- Spice Variations: Feel free to experiment with other warm spices. A pinch of cardamom, allspice, or ginger can add a unique twist to the traditional cinnamon and nutmeg.
- Serving Suggestions: Peach cobbler is divine on its own, but it’s truly exceptional when served warm with a scoop of vanilla bean ice cream, a dollop of fresh whipped cream, or a drizzle of crème anglaise.
- Storage: Store leftover cobbler covered in the refrigerator for up to 3-4 days. Reheat individual servings gently in the microwave or oven for best results.
Frequently Asked Questions About Peach Cobbler
Here are some common questions you might have when making your peach cobbler:
- Q: What’s the difference between a cobbler, crisp, and crumble?
A: While all are fruit desserts, they differ in their toppings. A cobbler typically has a biscuit-like or pie crust topping (like this recipe’s lattice crust). A crisp has a topping made of oats, flour, butter, and sugar, which bakes to a crunchy texture. A crumble is similar to a crisp but generally doesn’t contain oats, resulting in a less crunchy, more crumbly topping. - Q: Can I make this peach cobbler ahead of time?
A: You can prepare the peach filling a day in advance and store it in the refrigerator. Assemble and bake the cobbler just before you plan to serve it for the freshest taste and best crust texture. Baking it fresh ensures a crisp crust and warm, gooey filling. - Q: How do I know when the cobbler is fully cooked?
A: The cobbler is done when the crust is golden brown and the peach filling is visibly bubbling around the edges. If you insert a knife into the center (avoiding the crust strips), it should feel tender, and the filling should appear thickened. - Q: My cobbler filling is too runny. What went wrong?
A: A runny filling is usually due to insufficient thickening. Ensure you’re using the correct amount of cornstarch and that it’s properly mixed into a slurry before adding. Also, if using fresh peaches, they might release more liquid, requiring a slight increase in cornstarch. Ensure the cobbler bakes long enough for the cornstarch to fully activate and thicken the juices. - Q: Can I freeze peach cobbler?
A: Yes, you can freeze baked peach cobbler. Allow it to cool completely, then wrap it tightly in plastic wrap and then in aluminum foil. It can be frozen for up to 3 months. Thaw overnight in the refrigerator and reheat in a moderate oven until warmed through.
Why This Southern Peach Cobbler is a Must-Try
This Southern-style peach cobbler recipe isn’t just about mixing ingredients; it’s about creating an experience. It’s the perfect blend of traditional Southern comfort with modern convenience, thanks to easy-to-use canned peaches and pre-made pie crusts. The result is a dessert that tastes genuinely homemade, with juicy, perfectly spiced peaches and a flaky, buttery crust that’s impossible to resist. Whether you’re a seasoned baker or just starting your culinary journey, this recipe provides a foolproof path to a dessert that will be cherished by all who taste it.
Final Thoughts on Your Peach Cobbler Masterpiece
Baking a peach cobbler is more than just following a recipe; it’s about bringing joy and warmth into your home. This Southern-style peach cobbler, inspired by the expertise of ThatGirlCanCook!, embodies everything you could want in a classic dessert: rich flavor, comforting aroma, and a satisfying texture that perfectly balances sweet fruit with a delightful crust. We encourage you to try this recipe, share it with loved ones, and savor every single bite. It’s a timeless treat that truly celebrates the simple pleasure of good food and great company. Enjoy the process, and get ready to indulge in the best peach cobbler you’ve ever made!