Kids Crafts
21 DIY STEM Projects for Kids and Teens
DIY STEM projects for kids: build a balancing robot, a craft stick catapult and a marble maze, then make magnetic slime, rubber eggs and cloud jars.
The good DIY STEM projects are never the ones with a kit and a barcode. They are the ones where a ziplock bag taped to a window turns into a working water cycle, an egg left in vinegar for three days comes out bouncing, and a stack of craft sticks and two rubber bands launches a marshmallow across the kitchen. Everything here runs on things you already have: paper towels, food coloring, baking soda, a battery, a jar. Some take five minutes and some need a few days of watching and waiting, which is its own useful lesson. They cover chemistry, physics, engineering and biology, they suit everyone from preschool through middle school, and every tutorial links back to the teacher or parent who worked it out.
DIY STEM Ideas for Kids and Teens
1. Balancing Robot
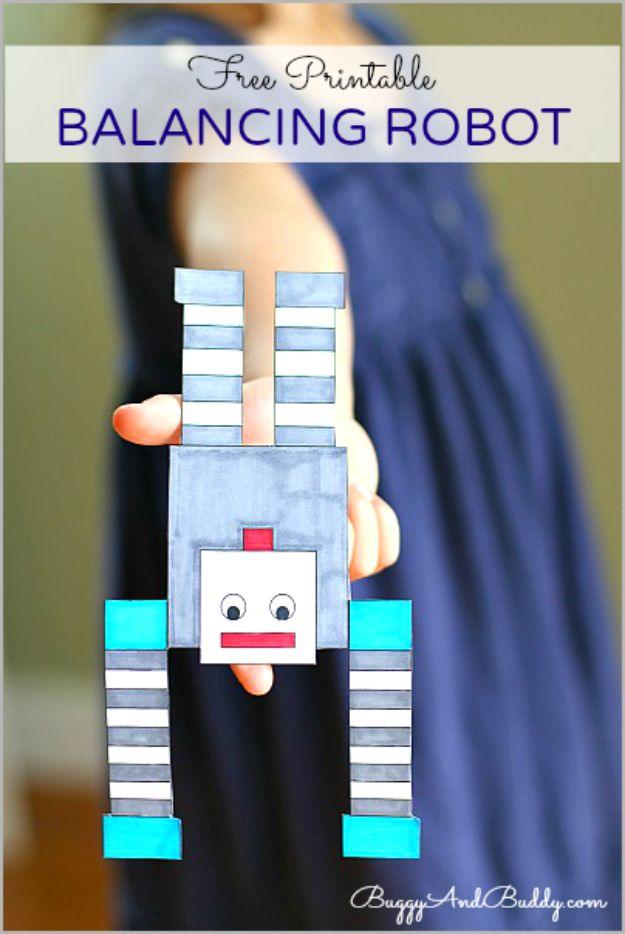
Print the robot, color it, cut out two copies. Two pennies go on the back of the hands with removable poster putty, not tape, and the reason is the entire point of the activity. Putty lets a kid slide the pennies around and find out for themselves where the weight has to sit before the whole thing will balance on a fingertip. Once it works, more putty and the second robot glued on the back hides the pennies completely, which is what makes it look like magic. Then hand one to a child without explaining anything and watch them work out center of gravity on their own.
Get the full tutorial at Buggy and Buddy.
2. Make An Electromagnet
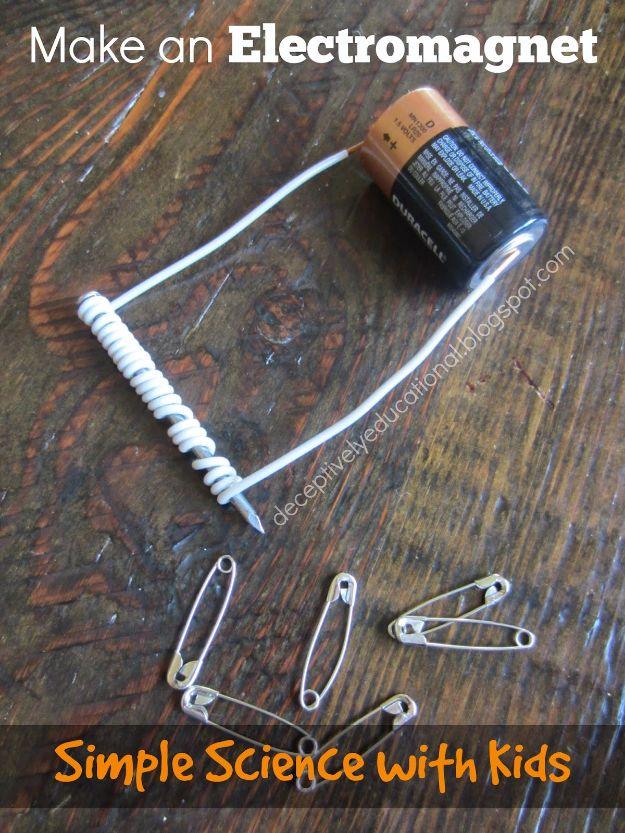
Wrap insulated copper wire tightly around a nail, leaving four to six inches loose at each end, then strip about half an inch of the plastic coating off both ends with a wire stripper or, failing that, by scoring with scissors and peeling with a fingernail. Tape the battery down to the table so it cannot roll away mid-experiment. Touch a bare wire end to each terminal and the nail becomes magnetic, and safety pins or paper clips jump to it. Do not touch the bare wire itself, because current running through it makes those ends genuinely hot.
Get the full tutorial at Relentlessly Fun, Deceptively Educational.
3. Exploding Rainbow
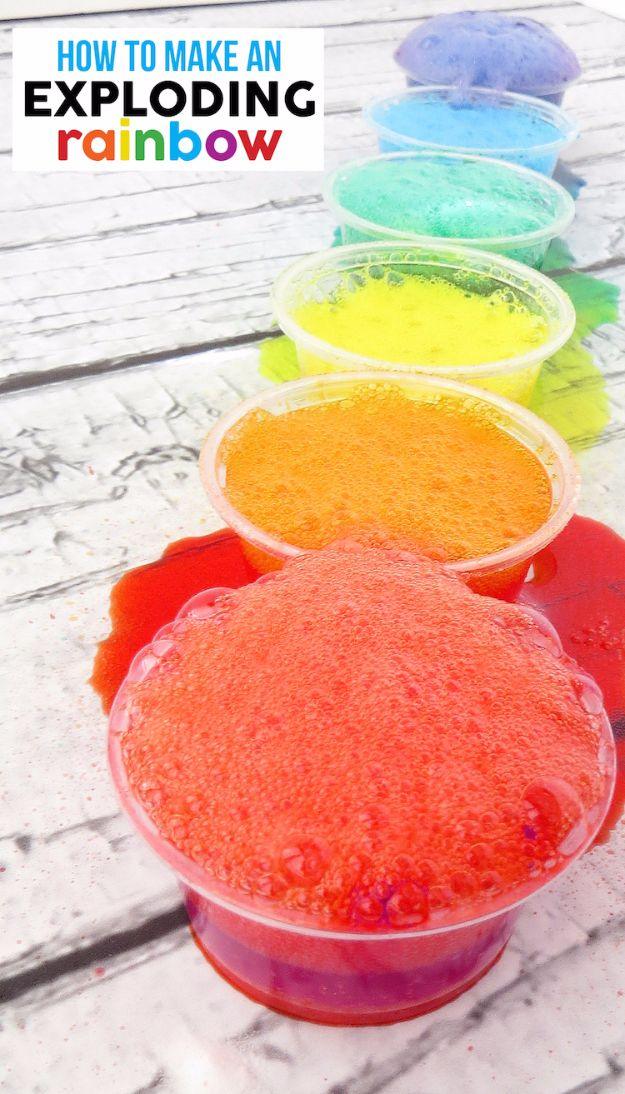
Six small clear cups in rainbow order, each one erupting into a dome of colored foam that climbs over the rim and runs down the outside. It is the classic baking soda and acid reaction done six times at once, and doing them in a row is what turns a familiar experiment into something worth watching. Everything in it is already in your kitchen. Nothing genuinely explodes, despite the name, so this is an indoor, kitchen-counter project rather than a take-it-outside one, which is exactly why it exists as a rainy day answer.
Get the full tutorial at Smart School House.
4. Make Magnetic Slime
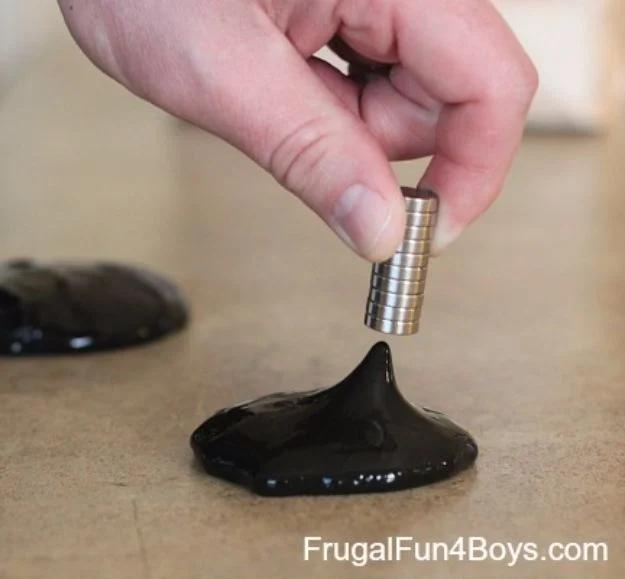
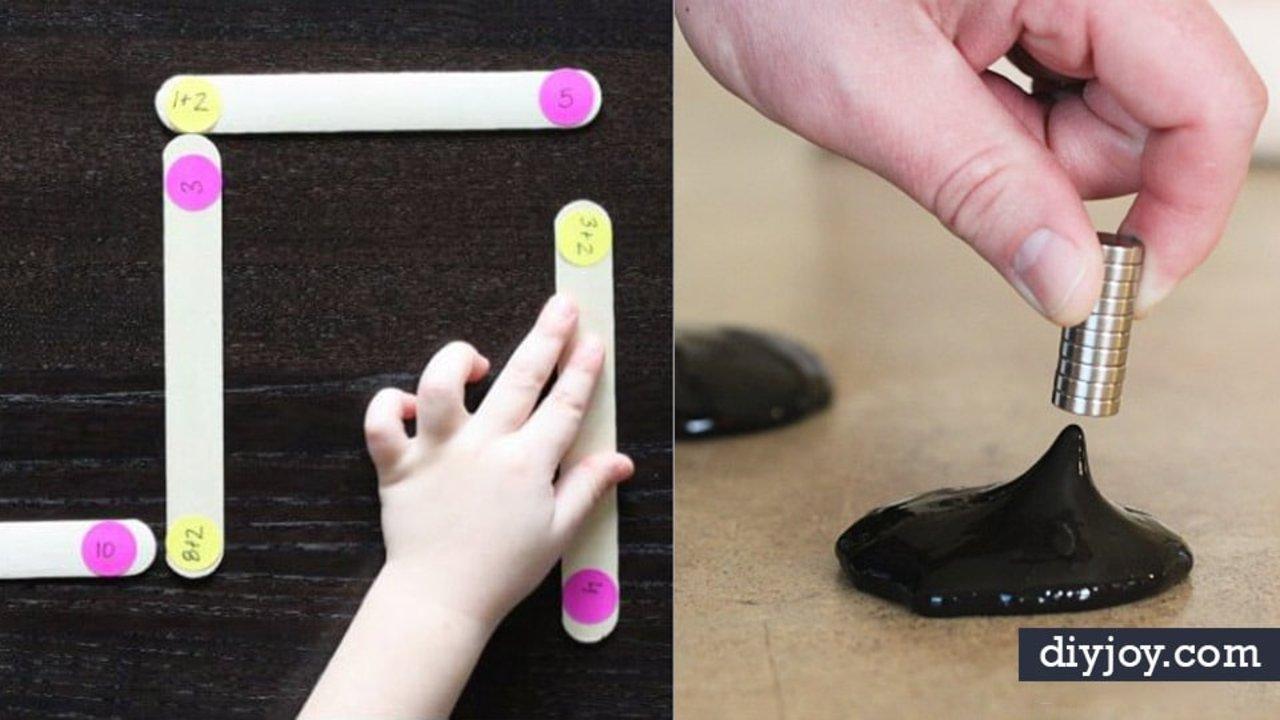
Three ingredients, and one piece of kit that is not negotiable. A quarter cup of white PVA glue goes in a bowl, two tablespoons of iron oxide powder get stirred through until the crumbly mixture finally turns solid black, then an eighth of a cup of liquid starch goes in and the slime forms as you stir. Knead it, and give it a few seconds under cold water if any starch refuses to mix. The magnet has to be a rare earth neodymium one, because a fridge magnet is nowhere near strong enough to move it.
Get the full tutorial at Frugal Fun For Boys and Girls.
5. Motorized Coloring Machine
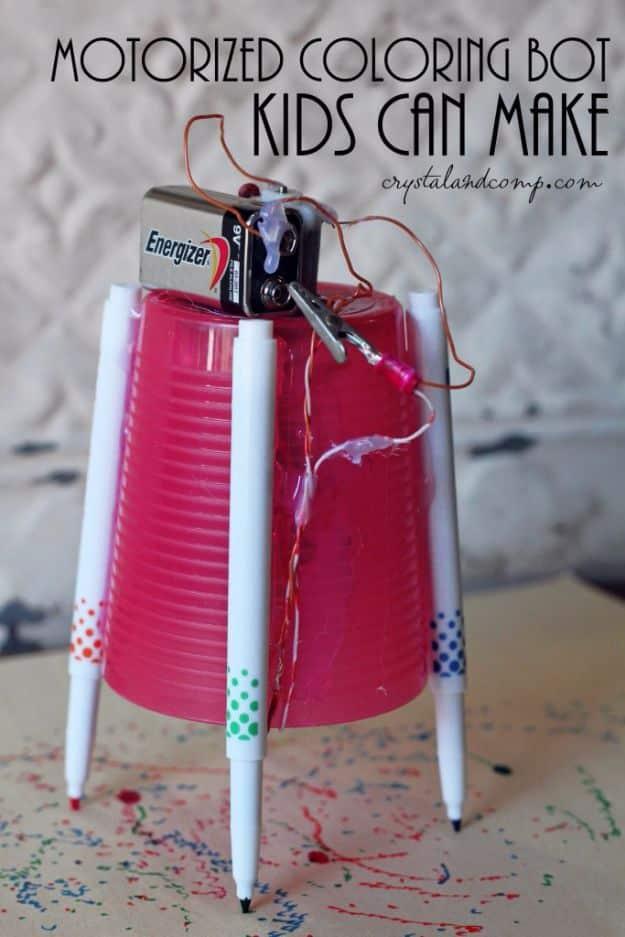
A pink plastic cup turned upside down, three markers taped on as legs, and a small motor and battery hot glued to the top. Switch it on and the whole thing vibrates its way across a sheet of paper, scribbling as it goes, and no two runs ever look the same. The motor in the original came out of a broken toy, which is the best part of the project: it is genuinely upcycled, and taking the dead toy apart to find the motor is half the engineering lesson. Kids can build this one themselves with an adult on glue gun duty.
Get the full tutorial at Crystal and Comp.
6. Build An Inventor's Box
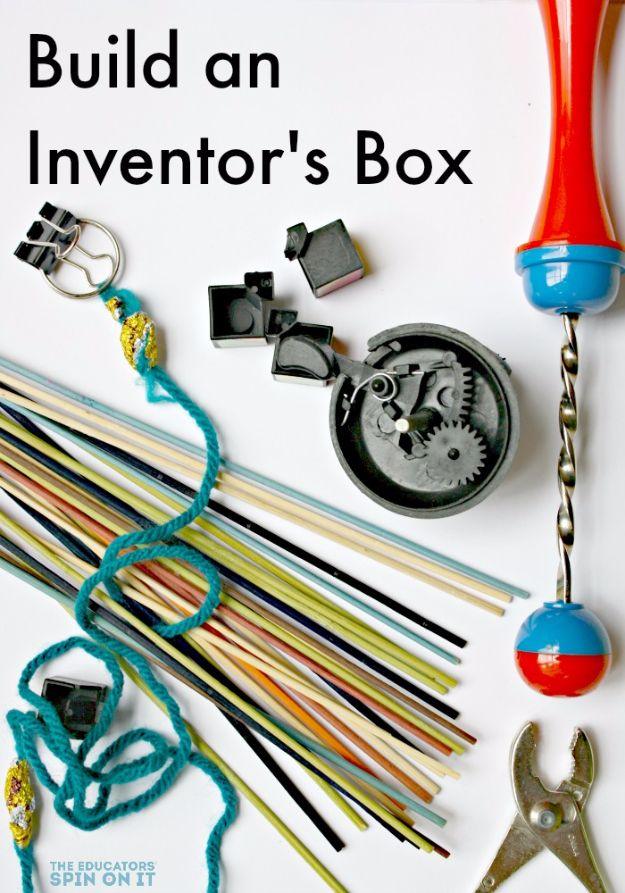
This is not a project, it is a container, and it may be the most useful thing on this list. One box holds recycled materials, dowels, string, clips, gears and broken oddments, and one rule governs it: anything in the box can be taken apart, glued, cut and rebuilt without asking, and anything outside the box cannot. That single sentence is what stops a household’s tape supply from disappearing and its remote controls from being disassembled. What comes out of it is entirely up to the child, which is the actual engineering part.
Get the full tutorial at The Educators' Spin On It.
7. Walking Water Experiment
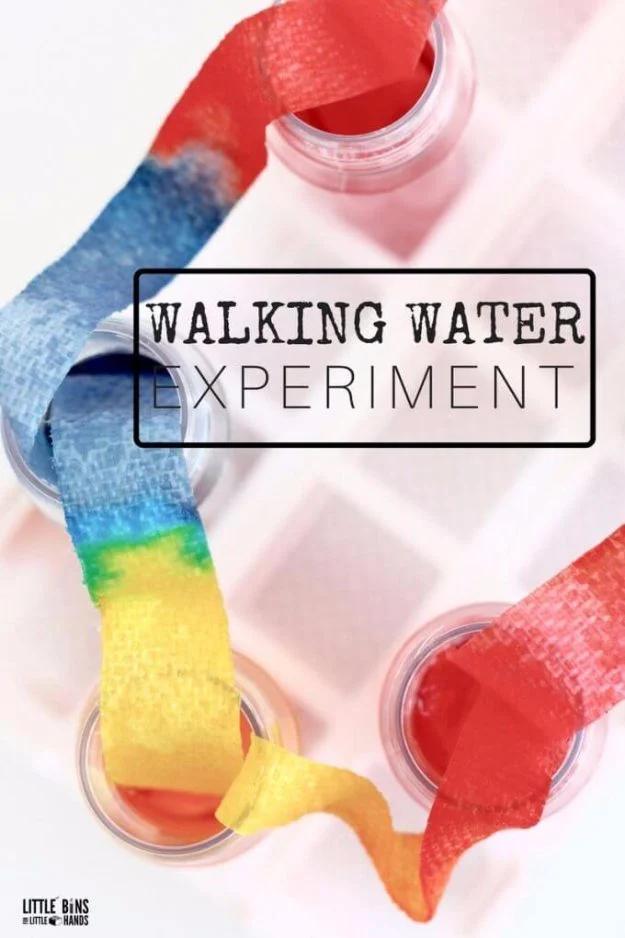
Cups of colored water alternate with empty ones, and a folded strip of paper towel bridges each pair with an end down in each cup. Then you wait, and the water climbs the paper towel against gravity and runs down into the empty cup, mixing primary colors into secondary ones as it arrives. That climb is capillary action, the same mechanism a plant uses to pull water up from its roots, which is why this is a life science lesson wearing a craft costume. Use the same amount of food coloring in each cup or the finished rainbow comes out uneven.
Get the full tutorial at Little Bins for Little Hands.
8. Color Changing Chemistry Clock
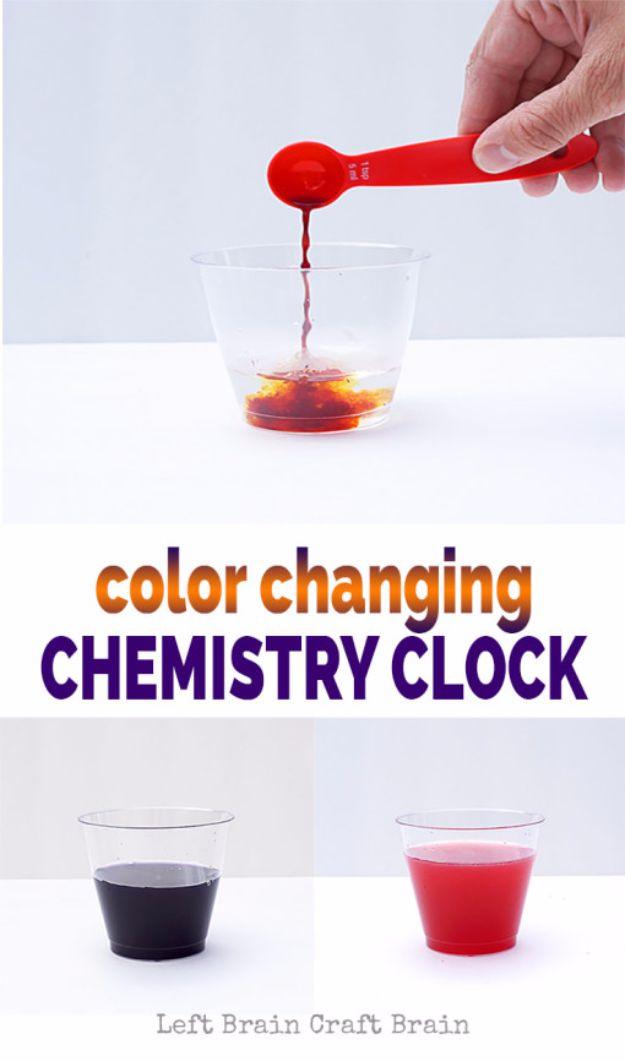
Yellow solutions turn clear, clear ones turn dark blue, and the timing of the switch is the experiment. It runs on the iodine clock reaction: iodine reacting with starch while vitamin C slows the whole thing down, so the delay before the color flips depends on exactly how much of each you used. Crushing a vitamin C tablet inside a zip bag is the part children enjoy most, and stomping on it counts as a legitimate method. Wear safety glasses, because these liquids splash, and cover everything, because iodine stains fabric and worktops permanently.
Get the full tutorial at Left Brain Craft Brain.
9. Lemon Volcano
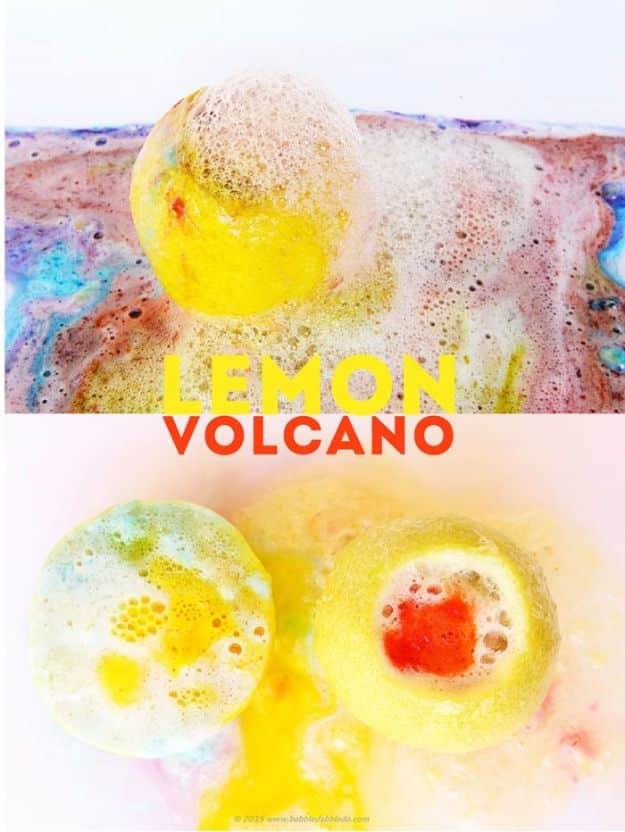
Slice the bottom off a lemon so it sits flat, flip it over and cut the core out, then mash the inside with a craft stick to break the segments open and free the juice. Baking soda goes in and the citric acid already inside the fruit does the rest. Keep a second lemon juiced in a cup to top it up and keep the reaction going, and stir it to make it froth harder. Open faced halves work as well as cored whole ones. These are small bubbling eruptions rather than spectacular ones, and they smell wonderful, which no baking soda volcano ever has before.
Get the full tutorial at Babble Dabble Do.
10. Rubber Egg Science
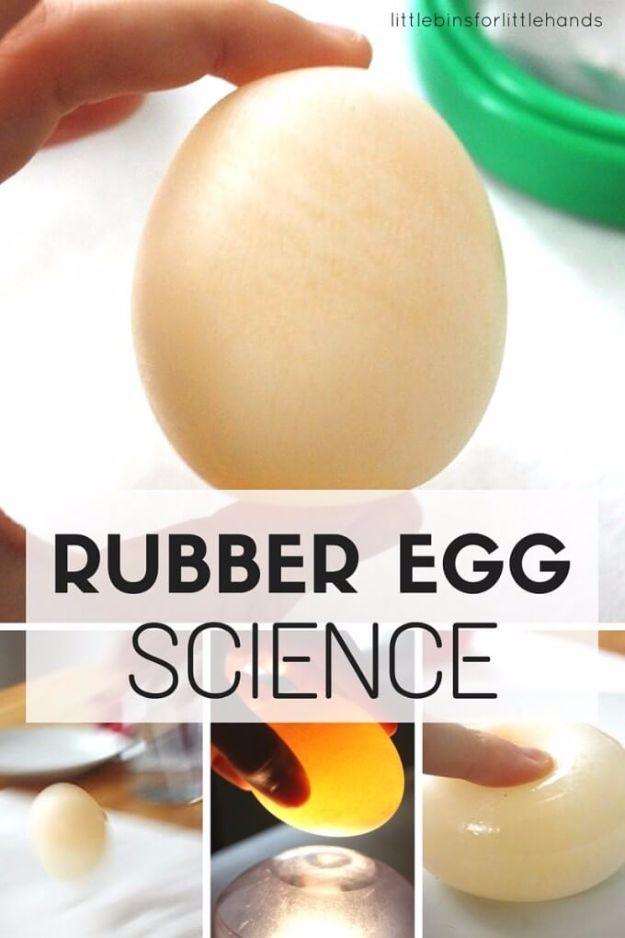
Put a raw egg in a jar, cover it completely with vinegar, and walk away for two or three days. The vinegar is an acid and the shell is calcium carbonate, so it dissolves, and the tiny bubbles forming on the shell within minutes are the reaction starting. What is left is a translucent, rubbery egg held together only by its membrane. Then the good part: measure it, shine a flashlight through it, compare it to a fresh egg, and find out from a very short drop whether it really bounces. Check it daily and write down what changed, because the change over time is the lesson.
Get the full tutorial at Little Bins for Little Hands.
11. Fizzing Jupiter
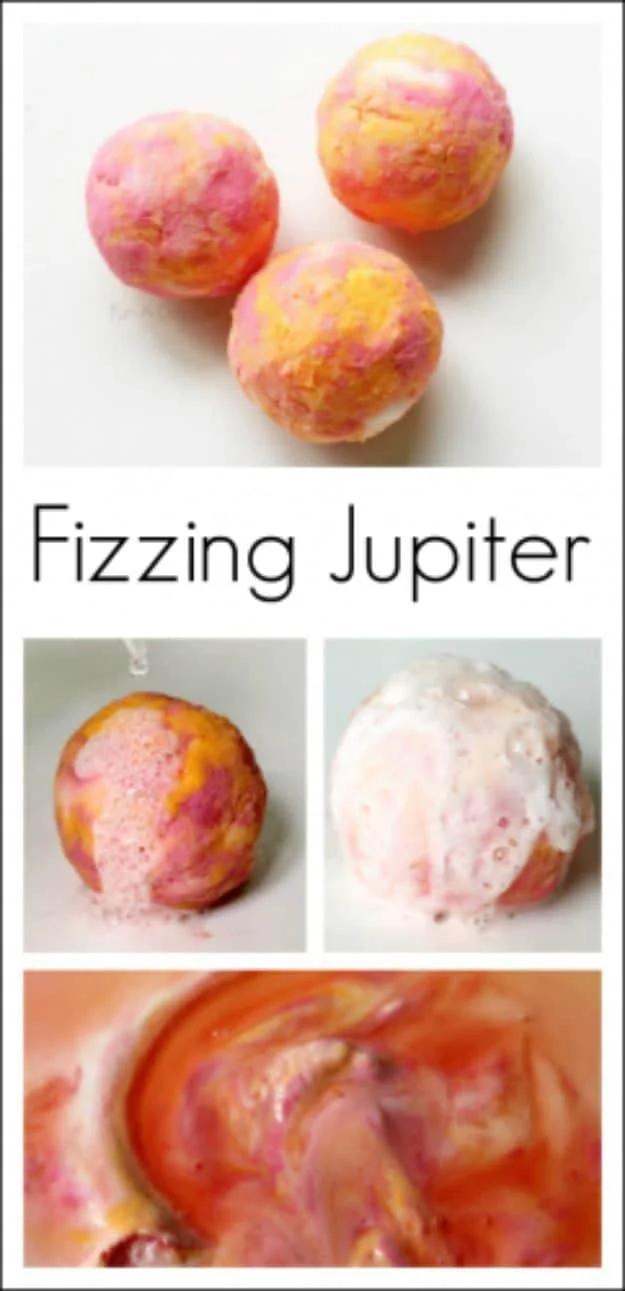
Mix a cup of baking soda with about a quarter cup of water per color to make a thick paste, leave one batch white and tint the others with liquid watercolor. Too runny, add baking soda. Too crumbly, add water. Then grab bits of all three colors, press them together into a ball and you get the marbled swirls that actually make it read as Jupiter rather than a lump. Set them on a tray, drop vinegar on with a pipette and watch the planet foam apart. Looking at real photographs of Jupiter first to pick the colors is what turns this from craft into astronomy.
Get the full tutorial at Fun-A-Day!.
12. Edible Atom Models
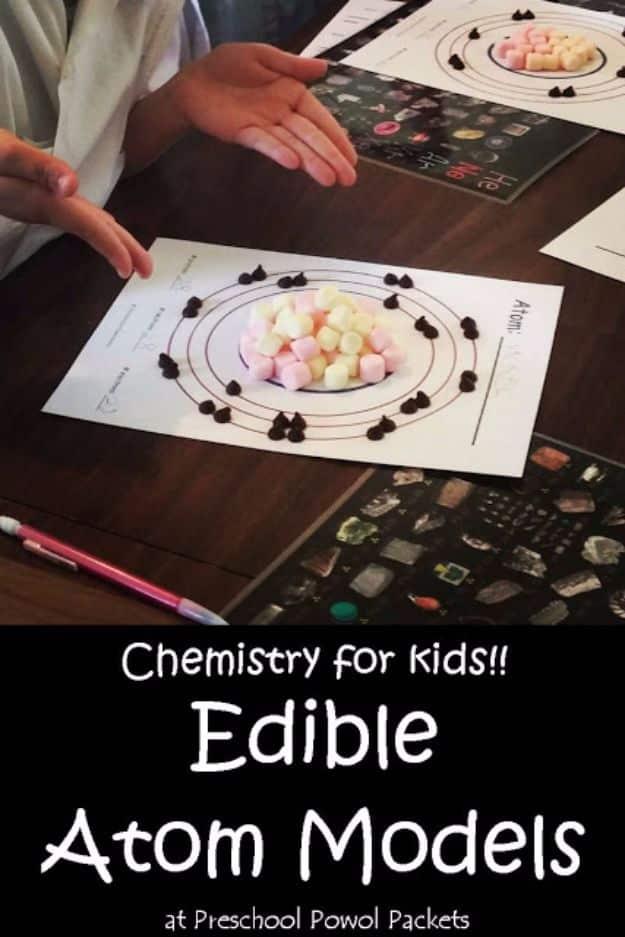
A printed template with the nucleus in the center and electron shells drawn as rings around it. Mini marshmallows pile into the middle as protons and neutrons, chocolate chips sit on the rings as electrons, and a child builds a specific element by counting out the right number of each. Then they eat it. What makes this work better than any diagram is that counting is the whole activity, so the difference between one element and the next becomes a physical thing you can run out of. Built for third and fourth graders, and preschoolers turn out to follow more of it than anyone expects.
Get the full tutorial at Preschool Powol Packets.
13. Popsicle Stick Catapult
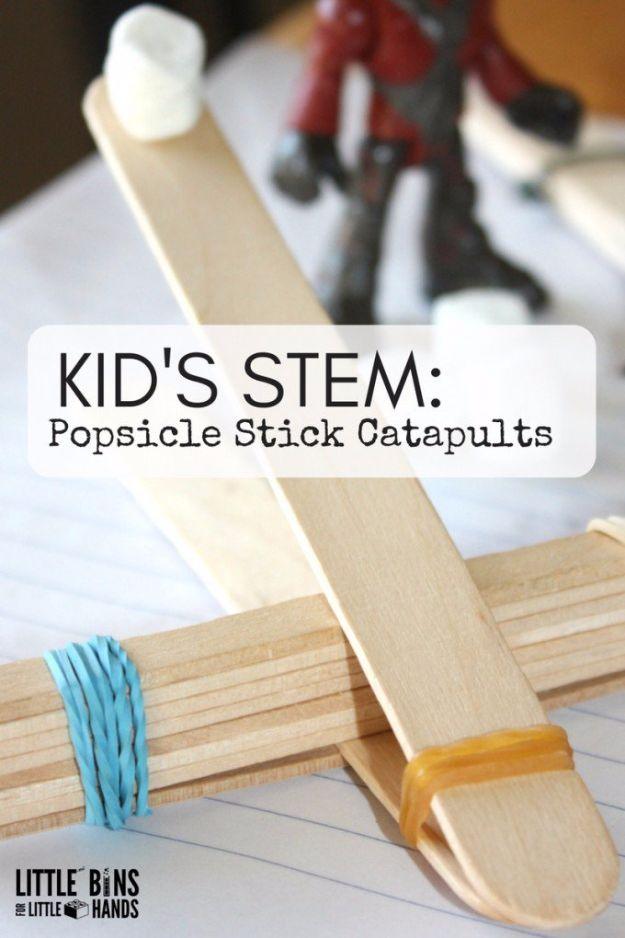
Cut small V-notches into both sides of two craft sticks in matching positions. Stack the remaining eight, rubber band each end of the stack tight, then slide one notched stick through the stack just under the top one. Flip it over, lay the second notched stick on top and band the notched ends together, and that is the catapult. Ten sticks, some bands and a bottle cap. Then the actual science starts: launch pompoms, marshmallows and erasers, measure how far each one goes, change exactly one thing about the design and measure again.
Get the full tutorial at Little Bins for Little Hands.
14. Fireworks in a Jar
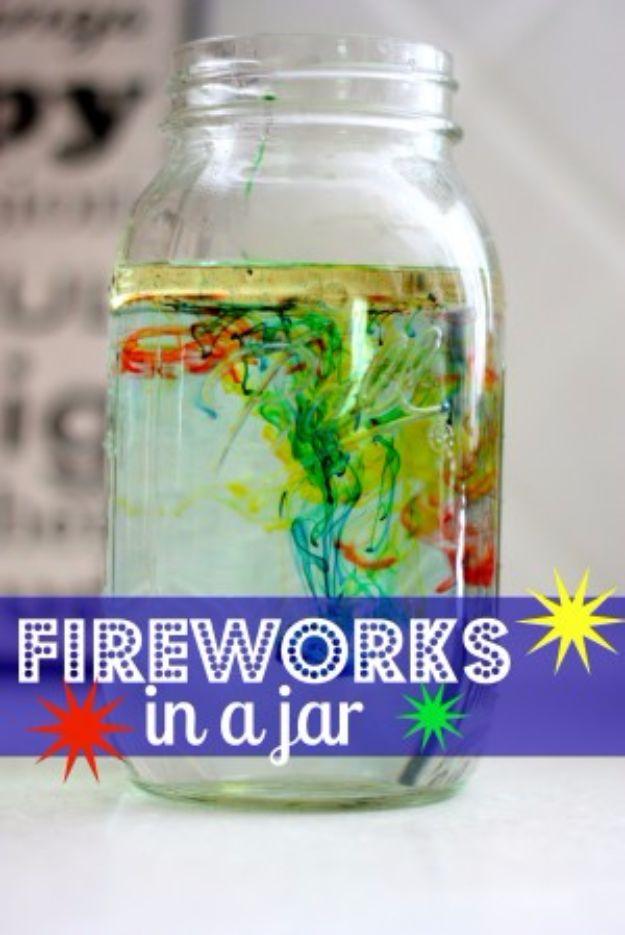
Fill a jar three quarters full of warm water. In a separate bowl, stir three or four tablespoons of oil with several drops of food coloring in different colors, using a fork, until the drops are broken up but still separate. Pour that gently on top. The oil floats because it is less dense, and the colored droplets, being heavier than the oil, sink through it one by one. As each one reaches the water it dissolves and blooms outward, which looks exactly like a firework going off in slow motion. Food coloring dissolves in water but not in oil, and that is the entire trick.
Get the full tutorial at I Can Teach My Child.
15. Make Magic Aqua Sand
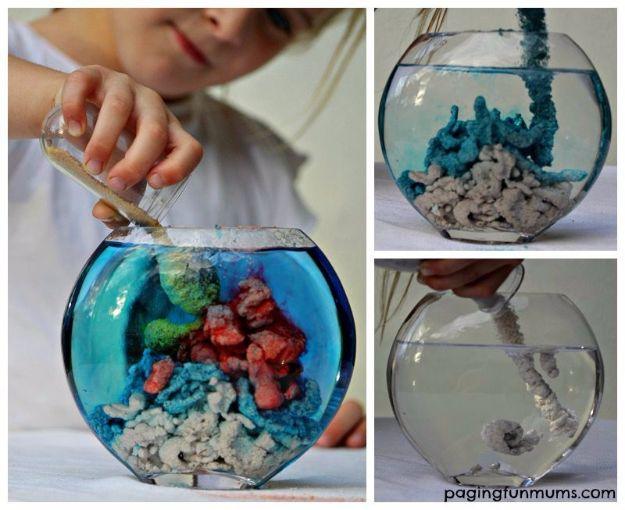
This is the hydrophobic sand you have seen sold in little tubs, and it is made by spraying ordinary craft sand with fabric protector. Spread the sand thin on baking paper somewhere well ventilated, ideally outdoors, and have an adult give it a heavy even coat until it is damp all over. Let it dry, rake it through, and repeat once so nothing is missed. Poured into a vase of water it holds its shape and lets children build underwater sculptures, and when you tip the water out the sand comes out completely dry. Adults do the spraying, and nobody eats it.
Get the full tutorial at Paging Fun Mums.
16. Paper Plate Marble Maze
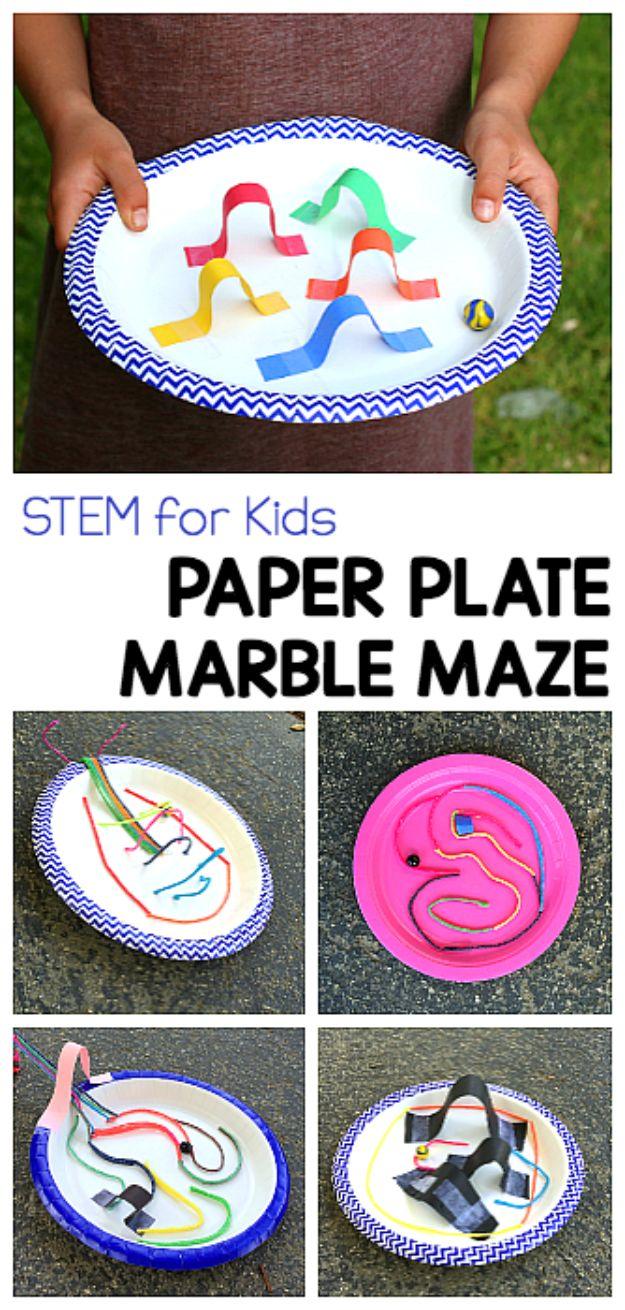
The brief is deliberately loose: one paper plate, a marble and a pile of craft supplies, build something the marble has to travel through. Construction paper strips bent into arches make the ramps and bumpers, and bendable wax sticks let younger kids build curves without any cutting at all. Plates with high edges work best, because a flat one loses the marble immediately. Then it becomes a tilting game played with both hands. Watch a few pinball machine videos together first if the idea is unfamiliar, and the designs that come back get noticeably more ambitious.
Get the full tutorial at Buggy and Buddy.
17. Electric Eels
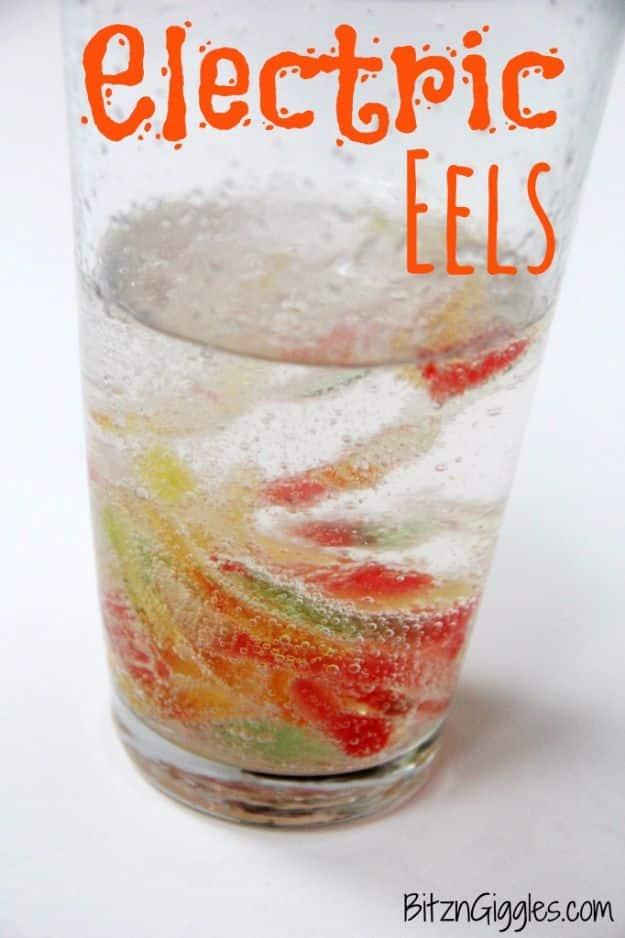
Gummy worms, baking soda and vinegar, and the name does the rest. Cut each worm lengthwise at least four times with kitchen shears, which is fiddly enough that an adult should take it on, then soak the strips in a glass of water mixed with three tablespoons of baking soda for ten to fifteen minutes. Lift them out with a fork and lower them one at a time into half a cup of vinegar. Acid meets bicarbonate, gas forms along every cut edge, and the worms jump and wriggle for a surprisingly long time. Cut a few into shorter pieces as well and they bob about even more.
Get the full tutorial at Bitz & Giggles.
18. Make Cloud Jars
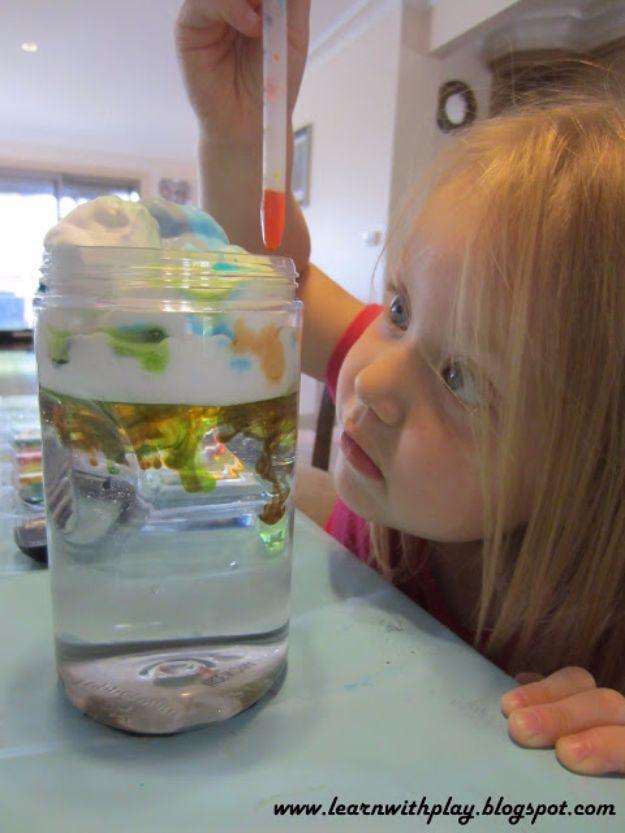
Fill a clear jar with water, squirt shaving foam across the top and call that the cloud. Then hand over colored water and a pipette and let a child drip it onto the foam. Nothing happens for a while, which is fine, because the waiting is the experiment. The cloud holds the color until it cannot hold any more, and then it rains, and colored streaks fall through the water below and swirl into each other. It demonstrates how clouds hold water until they get too heavy better than any diagram, and the pipette work is fine motor practice at the same time.
Get the full tutorial at Learn With Play At Home.
19. Rainbow Paper
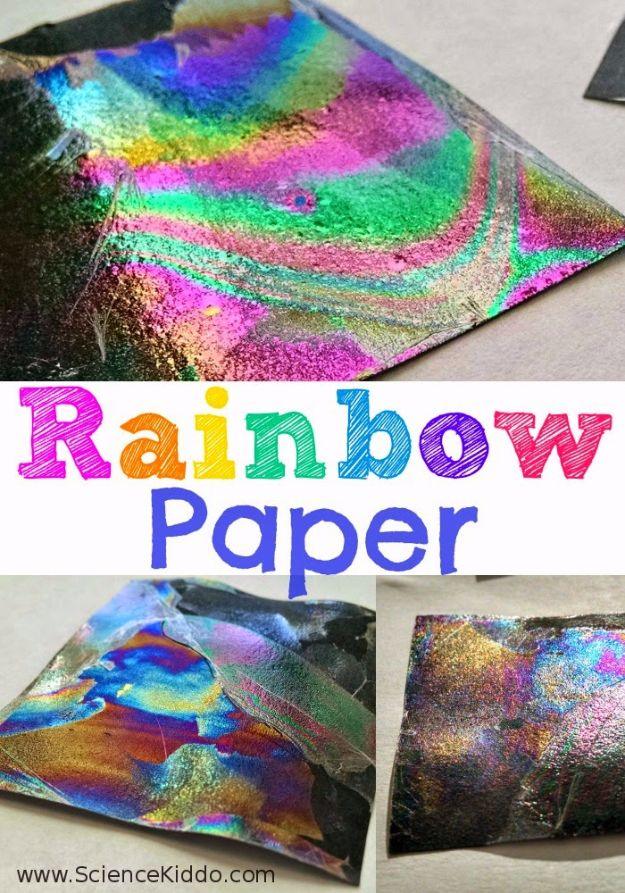
A square of black paper dipped through a film of clear nail polish floating on water, then lifted out and dried, comes up shot through with oil-slick rainbows that shift as you tilt it. No dye is involved at all; the colors are light interfering with itself in an incredibly thin film, which is the same reason a soap bubble looks like that. Patience matters more than skill here, and the source is refreshingly honest that only about half her attempts worked. Do it somewhere with good airflow because of the nail polish fumes.
Get the full tutorial at The Science Kiddo.
20. Heat Sensitive Color Changing Slime
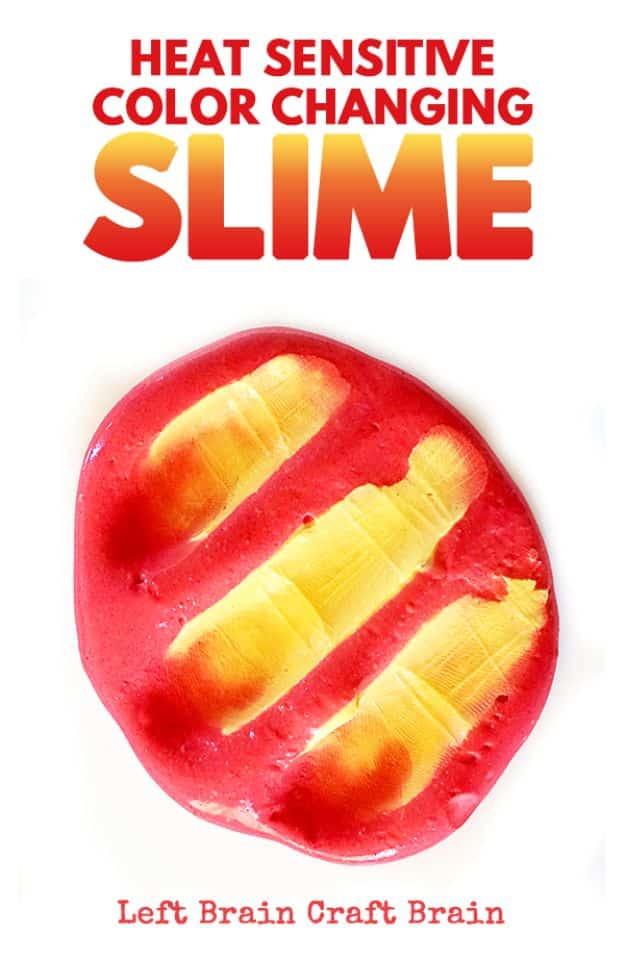
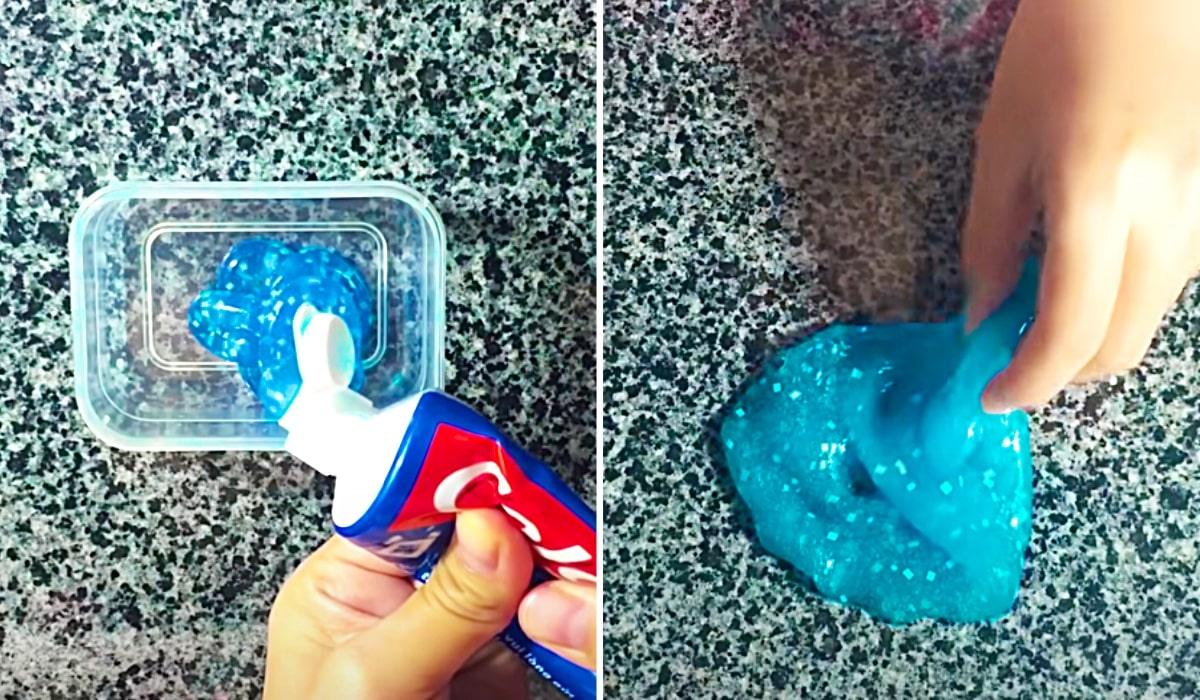
Slime that changes color under a warm hand, against a cold can, or out in the sun, and the effect is strong enough that a handprint shows up in it. The pigment is thermochromic, the same class of material used in mood rings and in those rubber ducks that warn you the bath is too hot for a baby. Two kinds exist: liquid crystals, where heat changes the spacing between crystals so light refracts differently, and leuco dyes, where the molecules themselves change shape between a colored form and a colorless one. Explaining that to a nine year old holding a glowing handprint is not a hard sell.
Get the full tutorial at Left Brain Craft Brain.
21. Water Cycle In A Bag
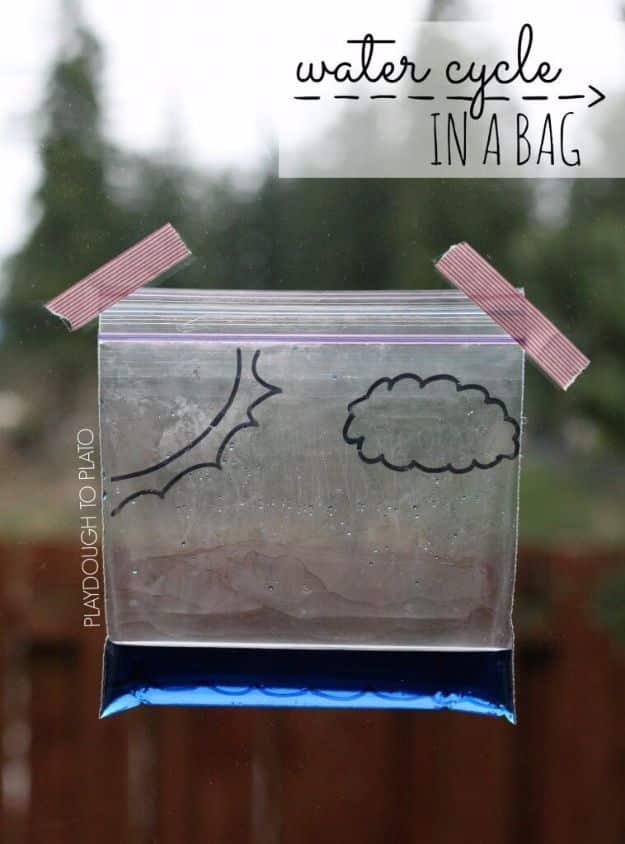
Draw a sun, a cloud and a waterline on a sandwich bag with a Sharpie, pour in a quarter cup of water with a few drops of blue food coloring, seal it properly and run your fingers along the zip twice, then have an adult check it again. Tape it to a sunny window and leave it. Over the following days the water warms and evaporates, collects as droplets on the inside of the plastic, and runs back down as rain, over and over, because the Earth only ever has the same water going round. Total prep is about three minutes.
Get the full tutorial at Playdough To Plato.