
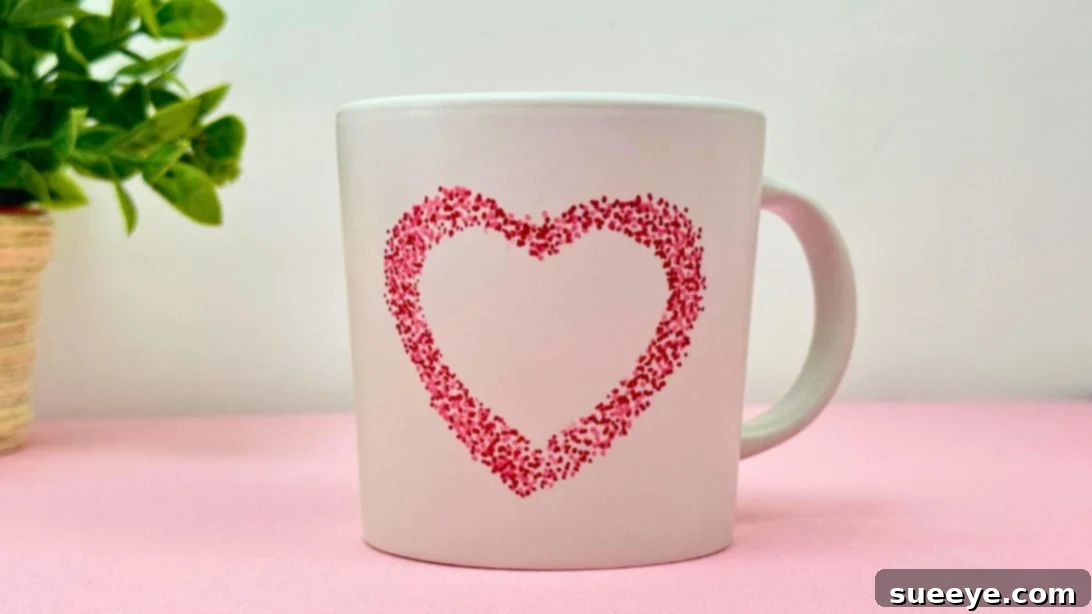
Create a Personalized Heart Mug for Valentine’s Day: A Simple DIY Gift
Valentine’s Day is a cherished occasion celebrated worldwide, a time to express love and appreciation for those who hold a special place in our hearts. Thoughtful gestures and heartfelt gifts are the languages of love on this day. Many choose to craft handmade cards, offer delectable chocolates, or conceive creative gift ideas that resonate with the recipient’s personality and passions. The goal is to show you care with a gift reflecting the unique connection you share.
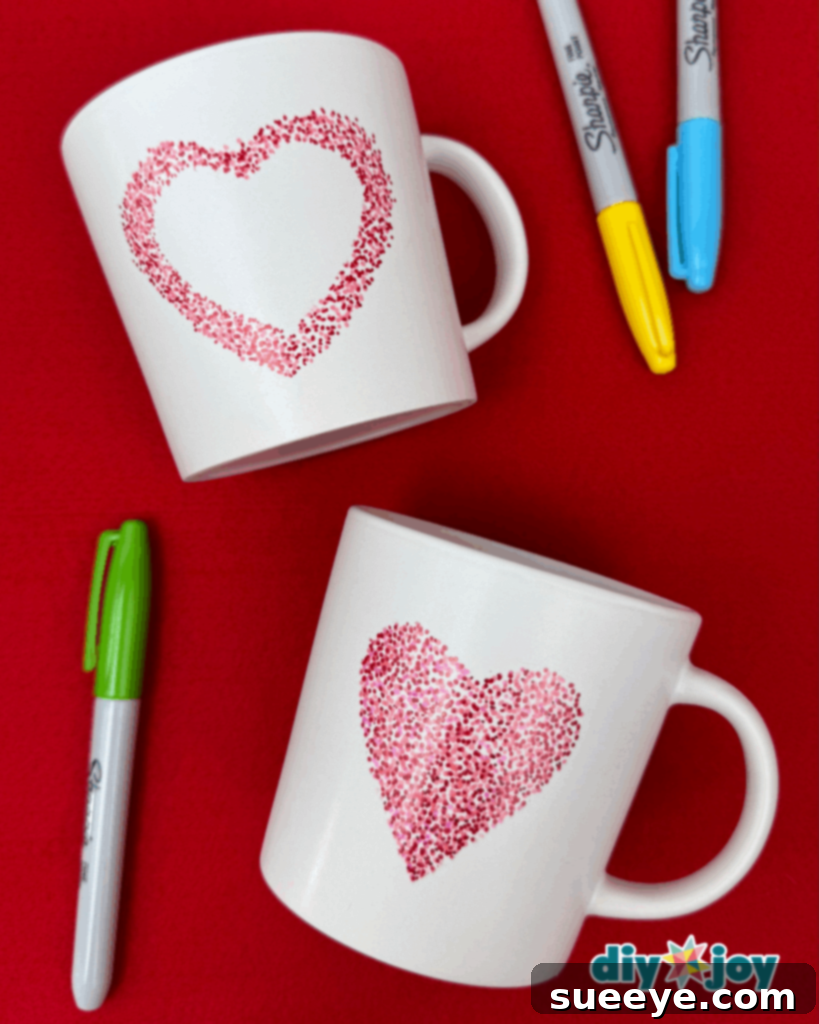
With a plethora of options available, selecting the perfect gift can feel like navigating a labyrinth, especially when aiming for something truly unique and personal. In such cases, a customized or personalized handmade gift emerges as an excellent choice. These gifts showcase extra effort and consideration, making the recipient feel valued and cherished, knowing that the gift was created specifically with them in mind. A DIY project says, “I thought of you, and I took the time to make something special.”
DIY Heart Mug: A Step-by-Step Guide
Today, we’ll embark on a journey to craft a charming hand-printed mug using readily available Sharpies. Yes, Sharpies! These versatile markers are easily accessible, simple to use, and perfect for creating custom designs or patterns that align with any style or occasion. This DIY customized mug is also an ideal choice for last-minute gift-making, as it can be completed in a single sitting in just a few minutes.
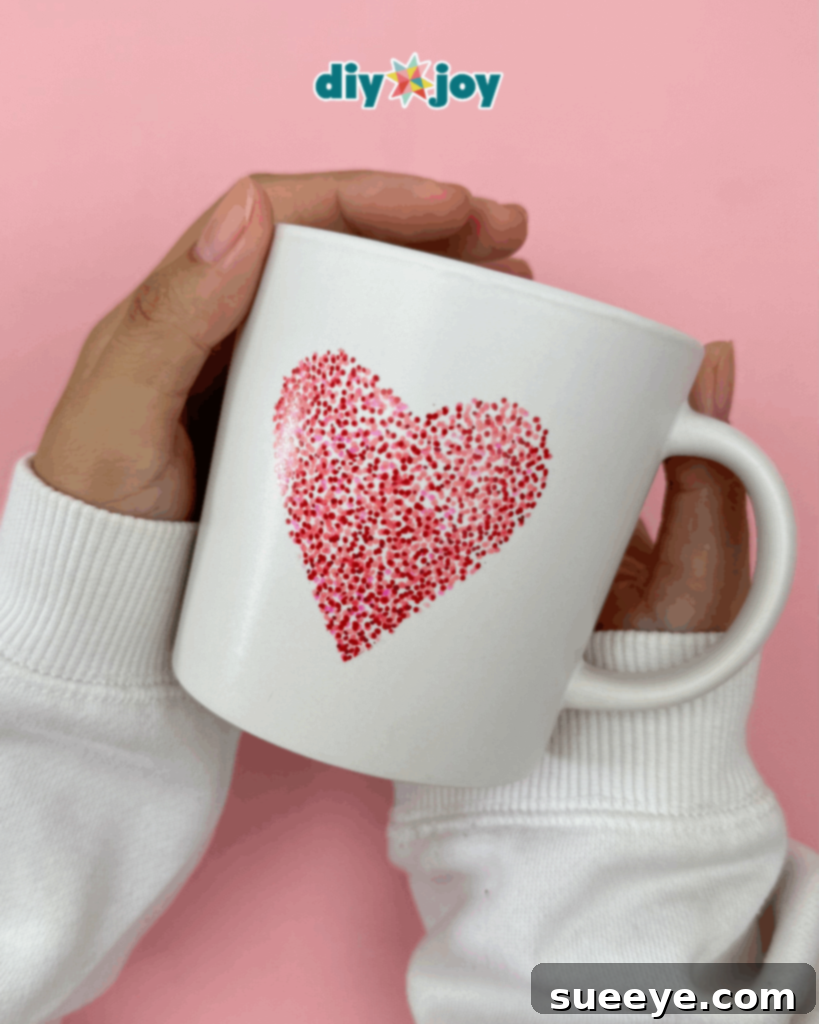
If you’re pressed for time, lacking inspiration, or operating within a budget, this easy handmade gift provides a wonderful solution. Follow the step-by-step written instructions below, and for additional guidance and helpful tips, refer to the accompanying video tutorial. Embrace the joy of crafting and create a personalized mug that will undoubtedly be cherished by anyone who receives it.
How to Customize a Heart Mug: A Detailed Tutorial
Transforming a plain mug into a beautiful, personalized gift is easier than you think. With just a few simple materials and a little creativity, you can create a unique piece that will be treasured for years to come. This tutorial will guide you through the process, ensuring a fun and successful crafting experience.
Step 1: Create the Paper Heart
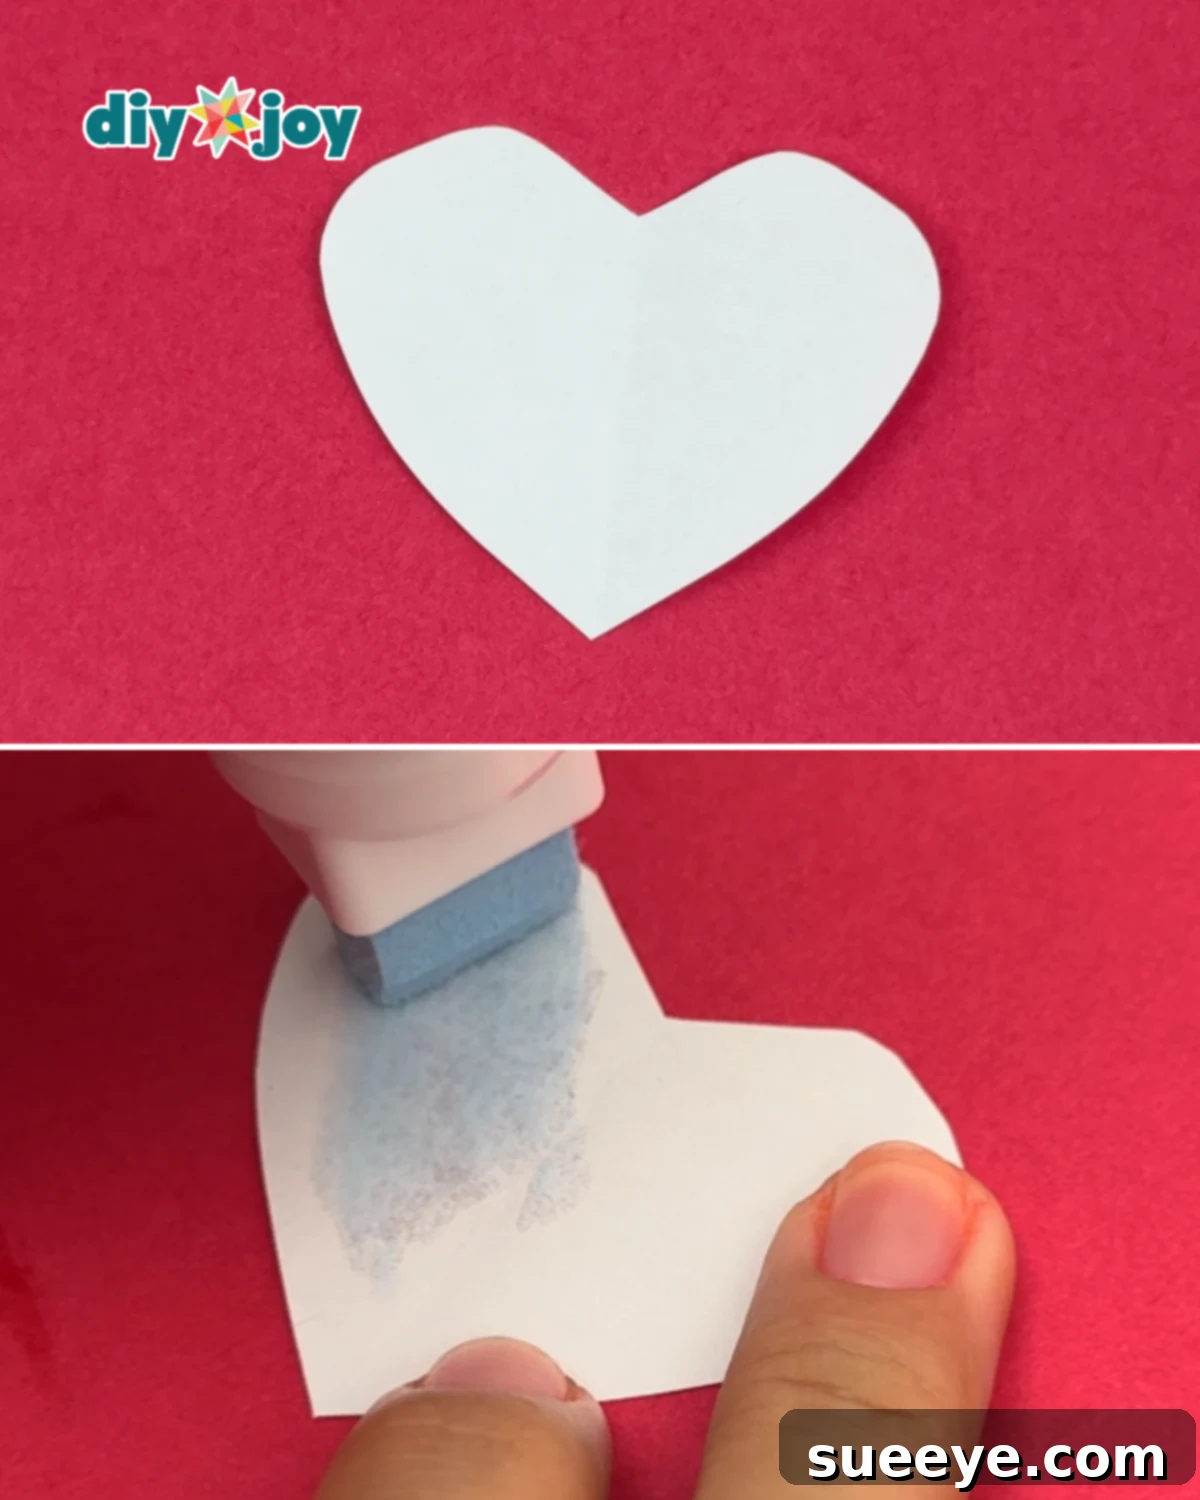
Begin by drawing a heart shape on a piece of paper. The size and style of the heart are entirely up to you – feel free to experiment with different designs until you find one you love. Once you’re satisfied with your heart, carefully cut it out using scissors. Precision is key here, as the cut-out heart will serve as your stencil.
Next, cover the heart with Zig glue. Apply an even layer, ensuring that the entire surface is coated. Allow the glue to dry completely until it turns white. This is crucial because the glue’s properties change as it dries.
Note: When the glue is initially applied (while it’s still blue), it creates a permanent bond if attached immediately. However, once it dries and turns white, it becomes repositionable, similar to a sticky note. This allows you to place and remove the heart multiple times without leaving any residue, making it perfect for this project.
Step 2: Attach and Outline the Heart
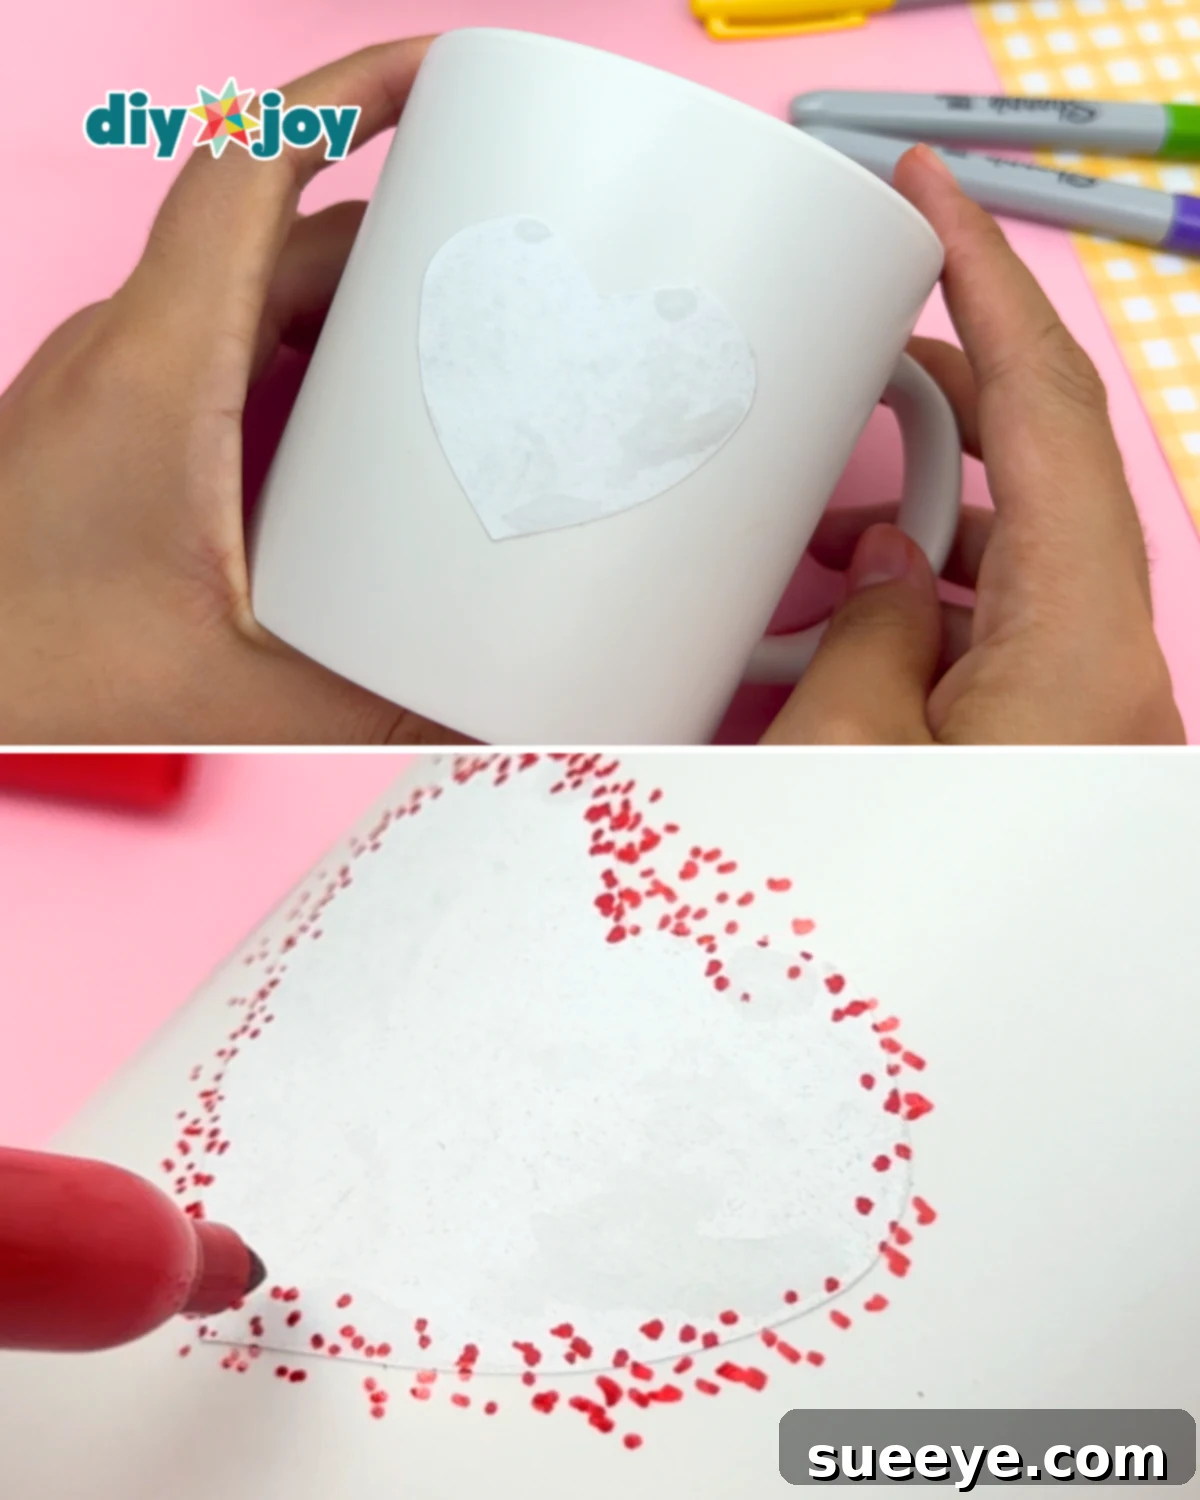
Carefully position the paper heart in the center of the mug. Make sure it’s placed exactly where you want your heart design to appear. Gently press the heart onto the mug’s surface to ensure it adheres properly.
Now, it’s time to start adding dots around the heart using a red Sharpie. Create a dotted outline that closely follows the shape of the heart. If you desire more color variation, switch to a pink Sharpie to add depth and visual interest. Feel free to experiment with different shades of red and pink to achieve your desired aesthetic.
As you’re adding the dots, you can allow some of them to slightly overlap onto the paper heart. This will create a more defined and prominent outline of the heart shape when the paper is removed. Don’t be afraid to play around with the density and spacing of the dots to create a unique and personalized effect.
Step 3: Remove the Paper Heart
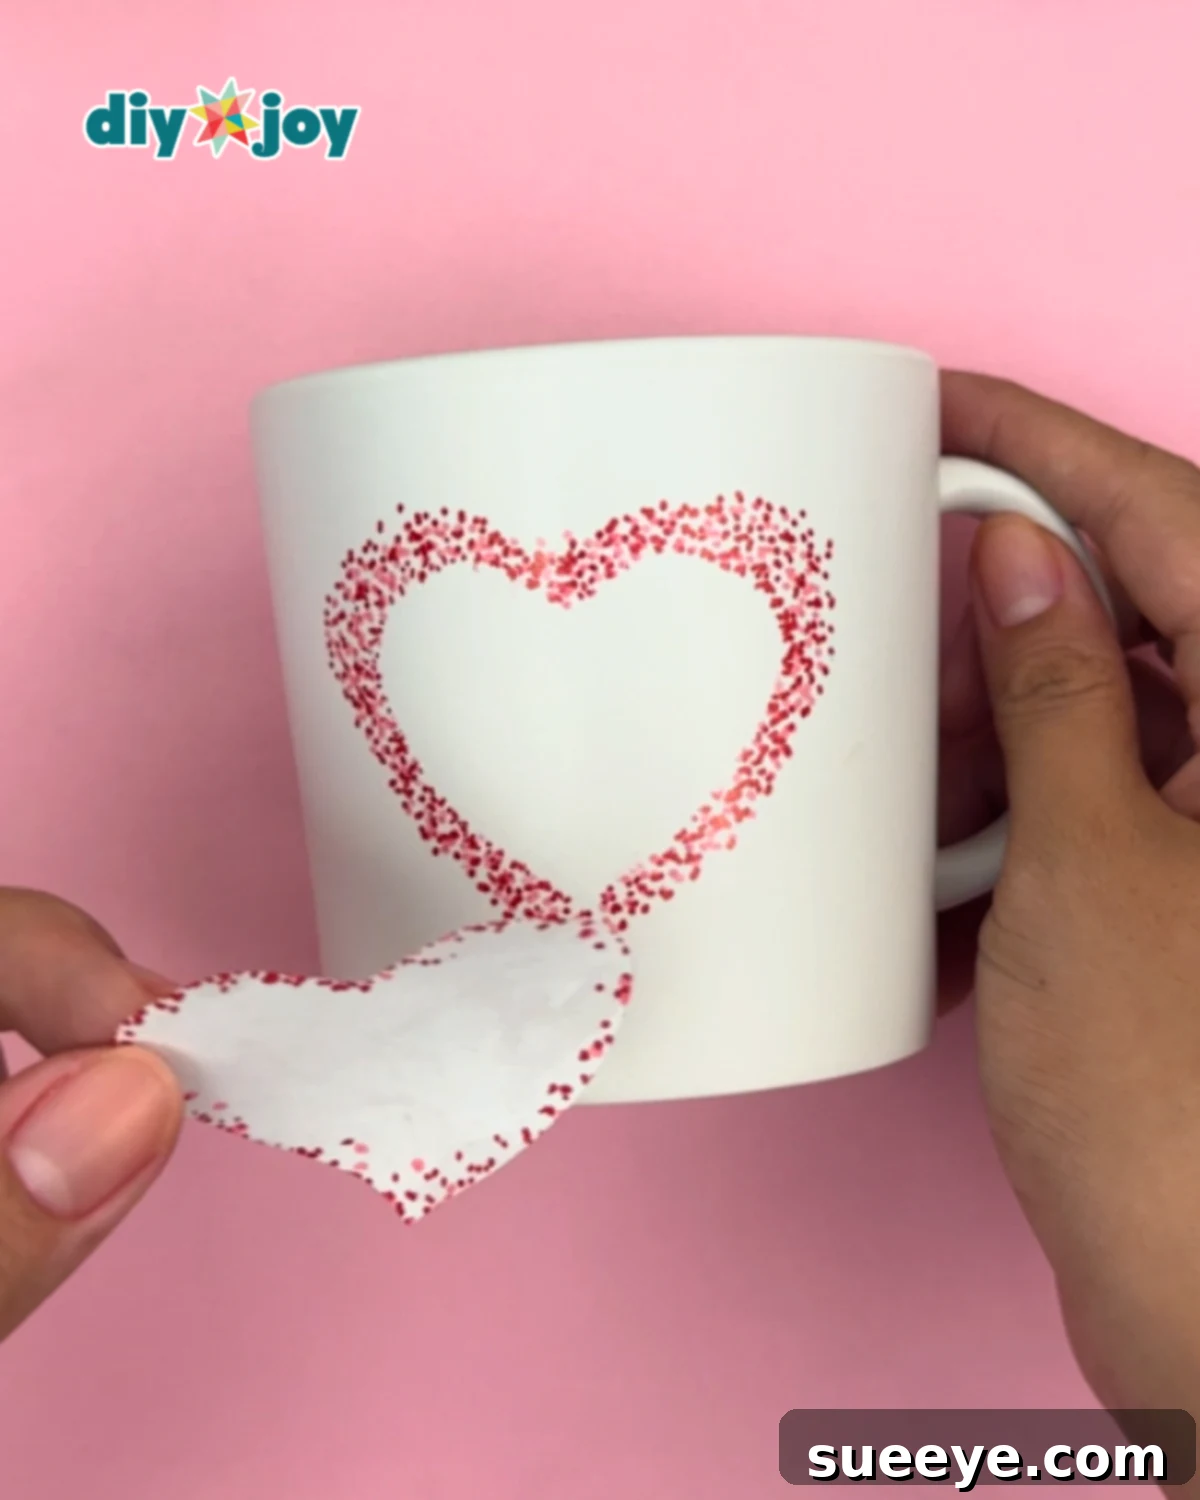
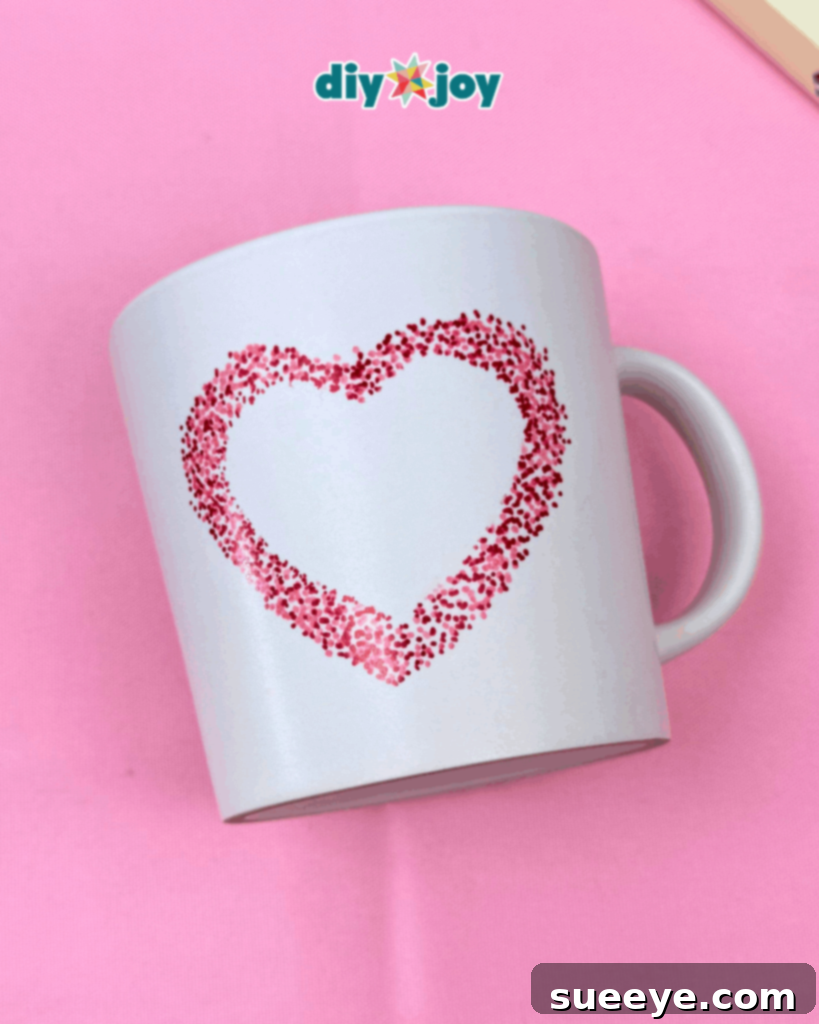
Once you’re satisfied with the number and placement of the dots around the heart, carefully peel off the paper heart from the mug. Do this slowly and gently to avoid smudging the ink. As you remove the paper, a beautiful heart outline made of dots will be revealed on the mug’s surface.
And there you have it – your customized heart mug is complete! This simple yet elegant design is perfect for Valentine’s Day or any occasion where you want to express your love and affection.
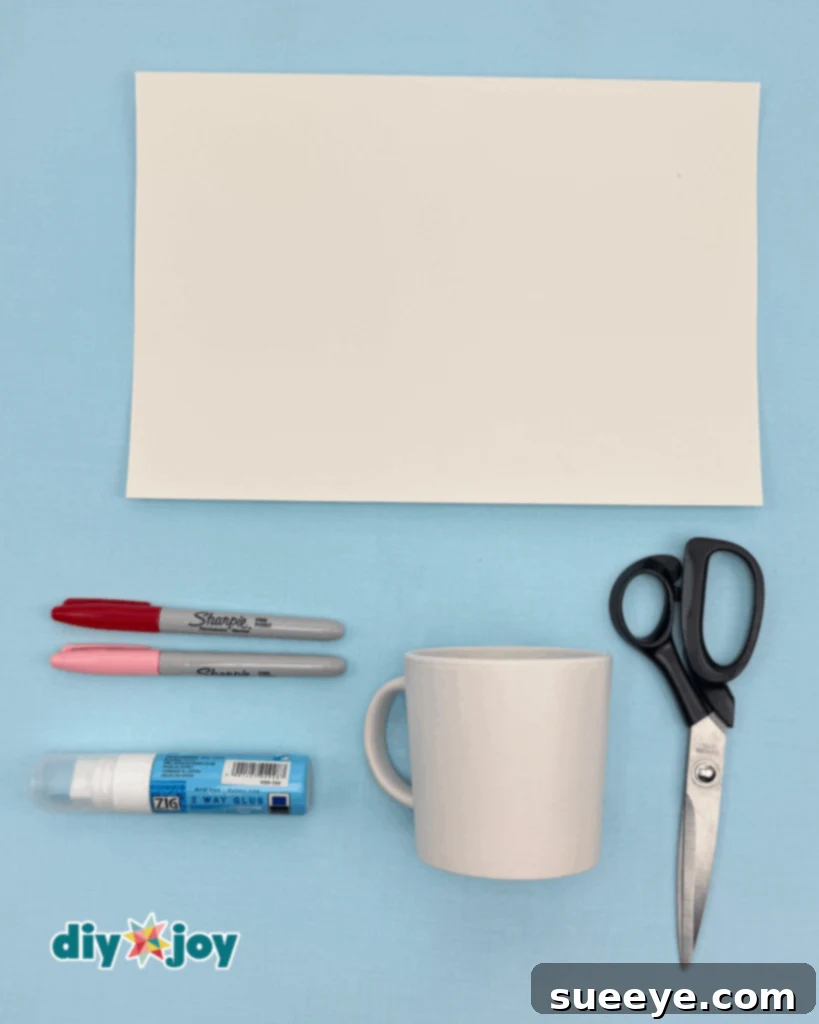
Materials You’ll Need:
- Plain Mug
- Paper
- Zig Glue
- Sharpie (Red and Pink)
Pro Tip
For optimal results, use a Zig 2 Way Glue pen to attach your heart pattern as a temporary guide before drawing. This type of glue holds the paper in place securely while you trace or color, but peels off easily without leaving any residue or permanently sticking to the mug. This helps you keep the design neat and properly aligned without worrying about damaging the surface. The Zig 2 Way Glue pen provides the perfect balance between adhesion and removability, ensuring a clean and professional-looking finish.
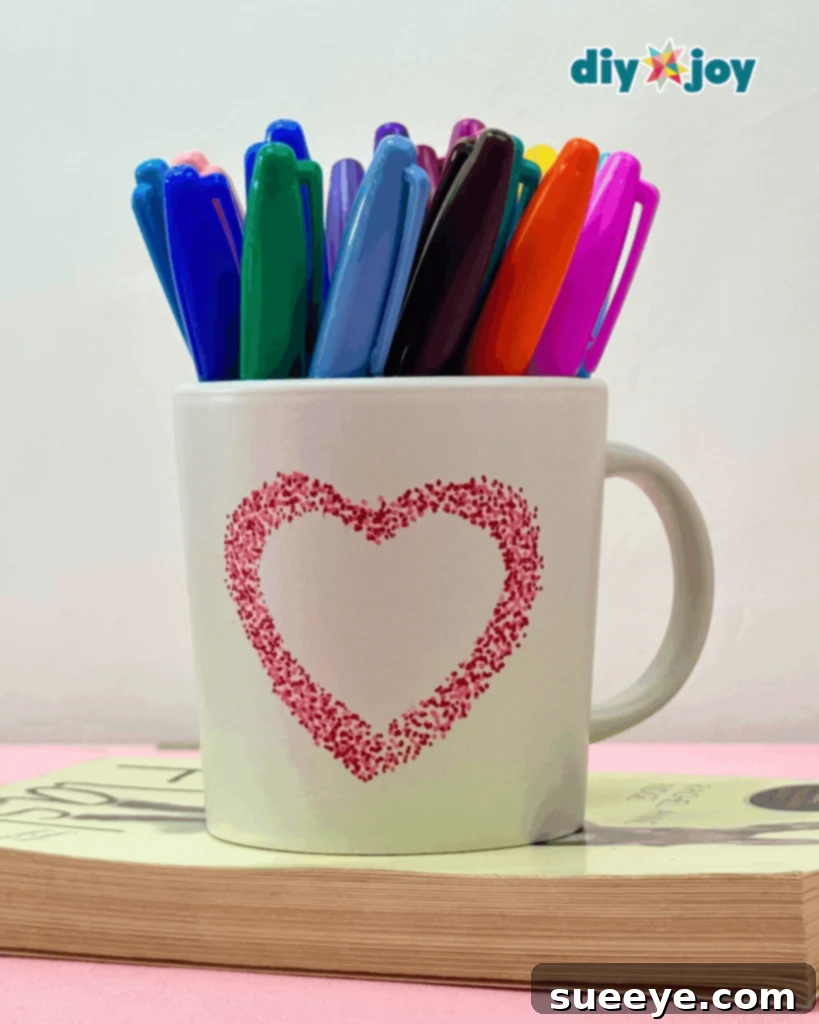
More DIY Craft Ideas for Valentine’s Day and Beyond!
Looking for more creative projects to express your love and creativity? Explore these must-try DIY crafts from DIYJoy!
We hope you enjoyed this heartwarming craft! For more creative inspiration and exciting DIY projects, be sure to visit our official website, follow our Facebook page, and subscribe to our YouTube channel. Let’s continue crafting and spreading joy together!
More Ideas for Customizing Your Mug with Sharpies
The heart design is just the beginning! Once you’ve mastered the basics, you can explore a wide range of customization options to create truly unique mugs. Consider these ideas for inspiration:
- Monograms: Add the recipient’s initials for a personalized touch.
- Names: Write out their full name or a special nickname.
- Quotes: Include an inspirational quote or a meaningful message.
- Doodles: Draw simple doodles or illustrations that reflect their interests.
- Patterns: Experiment with geometric patterns or abstract designs.
- Themes: Create mugs based on their favorite hobbies, movies, or characters.
Remember to use oil-based Sharpie markers for the best results. These markers are more durable and less likely to fade or wash off. After decorating your mug, bake it in the oven at 350°F (175°C) for 30 minutes to set the ink. Let the mug cool completely before using it. While baking helps to set the design, hand washing is always recommended to prolong the life of your customized mug. Avoid abrasive cleaners or scrub brushes that could damage the design.
With a little creativity and effort, you can transform ordinary mugs into extraordinary gifts that will be cherished for years to come. Happy crafting!