Wall Art
DIY Photo Transfer On Wood Ornament
Do you love finding simple DIY ideas that don’t take tons of time or cost lots of money? Crafting is…
Christmas Ideasdiy christmas ornaments
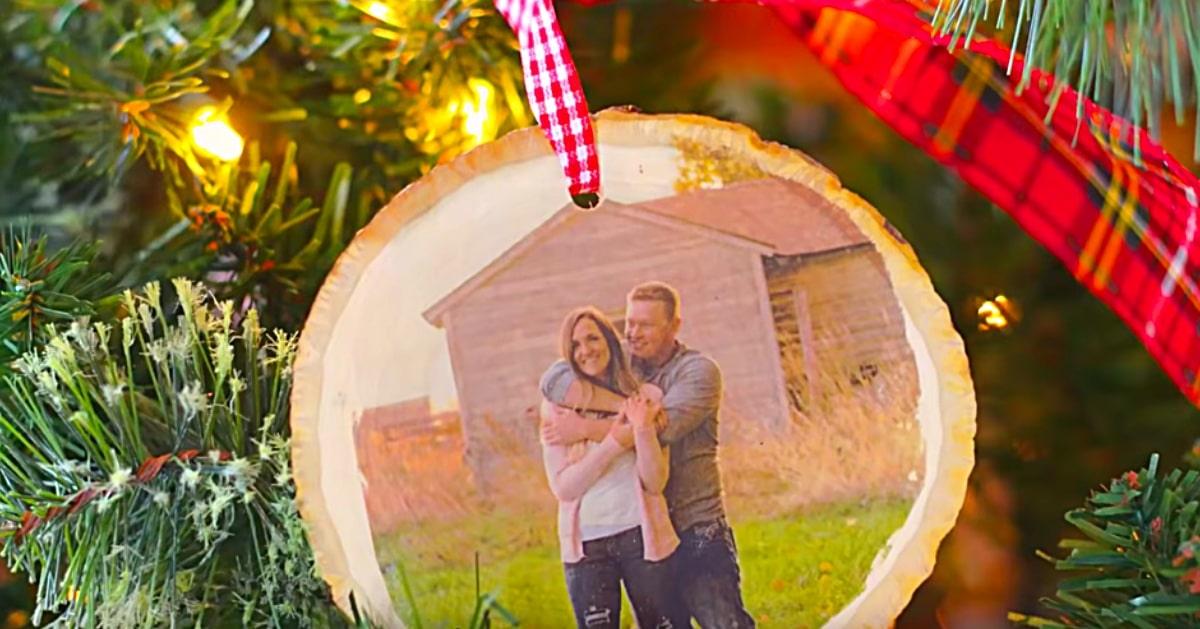
Do you love finding simple DIY ideas that don’t take tons of time or cost lots of money? Crafting is my favorite pastime, but lately, I have come to realize that I often spend way too much money on supplies and there just might be some inexpensive options I could start making instead. I went on the hunt for dollar store crafts and not all were things I actually wanted to make. Then, I came across these amazing Photo Transfer On Wood Ornaments on Youtube made from a piece of smooth cut wood and a photo. I already had a few of the wood pieces that I had bought on sale at Michaels’s Craft Store and knew I had found my next project idea. I started by Getting my photo images printed out at the office supply for about 52 cents apiece on ordinary copy paper.
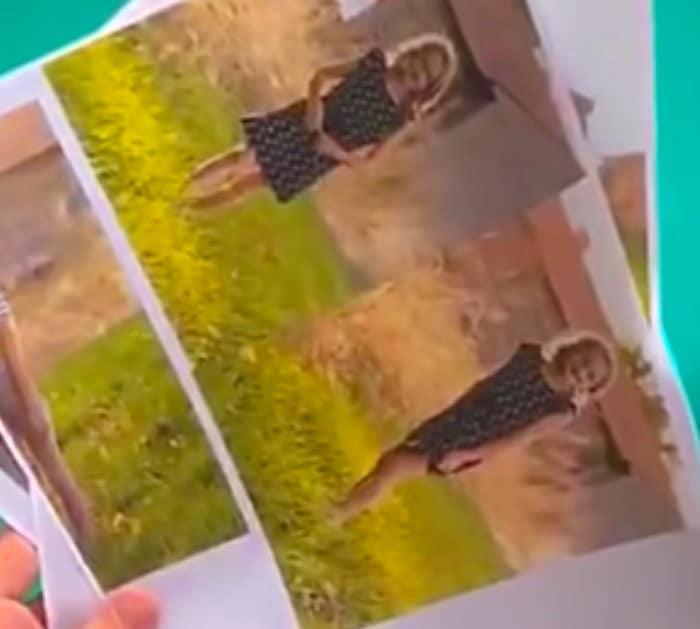
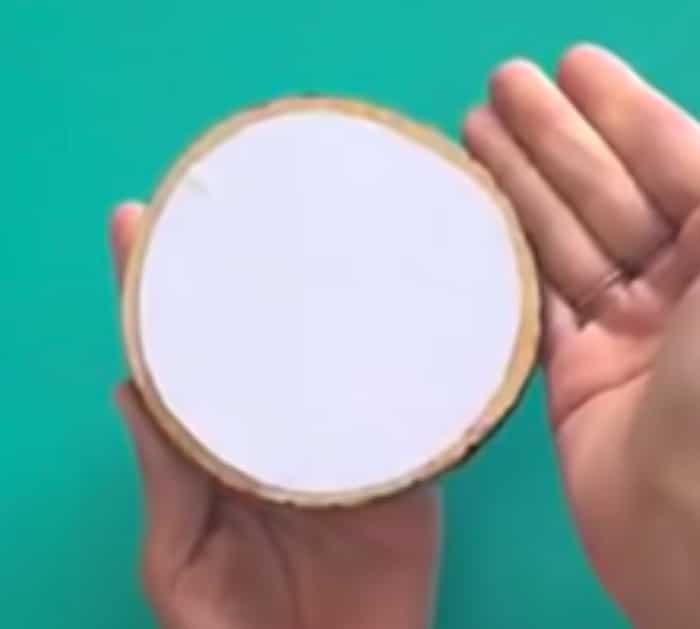
Then I used Modpoge to stick it face down to the wood and let it dry for 24 hours.
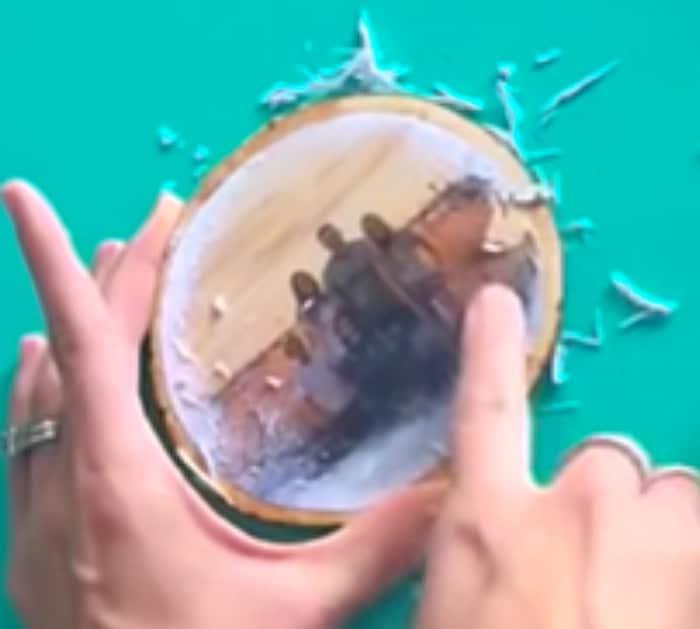
Then you just rub the back with fingers and a wet washcloth, very carefully rubbing the paper off (gently).
Then you are finished, you can put a coat of Modpodge on if you want a glossier look or just leave the paper matt look if you prefer that. You can attach a string to hang on the wall, drill a hole to hang on the Christmas tree, or if you do decide to put Modpoge over the top you can make several and use them as costers. I hope you enjoy this project as much as I did, it is one of my all-time favorites!