Crafts
13 DIY Photo Albums to Show Off All Those Phone Pics
DIY photo albums, 13 handmade ideas: accordion books in a box, paper bag albums, upcycled hardbacks and cereal box covers, all with free tutorials.
html PUBLIC "-//W3C//DTD HTML 4.0 Transitional//EN" ""
Thousands of photos on your phone and not one of them printed. That is the problem these 13 DIY photo albums solve, and most of them cost less than a coffee. You will find a concertina of pictures that pulls out of a tiny gift box, paper lunch bag albums a five year old can help punch, envelope pages that double as pockets, a hardback with windows cut straight through the pages, and a whole album built from an empty cereal box. Some take five minutes and about two dollars. A few want an afternoon, a craft knife and some patience with glue. Every one of them ends with photos you can actually hold, hand to your mom, or leave on a coffee table where people will pick them up.
1. DIY Magnetic Album
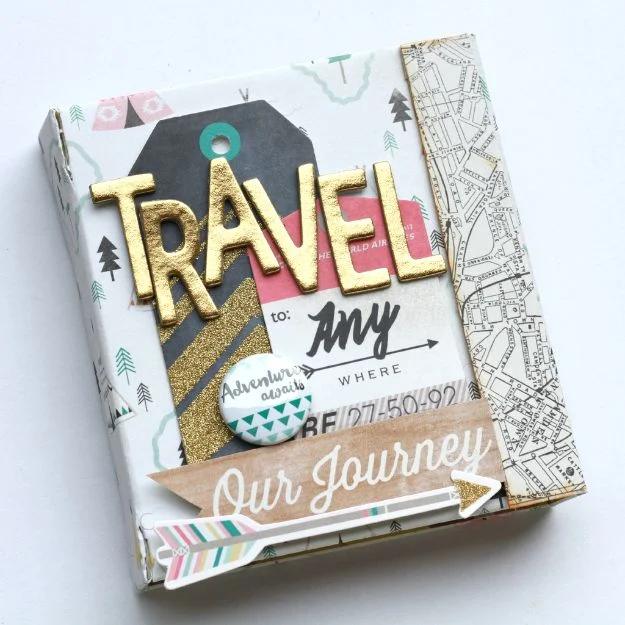
A travel themed mini album with a magnetic flap that snaps shut, built on a folded cardboard spine instead of a store bought binding. Inner pages are cut at 4.5 by 5 inches and glued into accordion folds scored every half inch, and the magnetic strip hides under the patterned paper along the final inch of the cover. One warning from the maker is worth heeding: patterned paper tears when the cardboard border is too thick, so trimming that border from a full inch down to about eight tenths keeps the whole book bending instead of cracking.
Get the full tutorial at The Scrapper In Me.
View all of these creative ideas for photos in one place, then come back for links to the awesome tutorials from our favorite DIY bloggers.
2. Mini Photo Album
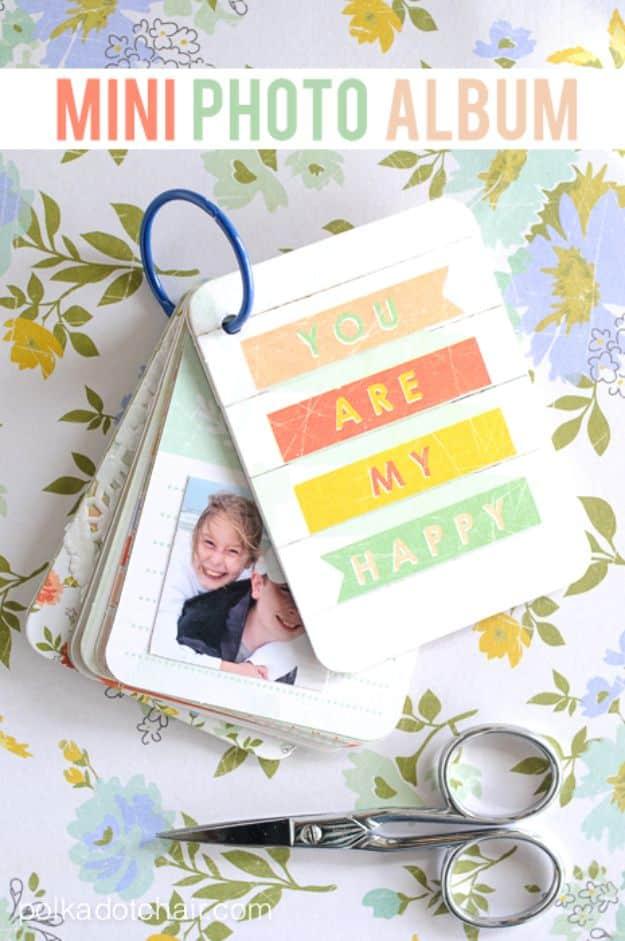
A ring bound mini album made from pre printed 3 by 4 inch journaling cards, which is why it comes together in about an hour rather than an afternoon. Ten to fifteen cards make the pages, two more get glued to chipboard for front and back covers, and photos are cropped to a uniform 2 inch square so nothing has to be measured twice. The one tool that matters here is the hole punch. A standard punch will not go through chipboard, so a heavy duty one saves the covers from being mangled.
Get the full tutorial at Polka Dot Chair.
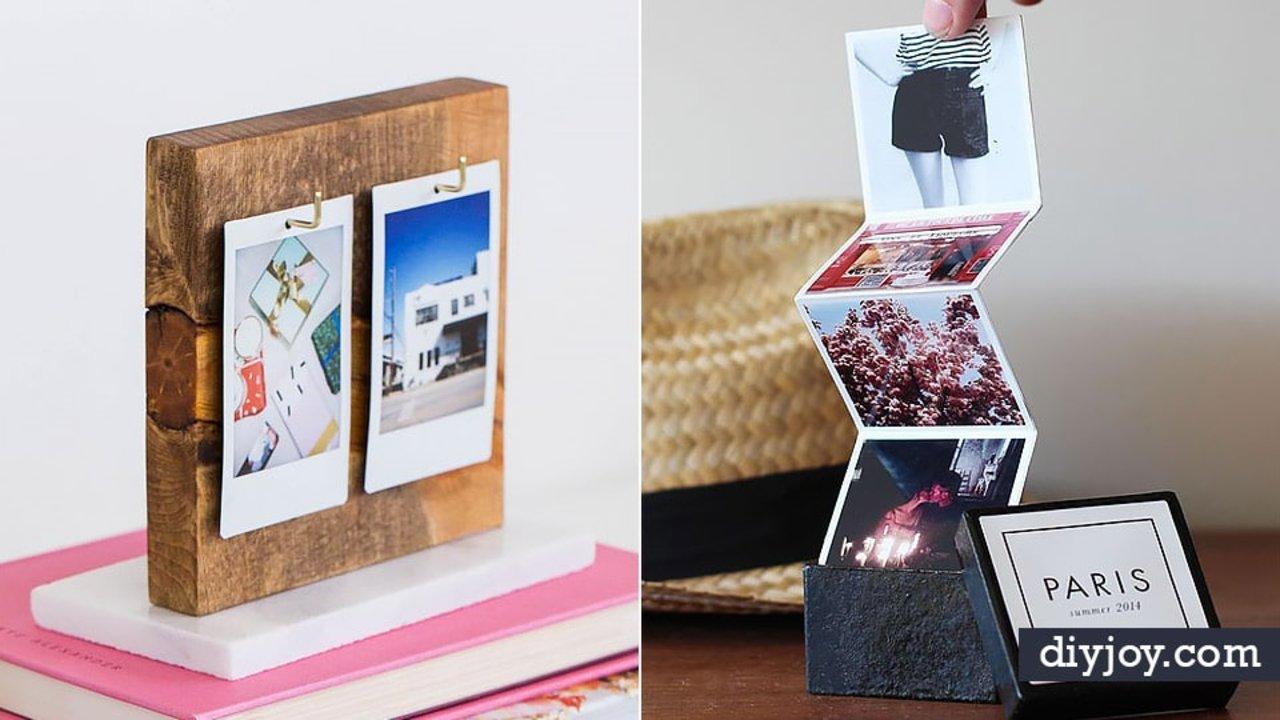
3. Accordion Photo Box
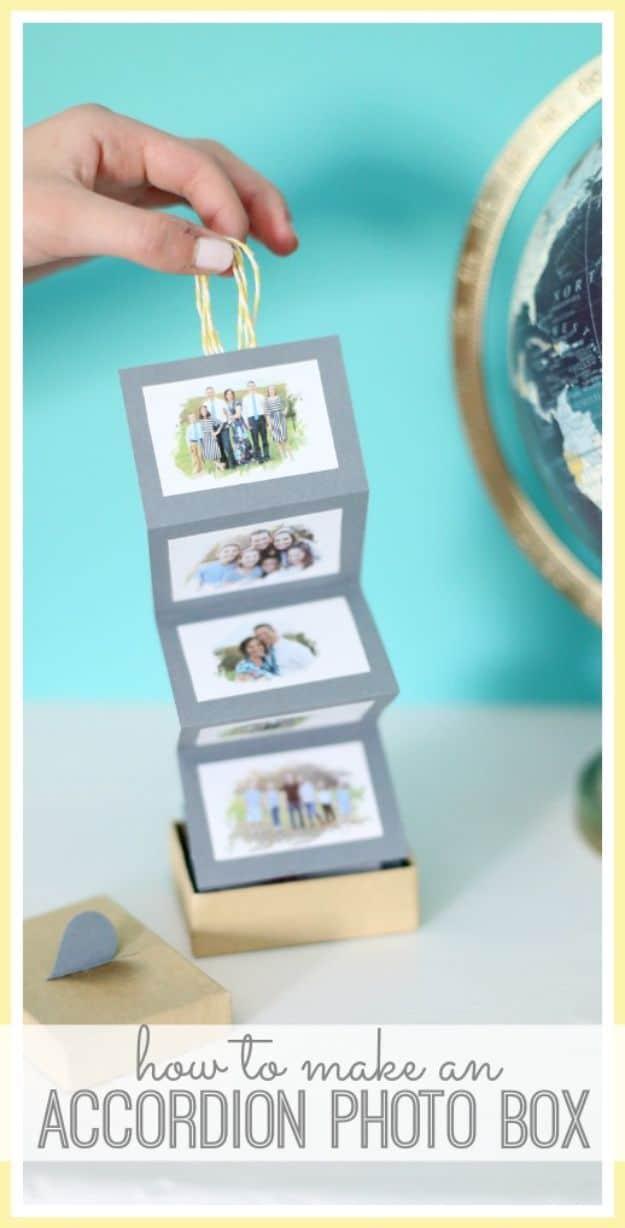
A concertina of photos that lifts out of a small gift box by a loop of baker’s twine, which is a far better reveal than handing someone a stack of prints. Cardstock is cut in strips to match the width of the box, three inches in this version, then scored with the back of a craft knife every two inches and folded in alternating directions. Photos trimmed to two and a half inches sit centered on each panel. Gluing two strips end to end makes the run as long as the trip was.
Get the full tutorial at Sugar Bee Crafts.
4. Family Photo Board Book
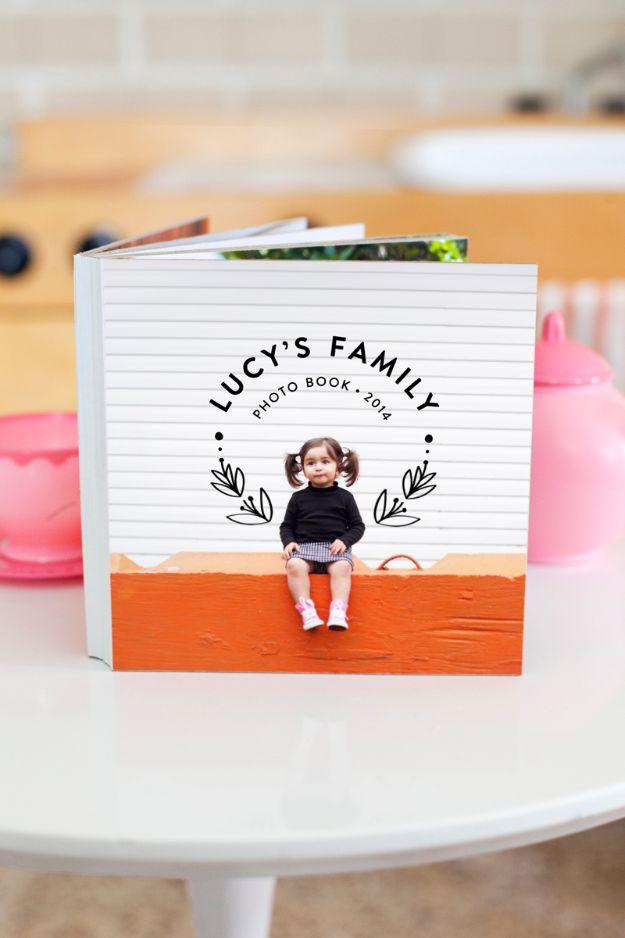
A chunky board book of family photos, sturdy enough for a toddler to carry around and drop, which is the whole point of the format. Pages are 5 inch squares of chipboard cut exactly, with 5 inch photos printed on luster photo paper so sticky hands do not mark them. Spray mount is the adhesive that works. The maker tried Mod Podge first and it wrinkled the prints and warped the board. Clear packaging tape joins one page to the next with a sliver of space left for the thickness of the photos, and white duct tape finishes the spine. Change the craft knife blade often, because chipboard blunts one fast.
Get the full tutorial at A Beautiful Mess.
5. Paper Lunch Bag Photo Album
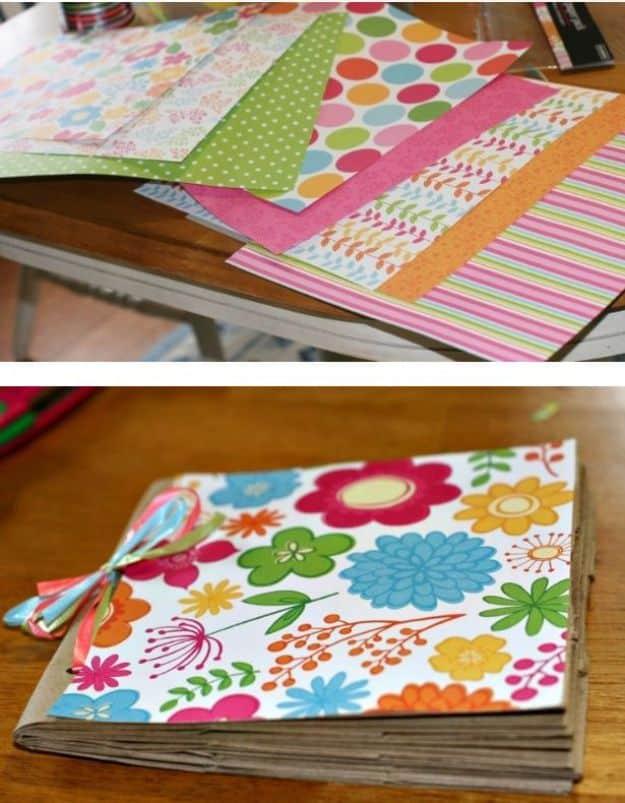
An album built from three or four brown paper lunch bags, which costs almost nothing and is the one project on this list a small child can genuinely help with. Stack the bags alternating open and closed ends, fold the stack in half, punch through the fold and thread ribbon or twine to bind it. Four bags is the honest ceiling, because a punch struggles through more than that. The open ends become pockets, so slipping cardstock tabs inside gives you extra hidden pages for more photos or a drawing.
Get the full tutorial at This Mama Loves.
6. DIY Folding Envelope Mini Album
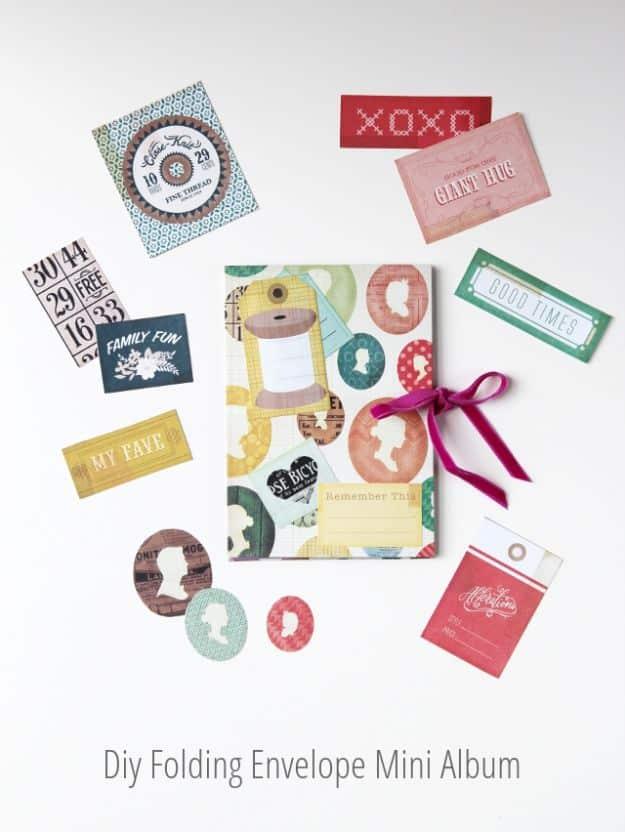
A mini album made entirely from envelopes, joined accordion style so every page is also a pocket. The inside flap of one envelope gets stuck to the back of the next, which is what gives the book its hinge, and the covers are cut from cardstock a couple of millimetres larger on every side so the envelope edges stay protected. Scrapbook paper wraps the covers with a one centimetre border folded round the back. Leave about a millimetre of space at each corner tip when you cut, or the paper will not fold flat.
Get the full tutorial at Gathering Beauty.
7. DIY Travel Album
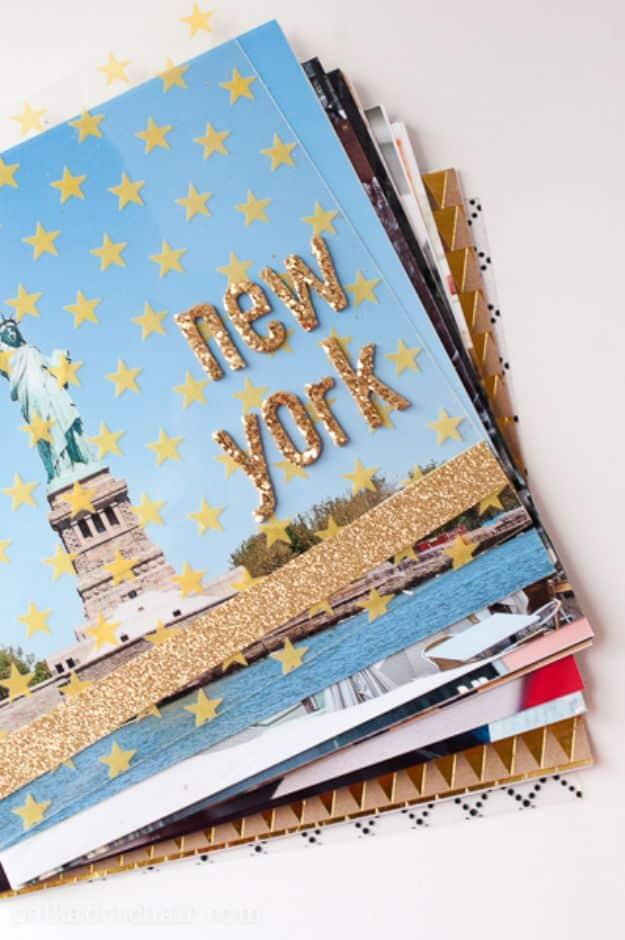
A full size travel album built on 8 by 8 inch prints glued back to back, punched twice and threaded onto two inch binder rings, with printed acetate for the covers so the first photo shows through. Journaling goes on small paper flags stapled to the relevant page rather than written on the photos, which keeps every picture clean. Glitter tape and letter stickers stay on the cover and nowhere else. It is a deliberately fast build, and the size means a dozen photos fill it properly.
Get the full tutorial at Polka Dot Chair.
8. Upcycle an Old Book Into a Neat Photo Album
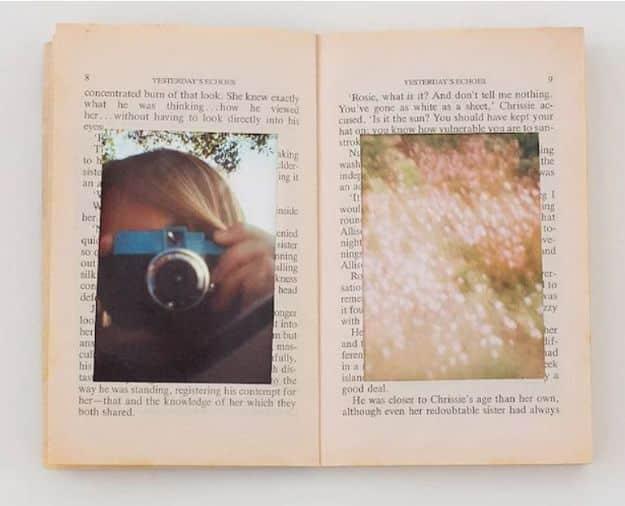
An old hardback with rectangular windows cut through its pages, so photographs sit framed in the text rather than stuck on top of it. Pages are taped to the one beneath on three sides with double sided tape, which turns each group into a slot, and the photo slides in from the open edge. Pick a book you will never read again, or a duplicate. The same trick works on a children’s book by cutting out a window or a door and putting a child’s face in the story.
Get the full tutorial at PetaPixel.
9. DIY Elf On The Shelf Photo Album
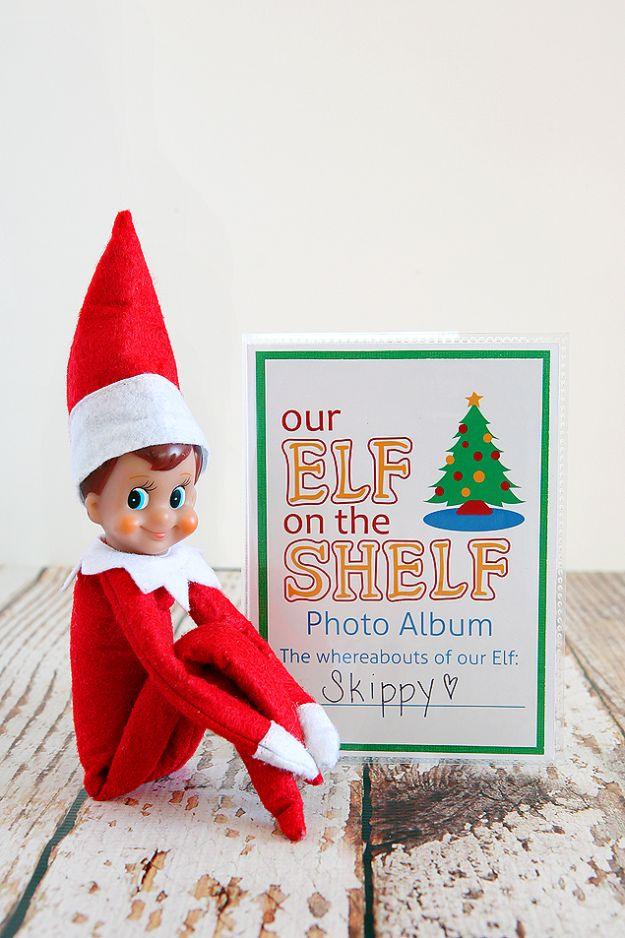
A tiny plastic brag book with a printed cover slipped into its front sleeve, which is about a two dollar build and takes roughly five minutes. The cover printable is run off as a standard 4 by 6 photo at any print counter, trimmed top and bottom, backed with red or green cardstock and stuck together with glue dots. The elf’s name gets written on before it goes in the sleeve. Then it fills up across December with photographs of wherever the elf turned up each morning.
Get the full tutorial at Eighteen25.
10. Instagram Photo Book
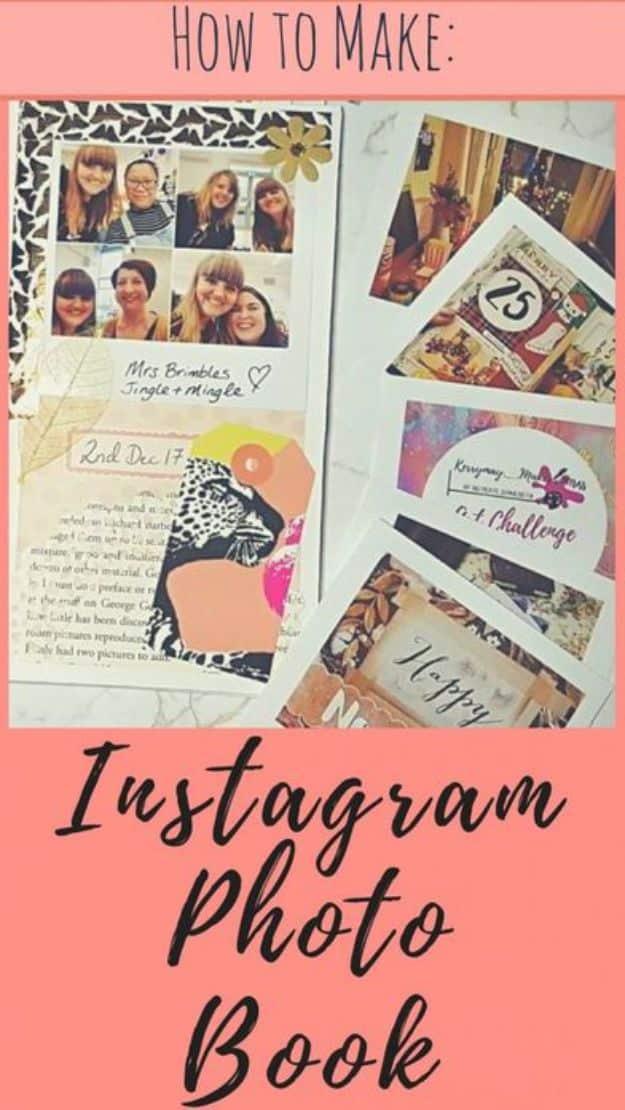
A journal filled with square Instagram prints, mixed in with patterned paper, washi tape and die cut shapes rather than mounted in rows. Photos come off the phone first, then get printed polaroid style with a white border, which suits the square crop the app already gives you. The reason this reads as a creative journal and not a photo album is the mixing: pictures sit alongside handwriting, tickets and tape on the same page, so a spread with four photos on it still looks composed rather than filled.
Get the full tutorial at Kerrymay Makes.
11. DIY Photo Album from a Recycled Cereal Box
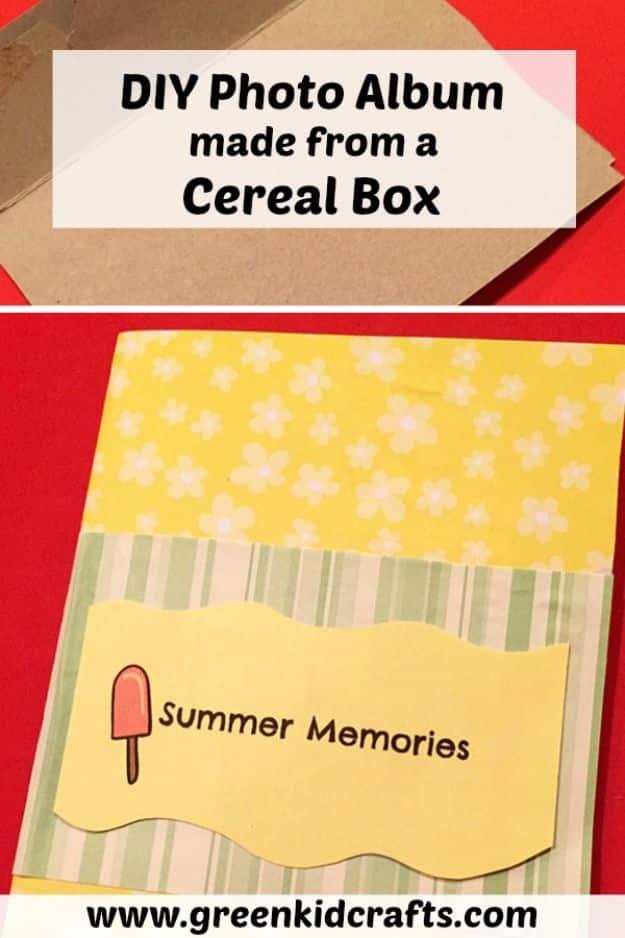
A photo album cut from one empty cereal box, an 11.5 ounce size in this version, with the box’s own top flaps doing the job of the hinges. Cut the front and back panels off with their flaps attached, then cut each of those in half, which gives four pieces, two with a flap and two without. Glue a flapped piece to the right hand side of a plain one and it opens like a book. Scrapbook paper covers the printed graphics, then photos and captions go straight on.
Get the full tutorial at Green Kid Crafts.
12. Photo Album For Mom
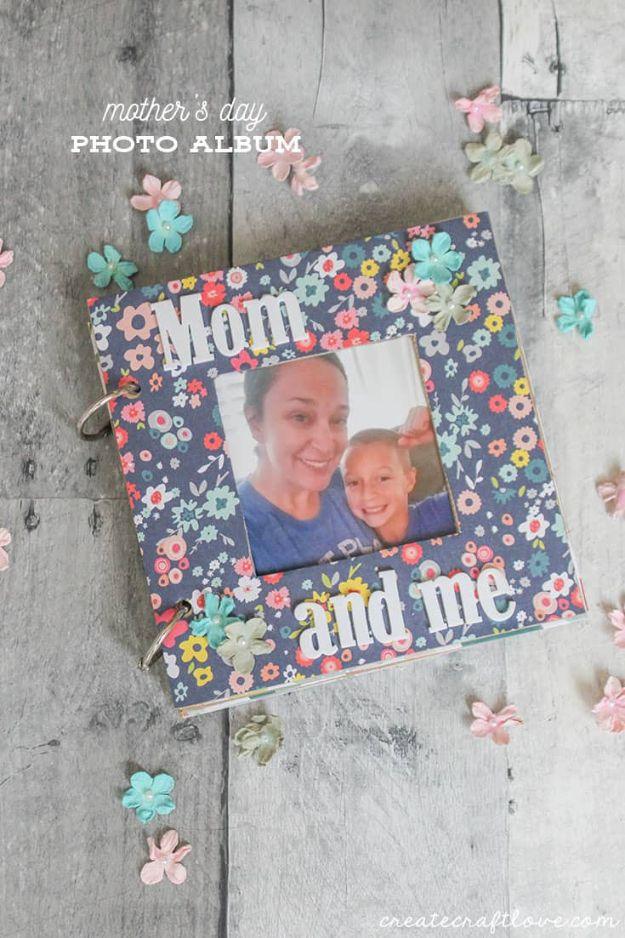
A chipboard album with a window cut through the front cover so one photograph shows from outside, finished with paper flowers and letter stickers. The centre of the cover comes out with a craft knife, then scrapbook paper is traced from the cover, cut to match the opening, punched to line up with the existing holes and bonded on with a thin coat of Mod Podge. The rings come with the album. Every page gets the same treatment front and back, which is the slow part and the reason it looks finished.
Get the full tutorial at Create Craft Love.
13. Simple Homemade Photo Album
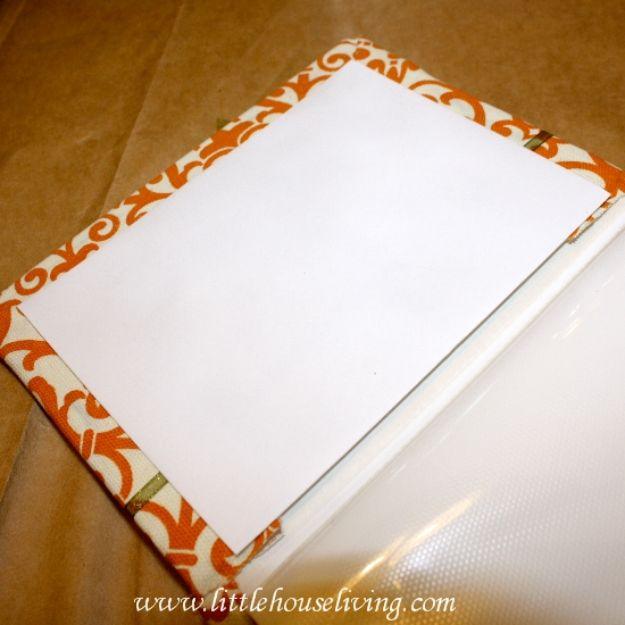
A plain shop bought photo album covered in fabric, which takes about half an hour and lands somewhere between five and ten dollars. Cut the fabric with roughly an inch of overhang all the way round and iron it flat before any glue goes near it. Four small snips at the spine let the fabric fold in without bunching. Work from the spine outwards with tacky glue and a small brush, wrap the edges like a parcel, and keep the spine loose. Glue it tight there and the album will not close.
Get the full tutorial at Little House Living.