
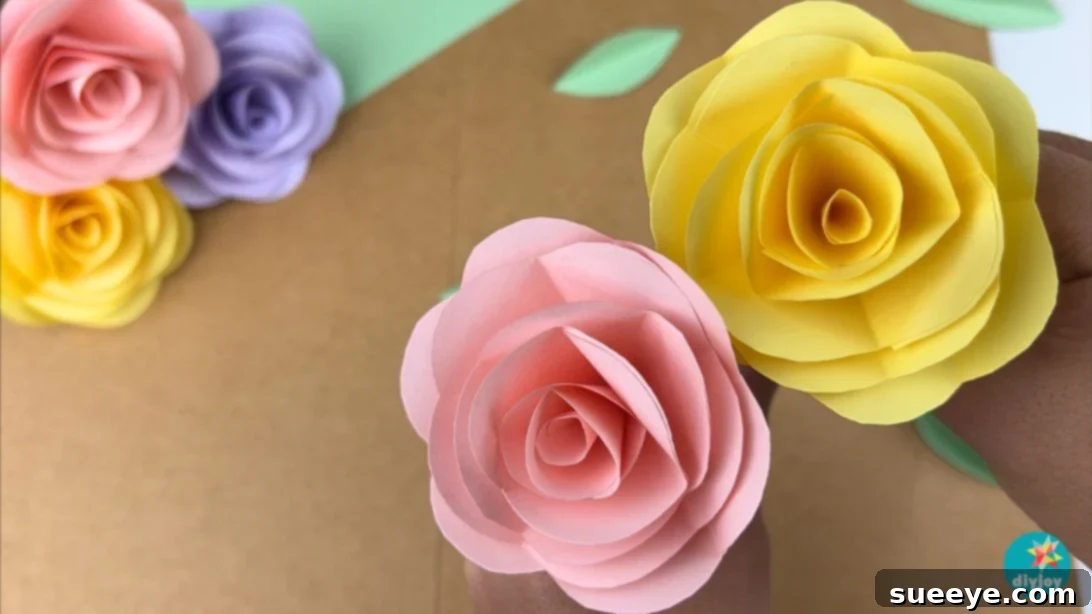
DIY Paper Roses: A Comprehensive Guide to Crafting Your Own Floral Masterpieces
Unleash your inner artist and transform simple paper into stunning roses with our comprehensive, step-by-step guide. Whether you’re a seasoned crafter or a curious beginner, this tutorial will walk you through the process of creating beautiful paper roses that can be used for decorations, gifts, or simply to brighten up your space. Paper roses offer a unique and lasting alternative to real flowers, providing a touch of elegance and charm that will endure. Learn how to craft these delicate blooms and discover the joy of handmade artistry.
Looking for more floral inspiration? Check out our Tissue Paper Flowers Tutorial for another creative crafting adventure!
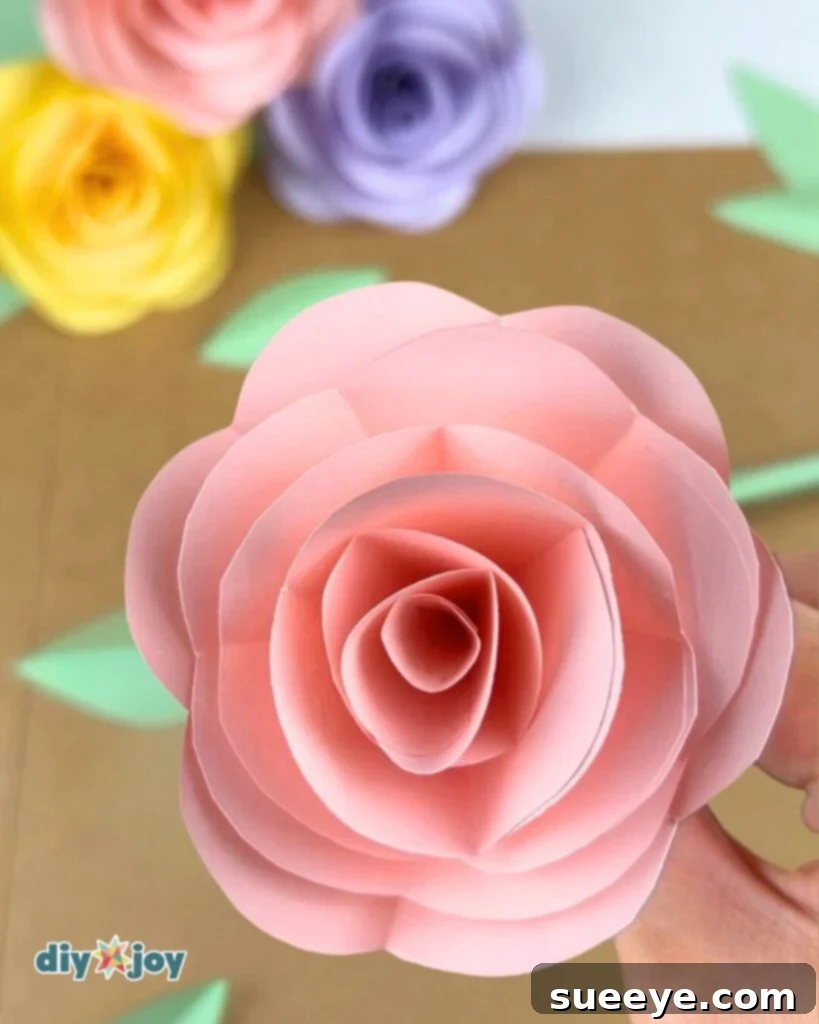
Roses, the undisputed queens of the floral kingdom, have captivated hearts for centuries with their exquisite beauty and symbolic depth. Their presence in flower shops is a testament to their enduring popularity. If you share a deep appreciation for these magnificent blooms, then this tutorial is tailor-made for you. We’ll guide you through each step of the process, revealing the secrets to crafting paper roses that rival their real-life counterparts in elegance and charm. This paper flower project is not only visually stunning but also surprisingly easy to master, making it perfect for crafters of all skill levels, including children. Save this engaging project for a rainy day or a fun family activity. Follow the written instructions below, or watch the video tutorial for a more visual learning experience.
Step-by-Step Guide: Creating Your Own Paper Rose
Ready to begin your paper rose crafting journey? Follow these simple steps to create your own stunning floral creations.
-
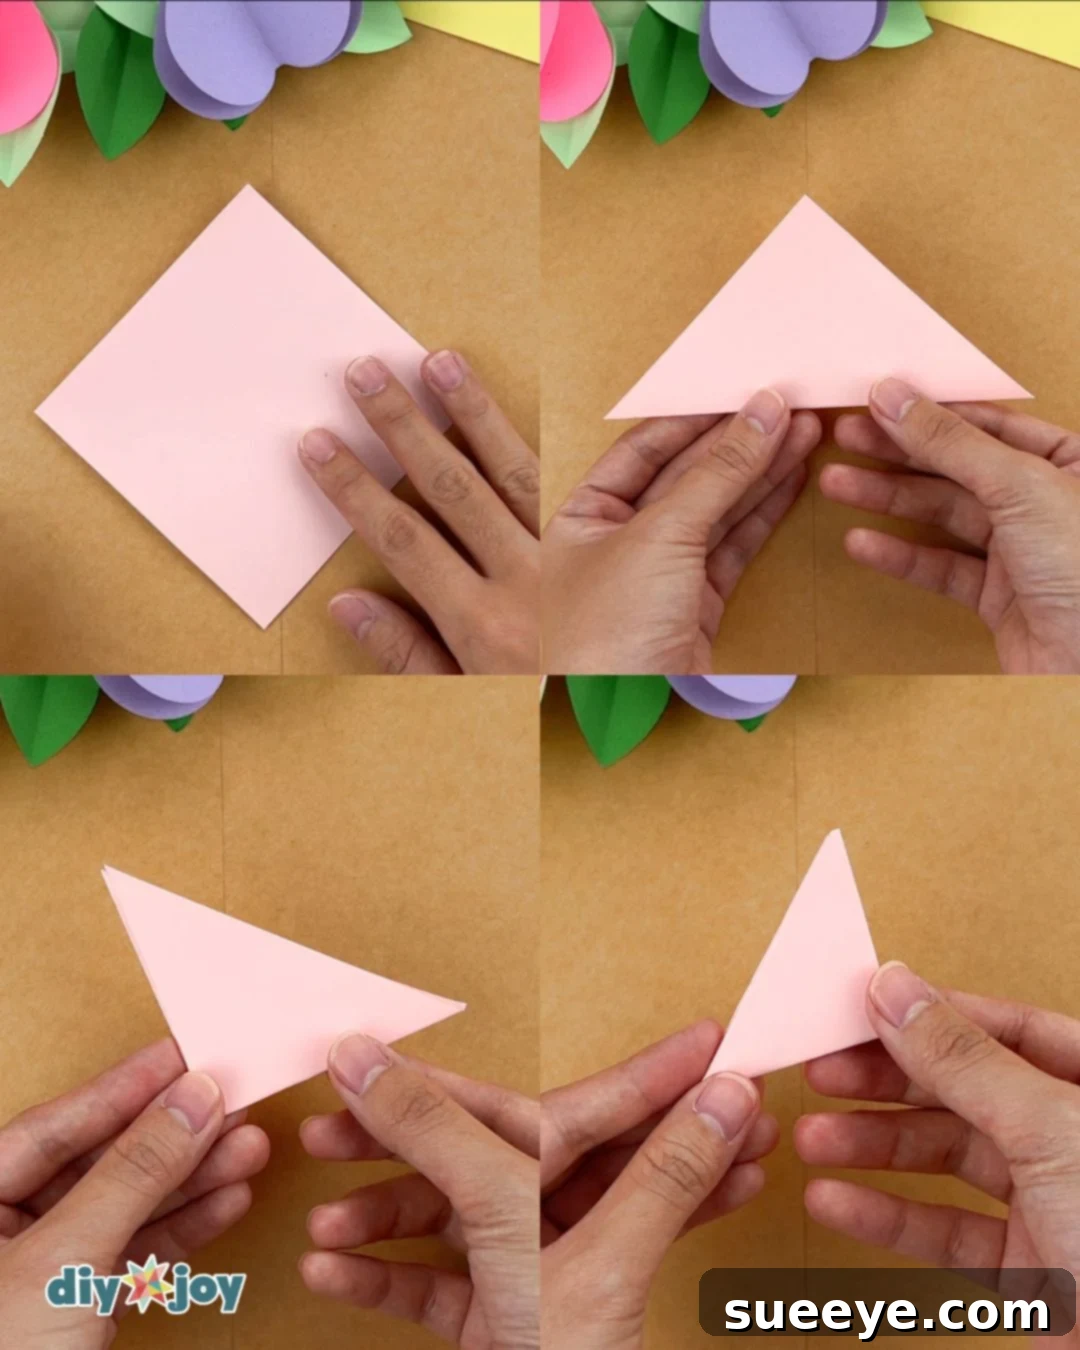
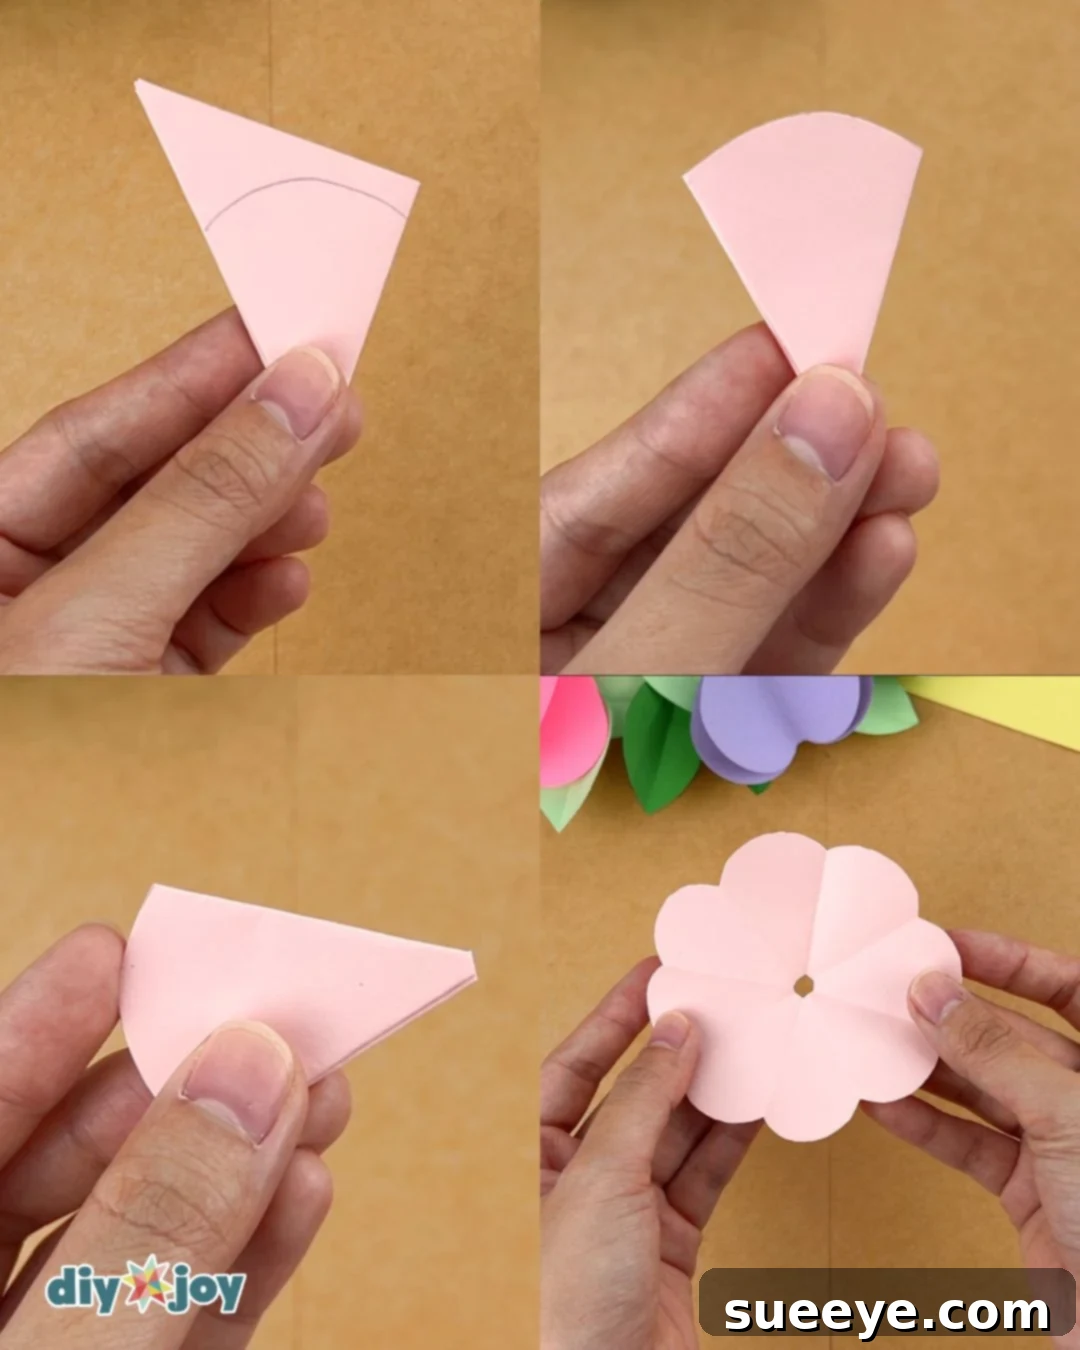
Prepare the Base: Begin by taking one square of your chosen paper. Fold it in half diagonally to form a triangle. Then, fold the triangle in half two more times, creating a smaller, more compact triangle. This will serve as the foundation for your rose petals.

-
Shape the Petals: Draw a curved line along the open edge of the triangle, shaping the petal’s outer edge. Carefully cut along this line. Next, trim a small portion from the pointed tip of the triangle. This will create a small opening at the center of the rose, allowing for a more realistic appearance.
-
Create Multiple Layers: Repeat the previous step to create four identical paper pieces. These pieces will form the different layers of your paper rose, adding depth and dimension to the final result.
-
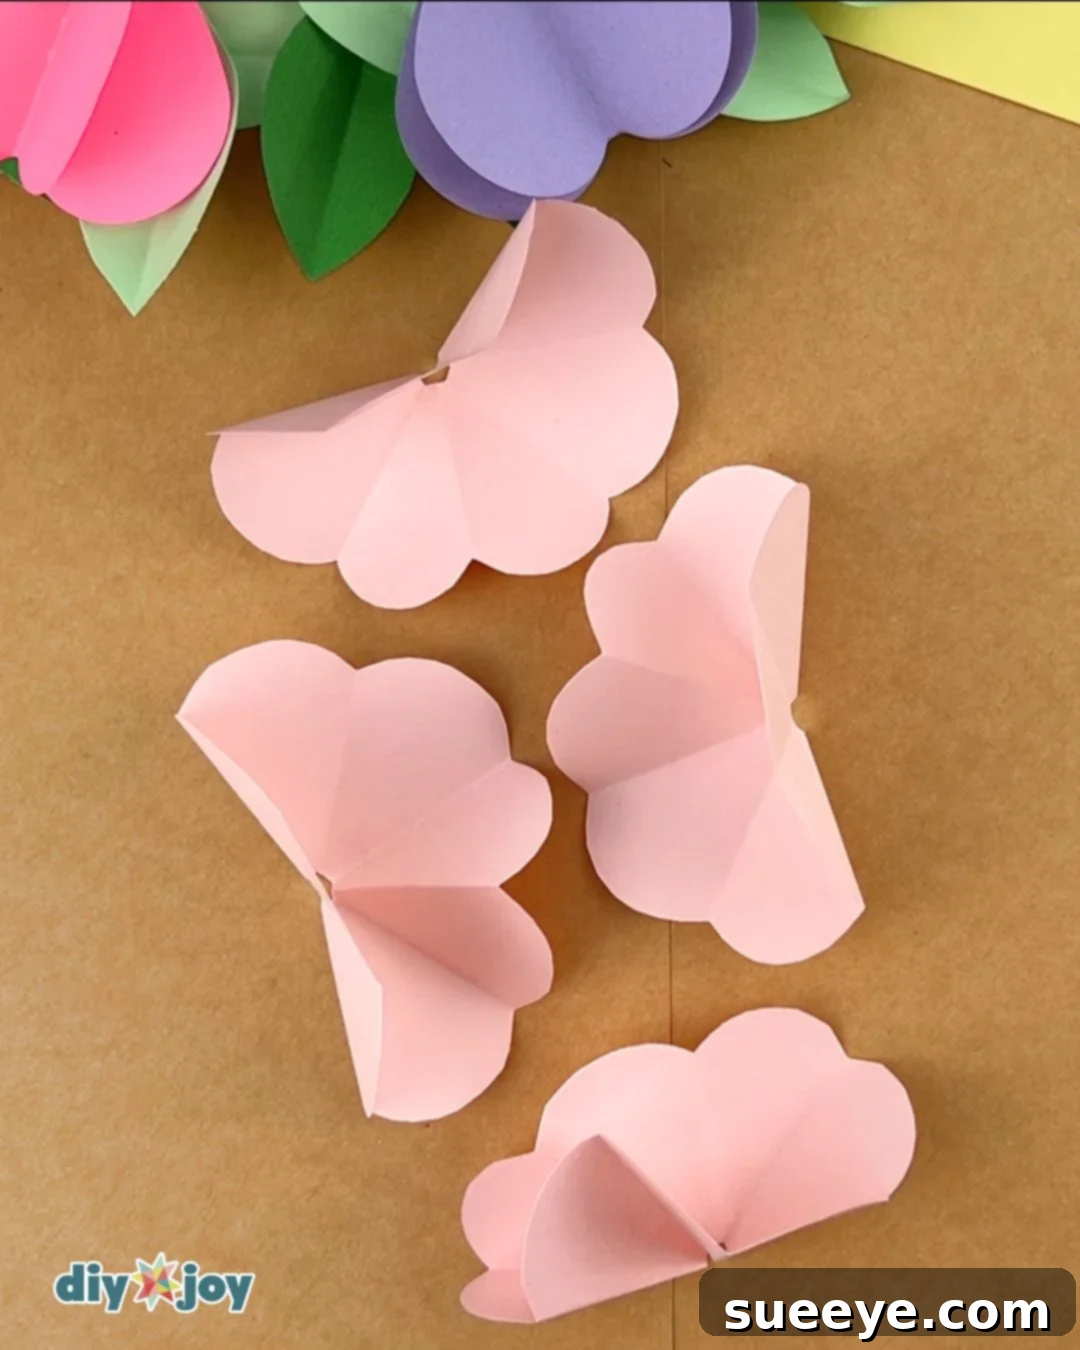
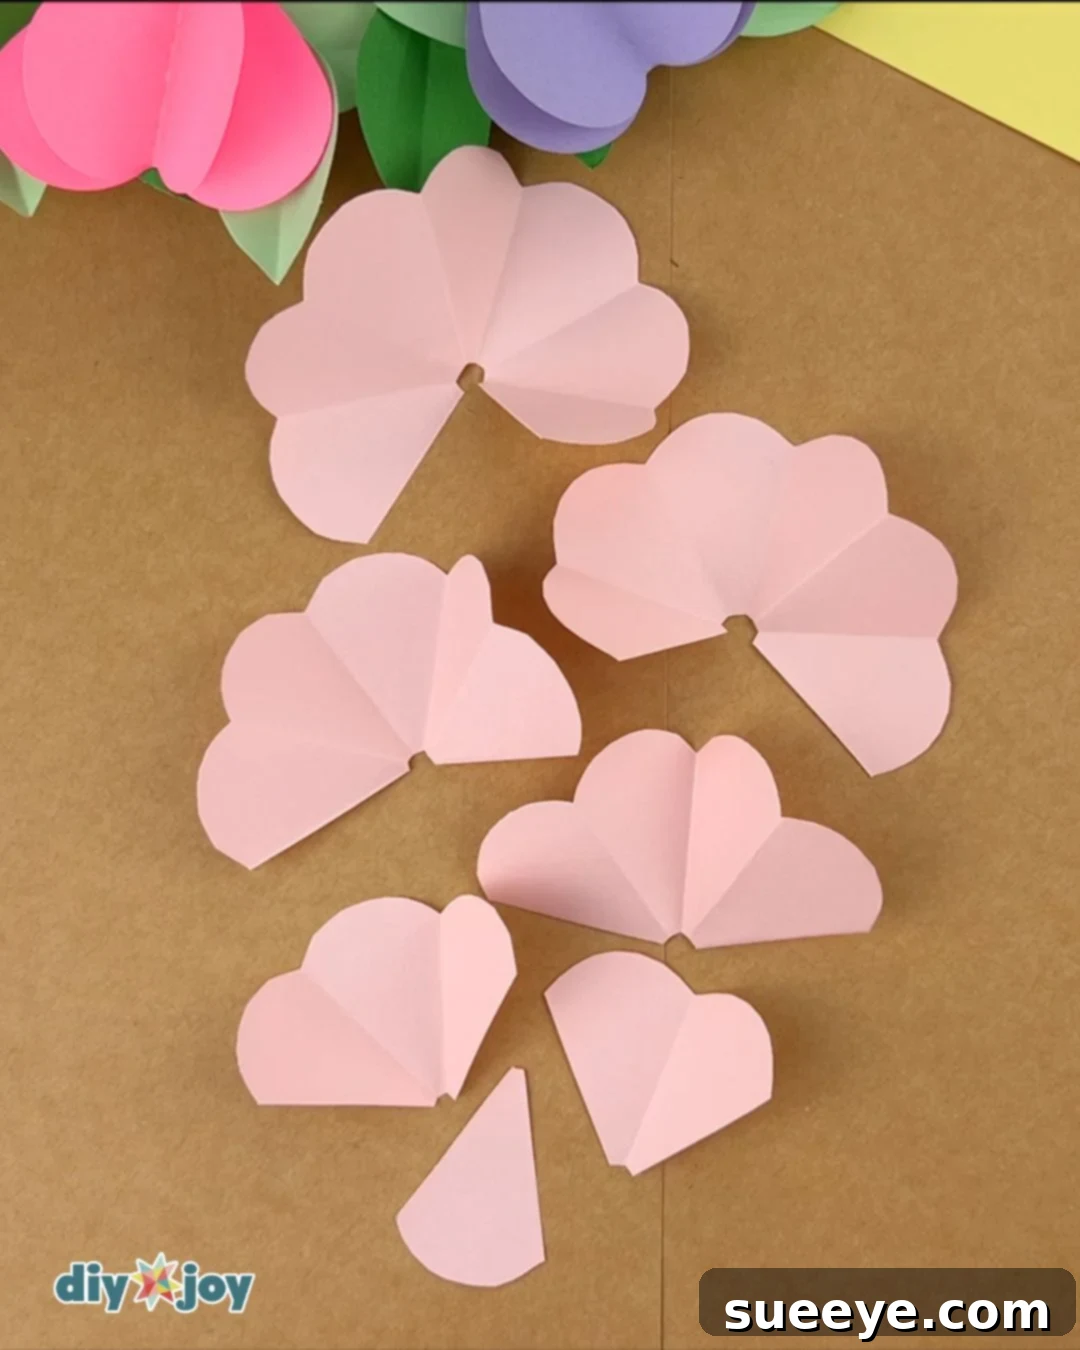
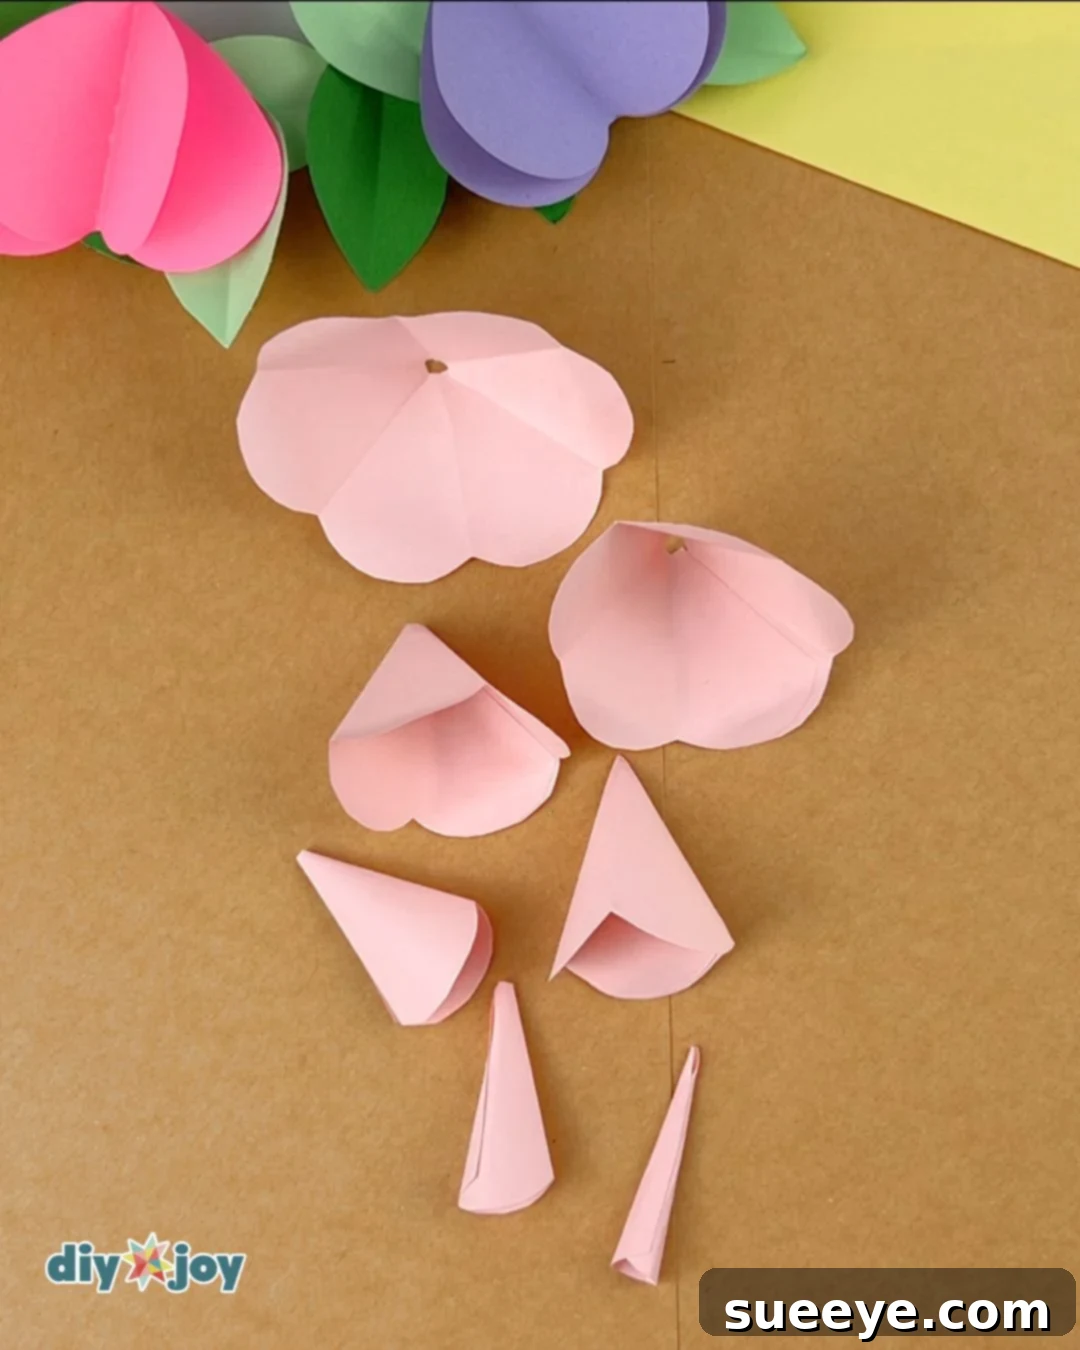
Divide and Conquer: Now, it’s time to shape the individual petals. Unfold each of the four paper pieces and then cut petals away as follows.
- First Flower: Cut one petal away.
- Second Flower: Cut two petals away.
- Third Flower: Cut three petals away.
- Fourth Flower: Cut four petals away.
Set aside the four-petal flower (the one you cut four petals from). You will not need it for this project. Then, arrange the remaining pieces from seven petals down to one petal. The variation in the number of petals will give your rose its unique form and character.
-
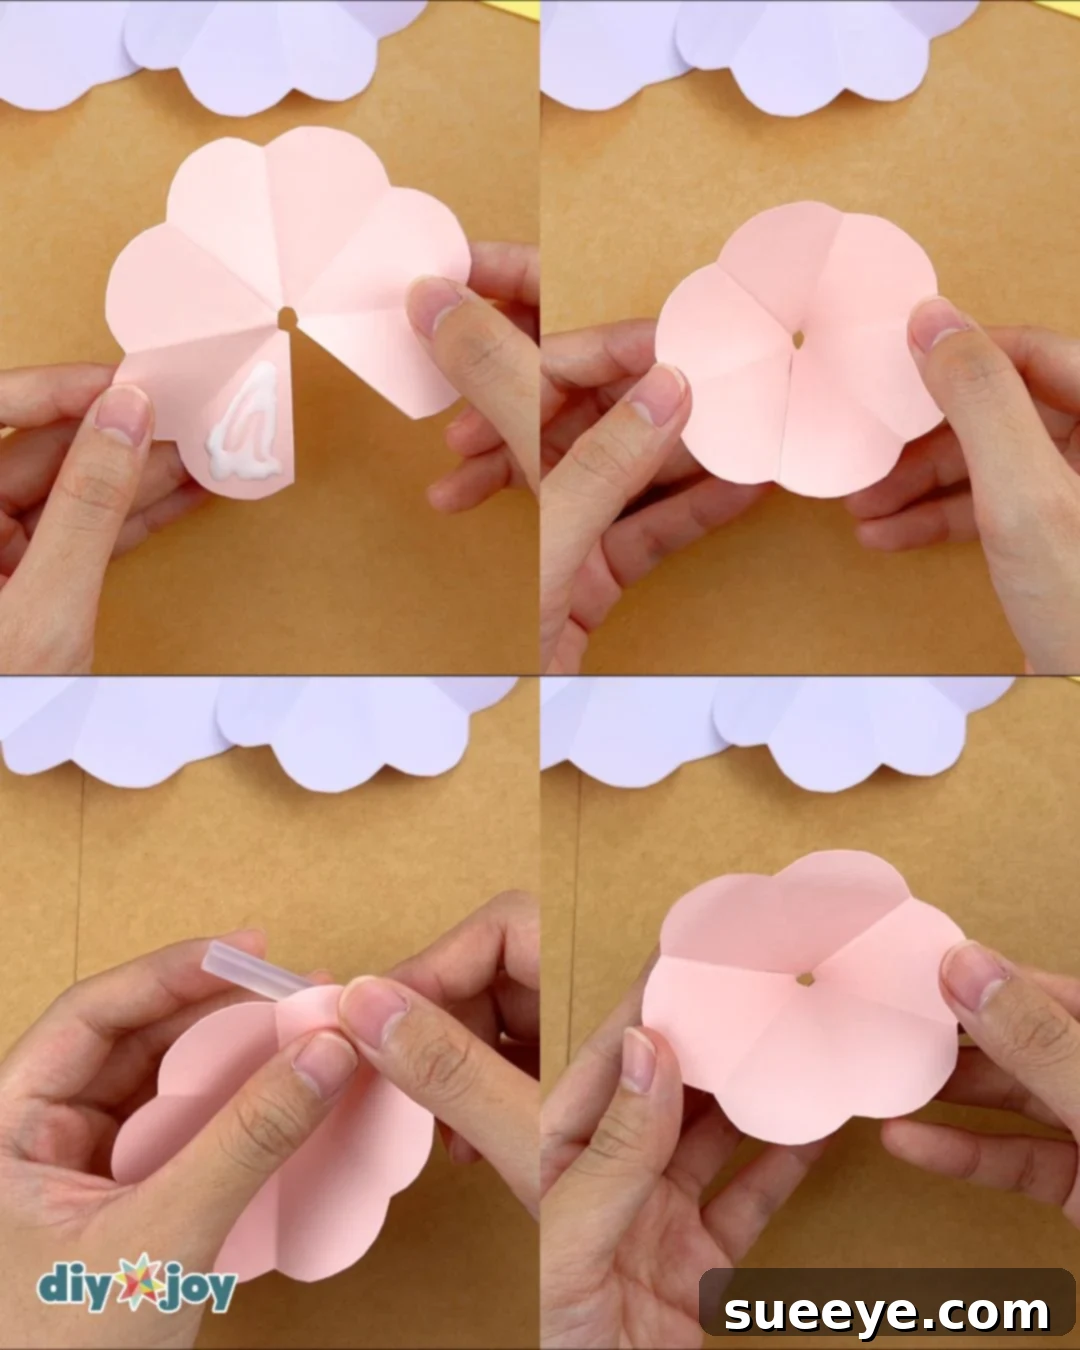
Form the First Layer: Take the seven-petal flower (the flower from which you only cut one petal away) and apply a small amount of glue to one petal. Carefully press the ends together, overlapping them slightly, to form a six-petal flower. This creates a cupped shape that will serve as the innermost layer of your rose. Using a pen or pencil, gently curl the tips of the petals outward. This adds a touch of realism and elegance to the flower.
-
Repeat and Refine: Repeat the curling and gluing process with the remaining pieces – the 5-petal, 4-petal, 3-petal, 2-petal and single petal flower. For the two-petal and one-petal pieces, simply glue the ends together, creating small, tightly wound cones. These will form the center of the rose.
-
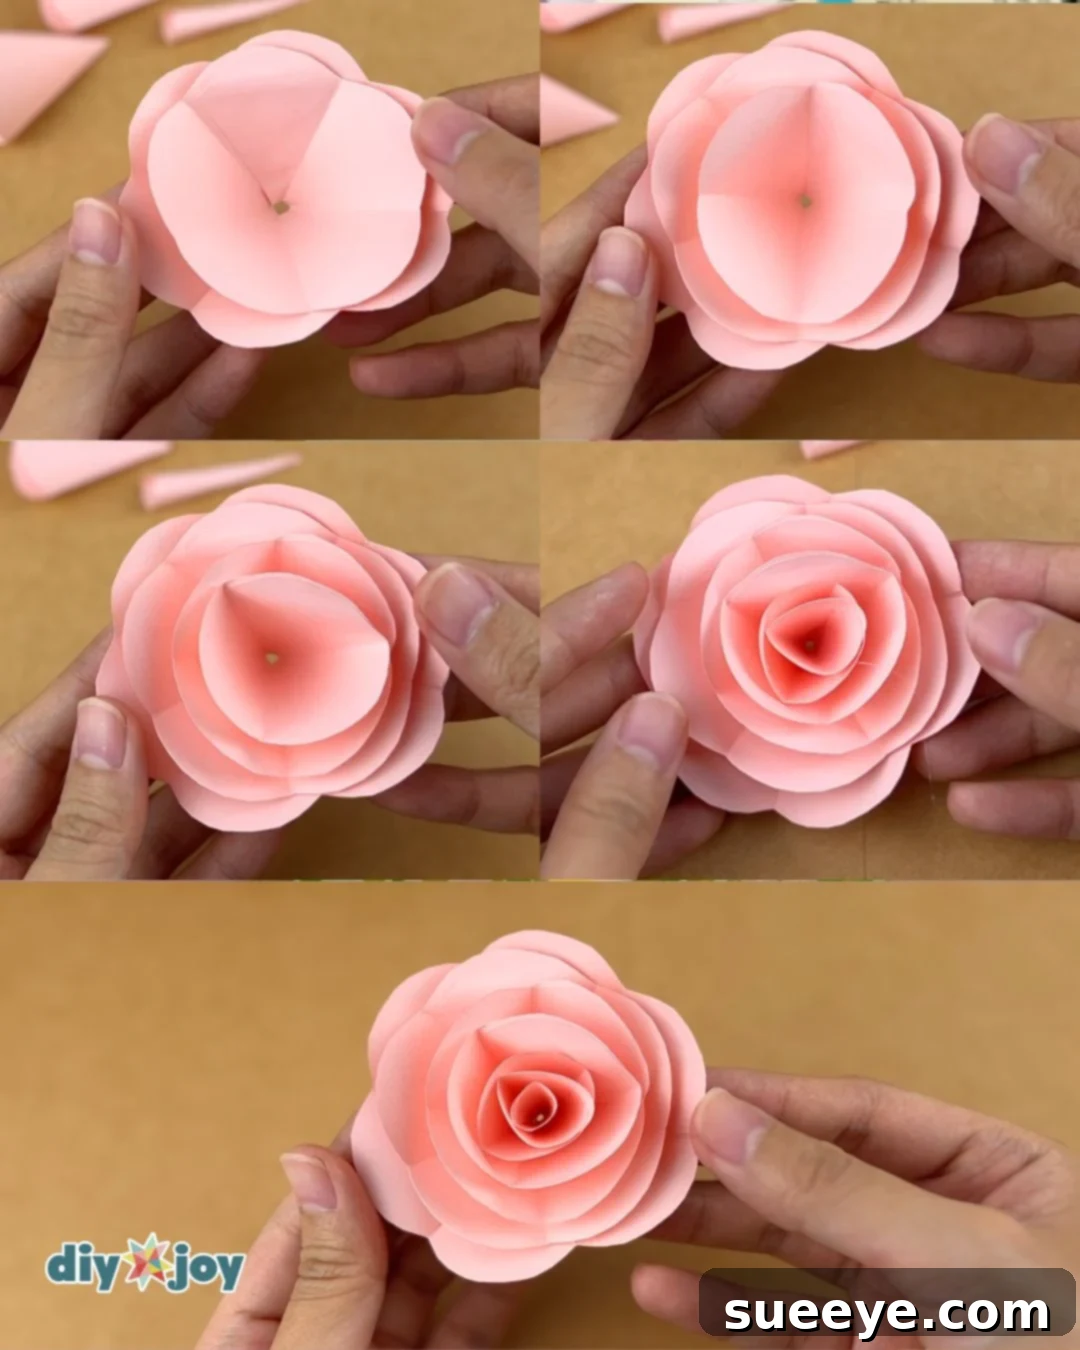
Assemble the Rose: Using hot glue (or strong craft glue), carefully assemble the flower by attaching the pieces together, starting with the largest (the seven-petal flower) and working your way down to the smallest (the one-petal piece). Gently press each layer into the previous one, ensuring a secure bond and a natural, flowing shape.
-
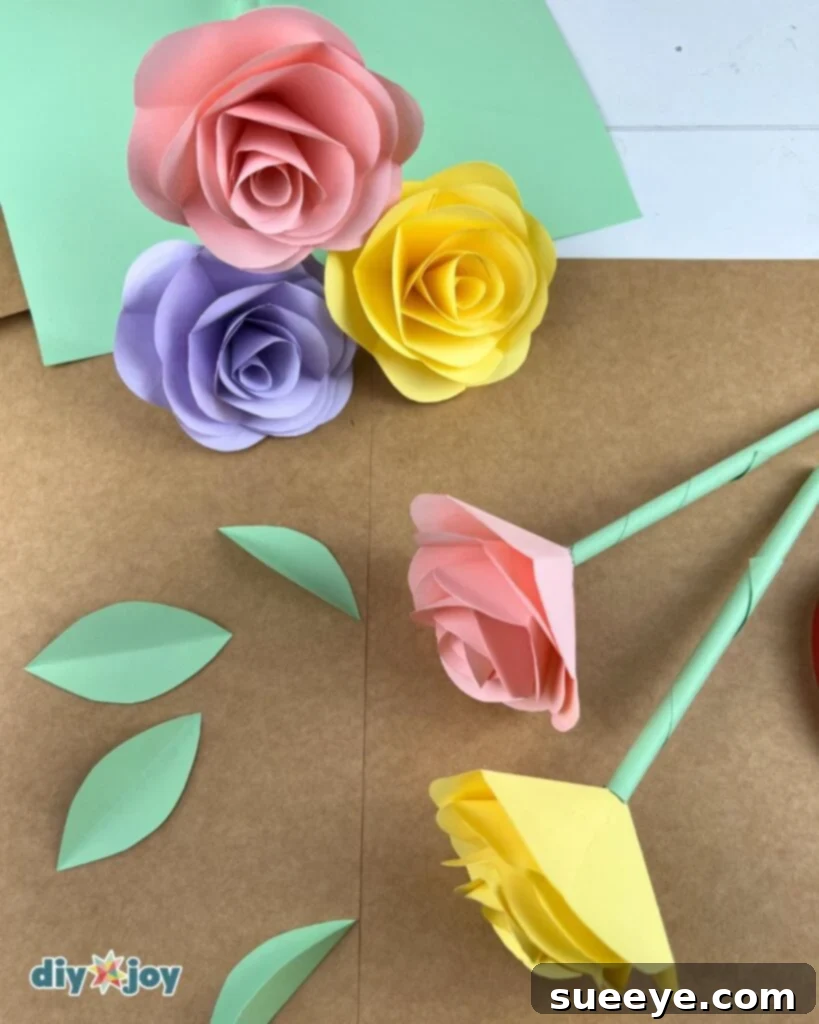
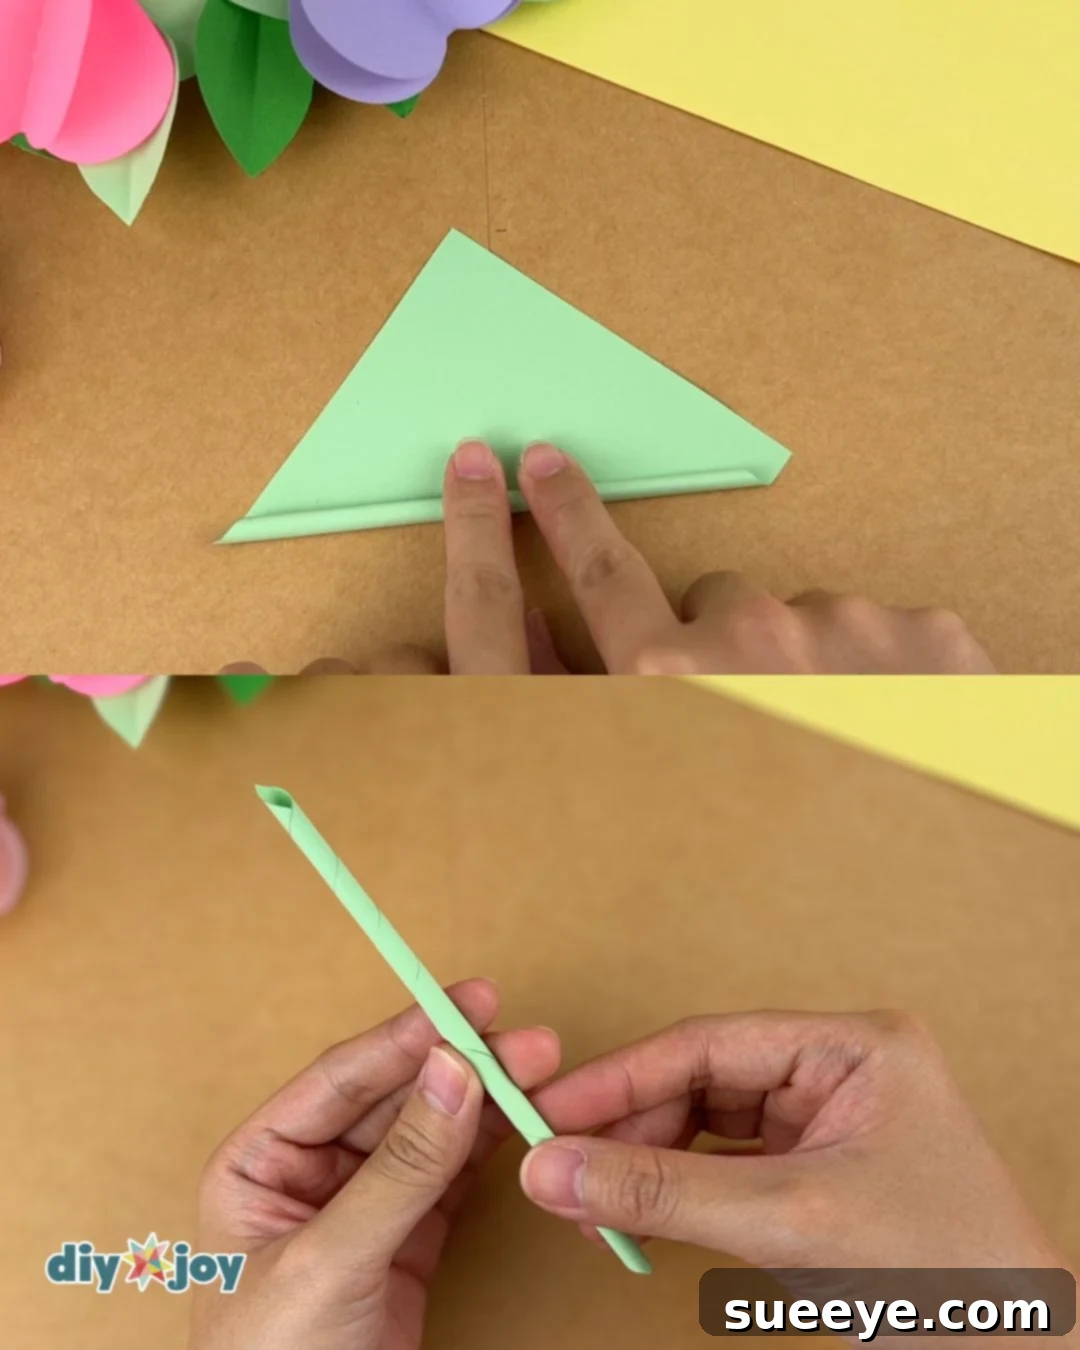
Create the Stem: Take a piece of green paper and roll it diagonally, creating a long, slender tube. Apply glue to the end to secure the roll, forming the stem of your paper rose.
-
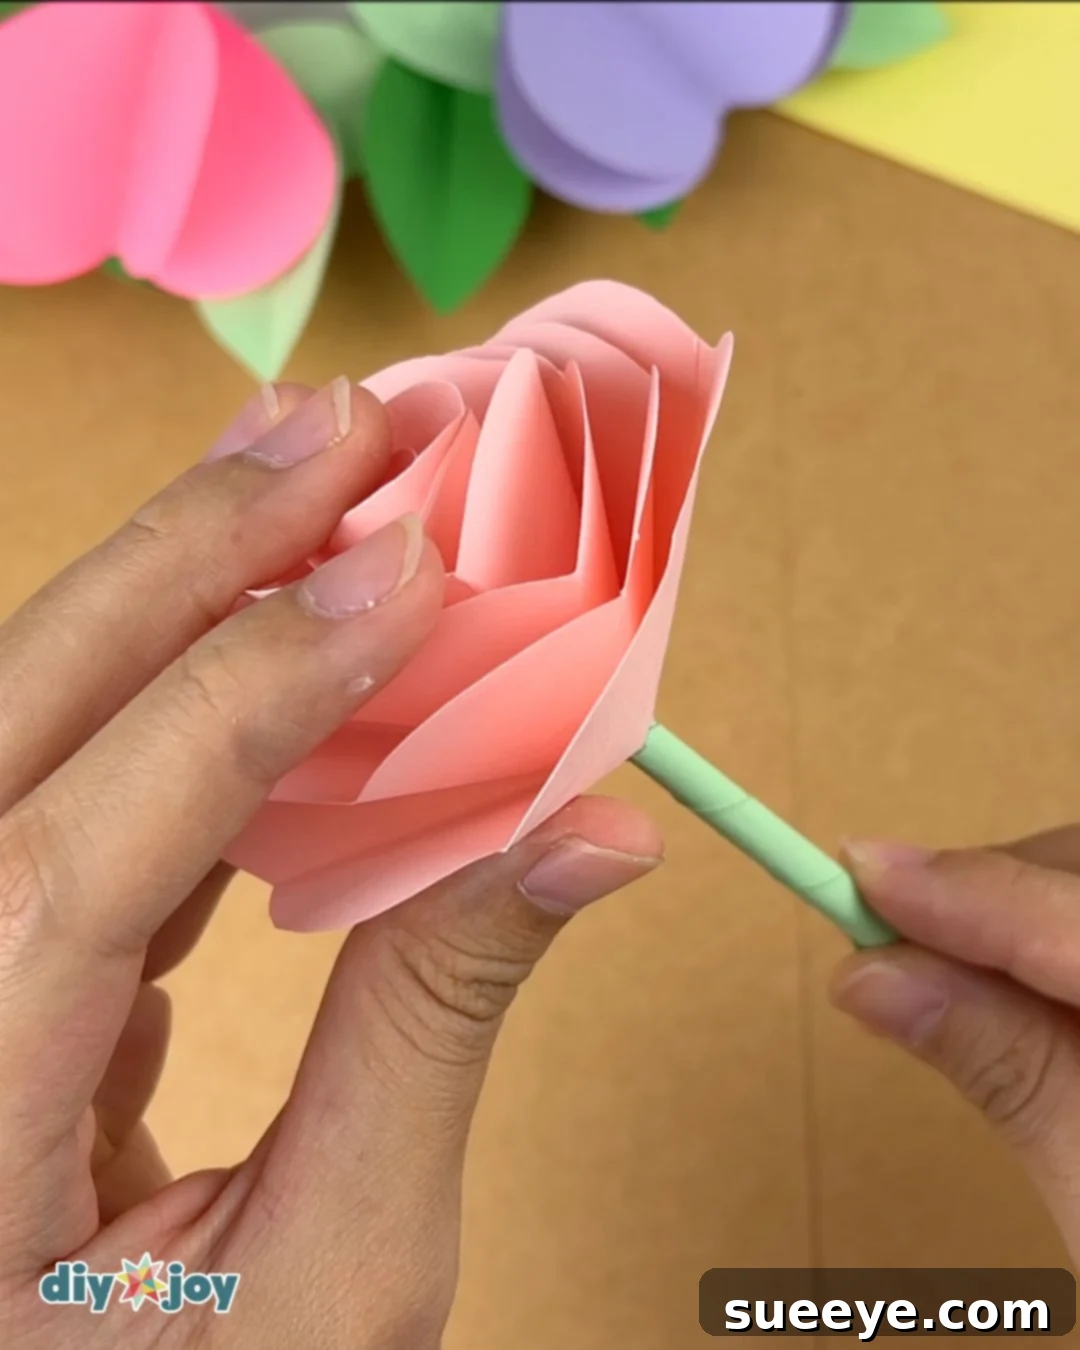
Attach the Flower to the Stem: Using hot glue, carefully attach the base of the paper rose to the top of the green paper stem, creating a seamless and secure connection.
-
Admire Your Creation: Congratulations! You’ve successfully crafted your very own paper rose. Now, step back and admire your beautiful creation!
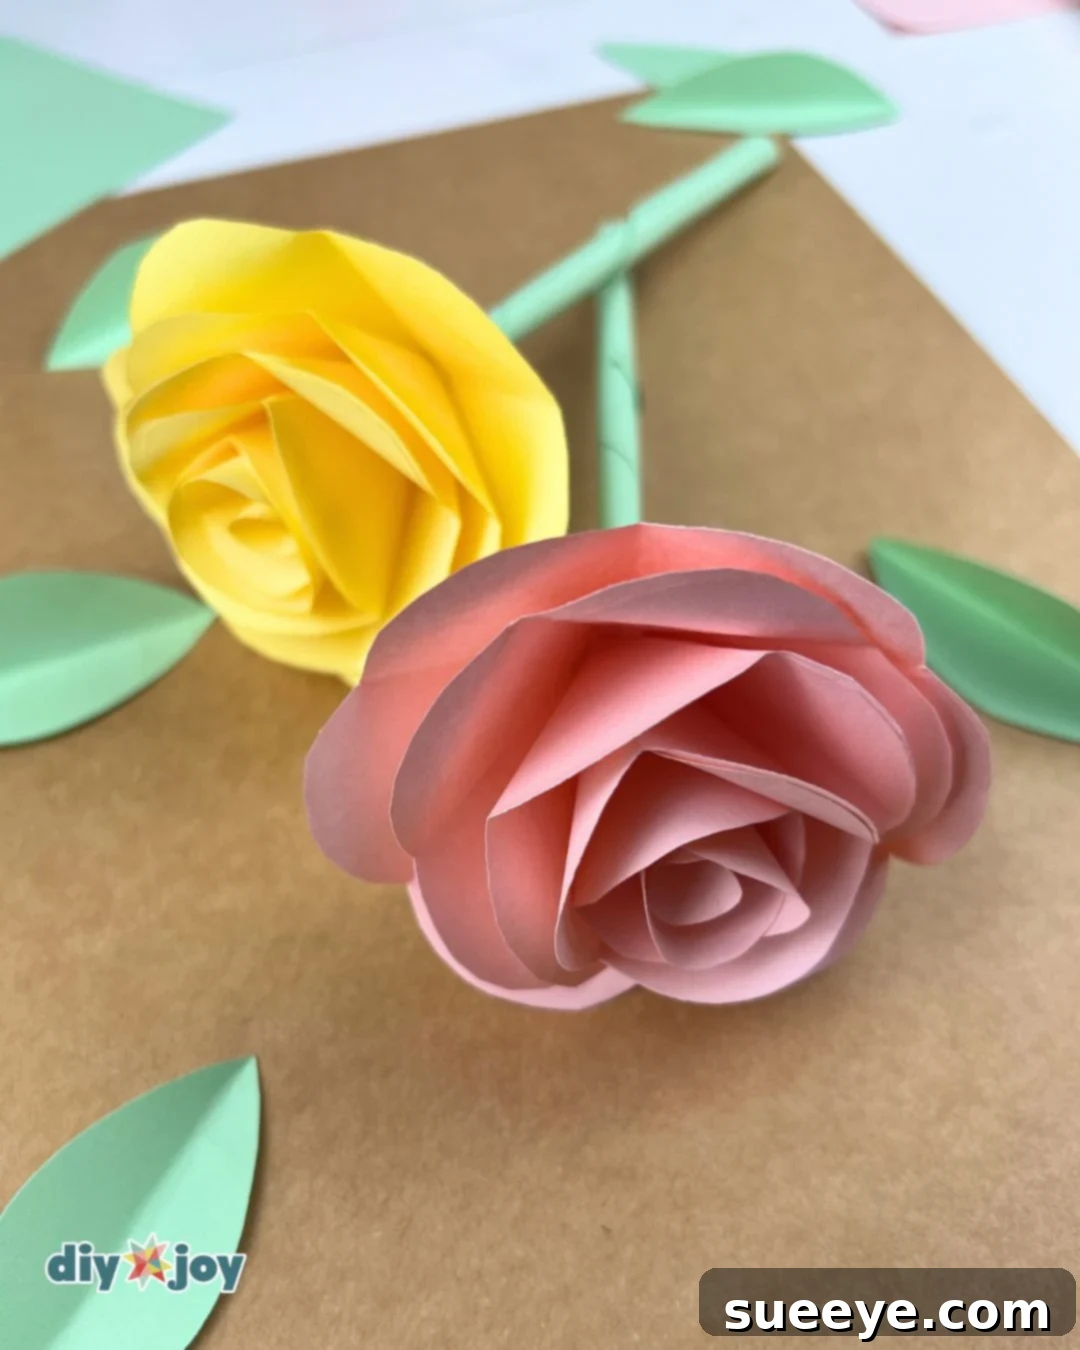
Tools
- Scissors
- Glue gun
Materials
- 4 pieces 3-in by 3-in cardstock or colored paper (7.5 cm x 7.5 cm)
- one piece 3-in by 3-in cardstock or colored paper (7.5 cm x 7.5 cm) for the stem
- Glue stick
- Glue (hot glue is recommended for faster assembly)
- Pencil

Crafting Tip
For the cleanest and most professional-looking cuts, always use sharp scissors.
Unleash Your Creativity: Ideas and Variations
Now that you’ve mastered the basic paper rose, let your imagination run wild with these creative ideas and variations.
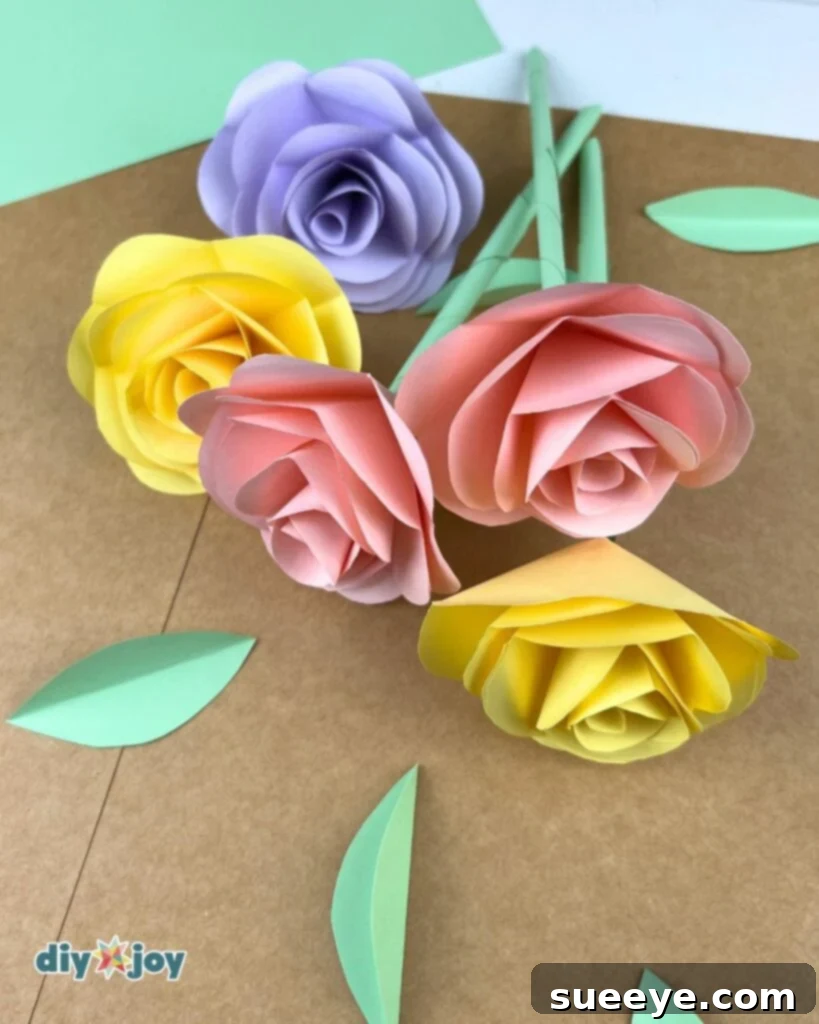
- Sizes: Experiment with different sizes of paper to create roses of varying dimensions. A bouquet of mixed-size roses adds a touch of natural elegance. Consider using larger paper for statement pieces or smaller paper for delicate accents.
- Colors: Embrace the full spectrum of colors! Create roses in a rainbow of hues, from soft pastels to vibrant jewel tones. Consider using ombre or gradient paper for a unique and eye-catching effect.
- Leaves: Add a touch of realism by crafting paper leaves to complement your roses. Simply cut leaf shapes from green paper, fold them lengthwise to create a crease, and curl the ends slightly. Attach the leaves to the stem for a more complete and lifelike appearance.
- Scent: Elevate your paper roses to the next level by using scented paper. Choose a fragrance that complements the color of the rose, such as rose-scented paper for pink roses or lavender-scented paper for purple roses.
- Decorate: Think beyond bouquets! Use your paper roses to embellish gifts, decorate walls, or create stunning centerpieces for parties and events. The possibilities are endless!
More Paper Flower Inspiration
Eager to expand your paper flower repertoire? Explore these additional tutorials for even more creative crafting adventures.
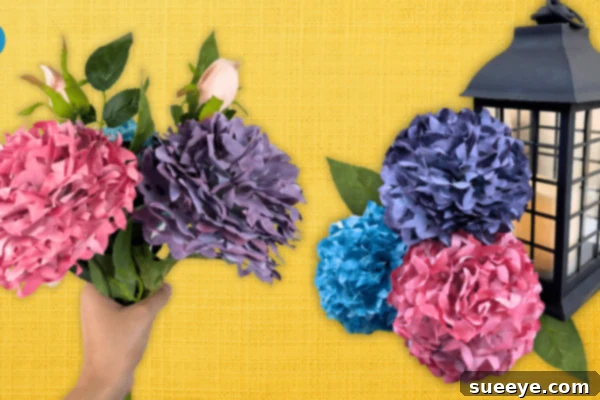
DIY Hydrangea Coffee Filter Flowers
Transform ordinary coffee filters into delicate and stunning hydrangea blooms.
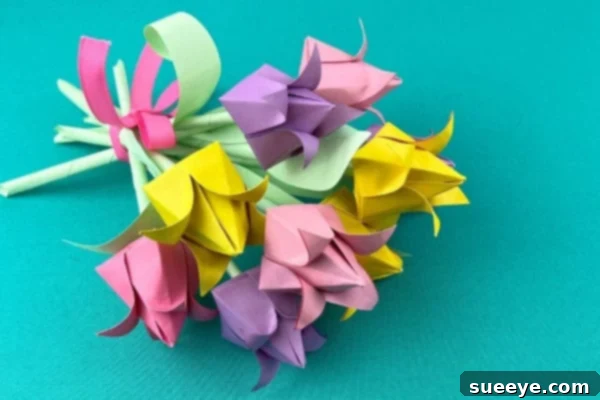
How to Make Paper Tulips
Learn how to create elegant paper tulips that capture the essence of spring.
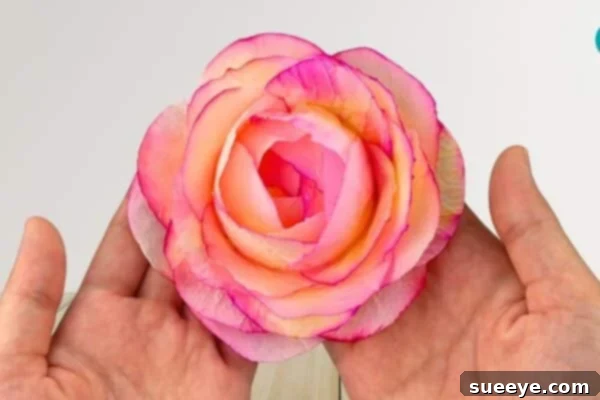
Toilet Paper Flowers Tutorial
Discover how to repurpose toilet paper into beautiful and whimsical floral creations.