
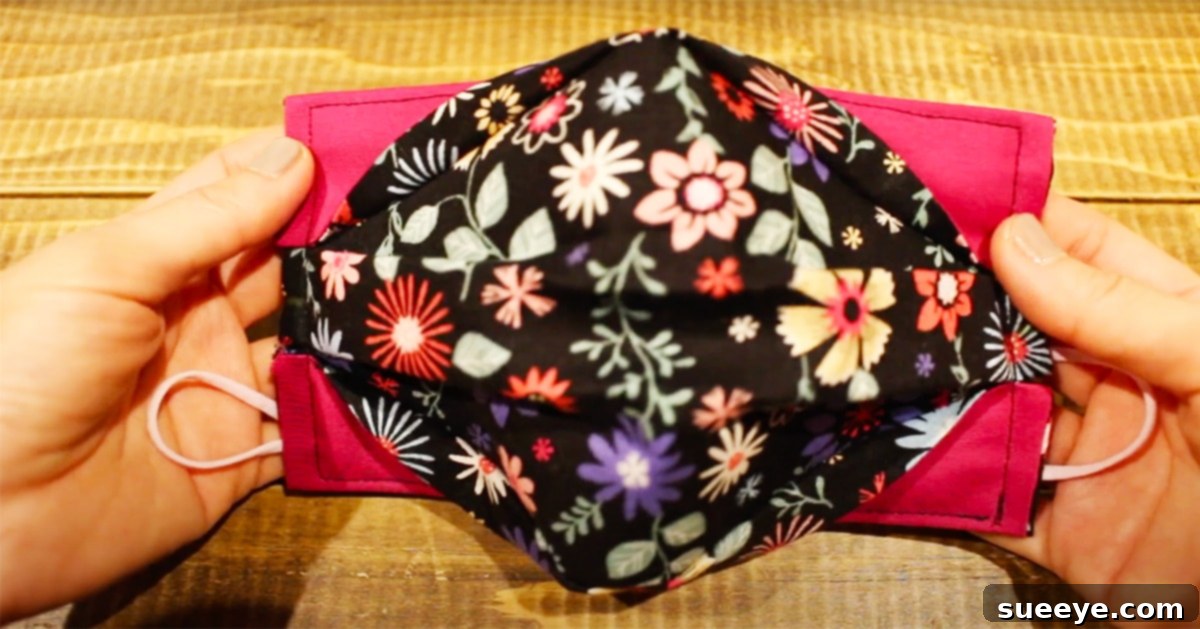
Craft Your Own Comfort: A Beginner-Friendly DIY Box Pleated 3D Face Mask Tutorial
In a world where face masks have become an essential part of our daily lives, finding one that offers both comfort and comprehensive coverage can be a game-changer. This detailed guide unveils a fantastic DIYCraft JP tutorial for sewing a unique box pleated 3D face mask. Perfect for beginners and seasoned crafters alike, this project stands out for its elegant shape, superior fit, and the ingenious way the main fabric forms a distinct structure while the lining creates a supportive box around it.
If you’re looking to upgrade your mask collection with a comfortable, full-coverage option that’s far from the ordinary, you’ve come to the right place. This 3D face mask design not only looks stylish but also provides ample space around the mouth and nose, enhancing breathability and reducing the common discomforts associated with flatter mask styles. It’s an accessible home sewing project that promises a rewarding experience and a truly functional outcome.
Why Choose a Box Pleated 3D Face Mask?
While numerous face mask patterns exist, the box pleated 3D style offers several distinct advantages that make it a preferred choice for many:
- Enhanced Comfort: The three-dimensional structure creates an air pocket in front of your mouth and nose, allowing for easier breathing and reducing the feeling of fabric pressing directly against your face.
- Superior Coverage: This design is crafted to provide extensive coverage from the bridge of your nose down to under your chin and across your cheeks, ensuring greater protection.
- Reduced Glasses Fogging: For those who wear glasses, the structured fit helps to direct breath downwards, significantly minimizing lens fogging, a common annoyance with other mask types.
- Stylish Appearance: The precise pleating and structured shape give this mask a more refined and tailored look compared to simpler designs.
- Ideal for Beginners: Despite its sophisticated look, the sewing process is broken down into manageable steps, making it an excellent project for those new to sewing.
- Customizable Fit: By adjusting the elastic length, you can achieve a personalized and secure fit that stays comfortably in place without needing constant adjustments.
Essential Supplies for Your DIY Face Mask Project:
Gathering the right materials is the first step towards a successful sewing project. Here’s a comprehensive list of what you’ll need to create your comfortable box pleated face mask:
- Main Fabric: Choose a tightly woven, breathable fabric like 100% cotton. Quilting cottons are excellent for their durability and wide range of patterns. Select a design you love for the exterior of your mask.
- Lining Fabric: Again, 100% cotton is recommended for comfort against the skin. You can use a coordinating solid color or a subtle pattern for the inside. Ensure both fabrics are pre-washed and ironed to prevent shrinking after the mask is made.
- Elastic: Opt for soft, comfortable elastic, typically 1/4 inch (6mm) wide, for the ear loops. Flat elastic is generally more comfortable than round cord elastic. Consider using adjustable elastic for an even more custom fit.
- Fabric Pins or Clips: Essential for holding fabric pieces together securely during cutting and sewing, ensuring precision.
- Ruler: A clear sewing ruler or a measuring tape is crucial for accurate measurements of your fabric pieces.
- Sewing Machine: A basic sewing machine capable of a straight stitch is all you need for this project. Ensure it’s threaded correctly with good quality thread.
- Iron & Ironing Board: Pressing seams as you go is vital for a professional finish and makes subsequent sewing steps much easier. Don’t skip this!
- Fabric Chalk or Disappearing Ink Pen: Use this for marking cutting lines, pleat positions, and seam allowances directly onto your fabric without leaving permanent marks.
- Cutting Mat: A self-healing cutting mat protects your work surface and provides a stable base for cutting.
- Rotary Cutter Set: While scissors work, a rotary cutter with a sharp blade makes cutting straight lines and curves incredibly fast and precise, especially when paired with a quilting ruler.
- Matching Thread: High-quality polyester all-purpose thread that matches or coordinates with your main fabric will provide strength and a neat finish.
- Fabric Scissors: Sharp fabric scissors are always handy for snipping threads or making small cuts.
Step-by-Step Directions for Sewing Your 3D Face Mask:
This tutorial will guide you through creating your own box pleated 3D face mask. Remember, precision in measuring and careful pressing are key to a professional-looking finish. For a visual demonstration of these steps, please refer to the comprehensive DIYCraft JP tutorial on YouTube.
Step 1: Preparing and Cutting Your Fabric Pieces
The foundation of a great mask is accurately cut fabric. Begin by carefully measuring your main fabric and lining fabric. The recommended dimensions for this specific adult-sized face mask are approximately 7-7/8 inches (20cm) in width by 9 inches (23cm) in length. You will need one piece of main fabric and one piece of lining fabric of these dimensions. Ensure your fabrics are smooth and wrinkle-free before cutting. Use your ruler, fabric chalk, and rotary cutter (or scissors) to achieve precise, straight cuts. Accuracy here will simplify all subsequent steps.
Step 2: Sewing the Main and Lining Fabrics Together
Place your main fabric and lining fabric right sides together, ensuring all edges are aligned perfectly. Pin around the perimeter to hold them in place. Now, sew around the entire perimeter of the fabric using a 1/4 inch (approx. 0.6cm) seam allowance. It is crucial to leave an opening of about 2 inches (5cm) unsewn along one of the bottom edges. This opening will be used later to turn the mask right side out. Reinforce the stitches at the beginning and end of your sewing by backstitching to prevent them from unraveling.
Step 3: Trimming Corners and Turning Fabric
Once you’ve sewn around the perimeter, it’s time to prepare the corners for a crisp finish. Carefully cut a small triangle slit off each of the four corners, close to the stitching line but without cutting through it. This reduces bulk in the corners, allowing them to turn out sharply. Next, use the 2-inch opening you left to gently pull and tuck all the fabric inside out, so the right side of your main fabric design is facing outwards. Take your time with this step to avoid stretching or tearing the fabric.
Step 4: Pressing for a Professional Finish
After turning the mask right side out, the next critical step is pressing. Using a warm iron, carefully press all the seams flat. Pay special attention to the opening you left; press the raw edges inwards by 1/4 inch so that they align with the sewn seam. This creates a neat, finished edge for when you close the opening later. A well-pressed mask will always look more professional and be easier to work with in the subsequent steps. This step is often overlooked but significantly impacts the final quality.
Step 5: Creating the Box Pleated Folds
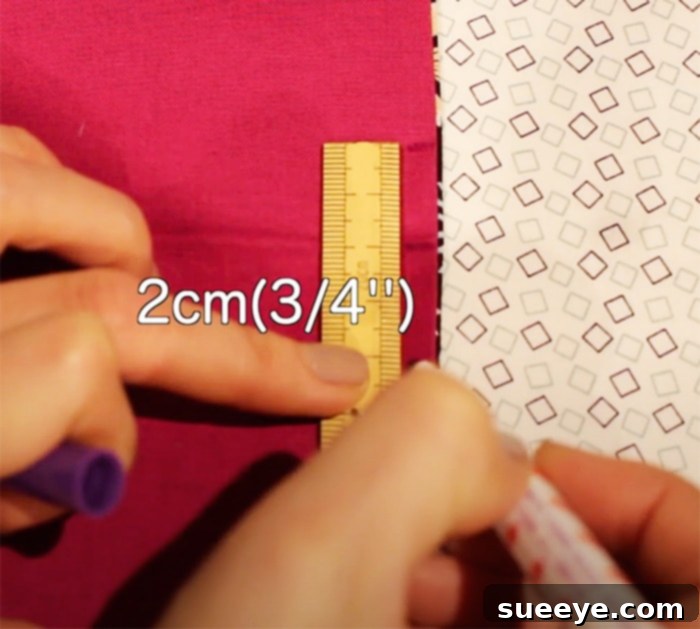
Now comes the signature feature of this mask: the box pleats. This is where the 3D shape truly begins to form. Lay your pressed fabric flat. You will need to create folds that form a distinct box-like structure. While the exact measurements for pleats might vary slightly, a common approach is to create two to three pleats, folding the fabric towards the center or in alternating directions, to achieve the desired 3D contour. The DIYCraft JP tutorial provides precise guidance on the placement and depth of these pleats. Use your fabric chalk to mark the pleat lines, then carefully fold and pin each pleat into place on both sides of the mask. Ensure the pleats are even and symmetrical for a balanced look and comfortable fit. Press these pleats lightly to help them hold their shape.
Step 6: Incorporating the Elastic Ear Loops
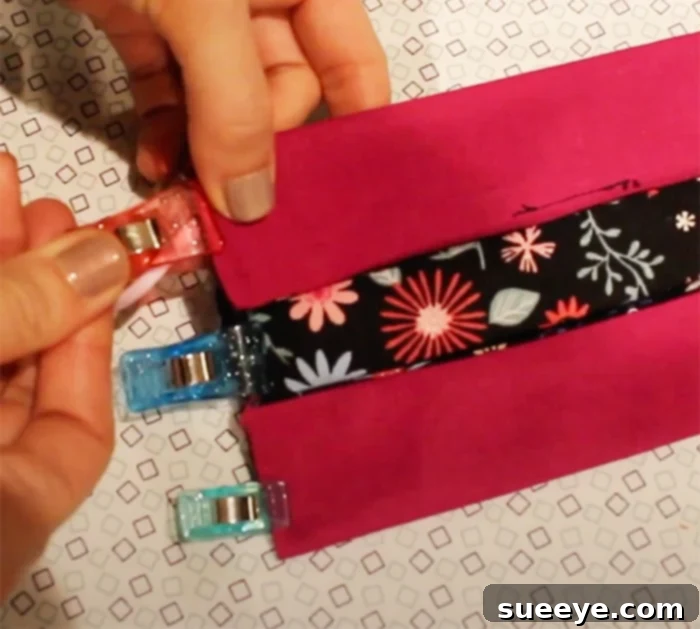
With your pleats securely pinned, it’s time to integrate the elastic. Cut two pieces of elastic, each typically around 6-7 inches (15-18cm) long, though this can be adjusted for a custom fit. Insert one end of an elastic piece approximately 5/8 inch (1.5cm) deep into the upper corner of the mask, tucking it inside the pleated fold. Pin it securely. Repeat this for the other end of the same elastic piece at the lower corner on the same side, and then for the other elastic on the opposite side of the mask. Ensure the elastic is not twisted. The elastic should be nested between the layers of fabric, with only the loops extending outwards, ready to be sewn in place.
Step 7: Final Topstitching and Securing the Elastic
With the pleats formed and the elastic pinned, it’s time for the final sewing. Starting from one corner, carefully sew all around the outer perimeter of the mask, approximately 1/8 inch from the edge (this is often called topstitching). This not only secures the pleats and the elastic firmly in place but also closes the opening you left earlier. When you sew over the elastic ends, make sure to backstitch a few times to reinforce them, as this area will experience tension during wear. Continue sewing all the way around until you meet your starting point, ensuring all raw edges are enclosed and the mask has a clean, finished appearance.
Step 8: Final Pressing and Inspection
Once all sewing is complete, give your newly sewn face mask a final press with a warm iron. This will set the stitches, flatten any remaining wrinkles, and give your mask a polished, professional look. Inspect all seams and elastic attachments to ensure everything is secure and no stitches have been missed. Your comfortable and stylish box pleated 3D face mask is now ready to wear!
Tips for a Perfect DIY Face Mask:
- Pre-wash Your Fabric: Always wash and dry your fabric before cutting and sewing to pre-shrink it. This prevents your finished mask from distorting after its first wash.
- Use Sharp Tools: A sharp rotary cutter or scissors and a new sewing machine needle make a huge difference in the quality and ease of your sewing.
- Practice Makes Perfect: If you’re new to sewing, don’t be discouraged if your first mask isn’t flawless. Each project is an opportunity to improve your skills.
- Adjust Elastic Length: The recommended elastic length is a starting point. Hold the elastic up to your face and adjust it for a snug, comfortable fit before permanently sewing it.
- Consider a Filter Pocket: For added protection, you can modify this pattern to include a small opening on the lining side to insert a filter.
- Add a Nose Wire: A flexible wire (like floral wire or a pipe cleaner) inserted into the top seam can help the mask conform better to your nose, enhancing fit and reducing fogging.
- Experiment with Fabrics: While cotton is standard, you can experiment with different cotton prints and textures to personalize your masks.
Customization and Personalization Ideas:
One of the joys of DIY projects is the ability to personalize them. Here are a few ideas to make your box pleated 3D face mask uniquely yours:
- Fabric Choices: Select vibrant patterns, seasonal prints, or even fabrics that match your wardrobe. Double-sided masks with different fabrics on each side offer versatility.
- Adjustable Ear Loops: Instead of fixed elastic, consider using elastic with cord stoppers or adding small buttons to the sides of the mask to allow for adjustable ear loops.
- Decorative Topstitching: Use a contrasting thread color for your topstitching to add a subtle design element.
- Embroidery or Appliqué: Add a small embroidered initial or a cute appliqué patch to the main fabric before assembling the mask.
Conclusion: Sew Your Way to Comfort and Style!
Overall, this DIY box pleated 3D face mask offers an exceptional blend of simplicity, comfort, and comprehensive protection. Its ingenious design ensures a flattering fit that isn’t overly bulky, while still covering everything that needs to be protected. As a beginner-friendly sewing project, it offers a quick and satisfying crafting experience, potentially taking as little as four minutes for an experienced sewer, though individual completion times will vary based on skill level and attention to detail.
Embrace the opportunity to create your own comfortable and stylish fabric masks. Not only is it a practical skill, but it also allows for creative expression and ensures you have a supply of well-fitting, reusable masks. We highly encourage you to watch the full DIYCraft JP tutorial on YouTube for comprehensive visual instructions and detailed insights that will guide you every step of the way. Happy sewing!