Organizing Ideas
22 Clever DIY Car Ideas, Hacks and Accessories
DIY car ideas and hacks to make: a rhinestone plate frame, felt air fresheners, seat protectors, de-icer spray and rust repair, each with a tutorial.
Jump to the steps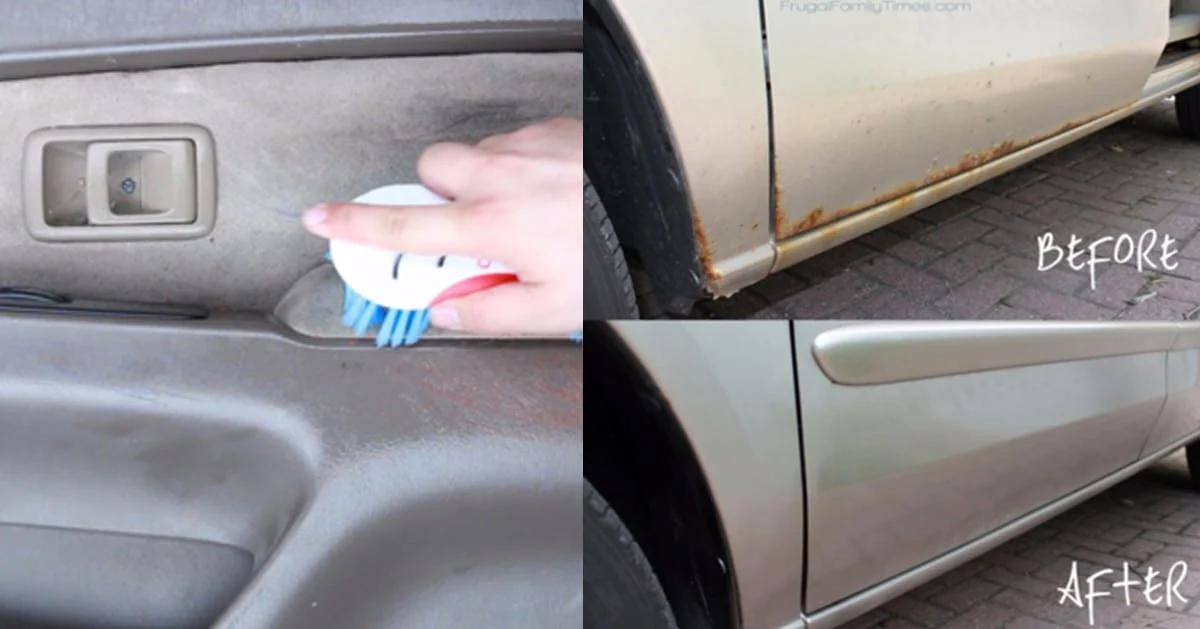
Most of us spend more waking hours in the car than in any room of the house except the kitchen, and almost nobody decorates it. That is the gap these DIY car ideas fill. Some are straight accessories, like a license plate frame covered in rhinestones or a felt lemon that holds a few drops of essential oil on the rear view mirror. Some are repairs that a body shop would charge hundreds for, like covering rust on an old van for under forty dollars in an afternoon. And a few are pure hacks: two kitchen ingredients that melt windshield ice in seconds, an old yoga mat cut down so groceries stop sliding around the trunk. Every idea below links back to the person who worked it out.
1. DIY Rhinestone License Plate Frame
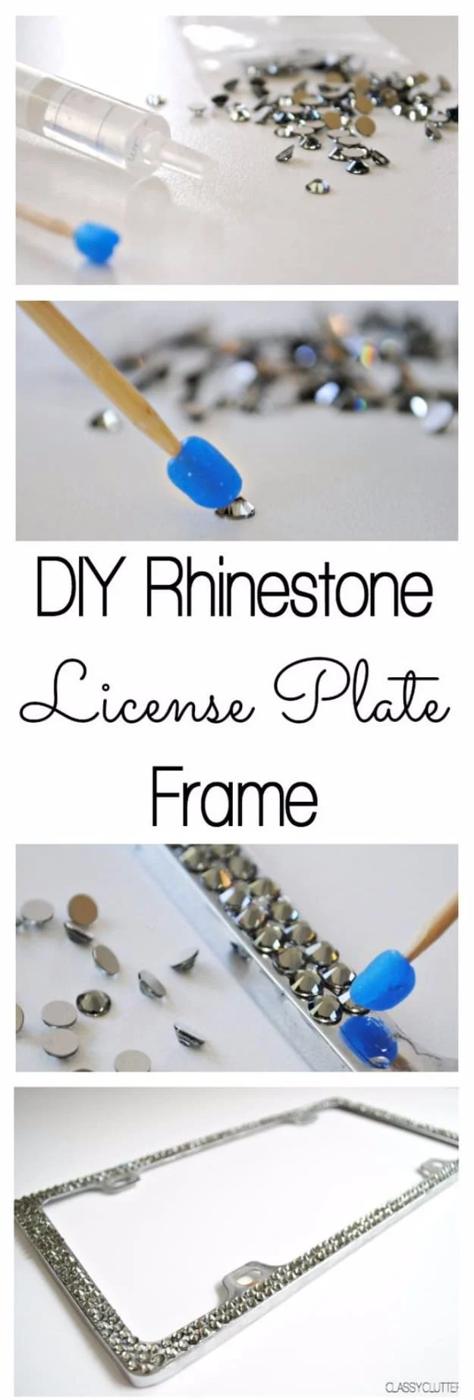
A thin silver license plate frame packed edge to edge with smoky gray rhinestones, which is a surprising amount of sparkle for a twenty minute job. Classy Clutter uses 20ss stones in Silver Night and E6000, and two tips make the difference. Load the glue into a syringe, because the tube leaks everywhere the moment you squeeze it and the syringe lets you lay down exactly what you need. Then pick up each stone with a ball of wax on a wooden skewer instead of tweezers. Work in half inch sections so the glue does not skin over. Check your state rules on frames first.
Get the full tutorial at Classy Clutter.
2. Steering Wheel Cover DIY
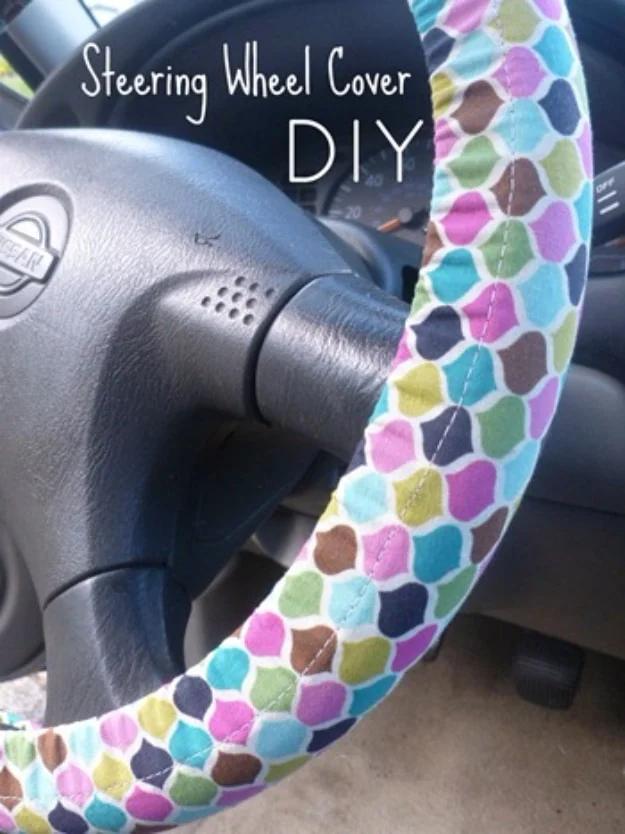
A stretchy printed cover in pink, teal, purple and brown hexagons pulled over a black steering wheel. A Little Craft In Your Day carries the photo and sends the steps on to a short tutorial, and those steps are refreshingly blunt. Measure the circumference of the wheel the way your hand wraps it, front to back, which came out at 48 inches on the original, and choose a width; four inches is plenty. Cut a strip to those numbers plus seam allowance. Fold half an inch down each long side and stitch a casing, thread narrow stretchy elastic through both, then join the short ends into a ring.
Get the full tutorial at A Little Craft In Your Day.
3. DIY Car Seat Protector
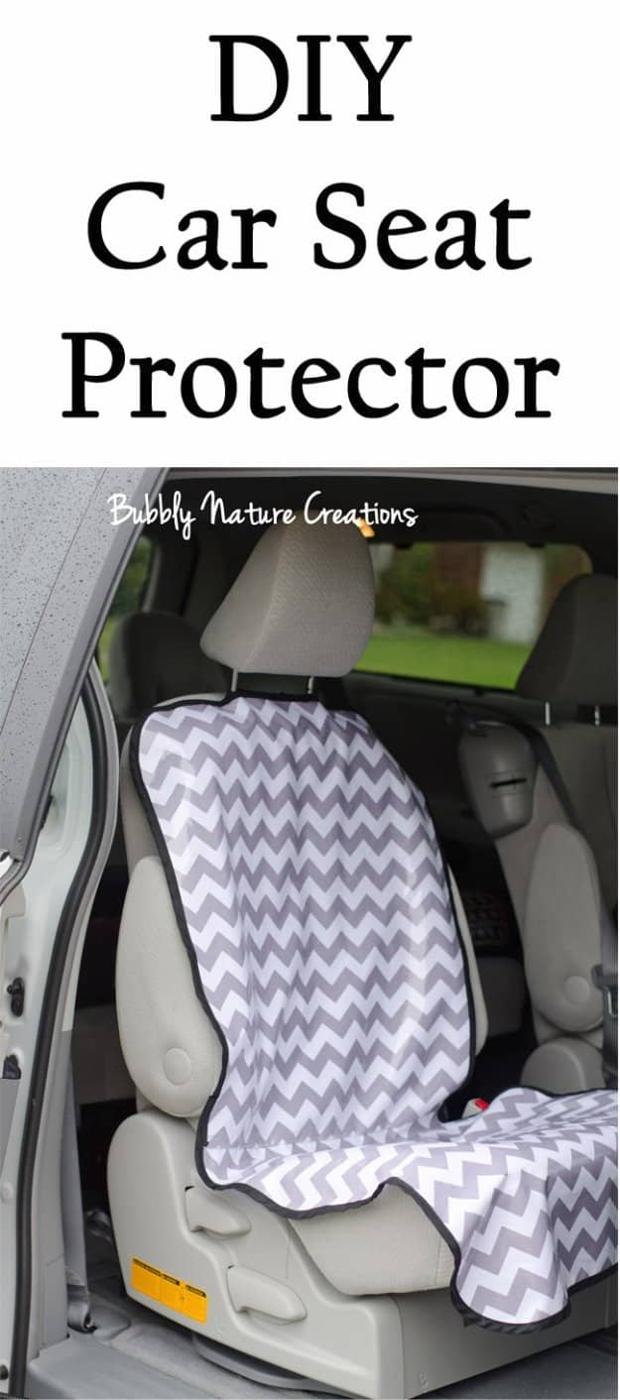
A gray and white chevron panel laid over the whole front seat of a minivan, bound in navy and strapped around the headrest. Sprinkle Some Fun makes these from laminated fabric, which wipes clean and is the entire reason this beats a folded towel. Measure each seat first and cut a paper or tissue pattern to those numbers, then lay the paper on the seat and notch it for the seat belt and armrests before you cut any fabric. Quilt binding makes the headrest straps and velcro closes them. Eight yards covered every seat in a full size van.
Get the full tutorial at Sprinkle Some Fun.
4. DIY Car Air Freshener Using Essential Oils
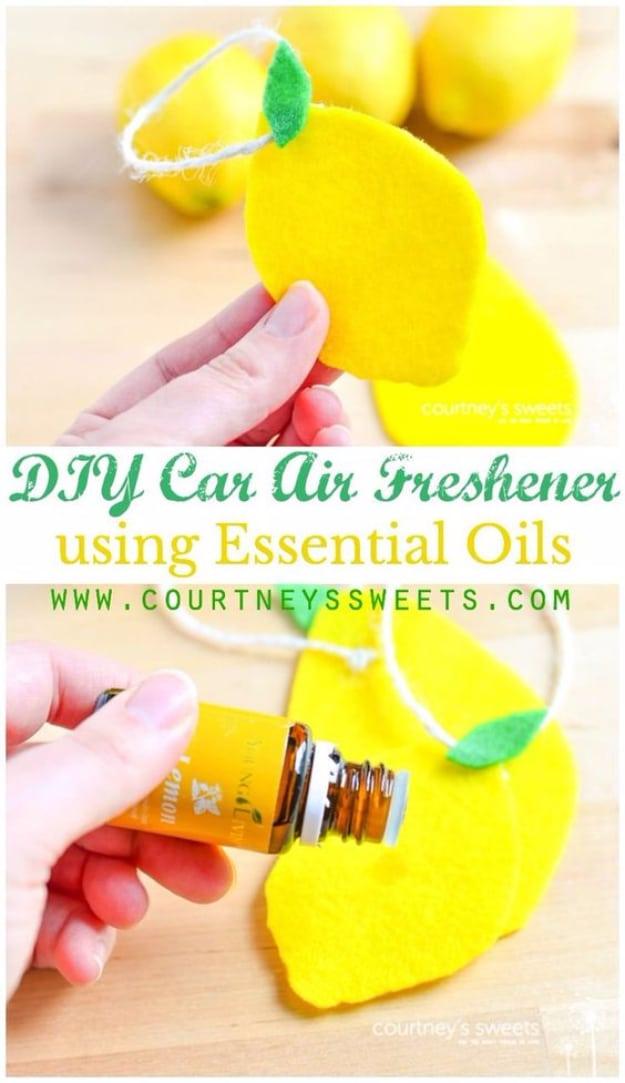
Bright yellow felt lemons with a small green leaf, hung on a loop of twine and photographed beside real lemons. Courtney’s Sweets cuts the lemon shape freehand from a sheet of yellow felt, which is exactly as forgiving as it sounds, then cuts a leaf from green felt, punches one hole and knots twine through it for the hanging loop. Craft glue holds the knot and the leaf down. Let the whole thing dry fully before any oil goes near it, then add drops of lemon essential oil. In hot weather expect to top it up every other day.
Get the full tutorial at Courtney's Sweets.
5. Clean Your Car's Interior Like A Pro
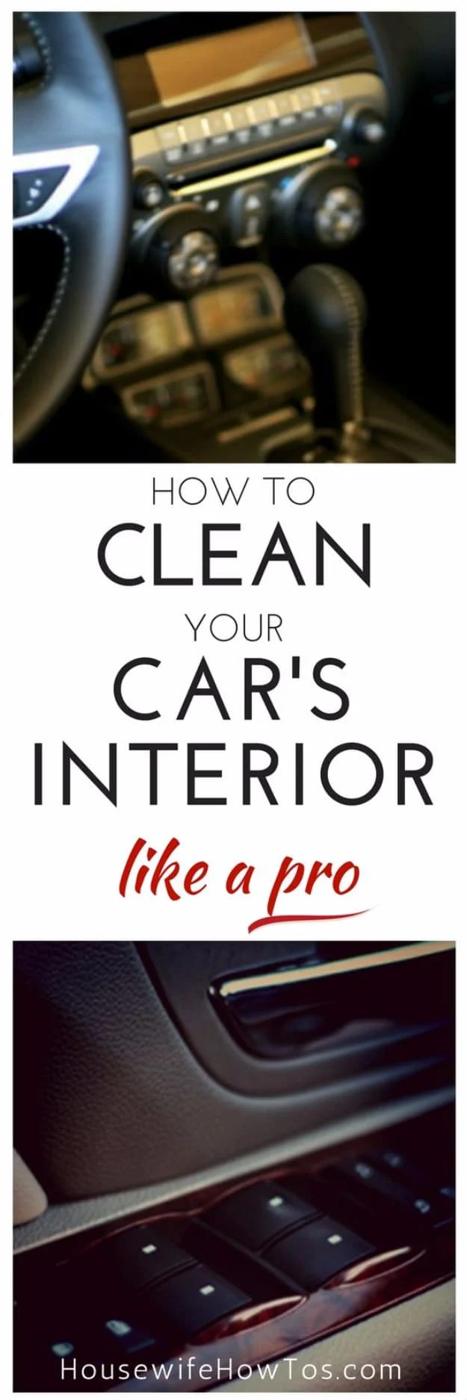
A dark dashboard and center console photographed close up after a full interior clean. Housewife How-Tos does the whole job with what is already under the sink: warm water, a few drops of dish soap, baking soda to pull odors out of carpet and upholstery, rubbing alcohol for touchscreens and greasy marks, microfiber cloths and a vacuum with a crevice tool. Order is the real lesson. Declutter first, vacuum the headliner, then the seats and dash, and leave the floor until last so everything knocked down from above gets picked up once. Work in the shade, or the cleaner dries into streaks.
Get the full tutorial at Housewife How-Tos.
6. Detail Your Car Yourself
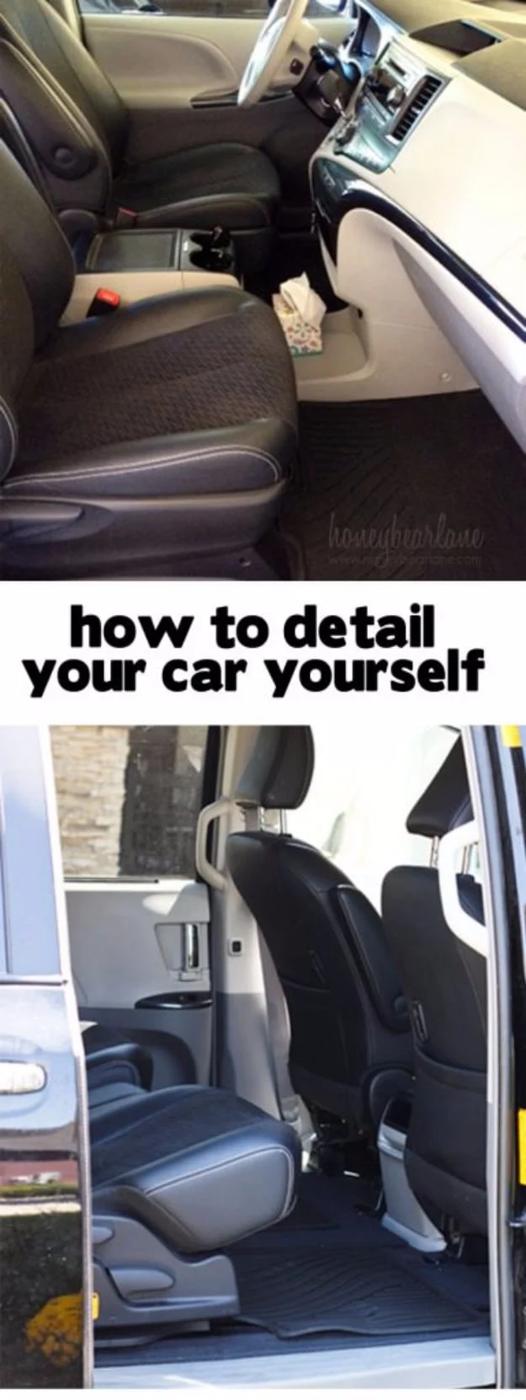
A minivan interior shot before and after, and the honest starting point is the before: three small children, one bag of fish crackers and crumbs in every seam. Honeybear Lane makes the argument plainly, which is that a professional detail costs two to five hundred dollars and the same result is available for a weekend and some supplies you probably own. The tutorial runs across several pages on the source site. One warning worth carrying over from the comment thread there: melamine sponges are a micro abrasive, so keep them off painted panels and clear coat, whatever they do for a door handle.
Get the full tutorial at Honeybear Lane.
7. Clean AC Vents
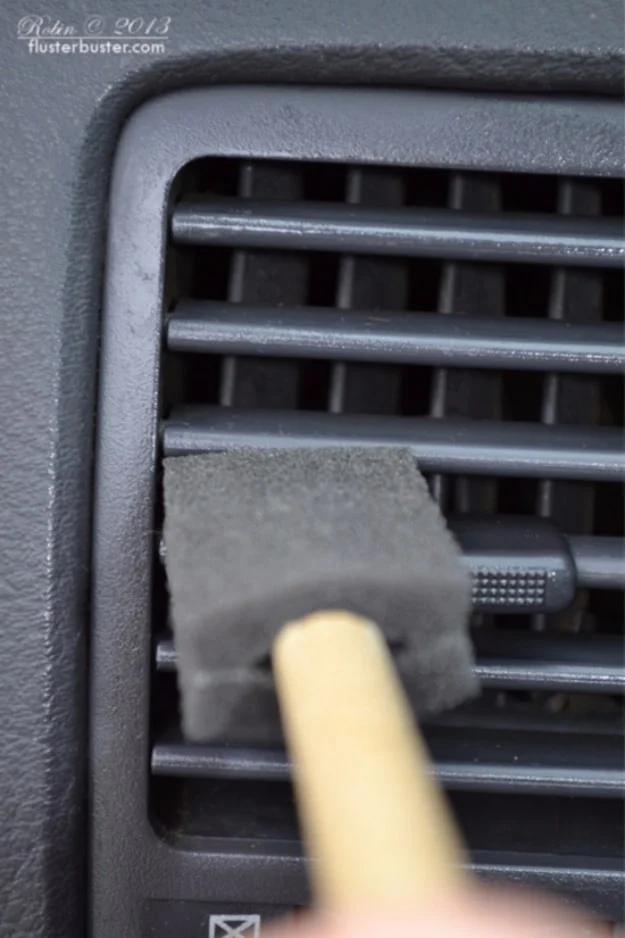
A gray foam craft brush pushed between the slats of a dashboard vent, which is the whole trick and costs about forty cents. Fluster Buster recommends the sponge brush over a cotton swab specifically because the foam has a slightly rough texture, so it scrubs off what is stuck to the vane instead of just wiping dust around. Dip it in a multipurpose cleaner and work one blade at a time. The same post has the better dashboard tip: clean it, dry it, then rub in a very small amount of petroleum jelly with a clean rag and buff off the excess.
Get the full tutorial at Fluster Buster.
8. Car Emergency Kit
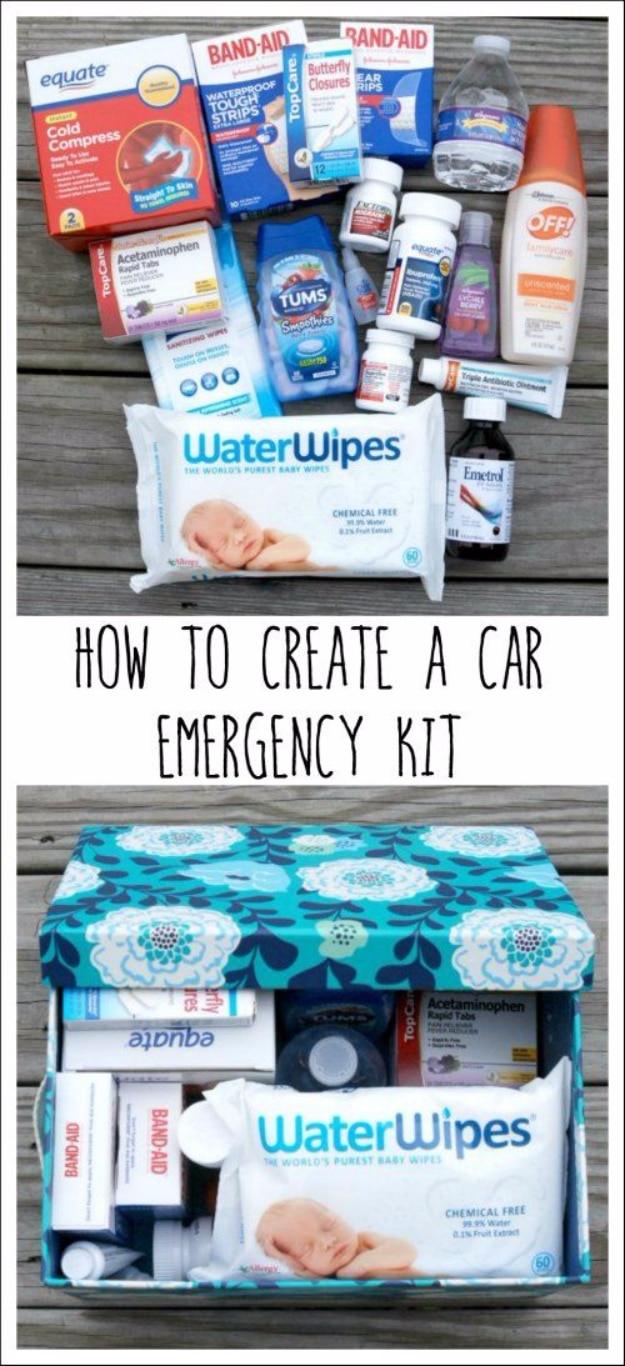
A fabric covered box packed with bandages, instant cold compresses, antiseptic, insect repellent, wipes and a small bottle of water, photographed laid out and then loaded. Endlessly Inspired built it after too many trips to urgent care, and the list is the useful part: several sizes of bandage, instant ice packs, eye drops, cortisone cream, antihistamine, antacids, antibiotic ointment, hand sanitizer and wipes, plus children’s and adult’s doses of both acetaminophen and ibuprofen. That last detail is the one people miss, because a children’s bottle is no help to the adult with the headache. There is a printable checklist on the page.
Get the full tutorial at Endlessly Inspired.
9. DIY Rust Removal
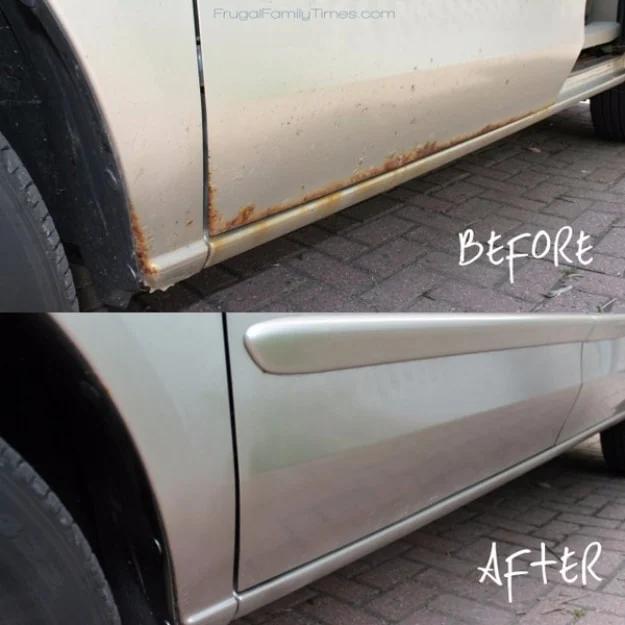
A before and after of the same van sill, rust blooming along the seam in the first shot and flat clean paint in the second. This DIY Life is refreshingly blunt about what this is: not a showroom repair, but a serviceable clean up that buys a few more years out of a vehicle that is otherwise fine. Rust always comes back eventually. The cost is the headline, under forty dollars in supplies and one afternoon, against the hundreds a body shop charges for work that also fails in time. Color matched aerosol paint is ordered by make and model.
Get the full tutorial at This DIY Life.
10. 2 Ingredient Homemade Car De-Icer Spray
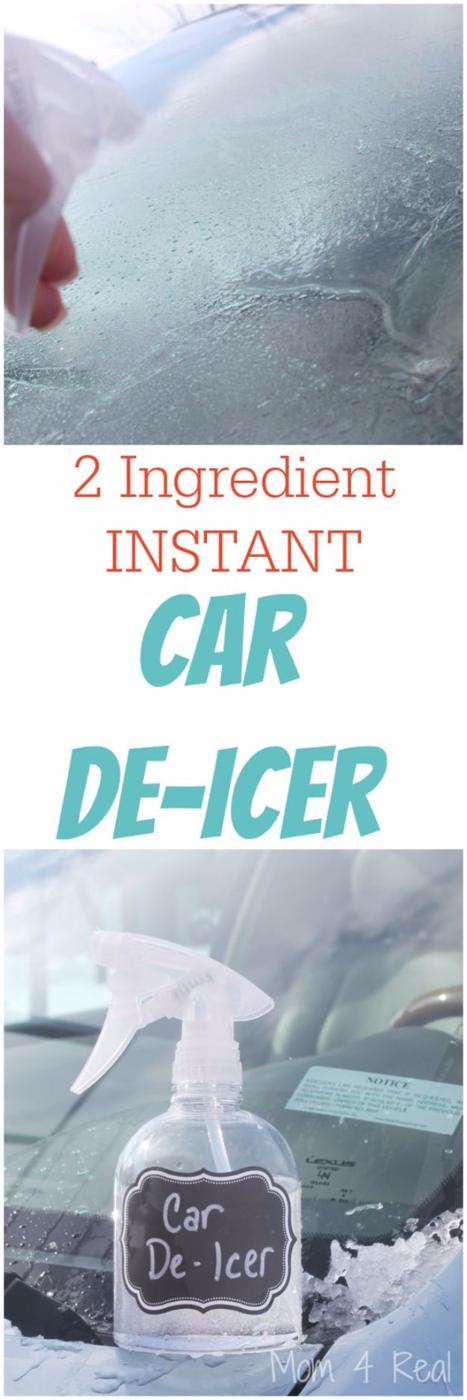
A spray bottle with a chalkboard label sitting on an iced windshield, and the recipe really is two things: one cup of water and one cup of isopropyl alcohol, shaken. Mom 4 Real has kept a bottle in every family car for years. It melts ice on contact within seconds of spraying, then the wipers clear the slush and you drive away instead of standing outside scraping. It also thaws a frozen door lock, so spray the lock before you force a key into it. The mixture will not freeze sitting in the car overnight.
Get the full tutorial at Mom 4 Real.
11. DIY Car Seat Back Protector
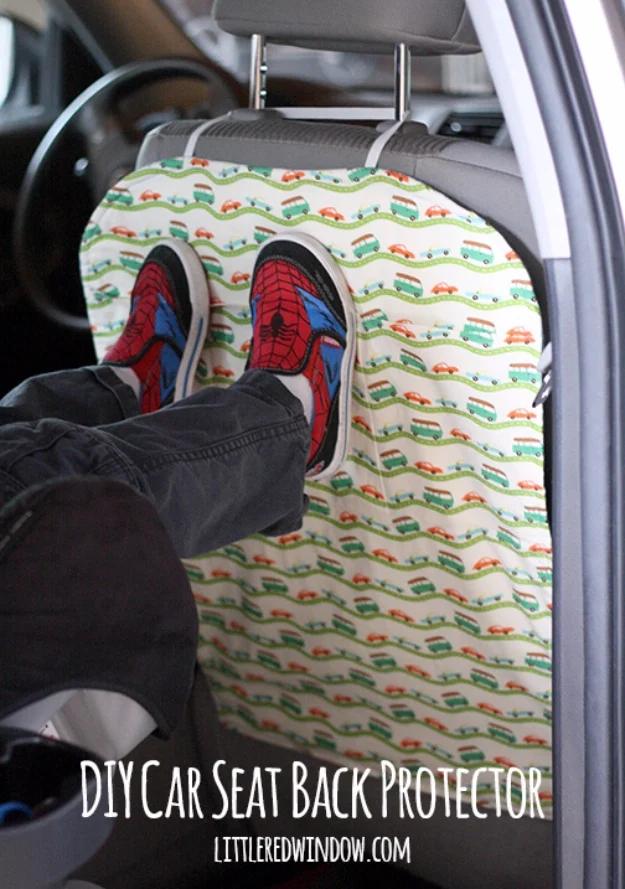
A quilted panel printed with small cars and trucks hung over the back of a front seat, taking the boot prints that would otherwise land on the upholstery. Little Red Window sewed it after two years of a bath towel sliding off and failing anyway. The point is the climbing in and out, especially in winter with wet slushy boots, rather than anything to do with riding. Measure your own seat back first, because every car is a different shape; the one shown ran 24 inches tall including seam allowance by 18 inches at the widest point. Batting, elastic and a grosgrain top tie finish it.
Get the full tutorial at Little Red Window.
12. DIY Car Seat Organizer
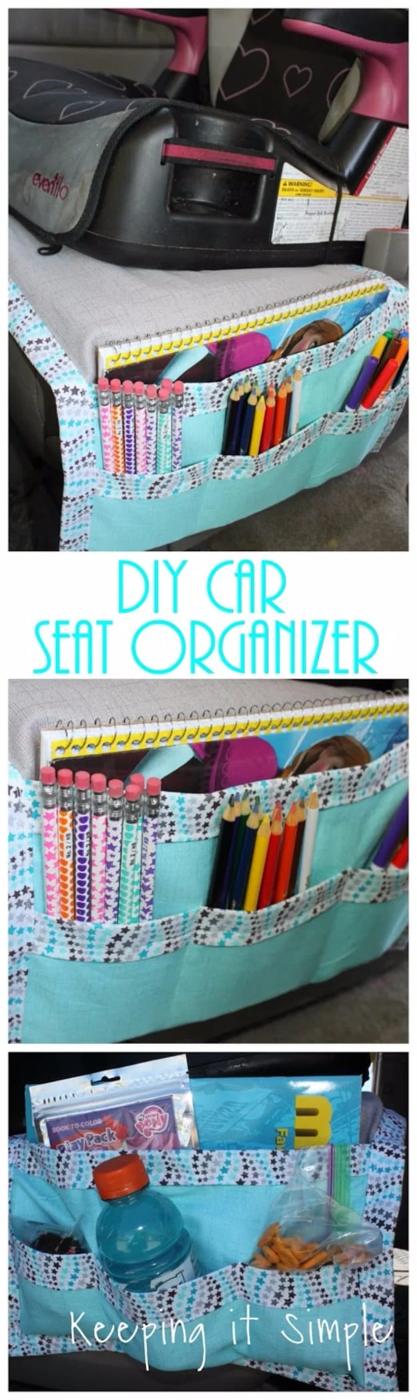
A caddy that lies across a child’s car seat with a row of open pockets along the front, loaded with colored pencils, a notebook and snacks. Keeping it Simple builds it from a yard and a half of gray, a yard of blue and half a yard of a star print. Two gray pieces at 42 by 14 inches make the body. The pockets are cut 16 by 14 and 10 by 14, folded in half, bound along the top with home made three inch bias tape, then stitched down in two lines so each panel becomes three pockets. Bias tape finishes the whole edge.
Get the full tutorial at Keeping it Simple.
13. Clean Your Engine The Easy Way
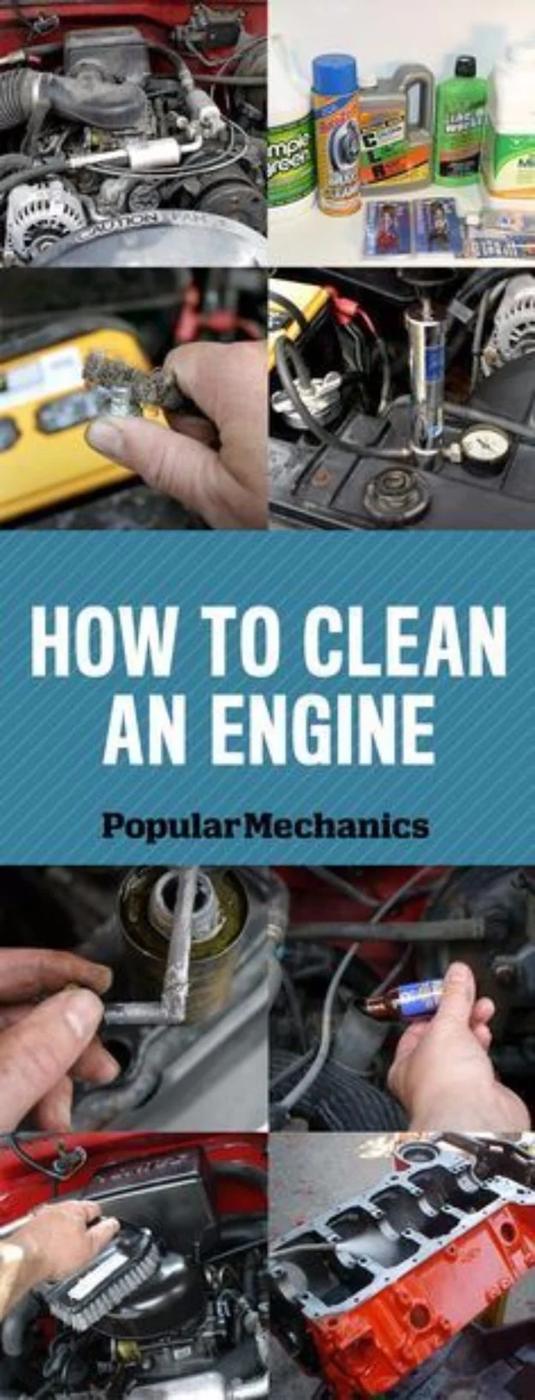
An open engine bay part way through a clean, with a wire brush working at a corroded battery terminal. Popular Mechanics walks it in order, and the order is the safety part. Disconnect the negative battery cable first, always, so you cannot short the circuit while the positive is still live, then take off the positive and set both aside. Wire brush the corrosion, neutralize spilled acid with a baking soda paste, and coat the dry battery tray in rust resistant enamel. Keep open flame away from a battery, which vents hydrogen. Collect the wastewater rather than letting it run into a gutter.
Get the full tutorial at Popular Mechanics.
14. Car Interior Cleaning Spray
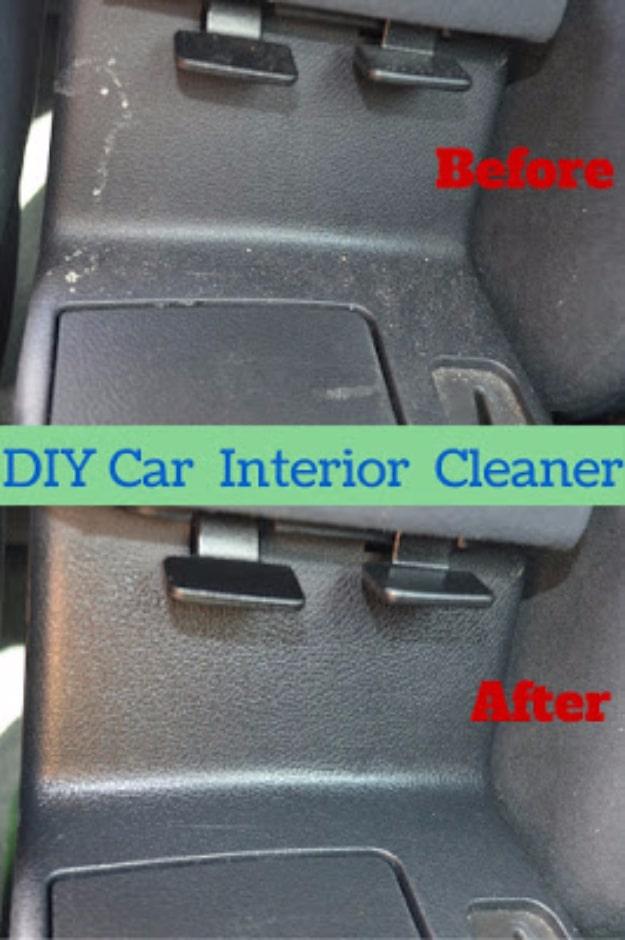
A before and after of the same molded plastic seat back, dull and dusty above, evenly dark and satin below. It Really Is This Easy mixes two thirds of a cup of water, two thirds of a cup of olive oil, a teaspoon of vinegar, two to four drops of concentrated soap and four to six drops of essential oil in an eight ounce spray bottle. The olive oil is what conditions vinyl and hard plastic rather than just cleaning it. Shake before every use, because oil and water separate. Keep it off the glass, and spot test leather first.
Get the full tutorial at It Really Is This Easy.
15. Quick Way To Make Your Car Smell Better
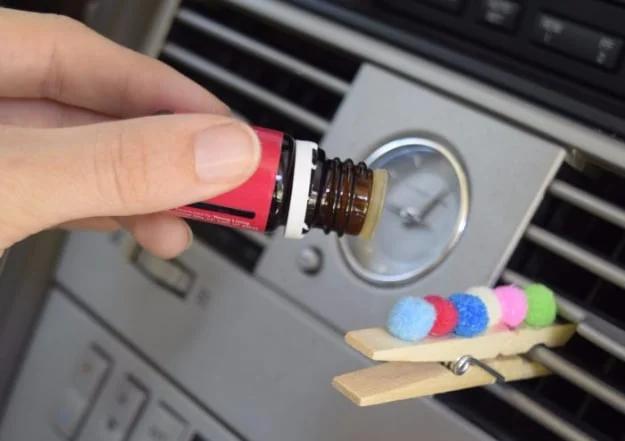
Pom poms in pink, blue and green glued along a wooden clothespin, clipped to a dashboard vent. One Crazy House puts this first among fifteen ways for good reason: it takes one clothespin, a few pom poms or cotton balls and five to ten drops of essential oil, and the moment you turn the fan on the whole car smells of whatever you chose. Scent changes are as simple as swapping the clip, so a small set of them in different oils covers every mood. It is also a genuinely good job to hand a child.
Get the full tutorial at One Crazy House.
16. Toddler Survival Kit Car Essentials
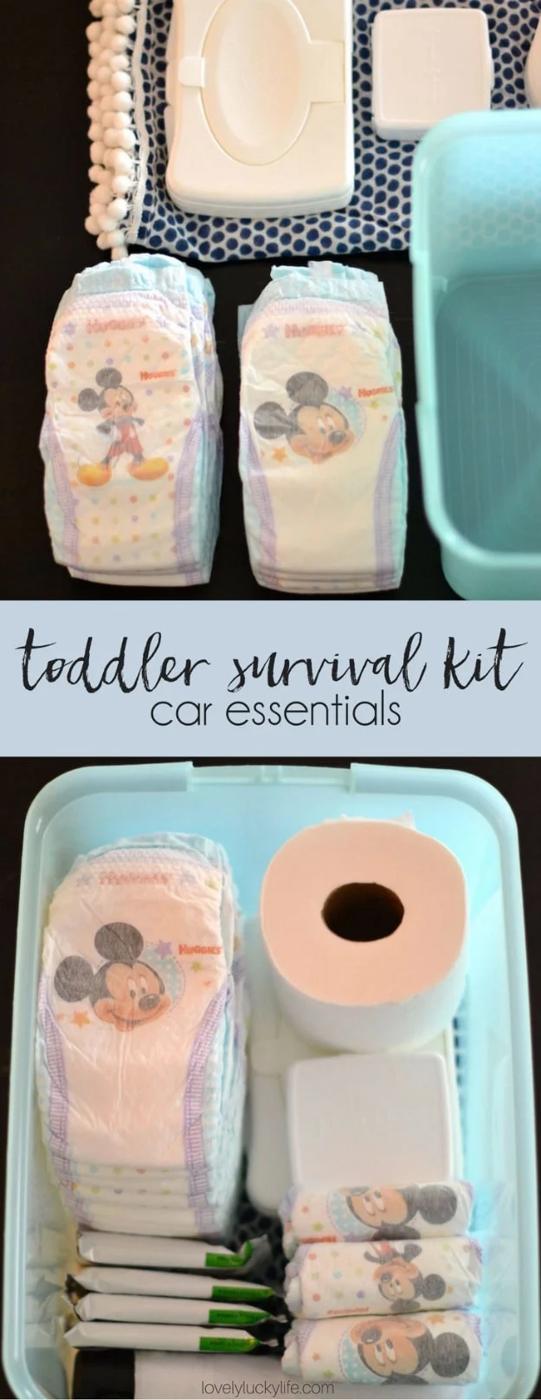
A shallow plastic tub packed with diapers, a roll of toilet paper, wipes and a folded blanket, photographed laid out and then loaded. Lovely Lucky Life built it after being caught at the vet with a toddler who needed changing and nothing to change him with. The list runs diapers, wipes, toilet paper, car safe snacks like granola bars or applesauce pouches, an umbrella, a small first aid kit, a lightweight blanket and a container to hold the lot. Two notes worth keeping: toilet paper doubles as tissue, and the blanket earns its place as a coverup, a pillow and a picnic surface.
Get the full tutorial at Lovely Lucky Life.
17. Travel Neck Pillow And Seat Belt Cover
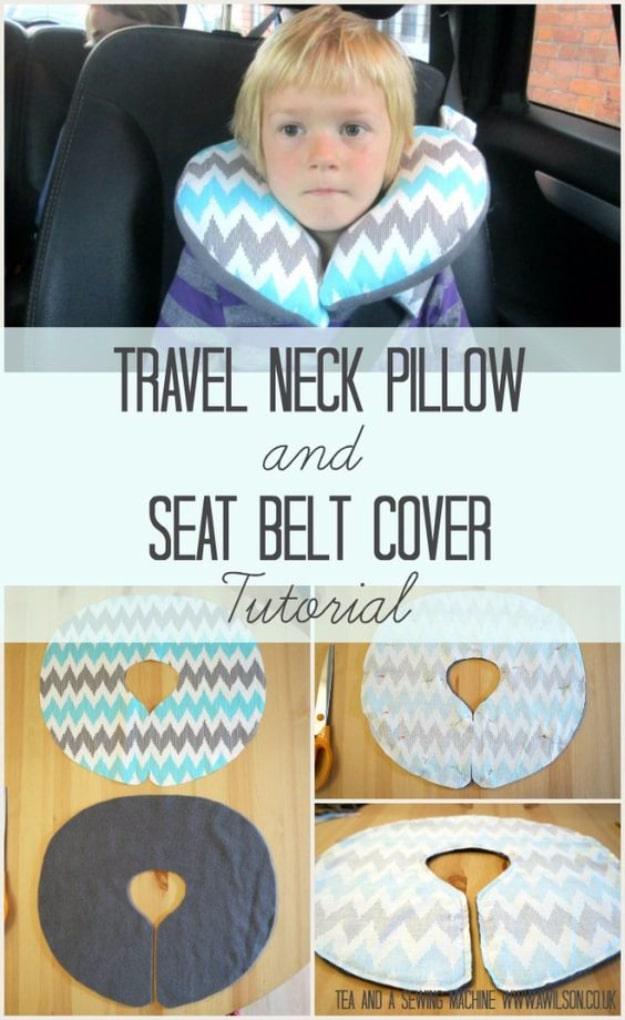
A gray and aqua chevron neck pillow with a matching seat belt cover, photographed in use in a back seat. Wild Blossom Life makes both from two fabrics, one cotton and one fleece, so the pillow has a snuggly side and a cooler side to turn to depending on the weather. The seat belt cover is the same two layers with polyester filling through the middle and velcro to close it around the belt. An evening is enough for both, or a couple of hours for the pillow alone, and there is a free downloadable template for the pillow shape.
Get the full tutorial at Wild Blossom Life.
18. Reupholster Your Car Door Fabric
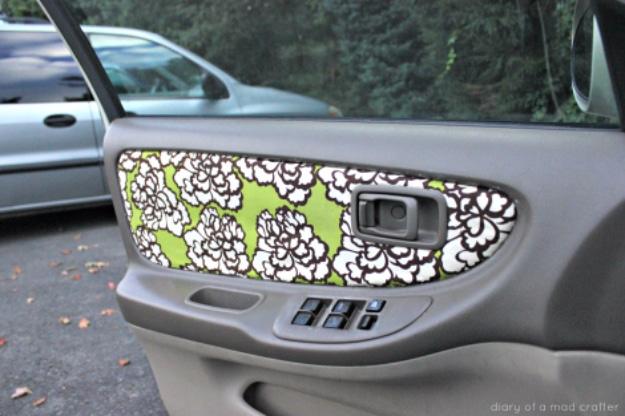
A car door card covered in a green and white floral cotton, tucked neatly around the handle and the window switches so no raw edge shows anywhere. Diary of a Mad Crafter is honest that this is not difficult but is genuinely time consuming, and the sizing is where people ruin it. Make a paper pattern against the door first. Cut the outer edge about a quarter inch larger than the panel so there is fabric to tuck, and cut the handle opening about an eighth of an inch smaller all round for the same reason. Fabric Mod Podge goes on, then an orange wood stick pushes the excess into every crevice.
Get the full tutorial at Diary of a Mad Crafter.
19. DIY Car Air Freshener
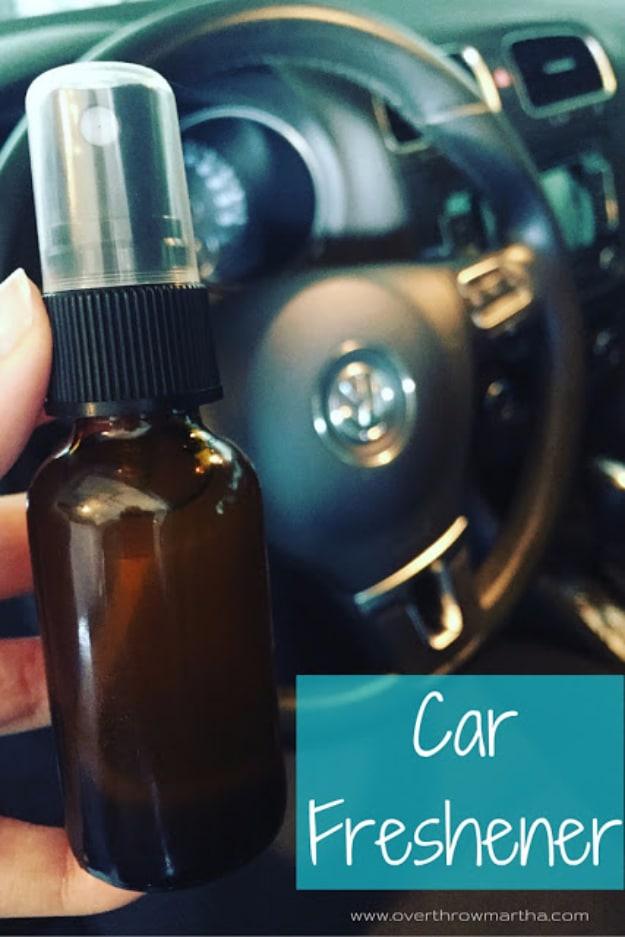
A small amber glass bottle with a fine mist top, held up against a steering wheel. Overthrow Martha makes it in a two ounce mister from one ounce of distilled water, one ounce of rubbing alcohol or vodka, twenty five to thirty drops of essential oil and a pinch of salt. The order of assembly is the tip, and it is a real one: salt first, then the oils, then the liquid, because the salt helps the oil disperse through the water instead of floating on the surface. Blend two oils for depth, and add a purifying one for a stubborn smell.
Get the full tutorial at Overthrow Martha.
20. Back Seat Bags
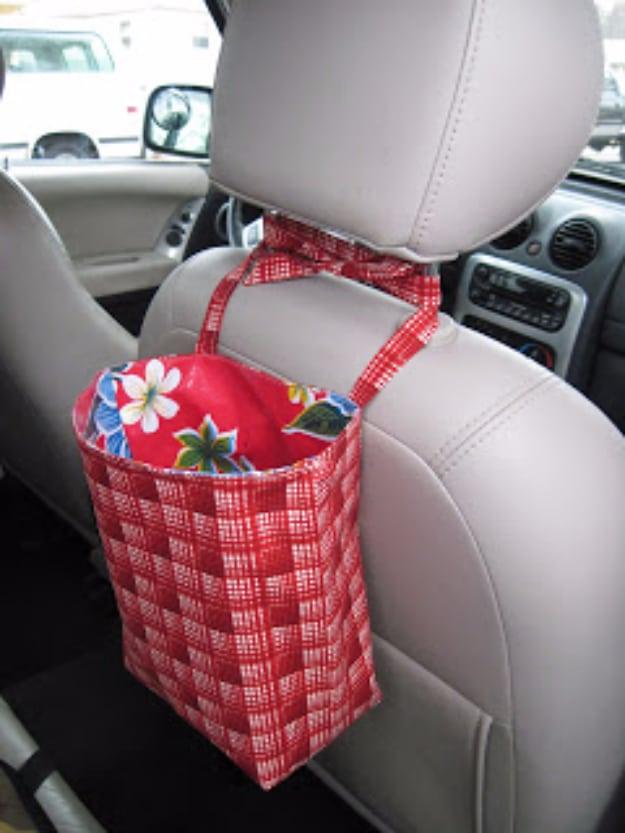
A red and white checked bag with a floral lining, tied to the headrest posts of a back seat and hanging within a child’s reach. Tinkerfrog cuts two 12 inch squares of oilcloth or laminated fabric for the lining, two 12 inch squares of cotton or home dec weight for the outside, and two strips 18 by 2 inches for the ties. Boxed corners stitched two inches along the seam give it a flat base so it holds its shape. The clever finish is the hanging: lift the headrest, tie around the posts, then lower the headrest to hide the knots.
Get the full tutorial at Tinkerfrog.
21. Remove Car Stickers Easily
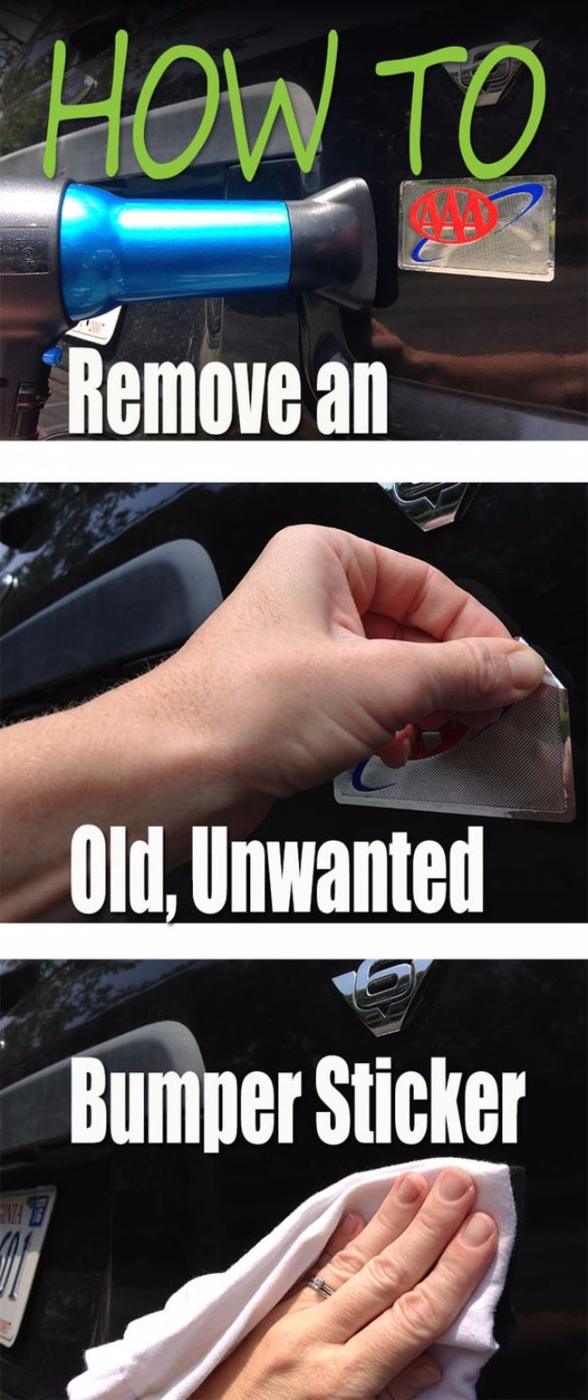
A blue heat gun aimed at an old decal on a rear window, then the softened sticker peeled away by hand and the residue buffed off with a white cloth. Compare.com keeps the method to three moves. Warm the sticker with hot air for about a minute, holding the nozzle closer on a low setting and further back on a high one. Then lift a corner with a fingernail or a rubber spatula, never anything metal, and peel the sticker back rather than up. Finish the leftover adhesive with rubbing alcohol, Goo Gone or a remover made for cars, rubbing gently with a cloth.
Get the full tutorial at Compare.com.
22. DIY Simple And Cheap Trunk Mat
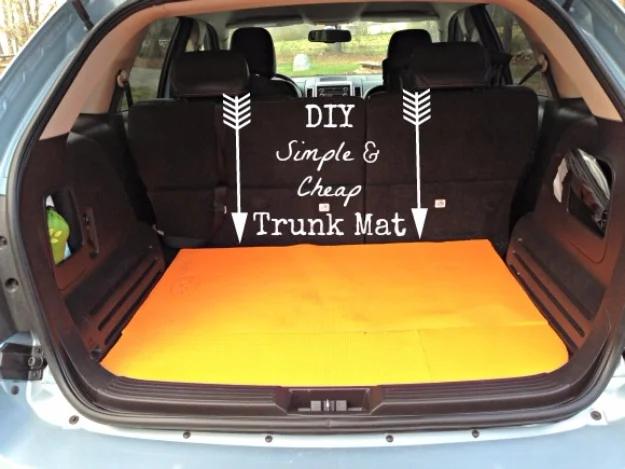
A bright orange yoga mat cut to the exact footprint of an SUV cargo floor, and that is the entire project. Go Grow Go was after something that would stop grocery bags sliding around on the way home, found that everything sold as a trunk mat was made to protect carpet rather than grip, and remembered the unused mat in the closet. A utility knife cuts it to shape in minutes. The rubber grip is what does the work, and it protects the carpet as a bonus. A new mat runs about six dollars against thirty to two hundred for a purpose made one.
Get the full tutorial at Go Grow Go.